Yes, you can definitely use an embroidery hoop for cross stitch! It helps keep your fabric taut, ensuring even tension and precise stitches. You'll find it easier to manage your work and reduce hand fatigue during longer sessions. However, some prefer stitching without a hoop for more control. Each method has its advantages and disadvantages. Stick around, and you'll discover tips on choosing the right hoop and techniques for an enjoyable stitching experience!
Key Takeaways
- An embroidery hoop is commonly used for cross stitching to maintain fabric tension and improve stitch accuracy.
- Using a hoop can help reduce hand fatigue during lengthy stitching sessions.
- Some stitchers prefer not to use a hoop for greater control and ease of mobility.
- Different hoop types, like screw tension or Q-Snap frames, cater to various project needs and preferences.
- While hoops enhance precision, they can also leave creases on fabric, which may be difficult to remove.
Pros of Using an Embroidery Hoop

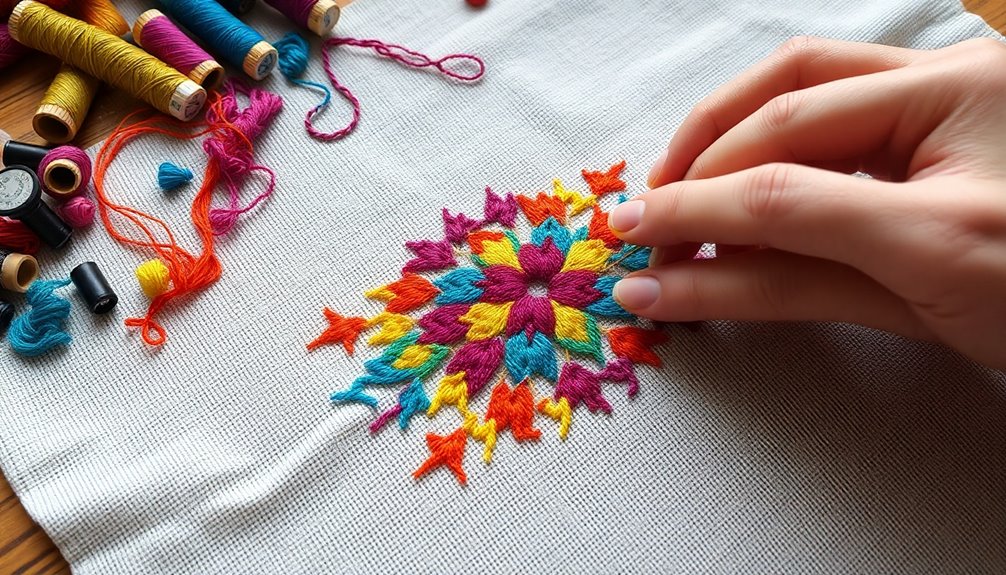
When you use an embroidery hoop, you'll find that it provides a solid grip on your fabric, making your cross stitch projects much easier to manage.
This grip helps maintain even tension in the fabric, which results in neater stitches and prevents puckering. For beginners, an embroidery hoop is a game-changer, improving visibility and making it simpler to locate stitching holes.
You'll feel more confident as you stitch, knowing the fabric is secure. Plus, using a hoop considerably reduces hand fatigue since you won't need to hold the fabric with one hand.
This added comfort allows you to focus on your project without distractions, making your stitching experience more enjoyable, especially for larger projects.
Cons of Using an Embroidery Hoop
While an embroidery hoop offers many benefits, it also comes with some drawbacks that can affect your stitching experience. You might find that using a hoop can leave creases on your fabric, which are tough to remove and can ruin your project's look. Discomfort in your hands may arise from the pressure of the hoop, making long sessions painful. Additionally, detaching and reattaching the hoop can be time-consuming, complicating your stitching flow. The added bulk makes portability a hassle if you enjoy stitching in hand. Finally, running thread tails may become tricky, as the tension of the fabric limits access.
| Drawback | Impact on Stitching | Solution |
|---|---|---|
| Creases | Affects finished appearance | Use a softer hoop |
| Discomfort | Pain in fingers/hands | Take breaks |
| Bulk | Harder to transport | Consider smaller hoop |
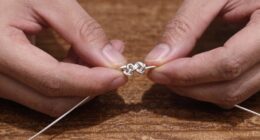
Cross Stitching Without a Hoop
Stitching without a hoop can give you more control over your needle, especially for smaller designs.
You might find it easier to maintain even tension with practice, and it can help prevent fabric distortion that sometimes happens with tight hoops.
Plus, experimenting with this method can enhance your skills and make cross stitching more accessible. Additionally, as you refine your technique, you’ll discover new ways to incorporate creativity into your projects, allowing you to express your unique style. One popular approach is to frame cross stitch under glass, which not only protects your artwork but also gives it a polished and professional appearance. By trying different techniques and finishes, you can elevate your cross stitching from a simple craft to a stunning piece of home decor that showcases your talent.
Benefits of Stitching Freely
Although many stitchers rely on hoops for their projects, stitching freely can offer unique advantages that enhance your experience.
By stitching in hand, you gain greater control over the needle, making it easier to find holes, especially for beginners. This method allows you to avoid creasing and fabric marks that often result from tight hoop usage.
Many find it more comfortable, as it can eliminate discomfort in fingers and hands. Stitching without a hoop encourages practice, helping you develop consistent tension over time, even if it feels challenging at first.
It's perfect for smaller designs, promoting a simpler experience and making portable stitching a breeze. Embracing this technique can truly transform your cross-stitching journey.
Techniques for Even Tension
Practicing free stitching can greatly improve your ability to maintain even tension when cross stitching without a hoop. To achieve this, keep the fabric taut with one hand while the other stitches in-hand. This technique helps you find holes easily and prevents puckering.
Aim for consistent tension by using a rhythmic stitching motion and ensuring your thread stays flat to avoid twists. Practicing on smaller designs can enhance your skills, as they require less fabric manipulation.
Regularly adjust your grip and hand positioning to alleviate discomfort and improve the accuracy of your stitches. With these techniques, you'll find it easier to maintain even tension and achieve beautiful results in your hoop for cross stitch projects.
Recommended Fabrics for Hand Stitching
When choosing fabrics for hand stitching cross stitch projects without a hoop, it's essential to take into account how each material affects your stitching experience.
Aida cloth is a popular option, especially for beginners, thanks to its evenly spaced holes. For those looking for a more advanced challenge, linen fabric provides a lovely texture but can be trickier to manage.
Evenweave fabrics like Monaco or Jobelan are excellent for stitching without a hoop, offering a balanced surface for consistent stitch tension.
Opting for a fabric with a lower thread count, such as 14-count Aida, can make handling easier. Cotton blends are also recommended for maintaining fabric integrity, ensuring your cross stitching remains neat and distortion-free.
Types of Embroidery Hoops
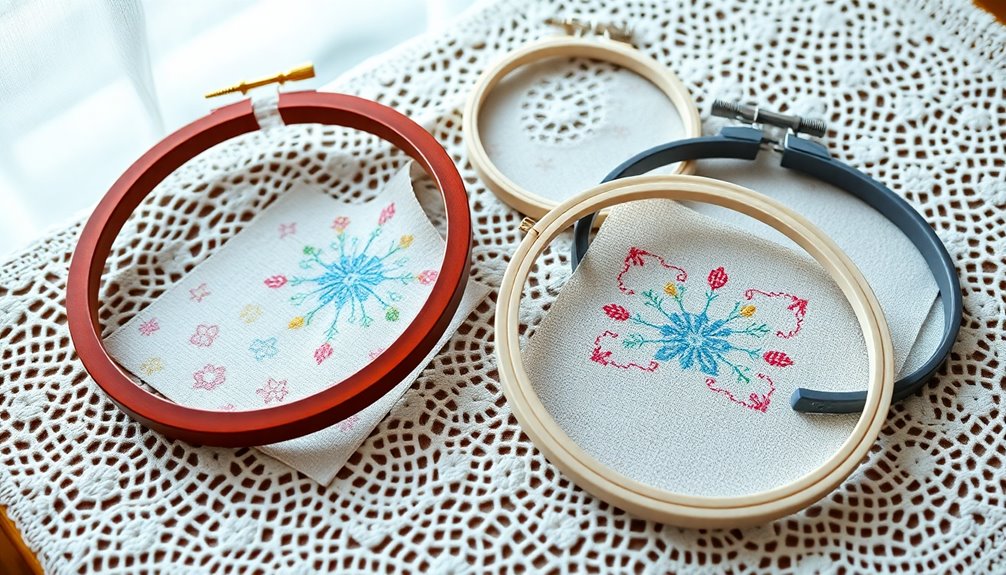
Embroidery hoops come in various types, each designed to cater to different stitching needs and preferences.
Screw Tension Hoops are the most common, allowing easy adjustment of fabric tension and available in various sizes.
If you prefer a lightweight option, Q-Snap Frames are made of thick plastic pipes with removable clasps, offering comfort during stitching.
Spring Tension Hoops, featuring a metal inner ring, work well for both machine and hand embroidery but aren't ideal for intricate designs.
On the flip side, Flexi Hoops have a vinyl outer ring that holds fabric tightly, but they're better suited for framing than actual stitching.
You can also choose from wood hoops, plastic hoops, or metal options based on your needs.
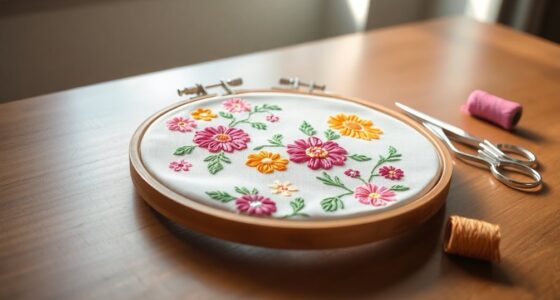
How to Use an Embroidery Hoop
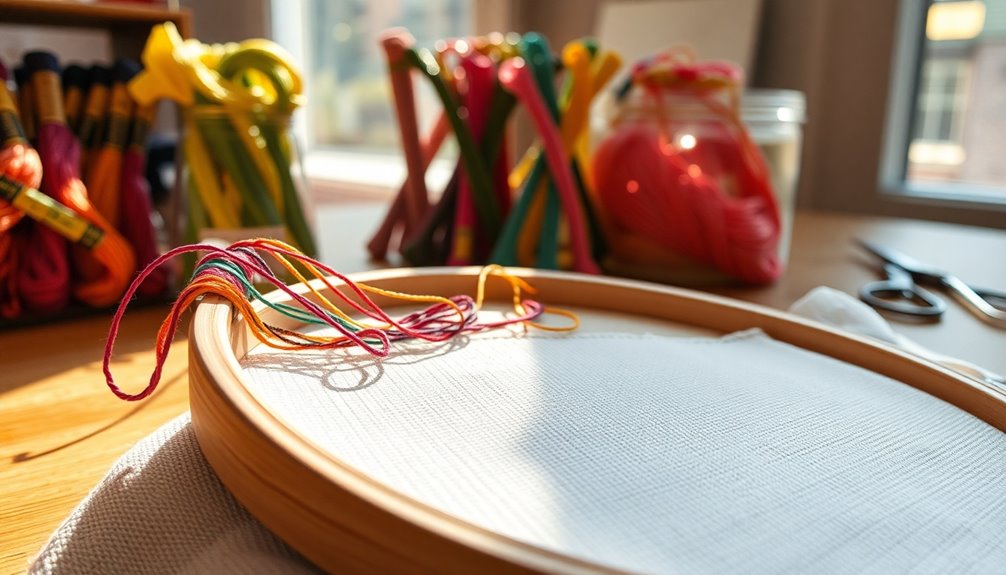
To use your embroidery hoop effectively, start by preparing your fabric and placing it over the inner ring with the right side facing up.
Once you've draped the fabric, slide the outer ring over it and tighten the screw to hold everything in place.
Preparing Your Fabric
Before you start stitching, it's essential to prepare your fabric properly for the embroidery hoop.
Begin by verifying your fabric is at least 2 inches larger than the hoop. Loosen the screw on the outer ring and separate it from the inner ring.
Place the inner ring flat, drape the fabric over it with the right side facing up, then slide the outer ring over both. Position the fabric evenly and tighten the screw partially to hold it in place.
Pull the fabric edges to create a taut surface, like a drum, before fully tightening the screw. This guarantees ideal tension while you cross stitch, so regularly check and adjust the fabric tension to avoid sagging as you work.
Tightening the Hoop
Once you've prepared your fabric, it's time to tighten the hoop for ideal stitching.
Begin by loosening the screw on the outer ring to position the inner ring correctly over your fabric, ensuring the right side is facing up.
After placing your fabric on the inner ring, press the outer ring down and partially tighten the screw to hold your fabric in place without full tension.
Pull the edges of the fabric evenly around the inner ring to create a taut surface, similar to a drum.
Finally, fully tighten the screw to secure the fabric.
If you're using spring tension hoops, squeeze the handles to adjust tension, ensuring you maintain even tension for smooth stitching with your embroidery hoops.
Tips for Choosing the Right Hoop
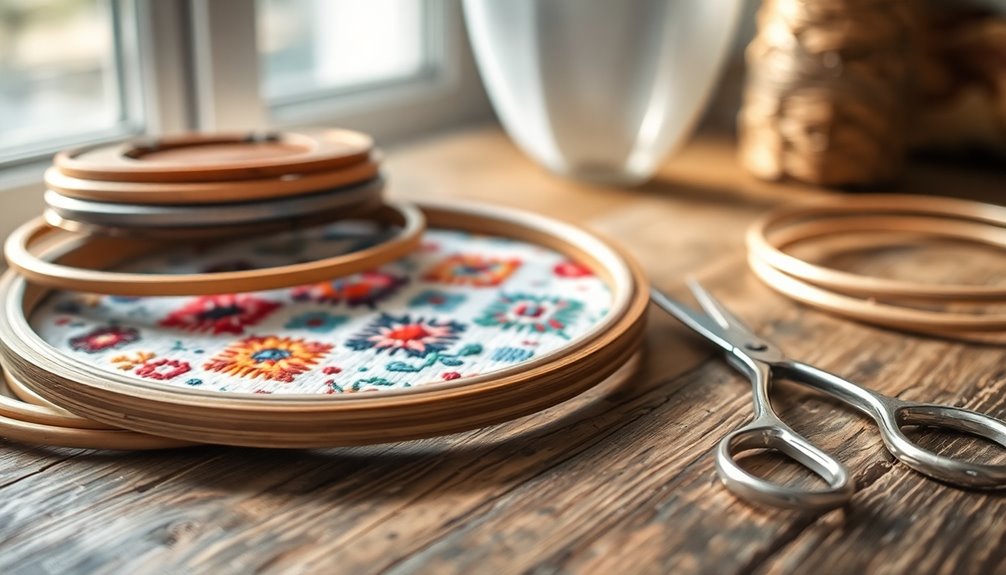
Choosing the right embroidery hoop for your cross stitch project can greatly enhance your stitching experience.
Start by selecting a hoop that's at least 2 inches larger than your pattern to give yourself ample fabric space. Consider screw tension hoops for easy adjustments, ensuring your fabric stays tight while stitching.
You'll find a variety of size ranges, typically from 3 to 14 inches, but larger sizes are ideal for complex designs.
When it comes to materials, wood is durable and smooth, while plastic hoops offer affordability and color.
Experiment with different shapes, like round hoops, to find what feels most comfortable for your stitching style.
Ultimately, the right hoop can make all the difference in your creative process.
Frequently Asked Questions
Are Embroidery Hoops Necessary for Cross Stitch?
Embroidery hoops aren't strictly necessary for cross stitch, but they can really help you achieve better results.
By keeping the fabric taut, they reduce puckering and guarantee even tension, which leads to neater stitches. If you're a beginner, using a hoop makes it easier to see the holes for stitching.
Ultimately, it's all about personal preference; some prefer the flexibility of working without one, especially for smaller designs.
What Are the Best Hoops to Use for Cross Stitch?
When choosing the best hoops for cross stitch, consider screw tension hoops for their adjustability and various sizes.
Q-Snap frames are lightweight and keep your fabric taut, perfect for longer sessions.
Wooden hoops, especially beechwood, offer durability and smooth edges to prevent snagging.
While plastic hoops are budget-friendly, make sure to opt for high-quality ones to avoid warping.
Flexi hoops might look nice, but they're not ideal for stitching.
How to Use a Hoop for Cross Stitch?
To use a hoop for cross stitch, first loosen the screw and separate the inner and outer hoops.
Place the inner hoop on a flat surface and drape your fabric over it, right side up.
Slide the outer ring on, centering the fabric, then partially tighten the screw.
Pull the fabric edges evenly for a taut fit, tightening fully afterward.
Position the hoop so it's convenient for your stitching hand, and enjoy your project!
How to Finish a Cross Stitch in an Embroidery Hoop?
To finish your cross stitch in an embroidery hoop, start by removing the fabric and gently steaming or ironing the back to remove creases.
Trim the excess fabric, leaving a 1 to 2-inch margin. Place the fabric back in the hoop, centering it, and tighten the screw.
Add a backing fabric to cover loose threads, securing it with glue. Finally, embellish the outer edge with ribbon for a polished, display-ready look.
Conclusion
To sum up, using an embroidery hoop for cross stitch can enhance your stitching experience by keeping your fabric taut and making your work easier. However, if you prefer a more flexible approach, stitching without a hoop is a viable option. For instance, if you're on a road trip, you might find it easier to stitch without a hoop. Ultimately, it's about what feels comfortable for you and what fits your stitching style!