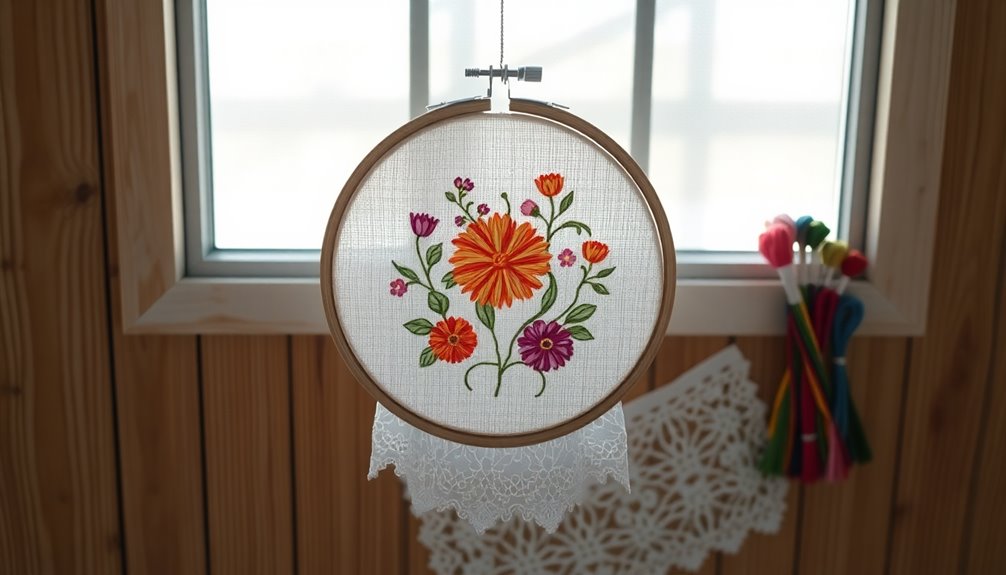

To hang your embroidery hoop the right way, start by ensuring it's level. Hold the hoop at a slight angle and use your non-dominant hand for better control. This way, you reduce wrist strain and improve visibility while stitching. Regularly check the fabric tension to keep it drum-tight, ensuring each stitch is precise. If you want to discover more tips and tricks to elevate your embroidery game, keep going further!
Key Takeaways
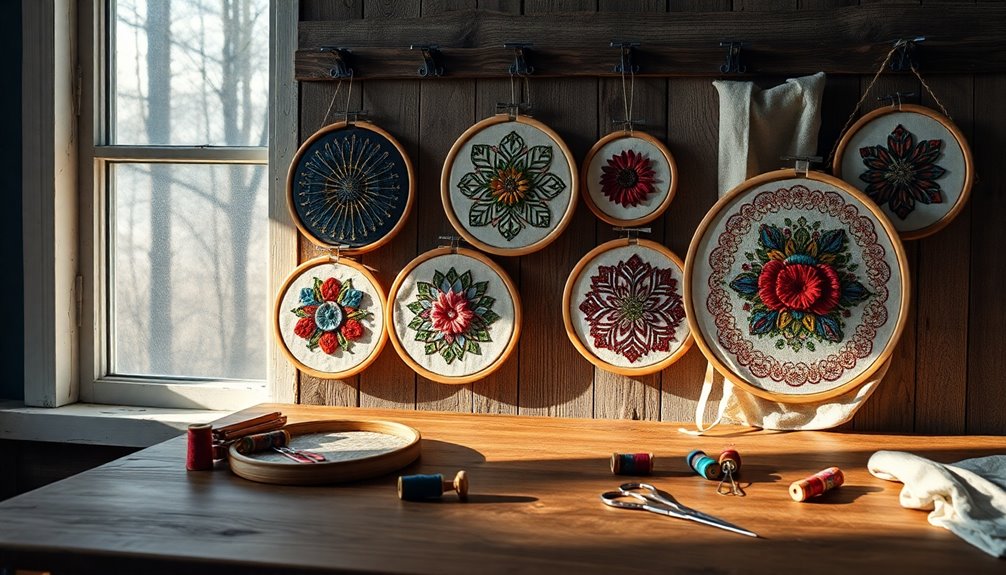
- Use a sturdy wall hook or pegboard to hang your embroidery hoops for easy access and organization while creating stunning designs.
- Consider hanging hoops with the fabric still mounted to showcase your progress and inspire creativity in your workspace.
- Use removable adhesive hooks for temporary setups, allowing you to rearrange your display as your projects evolve.
- Hang hoops at eye level to maintain good visibility and comfort while stitching, enhancing your overall embroidery experience.
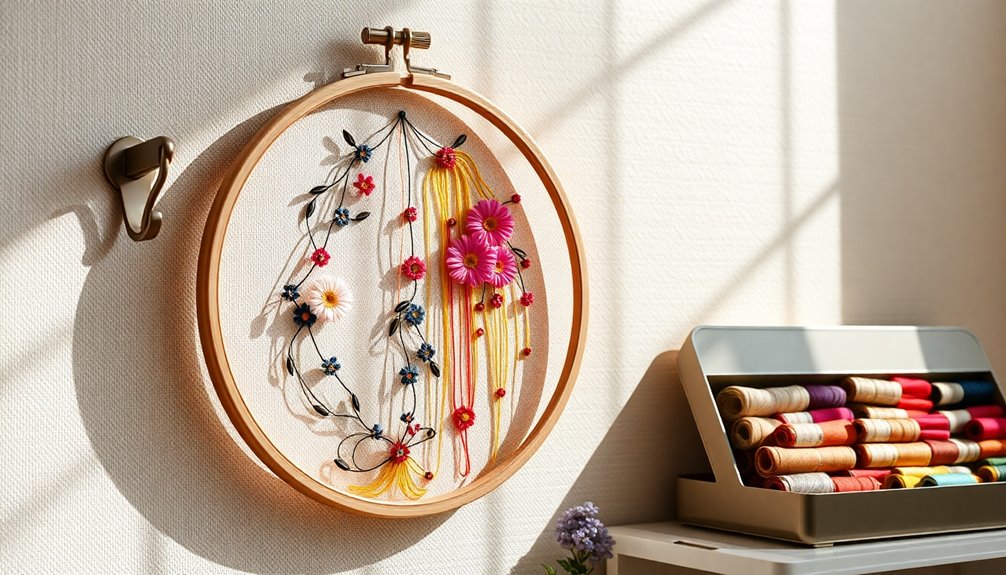
- Incorporate decorative elements like ribbons or fairy lights when hanging hoops to add a personal touch to your crafting space.
Understanding the Basics of Embroidery Hoops
Embroidery hoops are essential tools for anyone looking to create beautiful needlework. They consist of two concentric circular rings: the inner ring holds your fabric taut while the outer ring secures it in place. This setup is critical for achieving smooth, intricate designs.
When using a hoop, you need to maintain consistent tension, which allows for precise stitching. Proper fabric preparation, like washing, ironing, and using stabilizers, enhances your embroidery's quality by keeping the fabric smooth and supported.
Choosing the right hoop size is also important; it should match your project to guarantee the best results. Regular maintenance, such as loosening screws when not in use, is essential for preserving your hoops' functionality and extending their lifespan.
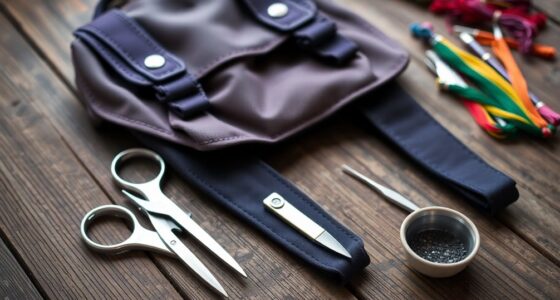
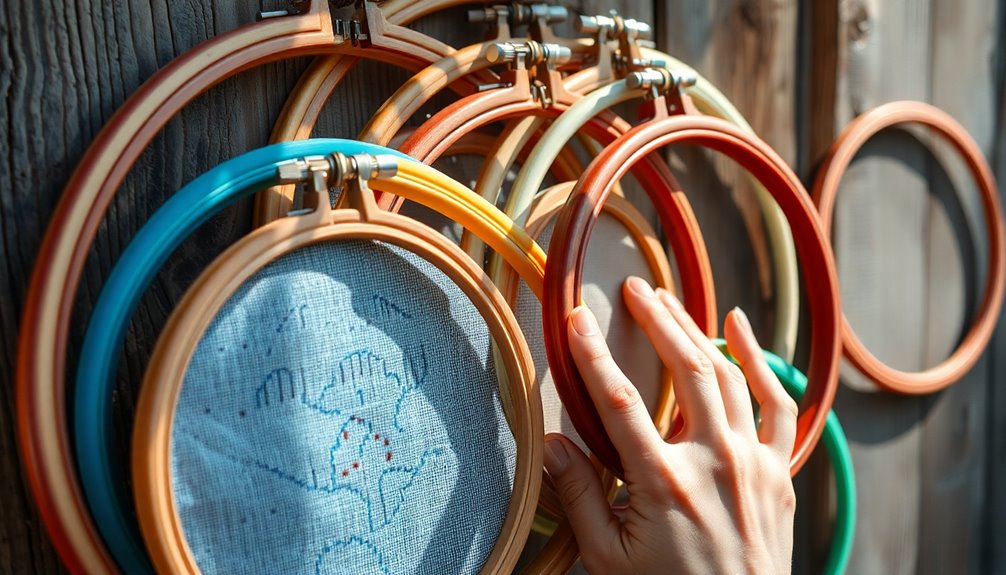
Selecting the Right Hoop for Your Project
Choosing the right hoop can greatly impact your embroidery experience and the quality of your final piece.
Start by considering the material; bamboo hoops are lightweight and eco-friendly, while metal hoops excel in tension control.
Select the hoop size based on your project, and having multiple sizes on hand allows for flexibility.
If you're working with heavier fabrics, opt for a thicker hoop (5/8 or 7/8 inch) to prevent sagging.
Pay attention to the hoop's shape—circular hoops are versatile, but square or rectangular hoops may be better for specific designs.
Finally, verify your hoop features an adjustable screw for tension control, which is essential for achieving precise and even stitching throughout your embroidery project. Additionally, ensuring emotional alignment with your creative process can enhance the overall enjoyment of your crafting experience.
Preparing Your Fabric for Embroidery
To achieve the best results in your embroidery projects, it's crucial to prepare your fabric properly. Start by washing and ironing your fabric to remove any sizing or wrinkles, ensuring a smooth surface.
Over 70% of embroiderers prefer natural fibers like cotton and linen for ideal results. To add crispness, consider using spray starch, which makes handling easier. Additionally, using a stabilizer underneath your fabric can be essential in maintaining tension and preventing puckering during stitching.
Mark the center and boundaries of your design area to guarantee accurate alignment in the hoop. Don't forget to use an appropriate stabilizer underneath your fabric to maintain tension and prevent puckering during stitching.
Finally, inspect your fabric for any imperfections or tears, as these can greatly affect the quality of your final embroidery design.
Techniques for Properly Mounting Fabric in the Hoop
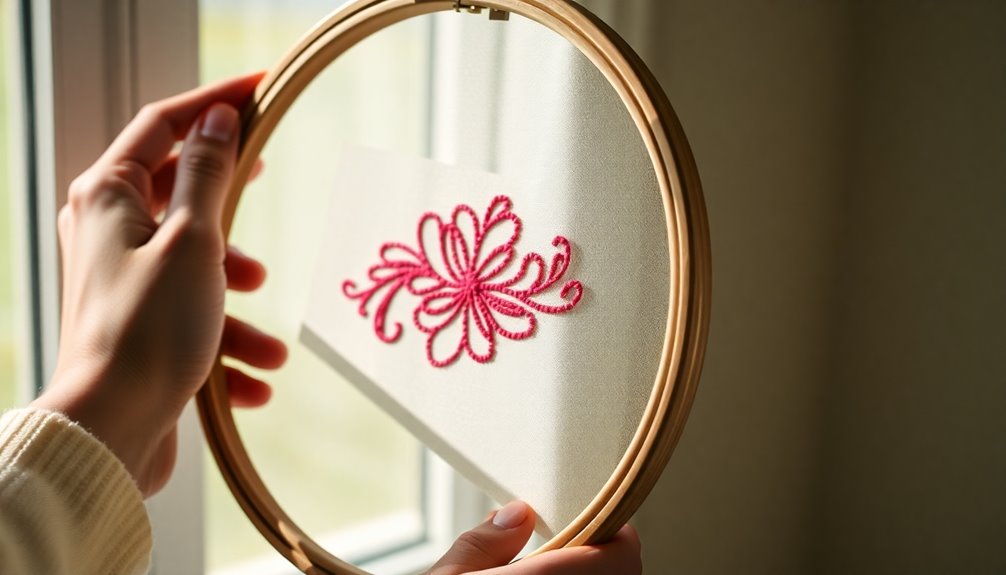
When mounting your fabric in the hoop, start by centering it accurately to guarantee your design aligns perfectly.
Achieving drum-tight tension is essential, as it helps prevent puckering during stitching.
Be aware of common mounting mistakes, so you can avoid them and achieve the best results.
Fabric Centering Techniques
Achieving perfect fabric centering in your embroidery hoop is essential for high-quality results, and it starts with marking the center of both your fabric and hoop.
Use a water-soluble pen for easy removal, a method preferred by nearly 60% of embroiderers. Loosen the screw and separate the inner hoop from the outer ring, then place your fabric over the inner ring, aligning it with the marked center for precise stitching.
As you position the fabric, regularly check its alignment to avoid misalignment issues. After aligning, tighten the screw gradually to keep the fabric taut.
Proper mounting techniques will greatly enhance your embroidery projects, ensuring clean and even stitches for stunning designs.
Achieving Drum-Tight Tension
While it might seem simple, achieving drum-tight tension in your embroidery hoop is crucial for flawless stitching.
Start by placing your fabric and stabilizer together in the hoop to guarantee the fabric is taut without distortion. Gradually tighten the hoop, aiming for a snug fit that allows for slight give when pressed.
To prevent slipping, consider using different types of hoops—high-quality hoops made from metal or bamboo can enhance tension control, with metal offering excellent support.
Regularly check and adjust the screw tension on your hoop, as this is fundamental for maintaining even stitches and achieving professional-looking results.
Using a hoop slightly larger than your design area can also help avoid hoop marks while keeping your fabric taut.
Common Mounting Mistakes
Many embroiderers overlook common mounting mistakes that can lead to frustrating results.
First, make sure your fabric is centered in the hoop by marking the center before placing it. This prevents misalignment during stitching.
When using different types of hoops, remember to loosen the screw and separate the inner and outer rings. Aim for drum-tight tension throughout by pulling the fabric taut as you tighten the hoop.
Additionally, consider using a stand for larger projects; a slightly larger hoop can help avoid marks.
Regularly check for signs of damage, like loose screws or worn-out rings, as these can compromise your embroidery results.
Addressing these issues will enhance your overall stitching experience.
Tips to Maintain Tension During Stitching
To keep your stitches looking perfect, mastering proper hoop tightening techniques is essential.
Consider the type of fabric you're using, as different materials require different tension adjustments.
Plus, maintaining a consistent hand position can make all the difference in achieving that drum-tight feel while stitching.
Proper Hoop Tightening Techniques
Properly tightening your embroidery hoop is essential for achieving flawless stitching. Start by ensuring your fabric is stretched drum-tight, allowing a tiny bit of give when pressed. This maintains tension without puckering, leading to professional-looking embroidery.
Use effective hoop tightening techniques and periodically check your tension as you stitch. Loosen the screw after each session to let fabric fibers relax, preventing permanent hoop marks.
For final tightening, a screwdriver can help, but remember to avoid over-tightening, as it can damage both the hoop and fabric. Additionally, consider binding the inner ring with cotton twill tape to enhance fabric tautness and protect against discoloration. Regularly checking your tension levels is key to a smooth stitching experience.
Adjusting tension regularly is key to a smooth stitching experience.
Fabric Type Considerations
When choosing fabrics for your embroidery projects, it's important to contemplate how each type will interact with your hoop and tension.
Fabric type considerations are key; heavier fabrics like canvas need thicker hoops (5/8 or 7/8) to maintain tension effectively, while lighter fabrics can use a 1/4 thick hoop. Proper tension is essential, so aim for a drum-tight fit without distortion.
A stabilizer beneath delicate materials adds support and helps prevent puckering, especially with stretchy fabrics. When shifting between fabrics, be mindful of their unique properties.
For slippery fabrics like silk, a sticky stabilizer can help maintain tension and prevent shifting, ensuring your stitching remains consistent throughout your project.
Regularly check tension as you stitch to avoid unevenness.
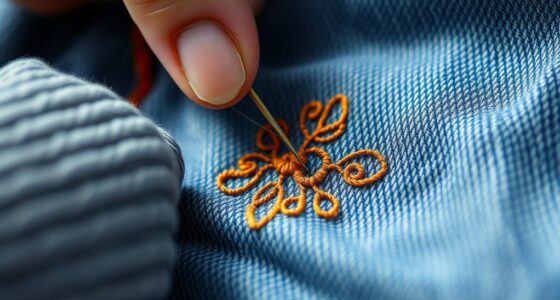
Consistent Hand Positioning
Maintaining consistent hand positioning is essential for achieving the desired tension while stitching. By holding the hoop in your non-dominant hand, you gain better control and visibility of your embroidered designs.
Position the hoop at a slight angle to reduce wrist strain, promoting a more comfortable experience that helps maintain consistent tension. Keep your fingers close to the fabric; this helps manage tension and prevents excessive pulling or slack, which can lead to uneven stitches.
Regularly check the fabric tension as you work—if it feels loose, gently adjust it in the hoop to keep that drum-tight feel.
Practicing different hand positions can lead to improved embroidery results and boost your confidence in your technique.
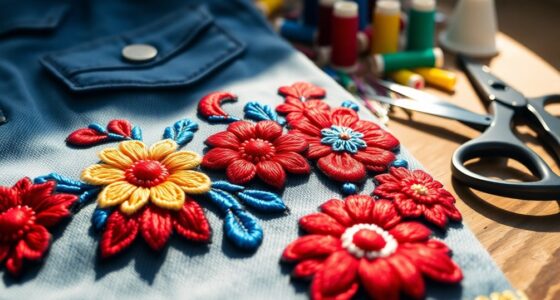
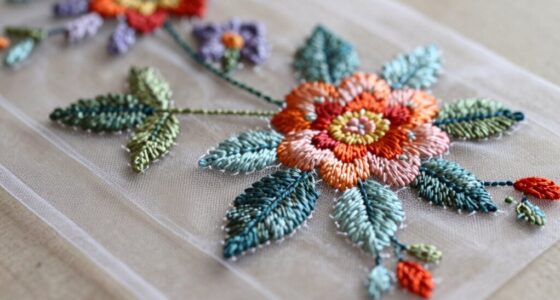
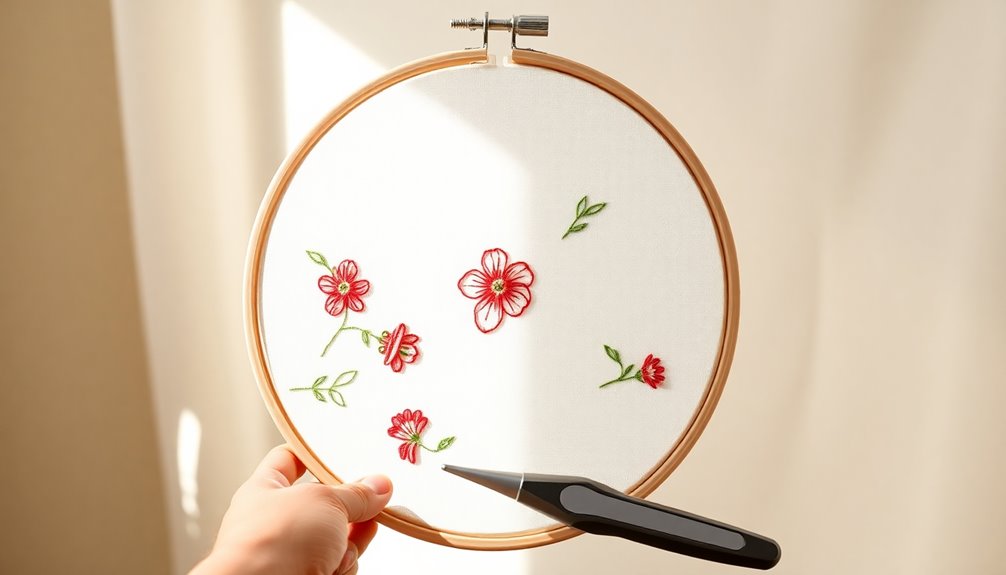
Advanced Techniques for Unique Designs
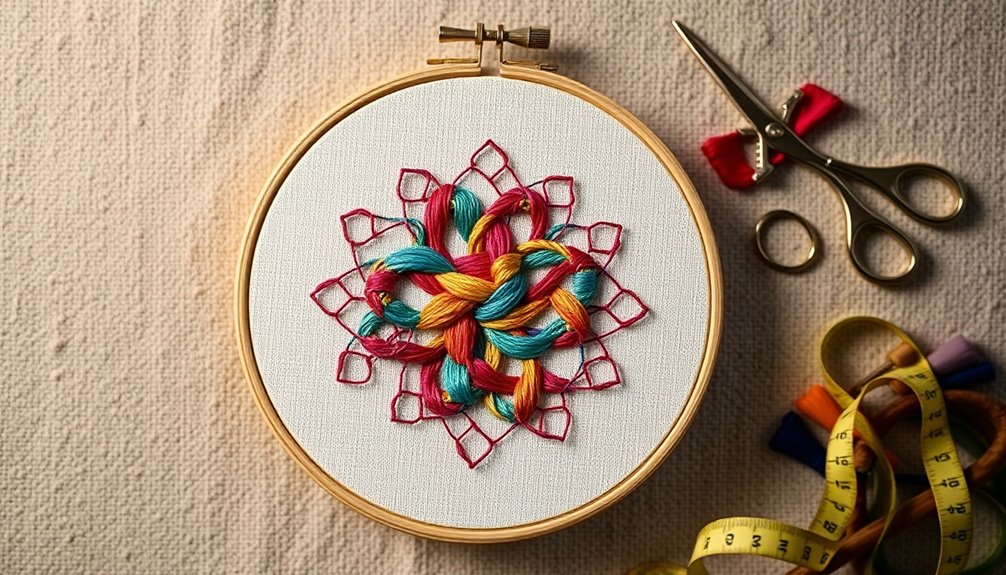
To create truly unique embroidery designs, you can explore advanced techniques that elevate your projects beyond the ordinary. Experimenting with overlapping hoops allows for multi-layered designs, adding depth and dimension. Incorporate stumpwork techniques to bring your designs to life with 3D effects. Use magnetic hoops for delicate materials, which minimizes fabric marks and guarantees precise placement. When preparing your fabric, consider using sticky stabilizers to keep slippery fabrics in place. Remember to practice with hoops of different sizes for various sections of larger projects to maintain stability.
| Technique | Benefits | Best For |
|---|---|---|
| Overlapping Hoops | Depth & dimension | Intricate designs |
| Stumpwork | 3D effects | Tactile art pieces |
| Magnetic Hoops | Precise placement | Delicate materials |
Caring for Your Embroidery Hoops
Caring for your embroidery hoops is essential for ensuring they remain in top condition and continue to enhance your crafting experience.
Start by regularly cleaning them with a soft, dry cloth to maintain their appearance and functionality.
When you're not using your hoops, be sure to loosen the screw to prevent continuous pressure on the fabric, which helps maintain the hoop's shape over time.
Inspect your hoops frequently for any signs of damage, as addressing issues promptly can prolong their lifespan.
Always store your embroidery hoops in a cool, dry place away from direct sunlight.
Finally, tighten loose screws on wooden hoops with a screwdriver to maintain proper tension and prevent fabric slipping during your projects.
Frequently Asked Questions
How Do You Position an Embroidery Hoop?
To position an embroidery hoop, you start by loosening the screw and separating the inner and outer rings.
Place your fabric over the inner ring, making sure it's centered and taut. Tighten the screw gradually to achieve drum-tight tension, which prevents puckering.
Use water-soluble pens or transfer paper to mark the fabric for accurate alignment.
If needed, add a stabilizer underneath for extra support and to keep everything in place during stitching.
What Is the Floating Method of Embroidery?
The floating method of embroidery involves placing your fabric on top of a stabilizer without using a hoop. This technique gives you more freedom of movement and reduces hoop marks, making it perfect for delicate fabrics.
To keep your fabric in place, you can use temporary adhesive or pins. This method also allows for easier access to larger designs, so you can achieve precise placement and better stitching quality without the constraints of a hoop.
How to Hang an Embroidery Hoop Without Nails?
You can hang your embroidery hoop without nails by using adhesive hooks or removable wall strips.
These options let you reposition or remove your hoop easily without damaging the walls.
Alternatively, consider using an embroidery hoop stand or easel for a freestanding display.
For a creative touch, thread colorful ribbons through the hoop and hang it from a decorative hook, adding style while keeping your fabric intact.
How Do You Embellish an Embroidery Hoop?
Think of your embroidery hoop as a blank canvas waiting for your creativity.
To embellish it, cover the outer ring with fabric scraps or decorative paper, adding a personal touch. You can glue on lace, ribbon, or buttons for texture.
For a rustic charm, incorporate dried flowers or twigs.
Don't forget to paint or stain the hoop in vibrant colors to match your decor, making it a stunning focal point in your project!
Conclusion
As you commence your embroidery journey, think of your hoop as a sturdy ship charting the vast ocean of creativity. By choosing the right materials, maintaining tension, and mastering techniques, you'll steer toward stunning designs. Just as a captain cares for their vessel, caring for your hoops guarantees they're always ready for the next adventure. So, hoist your sails, embrace the waves of inspiration, and let your needlecraft journey unfold with vibrant beauty!