
To remove embroidery from your nylon jacket, gather a seam ripper, small scissors, and tweezers. Start by evaluating the embroidery, then mark the stitches for clarity. Carefully loosen the stitches using the seam ripper, and once they're free, use tweezers to remove excess threads. Afterward, launder the jacket with mild detergent as directed. Proper care keeps your jacket looking great. Stick around for more expert tips on maintaining your nylon jacket's appearance!
Key Takeaways
- Use a seam ripper to carefully loosen stitches, starting at the edges to prevent damage to the nylon fabric.
- Mark the stitches with a fabric marker for clear visibility before beginning the removal process.
- After loosening, use tweezers to remove excess threads and ensure a clean finish.
- Launder the jacket with mild detergent to eliminate any adhesive residue and maintain its water resistance.
- Inspect the jacket post-wash for any remaining threads or damage, and store it properly to prolong its lifespan.
Understanding the Fabric: Nylon Jackets
Nylon jackets are popular for their durability and water-resistant features, making them ideal for various weather conditions. The synthetic polymer composition of nylon gives these jackets strength and elasticity, ensuring they resist tearing and abrasion.
When you're considering removing embroidery, you'll need to use gentle techniques to protect the integrity of the nylon fabric, which can be sensitive to sharp tools. Remember, the fabric type can affect your approach—lightweight jackets may require different methods than heavyweight ones.
Proper care and maintenance are essential, too; regular cleaning and appropriate storage will prolong your jacket's lifespan and preserve its appearance after embroidery removal. Treat your nylon jacket right, and it'll serve you well for years to come.
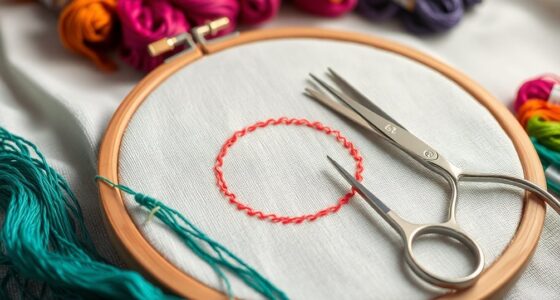
Tools and Materials You'll Need

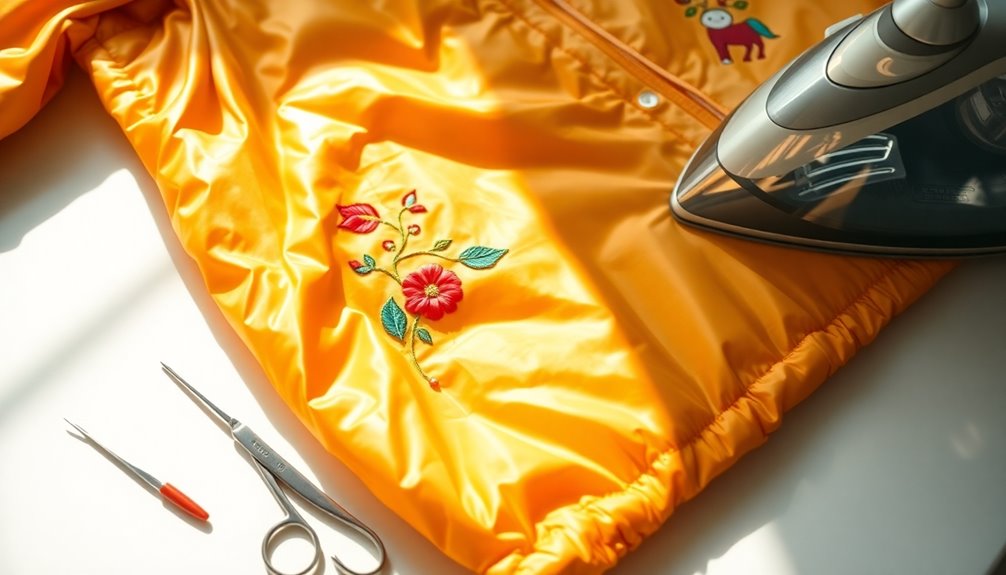
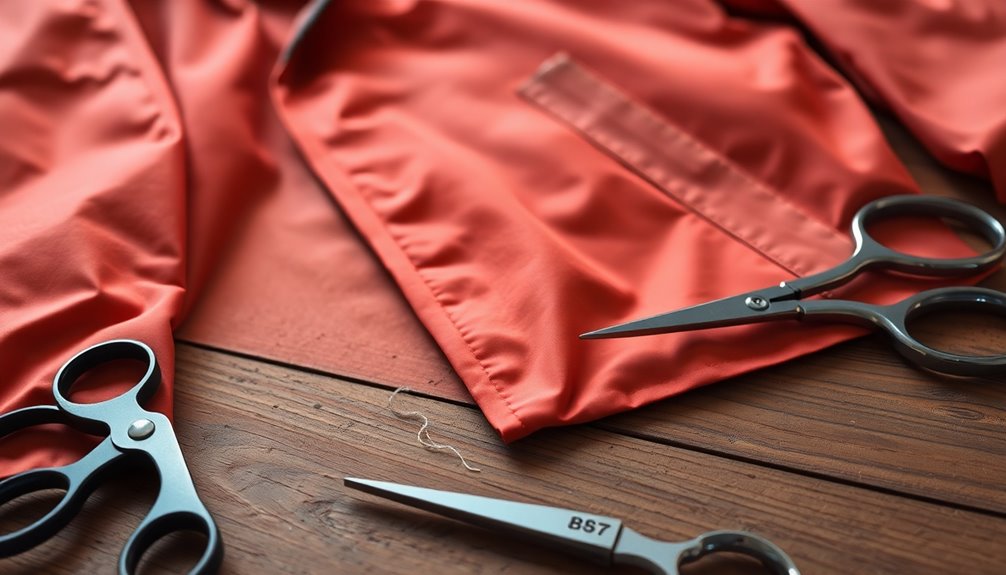
To successfully remove embroidery from your jacket, you'll need a few essential tools and materials. A seam ripper is vital for safely loosening and cutting the embroidery threads without damaging the nylon fabric.
For precision, small scissors will help you trim excess threads and access tight areas. Once you've loosened the stitches, tweezers are handy for carefully removing any leftover threads.
To guarantee accuracy during the removal process, use a fabric marker or chalk to mark the stitches clearly.
After removing the embroidery, a mild detergent is recommended for laundering the jacket, as it helps eliminate any adhesive residue while maintaining the fabric's integrity.
With these tools, you'll be well-prepared for the task ahead.
Step-By-Step Guide to Removing Embroidery From Nylon Jackets
Removing embroidery from your nylon jacket can be a straightforward process if you follow the right steps.
Start by using a seam ripper or small scissors to carefully loosen stitches, beginning at the edges of the embroidery design. This minimizes fabric damage.
Once the stitches are loosened, use tweezers to remove any excess threads for a thorough clean-up.
After you've successfully removed the embroidery, launder the jacket according to the manufacturer's instructions to eliminate any adhesive residue or leftover threads.
Always remember to test any cleaning methods on a small, inconspicuous area first to prevent potential damage.
If you're unsure about tackling this yourself, don't hesitate to seek professional help for best results.
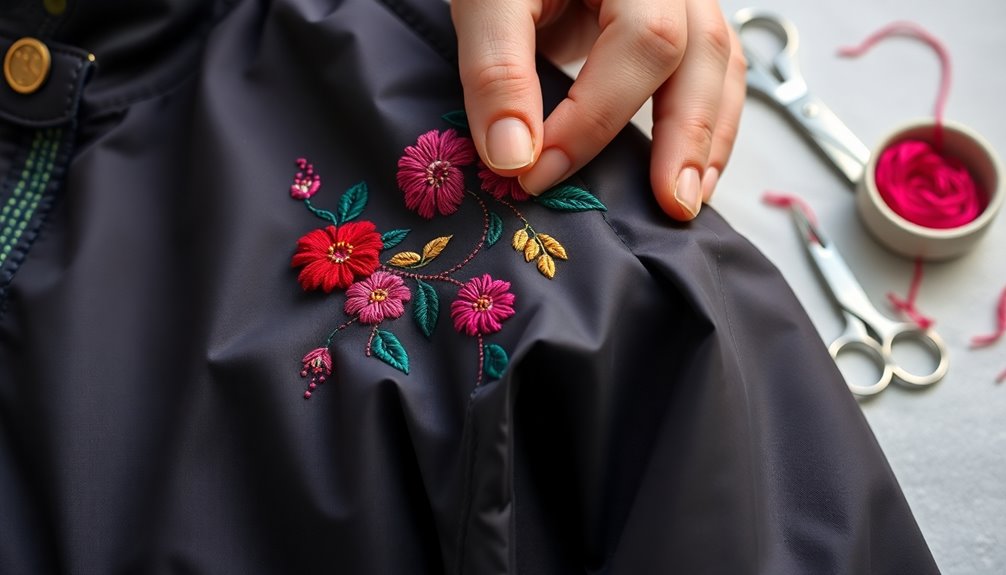
Assess the Embroidery
Before diving into the task, take a moment to assess the embroidery on your jacket. Start by closely examining the stitching pattern, density, and thread type; this helps you decide the best removal strategy. Identify the fabric type of your nylon jacket, as its durability and elasticity can influence your approach. Check for any stabilizers or backing materials that might need removal first. Look at the edges of the embroidery design to locate the starting point for unpicking stitches effectively. Finally, note any potential damage areas around the embroidery, which is essential for planning a careful removal.
| Aspect | Importance |
|---|---|
| Stitch Pattern | Determines removal method |
| Fabric Type | Affects durability during removal |
| Damage Areas | Guides careful removal strategy |
Mark the Stitches
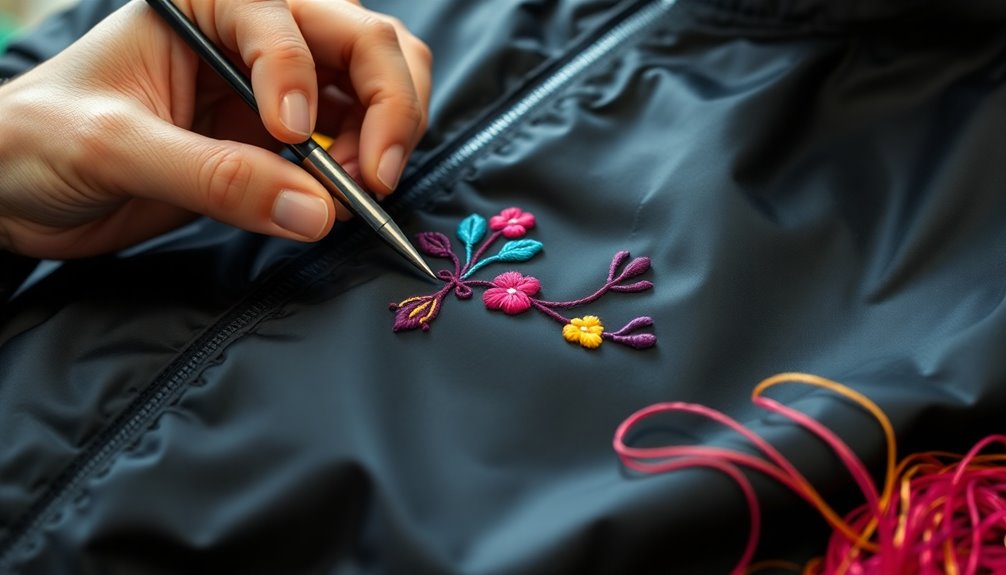
As you prepare to remove the embroidery, marking the stitches is an essential step that can streamline the process. Use a fabric marker or chalk to gently mark the stitches on your nylon jacket, ensuring your markings are clear and visible.
This will serve as a guide during the removal process, helping you identify which threads need cutting or unpicking. Be careful not to apply excessive pressure, as this could damage the fabric.
If the stitches are intricate or closely spaced, consider using a magnifying glass or headlamp for better visibility. Before you start the removal, double-check your markings for accuracy to minimize the risk of cutting the wrong threads.
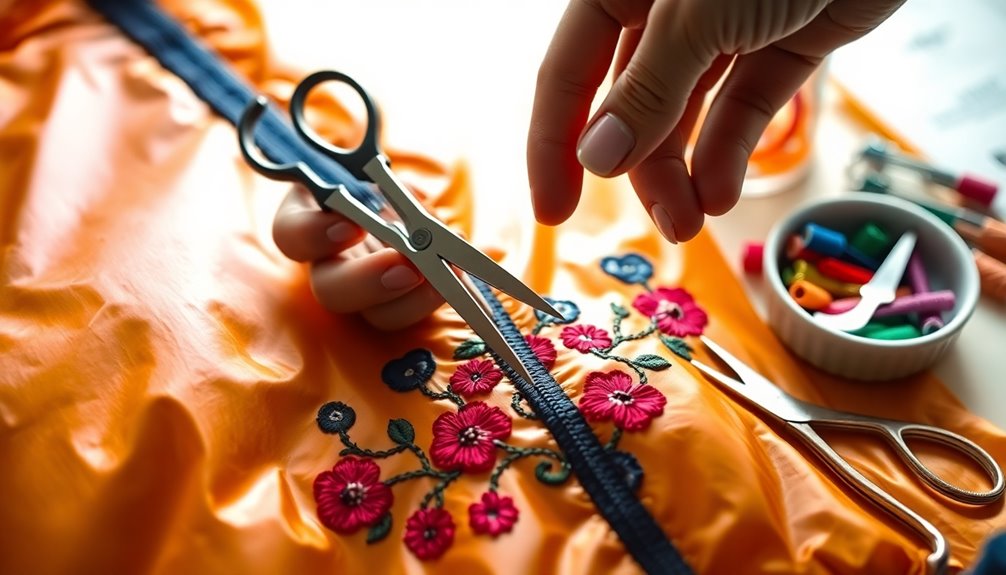
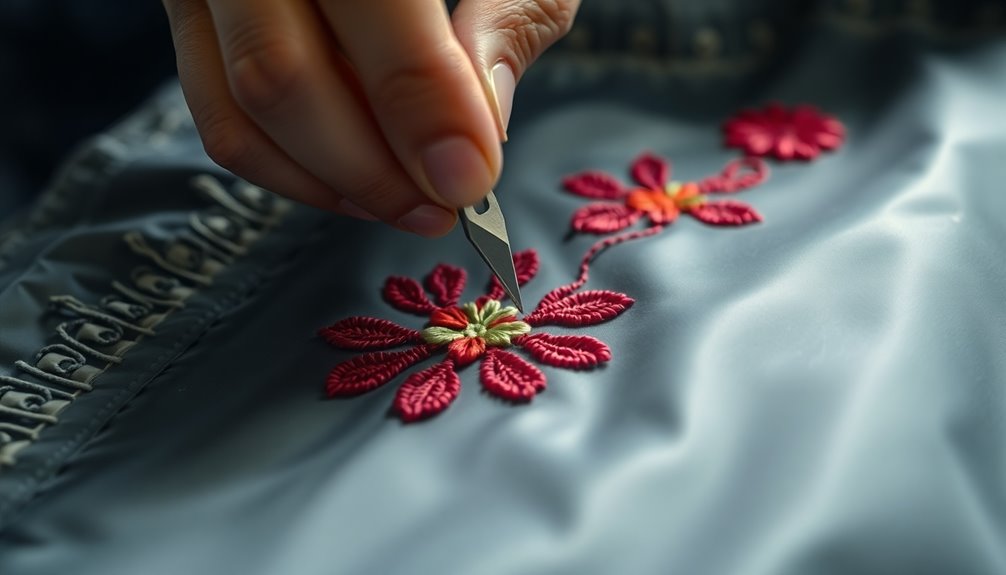
Loosen the Stitches
To loosen the stitches, you need to assess the stitch construction before starting.
Grab a seam ripper and tweezers for the task, as these tools will help you work efficiently without damaging your nylon jacket.
Make sure to cut a few stitches at a time, so you maintain control throughout the process.
Assess Stitch Construction
When you assess the stitch construction of the embroidery on your nylon jacket, you'll get a clearer idea of how to loosen it effectively.
Start by examining the design to identify the type of stitches used. Use a seam ripper to gently insert under the stitches at the edges, carefully lifting without damaging the nylon fabric.
Work in small sections, cutting only a few threads at a time to minimize the risk of pulling or tearing. If the stitches are tightly sewn, consider applying steam from an iron to relax the threads before loosening them.
Maintain a steady hand and take your time; rushing can lead to fabric snags or unintended damage as you remove embroidery.
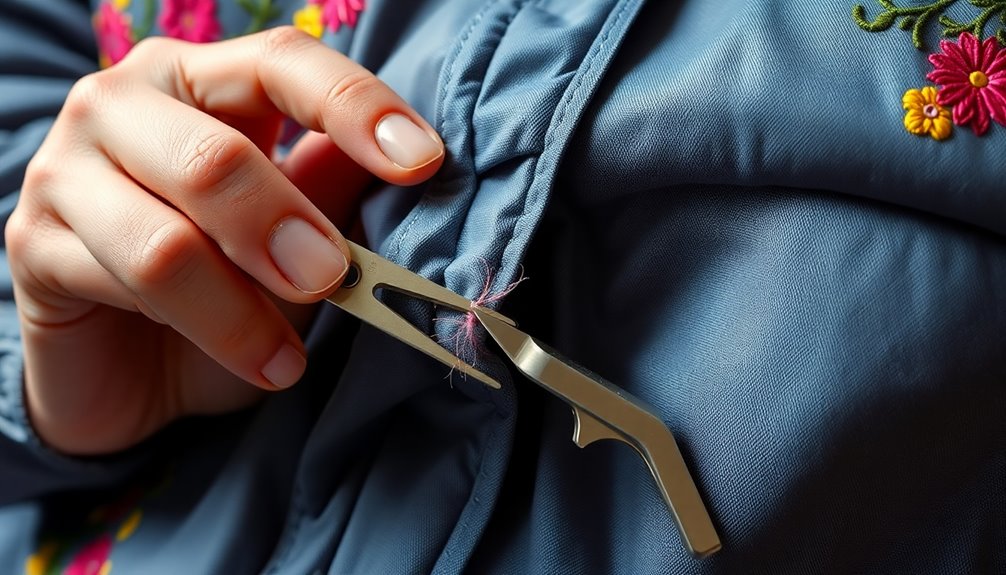
Select Appropriate Tools
Selecting the right tools is essential for effectively loosening embroidery stitches on your nylon jacket. Using the appropriate equipment guarantees precision and minimizes the risk of fabric damage.
Consider these essential tools:
- Seam ripper – Perfect for carefully cutting through stitches without harming the nylon fabric.
- Small scissors – Ideal for a clean cut, allowing you to navigate tight spaces easily.
- Tweezers – Useful for pulling out frayed threads after cutting, guaranteeing all remnants are removed.
Before you start, assess the stitch density to determine your approach. Additionally, ensure you regularly check and clean filters in your air purifier to maintain optimal performance in your workspace.
Work slowly and carefully, beginning at the edges of the embroidery. This method will help you successfully remove embroidery while maintaining the integrity of your jacket. Take your time to snip away the threads with precision, ensuring you don’t cut any of the underlying fabric. If you’re unsure about where to start, consider researching how to remove embroidery easily, as there are various techniques and tools that can assist you in the process. Once you’ve removed the embroidery, inspect the area for any remaining threads, and gently pull them out to achieve a clean finish.
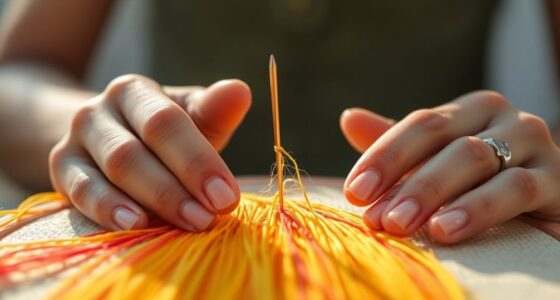
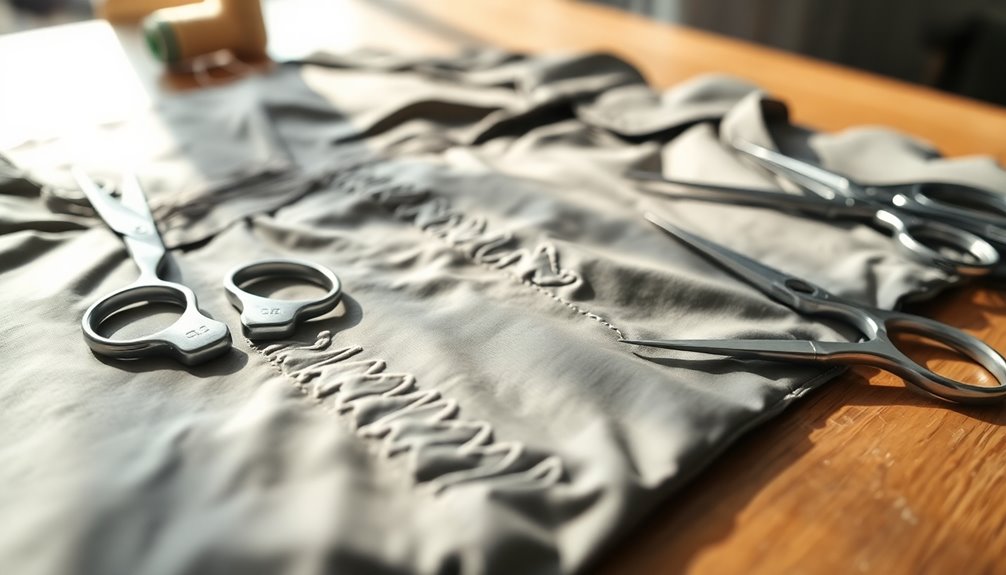
Remove Excess Threads
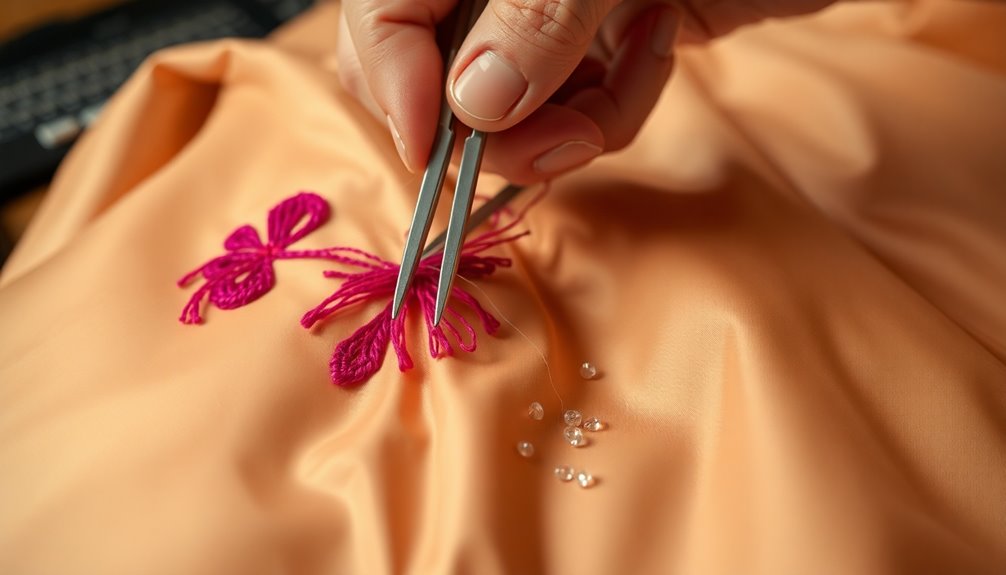
Removing excess threads from your nylon jacket is a crucial step after taking out the embroidery.
Start by inspecting the area carefully for any remaining threads that might've been overlooked. Use your tweezers to grip and gently pull out these threads without snagging the delicate nylon fabrics.
It's important to work slowly and methodically, allowing yourself breaks if needed to maintain focus. For tiny threads, consider using a magnifying glass or headlamp for better visibility and avoid damage.
After you've removed excess threads, gently rub the area with a clean lint roller to pick up any loose fibers.
With careful consideration and the right tools on hand, you can guarantee your jacket looks neat and tidy.
Launder the Jacket
Laundering your nylon jacket is essential to restore its fresh appearance after removing embroidery. Follow these steps to guarantee the best results:
- Use a mild detergent and cold water to prevent any potential damage from heat or harsh chemicals.
- Always check the manufacturer's care label for the correct washing temperature and cycle settings to maintain fabric integrity.
- After washing, air dry the jacket completely to avoid shrinkage or distortion of the fabric.
Make certain to inspect the jacket post-wash for any remaining adhesive residue or damage that may need further attention.
Avoid fabric softeners, as they can affect the water-resistant properties of the nylon material, guaranteeing your jacket stays in top condition.
Tips for Maintaining Nylon Jackets
Maintaining your nylon jacket is essential for keeping it looking great and extending its lifespan. Regular cleaning will prevent dirt and stains from settling in. Always use a mild detergent and cold water for washing. Store your jacket in a cool, dry place away from direct sunlight to maintain its color. To restore waterproofing, apply a fabric waterproofing spray after cleaning. For stubborn stains, consider professional cleaning services that specialize in nylon fabrics. Always adhere to the care instructions provided by the manufacturer for ideal maintenance.
| Tip | Details |
|---|---|
| Clean Regularly | Use mild detergent and cold water |
| Store Properly | Keep in a cool, dry place |
| Restore Waterproofing | Apply fabric waterproofing spray |
| Seek Professional | For tough stains, use expert services |
Frequently Asked Questions
How to Remove Embroidery From a Nylon Jacket?
To remove embroidery from your nylon jacket, start by examining the stitching pattern.
Grab a seam ripper or small sharp scissors to carefully loosen the stitches, beginning at the edges.
Take your time to avoid damaging the fabric.
Once you've loosened the stitches, use tweezers to pull out any remaining threads.
Finally, launder your jacket according to the care instructions to remove any adhesive or thread remnants.
Always test your method on a hidden area first!
Can Embroidery Be Removed Without Damage?
Yes, you can remove embroidery without damaging the fabric, but it requires care.
Use a seam ripper to cut threads gently, avoiding any excessive pulling.
Consider freezing the jacket to make adhesive brittle, which aids in removal.
Alternatively, apply steam with a damp cloth to soften the threads.
Keep inspecting the fabric as you work to catch any potential damage early, ensuring you maintain the integrity of your nylon jacket.
Can Dry Cleaners Remove Embroidery?
Did you know that around 60% of people trust dry cleaners for specialty fabric care?
Yes, dry cleaners can definitely remove embroidery from your garments. They've got the expertise and tools, like steam or solvent methods, to safely detach designs without damaging the fabric.
Just make sure to tell them about the specific fabric and embroidery type. Remember, some may charge extra for this service, so it's wise to ask about costs beforehand.
Will Removing Embroidery Leave Holes?
Removing embroidery can leave holes, especially if the threads were tightly stitched or the fabric's delicate.
You might notice small holes depending on the embroidery's density and stitching technique.
If you're careful and use sharp tools with gentle pressure, you can minimize damage.
Testing your method on a hidden area first can help you see potential issues before you fully commit.
Consider decorative patches or re-embroidery for larger holes as a solution.
Conclusion
Now that you've mastered the art of removing embroidery from your nylon jacket, you can breathe new life into it, just like a phoenix rising from the ashes. With a little patience and the right tools, you've transformed your jacket back to its original glory. Remember to care for your nylon fabric, keeping it as vibrant as ever for your next adventure. So go ahead, wear it proudly, and let it tell your story anew!