
If you want your embroidery to stand out like a masterpiece, mastering precise design placement is key! Using transparent templates guarantees your fabric is hooped straight and centered. Techniques like 2-Point and 4-Point Placement let you fine-tune your designs for perfect alignment. Don't forget to activate your motif center and utilize laser guides for accuracy. By focusing on these simple tricks, your projects will look professional and enchanting. Discover more tips to elevate your embroidery game!
Key Takeaways
- Use transparent templates to ensure accurate design placement, enhancing the overall professionalism of your embroidery.
- Activate the motif center for precise alignment, ensuring your design is perfectly centered on the fabric.
- Utilize advanced placement functions like 2-Point and 4-Point Placement for fine-tuning designs and correcting hooping inaccuracies.
- Incorporate a variety of stitches and contrasting thread colors to add texture and visual interest to your embroidery.
- Regularly assess design alignment and experiment with layering techniques for captivating patterns and unique finishing touches.

BENECREAT 4Pcs Acrylic Sashiko Stencil, Dots, Lines, Arcs, Slashes Acrylic Embroidery Tool Drawing Line Template for Hand Quilting and Embroidery, 2.5mm Thick
Package Includes: You will receive 4pcs acrylic templates with traditional patterns – dots, lines, arcs, slashes patterns for…
As an affiliate, we earn on qualifying purchases.
As an affiliate, we earn on qualifying purchases.
Understanding Design Placement Techniques
When it comes to embroidery, mastering design placement techniques can make all the difference in your projects.
First, using a transparent embroidery template guarantees your fabric is hooped straight, allowing precise design placement within the embroidery area. After hooping, activate the motif center to make adjustments, ensuring your design is accurately centered.
Advanced placement functions like 2-Point and 4-Point Placement enable you to align and rotate designs perfectly for specific project shapes. Additionally, the laser feature acts as a visual guide, making stitch placement easier without manual adjustments.
Finally, always check your design size and position using absolute check and zoom view features to confirm everything fits and is positioned correctly before you start stitching.

ZOCONE Beech Wood Adjustable Rotated Embroidery Hoop Stand with 2 Pcs 6'' 8'' Embroidery Hoops, Wooden Embroidery Stand, Embroidery Hoop Holder for Cross Stitch and Embroidery Project (A)
UPGRADED EMBROIDERY FRAME STAND & 2 HOOPS: The set comes with 1 wood lap frame, 1 step-by-step installation…
As an affiliate, we earn on qualifying purchases.
As an affiliate, we earn on qualifying purchases.
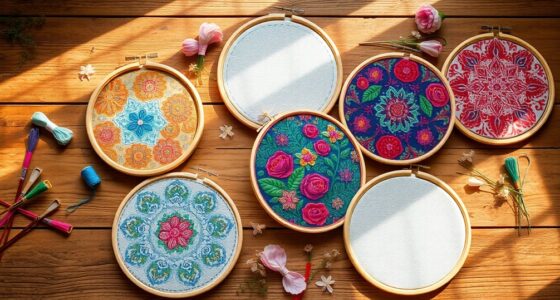
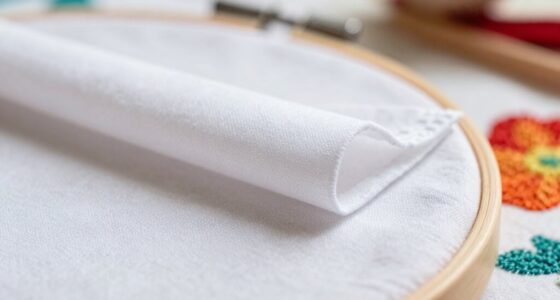
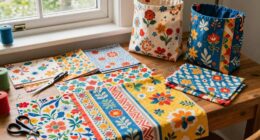
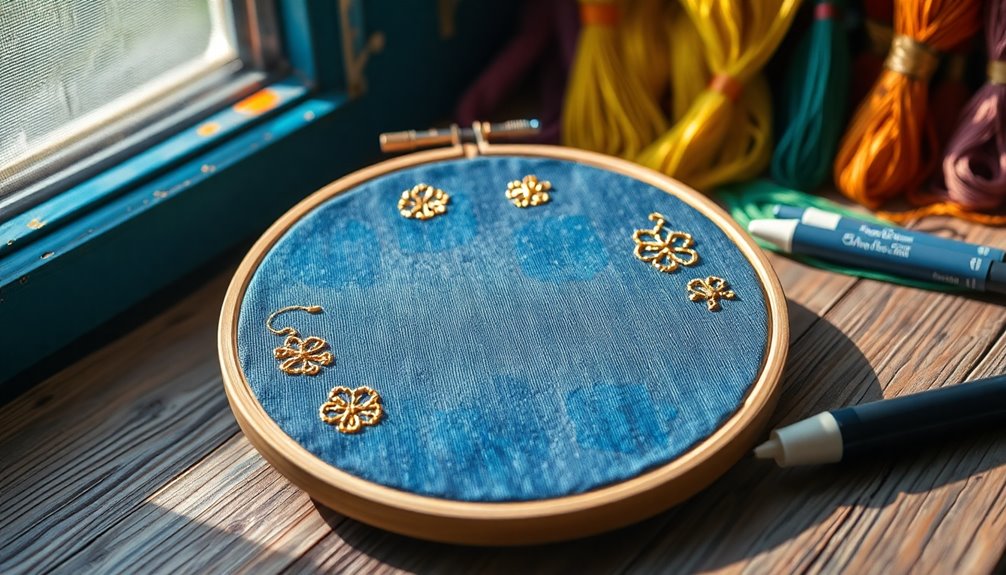
The Importance of Transparent Templates

Transparent templates are essential tools in embroidery, offering a clear guide that simplifies design placement on fabric. They help you center and position your designs accurately, ensuring your fabric is hooped straight for precise placement.
With transparent templates, you can easily see the center and outer limits of your embroidery area, which is vital for achieving a professional look. These templates also enhance your ability to align motifs, letting you adjust and reposition designs as needed.
Plus, the visibility they provide greatly improves the overall quality of your finished embroidery. By using transparent templates, you'll make sure your designs are centered and properly placed, resulting in a masterpiece you can be proud of!

Perfect Placement Kit for Machine Embroidery Design Placement
MACHINE EMBROIDERY DESIGN PLACEMENT TEMPLATES – Includes 11 templates for linens, 4 templates for wearables
As an affiliate, we earn on qualifying purchases.
As an affiliate, we earn on qualifying purchases.
Utilizing the 2-Point Placement Function
To achieve precise alignment in your embroidery projects, utilizing the 2-Point Placement function is key. This feature allows you to select two points on your fabric, ensuring accurate positioning of your design.
It compensates for any inaccuracies that might occur during the hooping process, helping maintain your design's intended placement. By activating the 2-Point Placement, you can easily rotate and adjust your design to fit perfectly within the embroidery area.
When you use the laser feature alongside 2-Point Placement, you'll achieve more accurate stitch placement without tedious manual adjustments. This function is particularly beneficial for complex designs, guaranteeing every detail is positioned exactly where you want it on the fabric, making your embroidery truly stand out.

Vowlove Tshirt Ruler Guide for Vinyl Alignment, T Shirt Ruler to Center Designs Alignment Tool for Embroidery Left Chest Logo Placement Tee Shirt Guide Ruler for Heat Press T-Shirt Printing Guide Set
Game Changer For Shirt Making: Make placing your HTV and sublimation easier & more consistent. Simply line it…
As an affiliate, we earn on qualifying purchases.
As an affiliate, we earn on qualifying purchases.
Mastering the 4-Point Placement Function
When you master the 4-Point Placement function, you gain the ability to fine-tune your embroidery designs with precision.
This feature not only helps you correct any hooping inaccuracies but also makes your designs adaptable to different project sizes.
Let's explore how understanding its functionality can enhance your design accuracy and improve your overall embroidery results.
Understanding Placement Functionality
Mastering the 4-Point Placement function can transform your embroidery projects by guaranteeing designs fit perfectly every time. This feature lets you adjust and rotate your embroidery design with precision, utilizing reference points at the corners to align it accurately.
By compensating for any inaccuracies during hooping, you can achieve a flawless look. Activating the 4-Point Placement provides a visual guide, allowing you to maintain consistent positioning throughout your projects.
This function not only enhances the design's versatility but also guarantees that it accommodates various fabric dimensions effectively. When you utilize the 4-Point Placement, you greatly improve the overall appearance of your finished piece, making sure your designs are centered and aligned with utmost precision.
Enhancing Design Precision
Achieving design precision in embroidery is essential for creating professional-looking projects, especially when you leverage the 4-Point Placement function. This feature allows you to align your embroidery designs with remarkable accuracy by adjusting the shape to fit your project.
Utilizing reference points at the corners, you can easily rotate and move your design for optimized placement within the embroidery area. By activating the 4-Point Placement function, you can compensate for any inaccuracies in hooping, enhancing the overall precision of your design execution.
The laser feature provides visual confirmation of stitch placement, eliminating guesswork and considerably reducing the time spent on rehooping. Streamline your embroidery process and elevate your artistry with this powerful tool!
Practical Application Tips
To effectively utilize the 4-Point Placement function, start by ensuring your fabric is hooped correctly, as this sets the foundation for precise design alignment.
This function lets you align and rotate designs by selecting each of the four corners, making adjustments for any hooping inaccuracies.
After hooping, activate the 4-Point Placement with multifunction knobs to reposition the design, ensuring it's centered and aligned.
The laser feature acts as a visual guide, helping you achieve accurate stitch placement with minimal manual adjustments.
Incorporating this method streamlines your embroidery process, particularly for larger, more complex designs, ensuring that every stitch is perfectly positioned without the hassle of rehooping.
Additionally, maintaining a clean air quality in your workspace can enhance focus and creativity, making your embroidery projects even more enjoyable.
Follow these embroidery tips to elevate your projects!
Activating the Motif Center for Precision
When you activate the motif center after hooping your fabric, you can guarantee that your design is perfectly centered on your project. This feature allows for precise repositioning, ensuring your embroidery is spot on.
As the cursor moves from the beginning to the center of the design, you can make accurate adjustments using the multifunction knobs. To further verify alignment, the grid function helps you check your points, enhancing accuracy in your work.
This technique compensates for any inaccuracies during the hooping process, making it invaluable, especially for intricate designs or larger projects. By mastering the motif center, you'll elevate your embroidery and achieve professional-looking results every time you pick up that embroidery hoop.
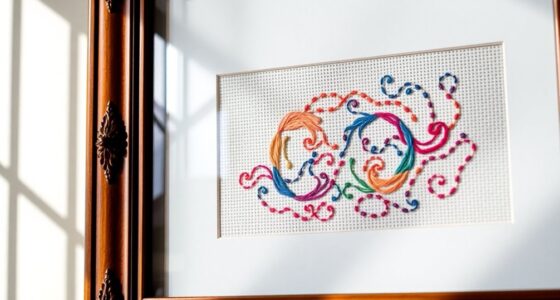
Incorporating Laser Features for Accuracy
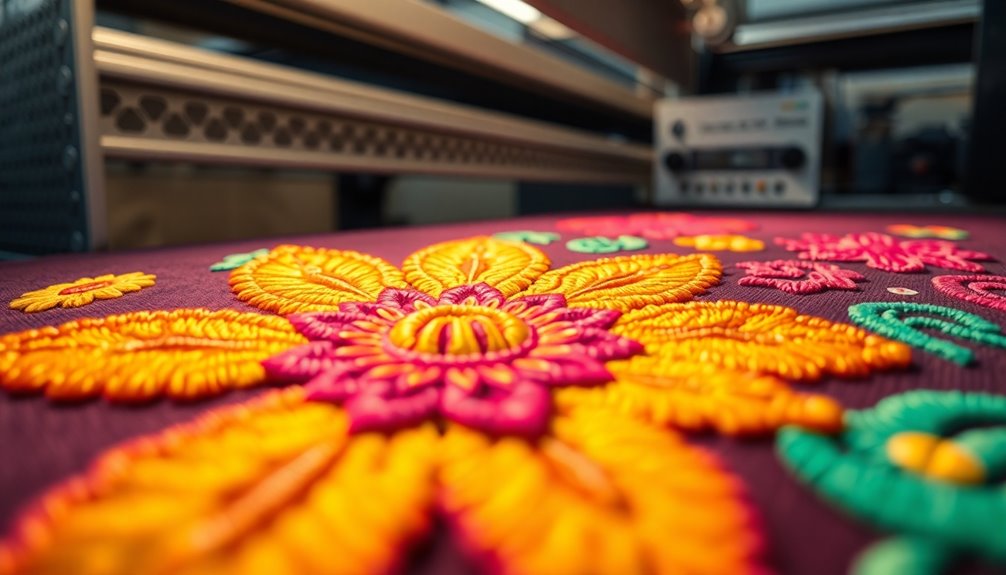
Incorporating laser features into your embroidery process can dramatically enhance your accuracy and efficiency. With laser technology, you can visually align your designs, ensuring precise stitch placement without the hassle of manual adjustments.
The laser projects a guide directly onto your fabric, so you can center and position your design perfectly before you start stitching. Many modern machines, like the BERNINA Mega Hoop, utilize this feature to mark reference points for endless embroidery, making rehooping easier than ever.
Plus, you can adjust the design shape and orientation on-screen, giving you real-time visual feedback. By integrating laser features into your projects, you'll reduce errors and greatly improve the quality of your embroidery stitches, resulting in a professional-looking finish.
Tips for Aligning Intricate Designs
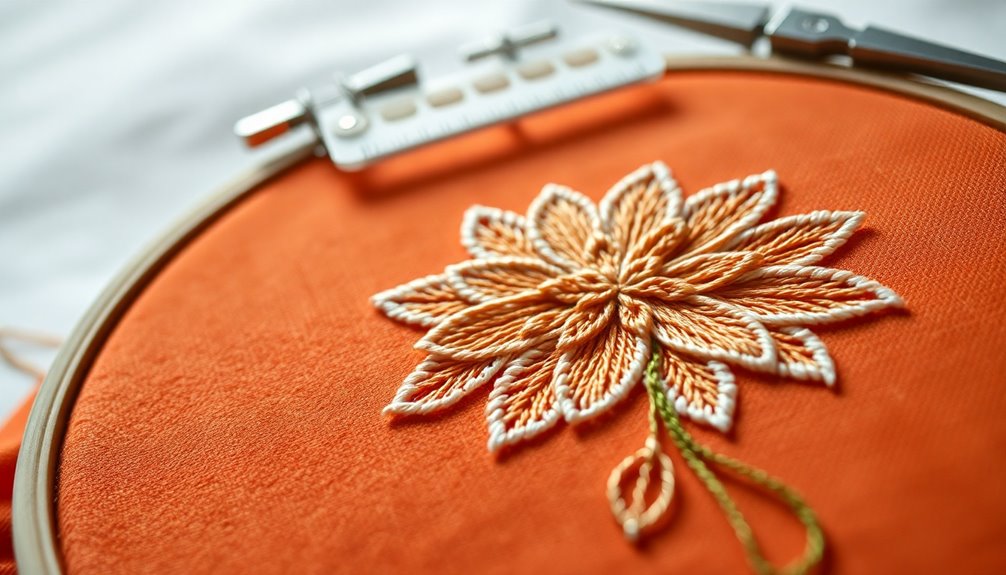
Aligning intricate designs can be challenging, but with the right techniques, you can achieve precise results.
Start by using a transparent embroidery template to guarantee your fabric is hooped straight and that the design is centered accurately. After hooping, activate the motif center to reposition your design using multifunction knobs, guaranteeing every detail aligns perfectly.
Employ the 2-Point Placement function to rotate designs as needed, which is especially useful for intricate patterns. Additionally, the laser feature allows for accurate stitch placement without any guesswork.
Don't forget to regularly check the design size and position using the check symbol and by tracing the outline. These tips and tricks will help your embroidery stand out beautifully!
Common Mistakes to Avoid in Placement
While it might seem simple, improper placement can greatly impact your embroidery results. One common mistake is failing to hoop your fabric straight and taut. This can lead to misalignment during stitching.
Use the transparent template that comes with your embroidery hoop to find the center and outer limits of your design area accurately. After hooping, activate the motif center to reposition your design precisely with multifunction knobs.
Regularly check the design size and position using the check symbol in the information window to guarantee it fits within the embroidery area.
When rehooping, maintain reference point alignment and confirm it with a green checkmark before proceeding to transfer an embroidery, avoiding discrepancies in placement that can ruin your project.
Enhancing Your Embroidery With Perfect Alignment

Achieving perfect alignment is essential for elevating your embroidery projects, as even the smallest misplacement can detract from the overall design. You can utilize a transparent embroidery template to guarantee your fabric is hooped straight and aligned correctly. Activating the motif center after hooping helps you reposition your design accurately. Advanced placement functions like 2-Point and 4-Point Placement enhance your accuracy in positioning. Plus, the laser feature in some machines allows for precise stitch placement without manual adjustments.
| Tool/Feature | Benefit | Tips |
|---|---|---|
| Transparent Template | Guarantees straight hooping | Always measure fabric |
| Motif Center | Accurate repositioning | Double-check alignment |
| Advanced Placement | Enhanced design accuracy | Experiment with adjustments |
| Laser Feature | Precision without manual tweaks | Use for complex designs |
With these tools, your embroidery art will shine!
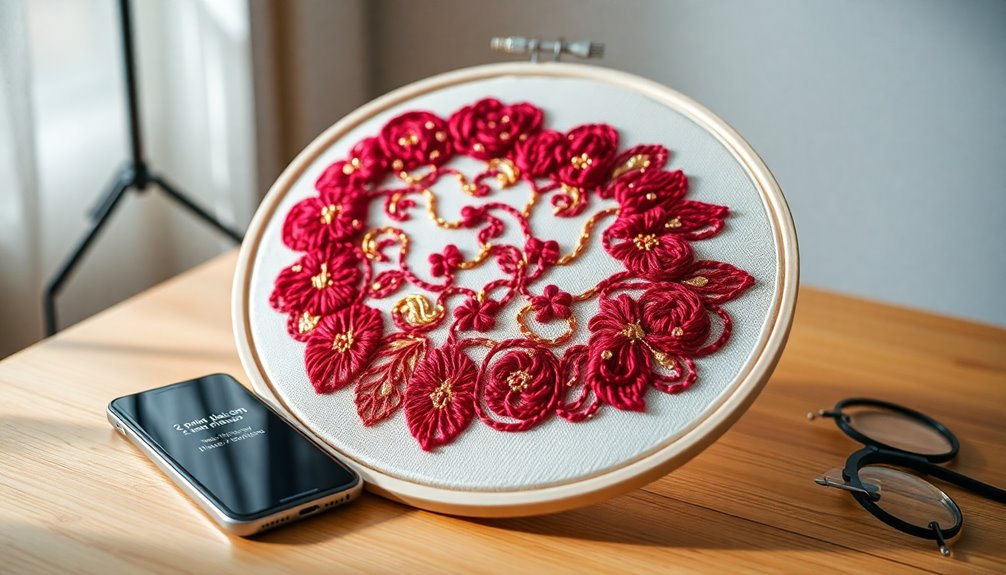
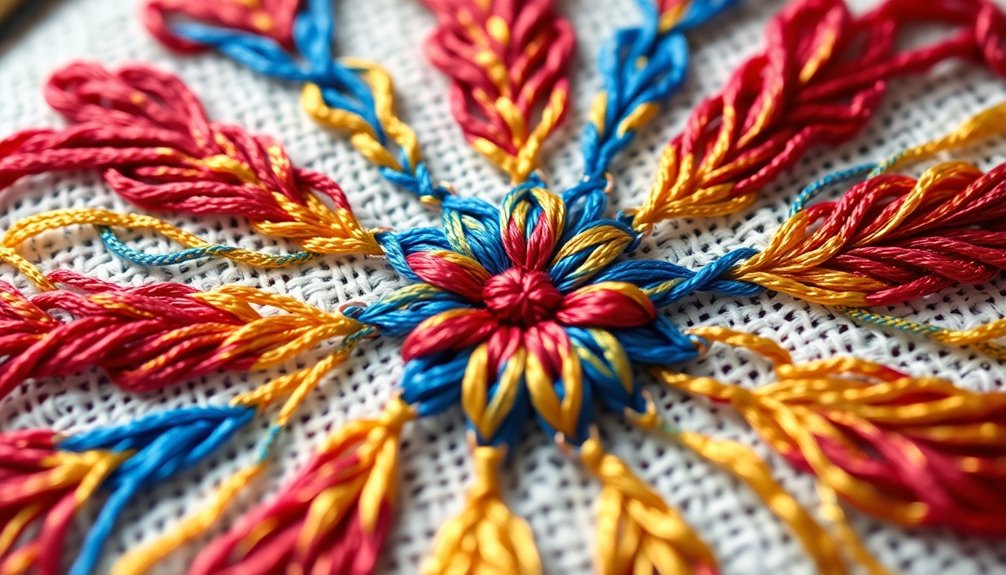
Transforming Your Projects Into Stunning Works of Art
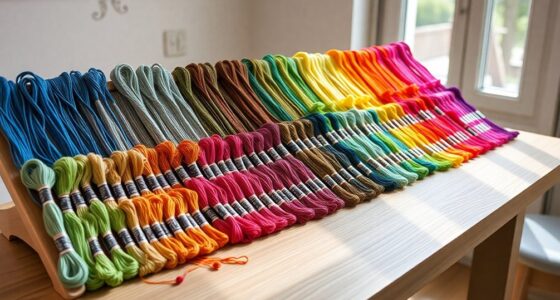
To transform your embroidery projects into stunning works of art, consider incorporating a variety of stitches and techniques that enhance texture and visual appeal.
Use stitches like couching and chain stitches to add dimension, making your designs unique. Opt for contrasting thread colors to create bold statements that elevate your overall aesthetic.
Don't shy away from layering techniques—crossing over lines or adding shapes results in enchanting patterns that draw the eye. Personalizing your work with hand-stitched lettering or floral embellishments gives it a distinctive flair.
Finally, finish your projects neatly by backing them with felt or fabric, protecting your work while enhancing its presentation.
For more tips, check out an embroidery tutorial to guide you through these techniques!
Frequently Asked Questions
How Do You Make an Embroidery Quote?
To create an embroidery quote, start by picking a phrase that speaks to you or your audience.
Use backstitch or chain stitch for clean lettering, and choose thread colors that contrast with your fabric for better visibility.
Lightly sketch your lettering with a fabric marking pen to guarantee accuracy.
Finally, experiment with different fonts, like cursive or block letters, to give a personal touch to your embroidered quote.
Enjoy the process!
What Is a Good Sentence for Embroider?
When you think about a good sentence for embroidery, focus on the details that bring it to life.
You might say, "The vibrant threads danced across the fabric, each stitch telling a story of love and artistry."
Highlight the textures and colors to enhance your description, like mentioning how the silky threads glimmer under the light.
This creates an emotional connection, making your embroidery not just a craft, but a cherished memory.
What Makes Embroidery Special?
When you immerse yourself in embroidery, you're not just threading a needle; you're weaving stories and emotions into fabric.
Its blend of colors, textures, and stitches transforms simple materials into enchanting art. You're creating something uniquely yours, a reflection of your creativity and skill.
Every piece invites touch and admiration, drawing viewers into its tactile world.
Plus, the way embroidery evolves—mixing tradition with innovation—keeps it fresh and exciting, appealing to everyone today.
What Is a Few Sentences About Embroidery?
Embroidery's a beautiful art form that combines creativity and skill. You stitch patterns onto fabric using a needle and thread, transforming plain items into personalized treasures.
This craft has deep historical roots but has evolved to embrace modern designs. You can explore various techniques, from simple stitches to intricate goldwork, making it accessible for anyone.
Whether you're embellishing clothing or home decor, embroidery lets your unique style shine through.
Conclusion
By mastering design placement techniques, you're just a stitch away from elevating your embroidery projects into true masterpieces. Imagine the thrill of aligning intricate designs perfectly every time, turning heads and sparking conversations. With a little practice and the right tools, you'll find that what once seemed intimidating becomes second nature. So, as you thread your needle, remember: that "one trick" you learned might just be the secret to your most stunning creation yet!