
To make satin stitches smooth rather than lumpy, you need to use high-quality, smooth threads like rayon or silk that glide effortlessly through fabric. Maintain consistent tension—avoiding stitches that are too tight or too loose—and keep your stitches uniform in length, around 1/4 inch. Using stabilization tools like a hoop helps keep the fabric taut, preventing puckering. Mastering your stitch technique and thread path is key, and if you continue further, you’ll discover more ways to perfect your stitches.

Get tools and workshop supplies delivered free — and shop member deals
- Fast, free delivery on millions of items
- Access to Prime Big Deal Days deals on October 6–7
- Prime Video, Amazon Music and more included
Key Takeaways
- Use high-quality, smooth embroidery threads like rayon or silk for even, glossy stitches.
- Maintain consistent stitch tension to prevent puckering or looseness.
- Keep stitches uniform in length, around 1/4 inch, with steady, smooth needle pulls.
- Stabilize fabric with a hoop or stabilizer to avoid slack and puckering.
- Follow proper thread path and technique to ensure stitches lay flat and smooth.
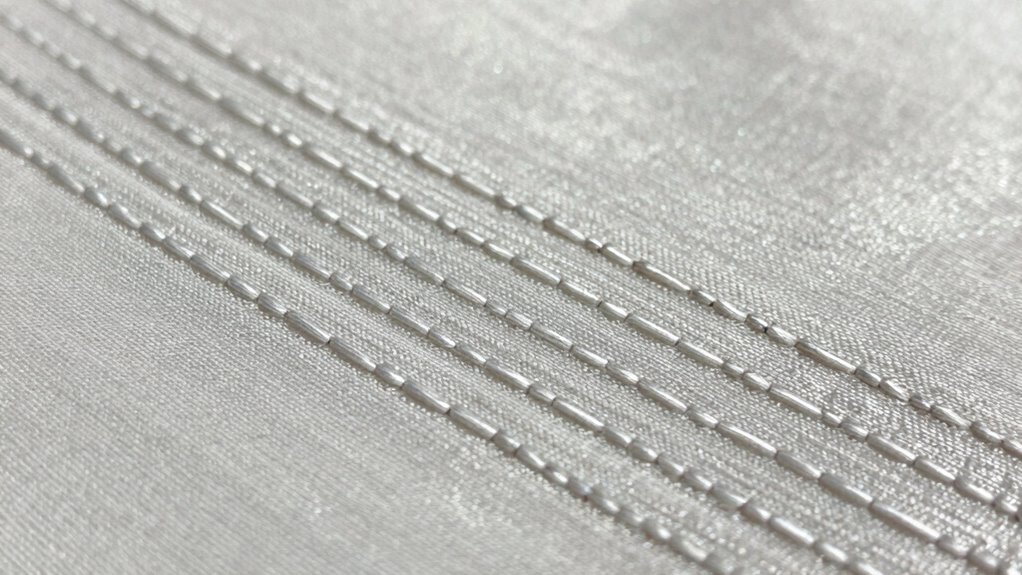
Mastering satin stitch can elevate your embroidery projects, but it requires attention to detail and technique. One of the main challenges is achieving a smooth, even surface instead of a lumpy or uneven finish. The secret lies in understanding how different embroidery thread types and stitch tension control contribute to a polished look. When selecting embroidery thread types, opt for high-quality, smooth threads made from materials like rayon or silk. These tend to glide better through fabric, creating a more uniform appearance. Cheaper, rougher threads can cause uneven stitching and lumps, so investing in good thread makes a noticeable difference in the final result.
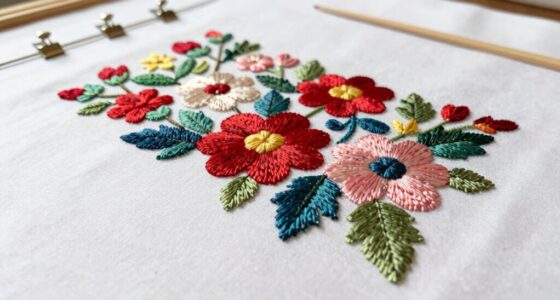
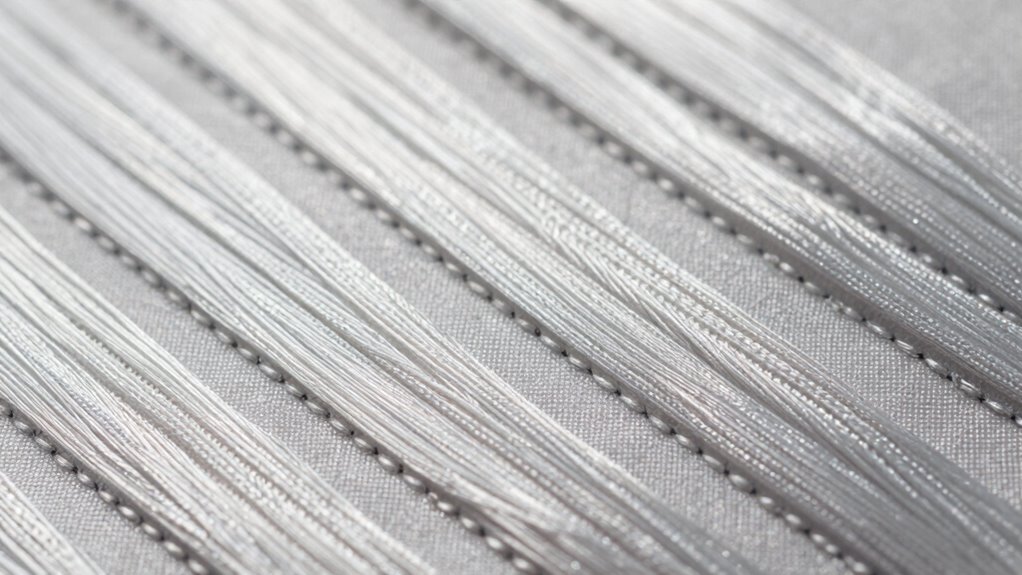
High-quality, smooth threads like rayon or silk ensure even, polished satin stitches.
Controlling stitch tension is equally important. Too tight, and your stitches might pull the fabric or cause puckering, resulting in a lumpy look. Too loose, and the stitches can become floppy or uneven, disrupting the smoothness you’re aiming for. To avoid this, keep your tension consistent throughout your project. Practice on scrap fabric to find the right tension setting — it should be snug enough to hold the stitches flat and smooth without causing distortion. Once you achieve a balanced tension, your satin stitches will lay flat and even, creating that sleek, shiny surface that defines a professional-looking satin stitch. Understanding thread tension is crucial for achieving this balance.
Another key factor is stitch length. Keep your stitches uniform in length, typically about 1/4 inch, and avoid overlapping or irregularly spaced stitches. Use a hoop or stabilizer to keep your fabric taut; any slack can lead to puckering or uneven stitches. When you pull your needle through, do so smoothly and steadily, maintaining consistent tension on the thread. Be mindful of the thread path — avoid dragging or forcing stitches, which can cause uneven threading and lumps. Additionally, paying attention to thread quality can significantly improve the smoothness and appearance of your stitches. Proper thread tension also helps prevent puckering and ensures your stitches lay flat. Developing a steady hand and a consistent stitch length ensures a more professional finish in your embroidery work.
high quality rayon embroidery thread
As an affiliate, we earn on qualifying purchases.
As an affiliate, we earn on qualifying purchases.
Frequently Asked Questions
Can Satin Stitch Be Used on All Fabric Types?
Yes, satin stitch can be used on most fabric types, but fabric compatibility is key. You should choose the right thread selection—preferably smooth, high-quality thread—to avoid lumps and guarantee a sleek finish. For delicate fabrics like silk or chiffon, use a stabilizer to prevent puckering. On sturdier fabrics like denim or canvas, satin stitch works well, but adjusting stitch length can help achieve a smooth, professional look.
How Do I Fix Uneven Satin Stitches?
Think of your stitches as a river flowing smoothly; uneven satin stitches often result from inconsistent thread tension and irregular stitch spacing. To fix this, gently adjust your thread tension for evenness and carefully guide your fabric to keep stitches uniform. Practice maintaining steady stitch spacing, like the steady flow of a gentle stream, and you’ll see your satin stitches become smooth and even, reflecting your growing sewing mastery.
What Thread Weight Is Best for Smooth Satin Stitches?
For smooth satin stitches, use a fine, high-quality thread, like a 40-weight thread, which helps achieve even stitch density. Adjust your thread tension so stitches are not too tight or too loose, preventing lumps. Maintaining consistent stitch length and spacing also contributes to a smooth finish. Lower thread weight threads create more delicate, even stitches, ensuring your satin stitch looks polished and lumpy-free.
Is There a Preferred Needle Size for Satin Stitching?
A sharp needle is your best friend for satin stitching, and a size 75/11 or 80/12 usually works well. Think of it like threading a needle: “a stitch in time saves nine.” Keep your thread tension consistent and your needle sharp to prevent puckering or lumps. When your needle is just right, your stitches glide smoothly, creating that flawless satin finish you’re aiming for.
How Can I Prevent Puckering in Satin Stitch Embroidery?
To prevent puckering in satin stitch embroidery, maintain consistent fabric tension and use even stitch lengths. Keep your fabric taut in the hoop, ensuring it doesn’t loosen as you sew. Use a slightly longer stitch length for smoother, more even stitches, which reduces puckering. Regularly check your tension and adjust as needed to keep the fabric flat. These steps will help your satin stitches look smooth and professional.
Conclusion
To achieve a smooth satin stitch, think of your needle as a painter’s brush gliding seamlessly across a canvas. Keep your stitches even and consistent, just like rows of bricks fitting snugly together. Take your time, and don’t rush the process—smooth stitches are built on patience and attention to detail. When you master these tips, your embroidery will shine like a polished mirror, reflecting your skill and care in every stitch you make.
Fall Picks
fall essentials
As an affiliate, we earn on qualifying purchases.