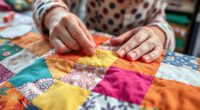
In thread painting, you blend colors by carefully selecting and layering embroidery threads in various shades to create smooth shifts. You manipulate stitch length, direction, and tension to mimic textures and build depth, making images appear lifelike. Light and shadow are achieved through subtle color shifts, giving your work a realistic sense of volume. Mastering these techniques transforms simple stitches into vibrant, detailed artwork, and if you keep exploring, you’ll discover how to craft truly stunning embroidery pieces.
Key Takeaways
- Select threads in varying shades to create smooth color transitions and realistic gradients.
- Layer different colored threads to build depth and mimic natural lighting effects.
- Vary stitch length, direction, and tension to blend colors seamlessly and enhance texture.
- Use techniques like satin stitches, long-and-short stitches, and French knots for tactile color blending.
- Develop an intuitive sense for color placement and shading to achieve lifelike, vibrant embroidery images.
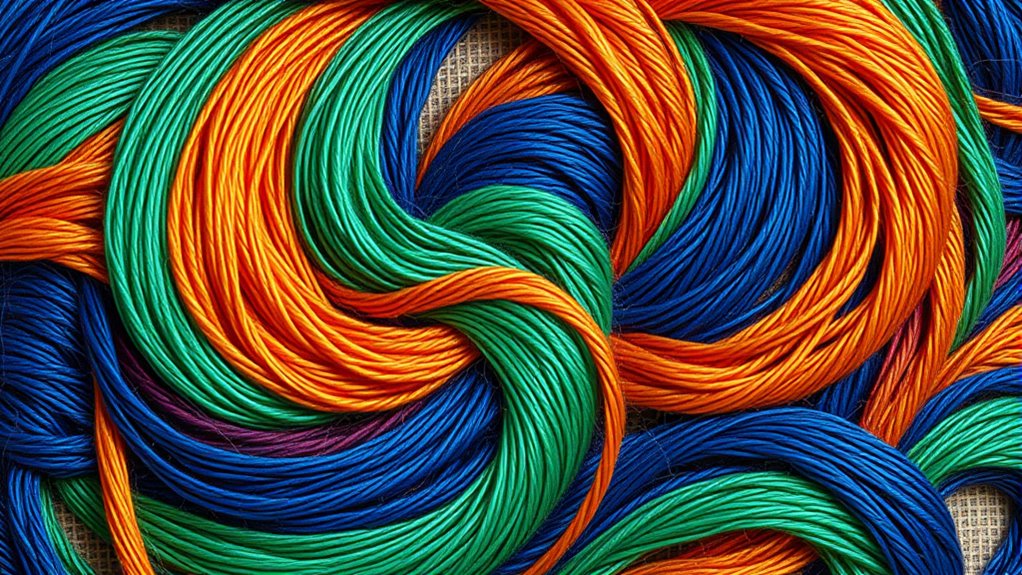
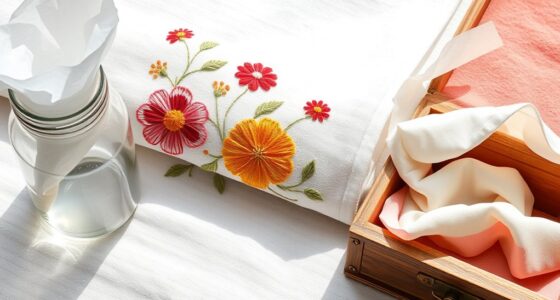
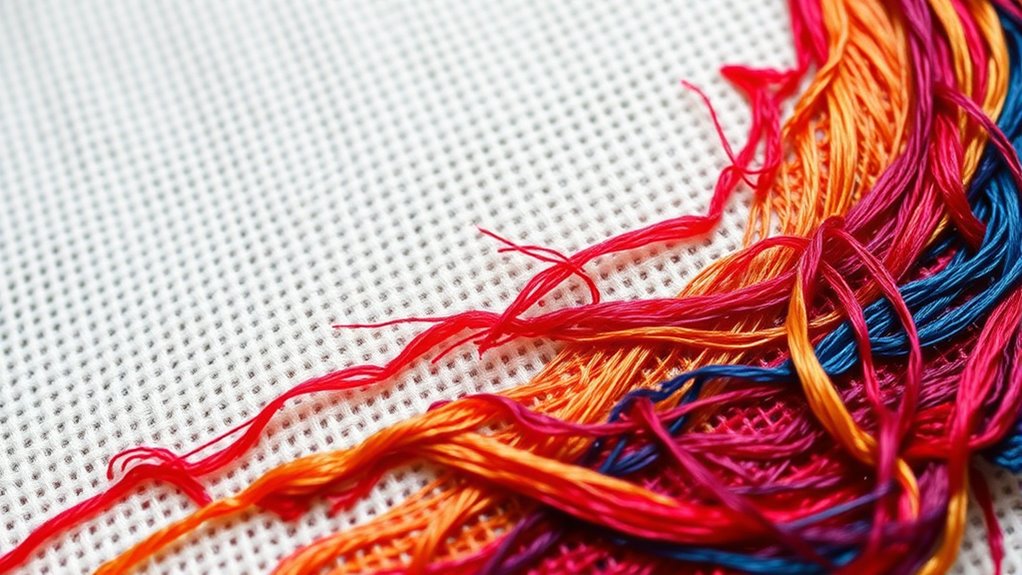
Have you ever wondered how artists create intricate, lifelike images using just threads? It’s a fascinating process that relies on skill, patience, and a keen eye for detail. When you immerse yourself in the world of thread painting, you realize that the magic lies in how you manipulate embroidery threads to achieve depth and realism. One of the most important techniques in this craft is color blending. Unlike traditional painting, where you mix pigments, in thread painting you blend colors within the fabric itself. You do this by carefully selecting threads in various shades and layering them to produce smooth transitions. For example, to depict a sunset, you might start with a base of deep reds and oranges, then add lighter shades of peach and yellow, blending them seamlessly through overlapping stitches. This meticulous process allows you to create gradients that mimic natural lighting and shadows, giving your artwork a vibrant, dynamic appearance.
Texture creation is another critical aspect that elevates your embroidery from simple stitches to a realistic masterpiece. By varying stitch length, direction, and tension, you can simulate the texture of different surfaces—be it the delicate petals of a flower or the rough bark of a tree. For instance, using shorter, denser stitches can evoke the softness of a petal, while longer, looser stitches might suggest the roughness of bark or fur. Combining different stitches such as satin, long-and-short, or French knots, you craft a tactile surface that invites viewers to explore your work visually and physically. The layering of threads also adds depth, making certain areas pop forward while others recede into the background. This interplay of textures contributes profoundly to the realism of your piece, transforming flat embroidery into a textured, multi-dimensional image.
As you practice, you’ll learn how to subtly shift between colors and textures, building a sense of volume and form that rivals traditional painting. Your choice of thread colors and the way you stitch them together become tools to mimic light, shadow, and surface qualities. With patience, you develop an intuitive sense for blending colors smoothly and creating textures that bring your subjects to life. Ultimately, thread painting is about mastering these techniques to craft images that are both visually stunning and rich in tactile detail. It’s a delicate balance of color blending and texture creation, where each stitch contributes to a larger, cohesive picture. When you get it right, your embroidery transforms into a vivid, lifelike artwork that captures the beauty of the natural world through the simple medium of thread.
Frequently Asked Questions
What Types of Fabric Are Best for Thread Painting?
You should choose fabrics with smooth, tight textures like cotton or silk for thread painting. These fabrics provide the best thread compatibility and help your stitches stay even and vibrant. Avoid rough or stretchy materials, as they can distort your work and make blending colors difficult. By selecting the right fabric textures, you’ll achieve cleaner details and more seamless color shiftings in your embroidery.
How Do I Choose the Right Embroidery Thread for Blending?
Choosing the right embroidery thread for blending is essential—you’ll want threads that make your work look like a masterpiece. Focus on thread selection by selecting threads with similar bases but varying shades for seamless color mixing. Opt for threads with a smooth, shiny finish to enhance blending. Consider using high-quality threads like silk or rayon, which allow for better color transitions, giving your artwork that stunning, professional look you’re aiming for.
Can Beginners Successfully Create Thread Paintings?
Yes, as a beginner, you can successfully create thread paintings. Focus on practicing color blending and thread layering techniques to build your skills. Start with simple designs, experimenting with different thread shades and layering methods to achieve smooth progressions. Over time, you’ll develop an eye for blending colors seamlessly, making your thread paintings look more vibrant and realistic. Keep practicing, and you’ll see your confidence and craftsmanship grow.
What Tools Are Essential for Detailed Thread Blending?
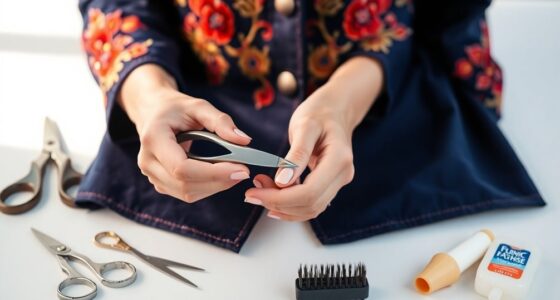
To achieve detailed thread blending, you need essential tools like high-quality embroidery needles that support intricate needle techniques. Use fine, smooth threads for better color blending and a good pair of scissors for precision. A color chart or palette can help plan your blending strategy. Additionally, a good hoop or frame keeps your fabric taut, making it easier to execute detailed stitching and seamless color progressions efficiently.
How Do I Fix Mistakes in a Thread Painting?
When fixing mistakes in a thread painting, you should carefully remove or cut the incorrect stitches to correct your color blending. Use a fine needle or tweezers for thread correction, gently pulling out the flawed stitches without damaging the fabric. Then, re-stitch with the correct shades, blending colors seamlessly. Take your time to guarantee smooth transition, and don’t rush—precise thread correction makes your artwork look polished and professional.
Conclusion
Now that you’ve explored thread painting, you see how blending colors with embroidery thread creates stunning, lifelike images—almost like a Renaissance masterpiece in your hands. With patience and practice, you’ll master this intricate art, turning simple stitches into vivid stories. Remember, even Leonardo da Vinci would be amazed at your craftsmanship. So pick up your needle and thread, and let your creativity weave a tapestry that’s uniquely yours—an embroidery renaissance in the making.