If your corners feel too bulky, you can fix this by trimming seam allowances close to the corners and grading them—snipping diagonally into allowances without cutting stitches—to reduce bulk. Notching curved edges and carefully turning corners with a point turner help create crisp, sharp points. Pressing thoroughly also improves the finish. Keep practicing these steps, and you’ll master professional corners. Continue exploring to learn more about achieving flawless, tailored results.
Key Takeaways
- Trim seam allowances close to the corner to reduce bulk before turning right side out.
- Grade the seams by snipping diagonally into allowances without cutting stitches to smooth out bulky areas.
- Notch curved edges to allow fabric to lie flat and prevent puckering when turning corners.
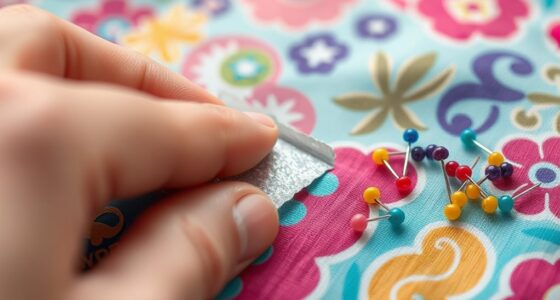
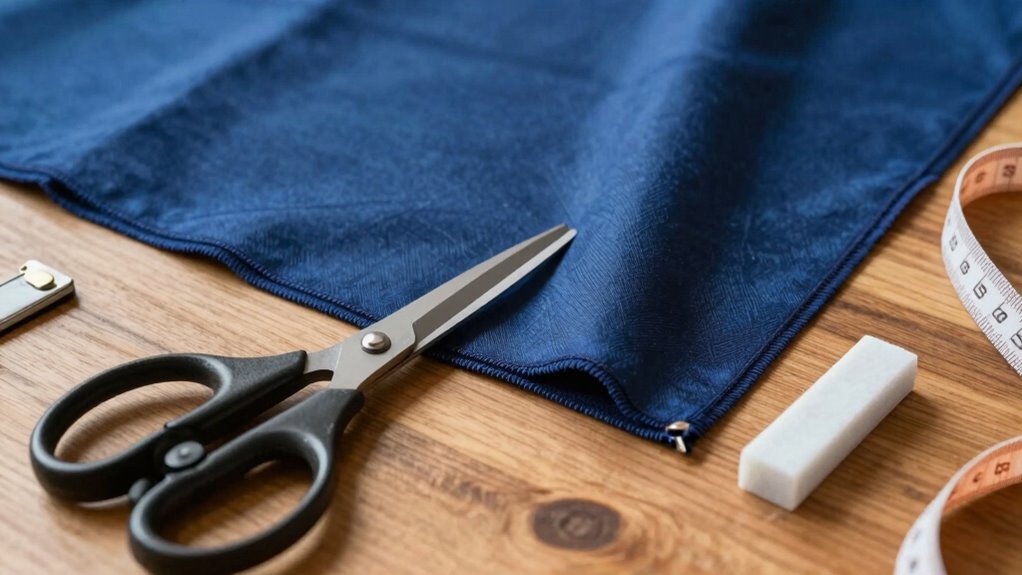
- Use sharp tools like scissors or rotary cutters for precise trimming and clean edges.
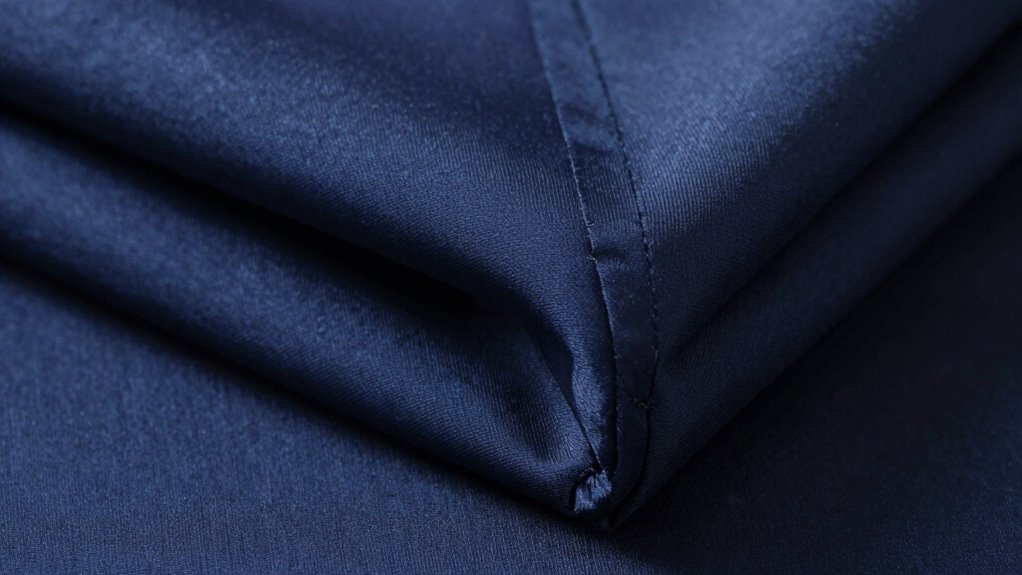
- Press and shape corners thoroughly before stitching to ensure sharp, professional-looking results.
Why Corners Bulge and How It Affects Your Sewing Projects
Corners tend to bulge when you don’t trim or grade the seam allowances properly before turning them right side out. This corner bulge occurs because excess fabric creates thick, uneven layers that don’t lay flat. When fabric isn’t trimmed or graded, it can also lead to fabric puckering, where the material bunches up around the corner. These issues make your finished project look bulky and unprofessional. Thick seams resist turning smoothly, causing corners to stick out or look rounded instead of sharp. Puckering can distort the overall shape, reducing precision. To prevent this, you must trim excess fabric and grade the seam allowances, especially at corners. Doing so guarantees your corners turn crisp, lie flat, and give your project a polished, tailored appearance. Additionally, proper seam techniques are essential for achieving sustainable and secure results, aligning with modern standards of quality and durability. Taking the time to properly prepare seams can significantly improve the overall finish and longevity of your sewing projects.
Troubleshooting Common Corner Problems and Their Fixes
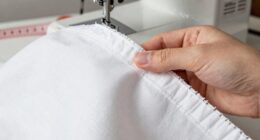
Even when you’ve trimmed and graded properly, you might still encounter issues with your corners. Common problems include puckering, uneven edges, or corners that don’t turn sharply. To troubleshoot, first check your sewing machine calibration; incorrect tension or stitch length can cause uneven seams. Consider fabric choice considerations—stiff fabrics are easier to turn precisely, while lightweight or slippery fabrics may need stabilizers. Using proper fabric selection can significantly improve corner accuracy and overall sewing quality. Additionally, employing techniques for turning corners can help achieve sharper, cleaner corners and prevent common issues. Paying attention to sewing machine setup ensures consistent results and reduces the likelihood of corner problems. Maintaining correct machine tension settings is also essential for uniform seams and well-defined corners. Implementing tailoring techniques can further refine your corners and improve your overall craftsmanship.
How to Trim and Grade Fabric Corners for a Neat Finish

To achieve a clean, professional finish on fabric corners, proper trimming and grading are essential steps. Begin by trimming the seam allowance close to the corner, but avoid cutting into the stitches. This fabric edge trimming reduces bulk and creates a smoother corner. Next, use corner grading techniques by snipping diagonally into the seam allowance without cutting through stitches, which helps flatten bulky fabric. Carefully clip or notch curved edges to allow the fabric to lie flat when turned right side out. Be precise and consistent with your cuts, ensuring edges are even. Proper trimming and corner grading prevent puckering and bulky corners, resulting in neat, crisp finishes that look polished and professional. Additionally, understanding how indoor air quality can be affected by dust and fabric fibers emphasizes the importance of keeping workspace areas clean and well-ventilated during your sewing projects. Recognizing the significance of fabric stability can also help in achieving better corner shaping and a more durable finish. Maintaining a clean workspace aligns with holistic health practices by reducing dust and allergens that can impact respiratory health during sewing activities. Being mindful of airborne particles can further promote a safer and more comfortable sewing environment.
Step-by-Step: Turning and Pressing Corners Like a Pro

To turn corners like a pro, start by marking accurate points to guarantee your corners are precise. As you press, focus on creating sharp, flat edges that lay perfectly against your fabric. These steps make a noticeable difference in achieving a clean, professional finish.
Marking Accurate Corners
Accurately marking your corners is essential for a sharp, professional finish when turning and pressing like a pro. Proper marking ensures fabric alignment, helping corners meet perfectly and seam allowances stay even. To achieve this, use a fabric marker or tailor’s chalk to trace the exact corner points, paying close attention to the fabric’s grain. Double-check your measurements before marking to avoid misalignment. Keep these tips in mind:
- Align fabric edges precisely before marking to maintain accurate corners
- Mark seam allowances clearly, so you know where to trim or press
- Use a ruler or straight edge for consistent, sharp lines
This careful approach guarantees your corners turn smoothly and look polished, setting a strong foundation for successful pressing and finishing.
Pressing for Precision
Once your corners are carefully marked, the next step is to press them for a crisp, professional finish. Proper pressing helps set the fabric folding and seam allowances in place, ensuring clean, sharp corners. Use an iron set to the appropriate temperature for your fabric type, and press rather than drag to avoid distortion. Start by pressing the seam allowances open or to one side, then fold the corner to match your markings. Gently press along the edges, applying firm pressure without shifting the fabric. Avoid over-pressing, which can flatten or distort the corner. Use a pressing cloth if needed to prevent shine or scorching. Proper pressing techniques are essential for achieving professional-looking results in sewing projects. Taking your time to press carefully results in corners that look polished and lay flat, elevating your sewing project to a professional level. Crisp corners are the hallmark of well-finished garments and home decor items. Ensuring your fabric is free of irritants and properly prepared helps maintain the integrity of the pressed edges.
Expert Tips for Achieving Flawless, Sharp Corners Every Time

Achieving flawless, sharp corners can be challenging, but with the right techniques, you can consistently get professional results. To guarantee crisp edges, consider these expert tips:
- Use bias tape for a clean finish, folding it precisely at corners to maintain sharpness.
- Apply decorative stitches along the edges to reinforce and add a polished look.
- When turning corners, clip or notch the seam allowance carefully to reduce bulk and enable smooth, sharp turns.
- Properly sharp tools and a steady hand are essential for precise corner work, ensuring your project looks professional and clean.
- Additionally, understanding fabric properties can help you select the best techniques for different materials, improving your overall results.
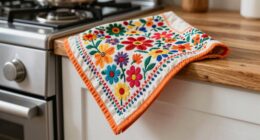
- Recognizing the quality of the rug and its construction can further influence the approach for trimming and turning corners, leading to better durability and appearance.
- Using proper pressing techniques can also help set sharp corners and prevent puckering, giving your project a cleaner finish.
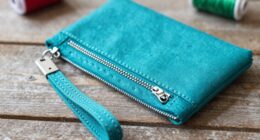
- Incorporating appropriate seam finishes can further enhance the durability and appearance of your corners, especially in high-use items.
These small adjustments help prevent puckering and ensure your corners stay crisp. Practice makes perfect—take your time to align and press each corner thoroughly before stitching. With patience and attention to detail, your corners will look sharp, professional, and flawless every time.
Common Mistakes to Watch Out for When Finishing Corners
One common mistake when finishing corners is neglecting to clip or notch the seam allowance, which can cause bulk and prevent sharp turns. Failing to do so may lead to fabric stretching or uneven corners, especially if seam allowances are too bulky. Proper clipping reduces excess fabric, allowing the corner to turn neatly.
| Mistake | Impact |
|---|---|
| Not clipping/notching | Bulky, uneven corners, fabric stretching |
| Over-sewing seam allowances | Increased bulk, difficulty turning corners |
| Ignoring grading | Lumpy, stiff corners, uneven finish |
| Rushing the process | Poorly finished corners, less precise |
Pay attention to seam allowances; grading and clipping are essential for a polished, sharp corner finish.
Must-Know Tools and Tricks for Perfect Sewing Corners

Using the right tools and techniques can make all the difference in creating perfectly finished sewing corners. Sharp scissors or rotary cutters ensure clean fabric edge finishing, preventing frayed edges that can bulk up corners. A seam gauge helps you maintain consistent seam allowance options, giving your corners a polished look. A point turner or a chopstick is essential for turning corners sharply without distorting the shape.
- Use a seam ripper to fine-tune seam allowances for smooth, neat corners
- Employ pressing tools like a point turner to shape corners precisely
- Select the right fabric edge finishing method, such as zigzag or serging, to reduce bulk and improve durability
Mastering these tools and tricks guarantees professional-looking, crisp sewing corners every time.
Frequently Asked Questions
Can I Use a Regular Scissors Instead of Specialized Trimming Tools?
You can use regular scissors for trimming, but they might not give you the cleanest finish, especially on delicate fabric types. To guarantee precise cuts, maintain your scissors well by cleaning and sharpening them regularly. Using specialized trimming tools is often better, but if you stick with scissors, choose sharp, high-quality ones and tailor your technique to different fabric types. Proper scissors maintenance helps you achieve cleaner, more professional results.
How Do I Prevent Fabric From Fraying When Trimming Corners?
To prevent fabric from fraying when trimming corners, you should finish the edges with a proper edge finishing technique like zigzag stitching or applying a serger. Make sure to trim your seam allowances neatly, grading them if needed, to reduce bulk. Turning your corners carefully and reinforcing the edges can also help. These steps guarantee clean, durable corners that resist fraying over time.
Is There a Difference Between Grading and Trimming Fabric Corners?
Yes, there is a difference between grading and trimming fabric corners. Trimming involves cutting excess fabric along the seam allowance to reduce bulk, while grading refines the fabric corner techniques by cutting different seam allowances at varying angles to prevent bulk and create smooth, professional edges. Using tailoring corner methods, you’ll want to grade first, then trim, to ensure clean, crisp corners that lay flat and look polished.
What Types of Pressing Tools Are Best for Sharp Corners?
Want sharp corners that look professional? The best pressing tools for this are a point turner, tailor’s clapper, and small pressing tools like a seam roll. These tools help you press precisely, ensuring crisp, clean edges. Have you tried a point turner to push out corners perfectly? Using the right tools makes all the difference in achieving sharp, polished corners that elevate your sewing projects.
How Do I Fix Uneven or Misshapen Corners After Turning?
You can fix uneven or misshapen corners by carefully reshaping them with a corner shaper or small pressing tools. Reinforce the corners by adding extra seam or corner reinforcement strips, then press firmly to set the shape. Use a tailor’s ham or pressing cloth to smooth out imperfections, ensuring your corner shaping is precise. This will help your corners become sharp, even, and professional-looking after turning.
Conclusion
Mastering your corners is like tailoring your own destiny—each precise trim and turn shapes a flawless final piece. When you trim, grade, and press with care, you’re not just finishing a project—you’re crafting confidence and attention to detail. Remember, every perfect corner symbolizes patience and skill, turning everyday fabric into a masterpiece. Keep honing your technique, and soon, sharp corners will become your signature mark of craftsmanship.