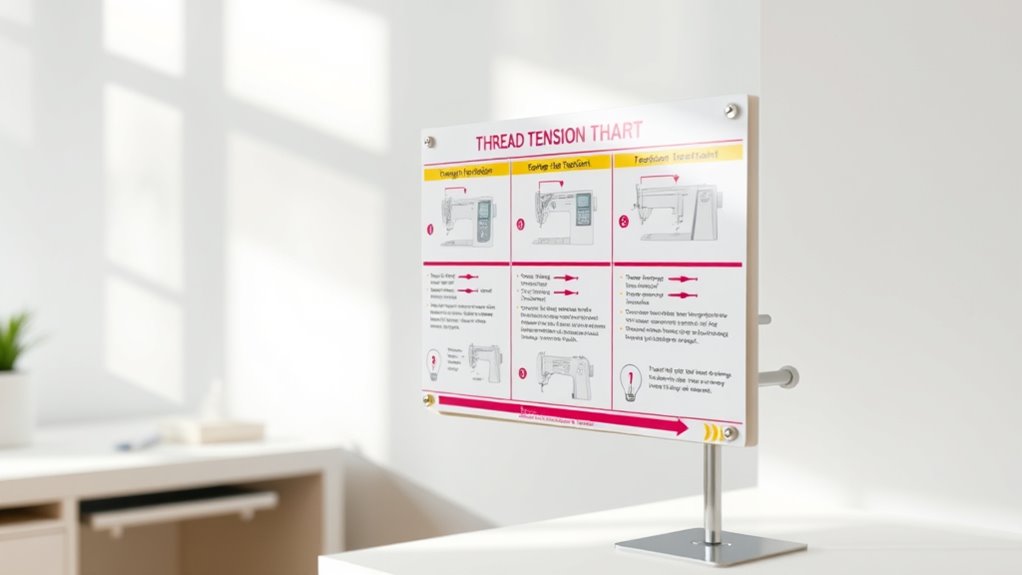
To troubleshoot thread tension issues effectively, create a clear chart that lists common problems like uneven stitches, puckering, or thread breakage alongside their causes and fixes. Start with adjusting your tension dial slightly and check the bobbin tension first. Keep your machine clean and use quality threads to prevent recurring problems. For ongoing issues, this chart will guide you step-by-step toward the right solution—stick with it to master tension adjustments for perfect stitches every time.
Key Takeaways
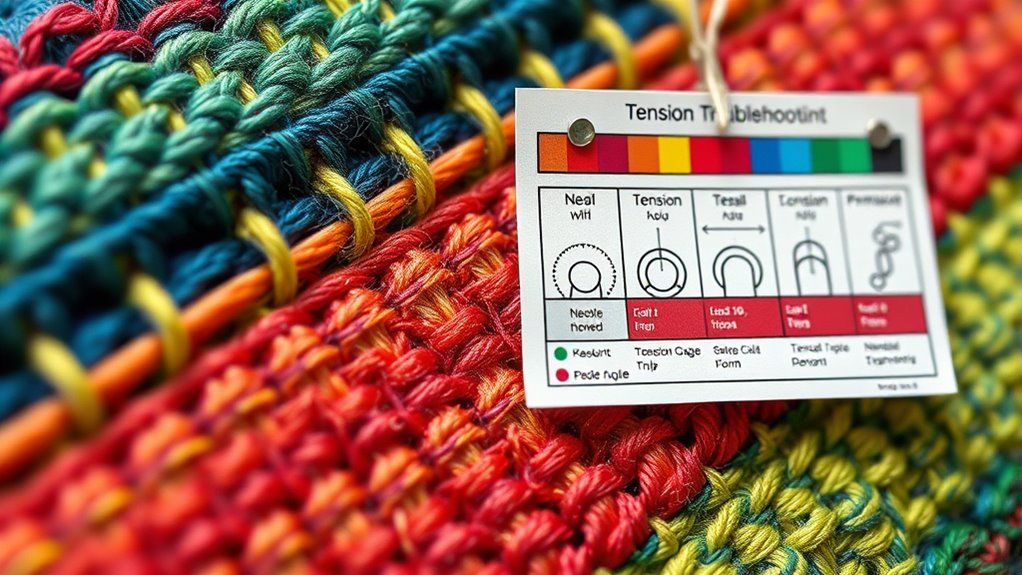
- Use a tension troubleshooting chart to systematically identify and fix tension issues based on stitch problems and fabric type.
- Check and adjust tension settings gradually, following the chart’s recommended steps for different stitch irregularities.
- Ensure thread quality and proper bobbin placement as indicated in the chart to prevent tension inconsistencies.
- Regularly clean tension discs and bobbin area, referencing the chart for maintenance intervals and solutions.
- Consult the chart for specific solutions tailored to common tension problems like puckering, loose stitches, or thread breakage.
When your sewing machine’s stitches are uneven or puckered, it’s often a sign that the thread tension needs adjusting. Proper thread tension is essential for smooth, professional-looking seams, and understanding how to troubleshoot it can save you time and frustration. One common cause of tension problems is incorrect sewing machine calibration. If your machine isn’t correctly calibrated, it can cause inconsistent stitch quality, regardless of how well you adjust the tension dial. Making sure your machine is properly calibrated involves checking the tension discs, the bobbin placement, and the presser foot pressure. Sometimes, tension issues stem from thread quality problems. Low-quality threads or those that are old and brittle tend to break easily or cause uneven stitches. Using high-quality, compatible threads is necessary for ideal tension and stitch consistency.
Proper calibration and quality thread are key to achieving even, professional stitches.
When you notice puckering or loose stitches, start by inspecting your thread quality. If the thread looks frayed or uneven, switch to a fresh, high-quality spool. Always match your thread type with your fabric and needle size for best results. Next, examine your machine’s tension settings. Most machines have a tension dial or slider; start with the manufacturer’s recommended setting, then make small adjustments from there. If the upper tension is too tight, your stitches will be puckered; if too loose, they’ll be loose and uneven. Remember, adjusting tension isn’t about turning the dial wildly; small tweaks can make a big difference.
It’s also essential to check your bobbin tension, which can often be the cause of stitch issues. If your bobbin tension is off, your stitches will be uneven or skipped. To test this, remove your bobbin, wind a fresh one, and ensure it’s wound evenly. When inserting the bobbin, ensure it’s seated correctly and that the bobbin case tension is set according to your machine’s manual. Sometimes, tension problems are caused by dirt or lint buildup in the tension discs or bobbin area. Regular cleaning can improve tension and stitching quality noticeably. Additionally, thread quality can significantly impact your sewing results and should always be considered when troubleshooting tension issues.
If you still experience issues after adjusting tension and verifying thread quality, consider recalibrating your sewing machine. Most machines have a calibration or timing adjustment, which might need professional servicing if you’re unsure how to do it yourself. Remember, consistent stitch quality depends on a combination of proper tension, good thread quality, correct calibration, and regular maintenance. Keep a mental checklist handy, and you’ll be able to troubleshoot tension issues quickly, ensuring your sewing projects turn out perfectly every time.
Frequently Asked Questions
How Often Should I Check My Sewing Machine’S Tension?
You should check your sewing machine’s tension regularly to guarantee smooth stitching. Start by examining the thread guide and bobbin balance, especially if your stitches look uneven or puckered. It’s a good idea to test tension each time you change thread types or fabric. Routine checks help catch issues early, preventing fabric damage and making your sewing experience more enjoyable. Keep these adjustments in mind for consistent, professional results.
Can Incorrect Tension Cause Fabric Puckering?
Yes, incorrect tension can cause fabric puckering. When the tension isn’t balanced, the stitches may pull too tightly or be too loose, leading to puckering especially on delicate or fabric compatibility-sensitive materials. Adjusting your tension properly guarantees even stitches and smooth seams. Always test on scrap fabric first, checking for tension balance and fabric compatibility, so you can fine-tune your settings for perfect results.
What’S the Best Way to Test Tension Adjustments?
To test tension adjustments, start by setting your thread spool placement and bobbin winding techniques consistently. Sew a straight seam on scrap fabric, then observe the stitch quality. If the stitches are balanced and smooth, your tension is correct. Adjust tension gradually if needed, and retest. This hands-on approach helps guarantee your tension is just right, preventing puckering or loose stitches while maintaining even tension across your sewing project.
Does Thread Type Affect Tension Settings?
Yes, thread type does affect tension settings because different threads have varying thicknesses, textures, and elasticity, impacting tension calibration. When you switch thread types, you should recheck and adjust your tension to guarantee even stitches and prevent issues like puckering or skipped stitches. Always consider thread compatibility with your fabric and machine, and test tension adjustments on scrap fabric to find the perfect balance for each thread type.
How Do I Fix Tension Issues With Decorative Stitches?
When your decorative stitches look more like a tangled mess than art, tension inconsistencies are probably to blame. To fix this, start by adjusting the upper thread tension a tiny bit at a time—think of it like fine-tuning a musical instrument. If you experience decorative stitch troubleshooting, check your thread quality, needle type, and fabric. With patience, you’ll transform those uneven stitches into flawless embellishments in no time!
Conclusion
Just like a skilled conductor guides an orchestra to harmony, mastering your thread tension brings your sewing projects to life. When tension falters, your stitches stumble—remember, every stitch tells a story. With this troubleshooting chart, you’ll navigate tension issues effortlessly, turning chaos into calm. Keep this guide close, and soon you’ll find your sewing rhythm flowing smoothly, like a melody in perfect time. Trust the process, and let your creativity weave its magic.