To take apart a Husqvarna sewing machine, first, unplug it and remove the visor. Use a T20 screwdriver for the four screws on the front and back covers, then a T10 screwdriver for the smaller screws around the machine. Keep all screws organized in a magnet tray. After removing the covers, clean the components to prevent issues. Remember to unplug cables carefully. Follow the steps systematically, and you'll discover more tips along the way.
Key Takeaways
- Ensure the sewing machine is powered off and unplugged before starting disassembly to prevent electrical hazards.
- Use a T20 screwdriver to remove the four screws from the front and back covers, then flip the machine head for better access.
- Carefully detach the free arm cover by pulling it down and back while keeping the handle flipped down.
- Organize screws and parts in a magnet tray to avoid losing them during the disassembly process.
- Clean the bobbin case and tension assembly regularly to maintain optimal machine performance and prevent thread jams.
Preparing for Disassembly

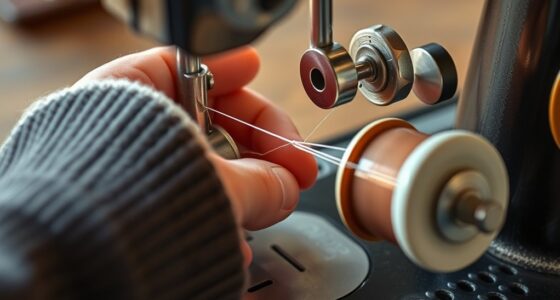
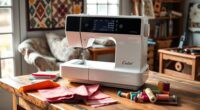
Before you plunge into taking apart your Husqvarna sewing machine, it's important to prepare adequately. First, make certain the machine is turned off and unplugged to prevent any electrical hazards.
Next, remove the visor using the hinges on either side to protect internal components during disassembly. To keep track of screws and parts, utilize a magnet tray, which helps prevent loss and confusion when you reassemble the machine.
Make certain you're familiar with the specific screwdriver types needed, like T20 for cover screws and T10 for smaller ones.
Finally, carefully note the placement of screws and any cables connected to internal parts. This preparation guarantees a smoother disassembly and hassle-free reassembly later on.
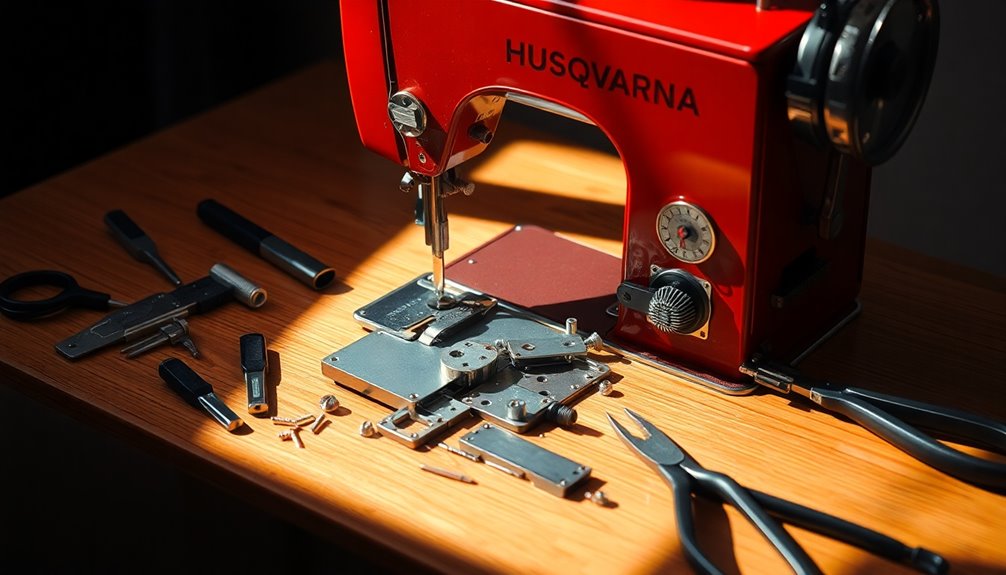
Removing the Covers
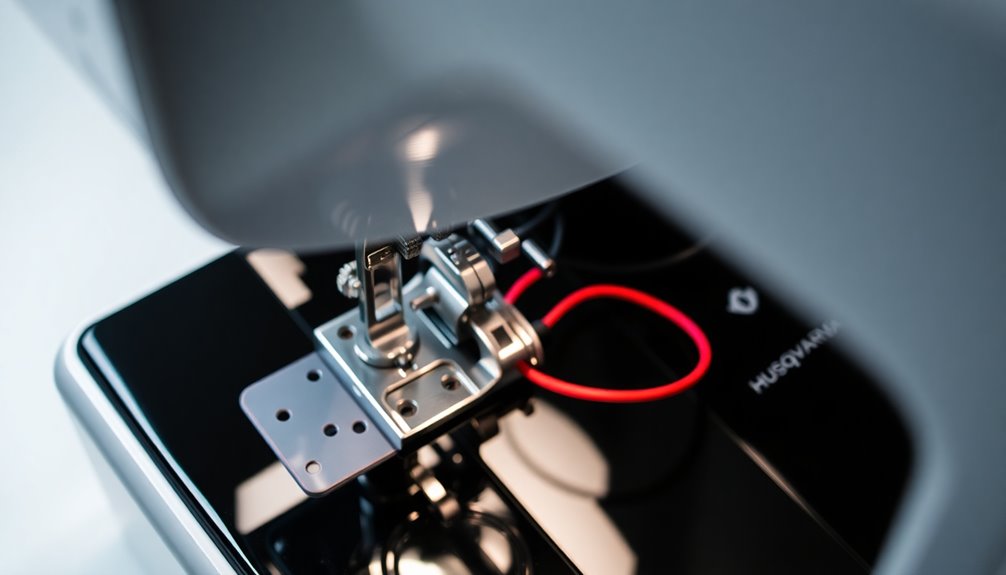
To remove the covers of your Husqvarna sewing machine, start by using a T20 screwdriver to unscrew the four identical screws located on the front and back covers. Flip the machine head onto a flat surface for better access to the screws. Next, take something handy—a T10 screwdriver—and remove six smaller screws around the machine. Be systematic to avoid losing any parts. Carefully detach the free arm cover by pulling it down and back while keeping the handle flipped down. After removing the covers, organize all screws and parts using a magnet tray for easier reassembly.
| Screw Type | Quantity | Location |
|---|---|---|
| T20 | 4 | Front/Back Cover |
| T10 | 6 | Around Machine |
Additional Screw Removal
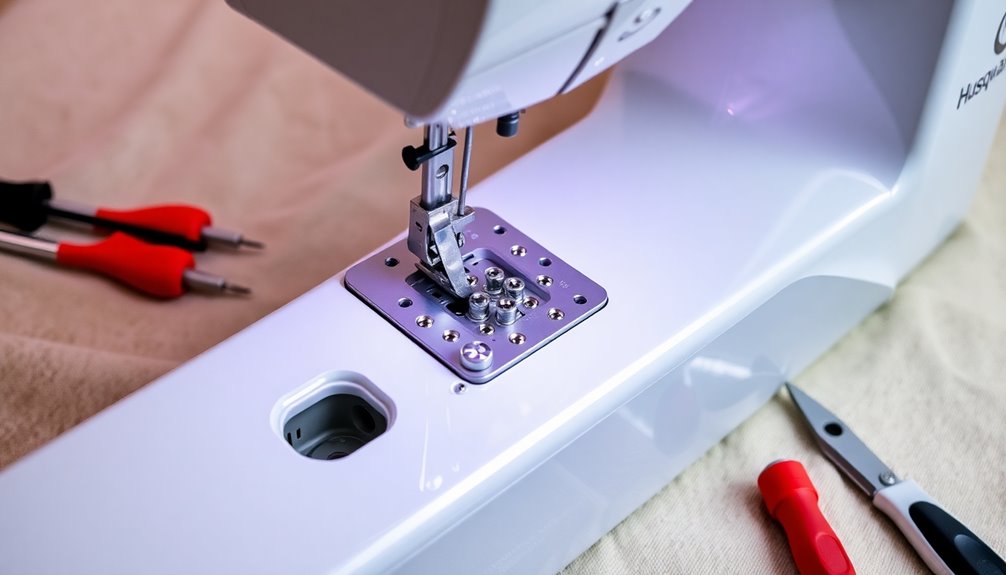
Removing additional screws is an essential step in disassembling your Husqvarna sewing machine. Grab a T10 screwdriver and locate the six smaller screws positioned around the machine.
It's important to keep track of where each screw goes for reassembly, so consider magnetizing the screwdriver tip for easy retrieval. Start removing screws from the base and work your way up; this systematic approach helps prevent confusion.
When you're ready to pull out the bobbin, make sure all screws are removed first. For the free arm cover, pull down and back simultaneously to detach it cleanly.
Cleaning and Maintenance

Cleaning your Husqvarna sewing machine is essential for maintaining its performance and extending its lifespan. Regular cleaning removes carbon buildup, which is common in Viking machines.
After disassembly, make certain to thoroughly clean all accessible areas to prevent any residue from interfering with operation. Here are three key areas to focus on:
- Bobbin case and hook race: Clean these to avoid thread jams and guarantee smooth stitching.
- Tension assembly: Inspect and clean it to maintain consistent thread tension.
- Components: Use a soft, lint-free cloth to wipe everything down, avoiding harsh chemicals that could damage delicate parts.
With proper cleaning and maintenance, your sewing machine will operate efficiently for years to come.
Final Steps in Disassembly
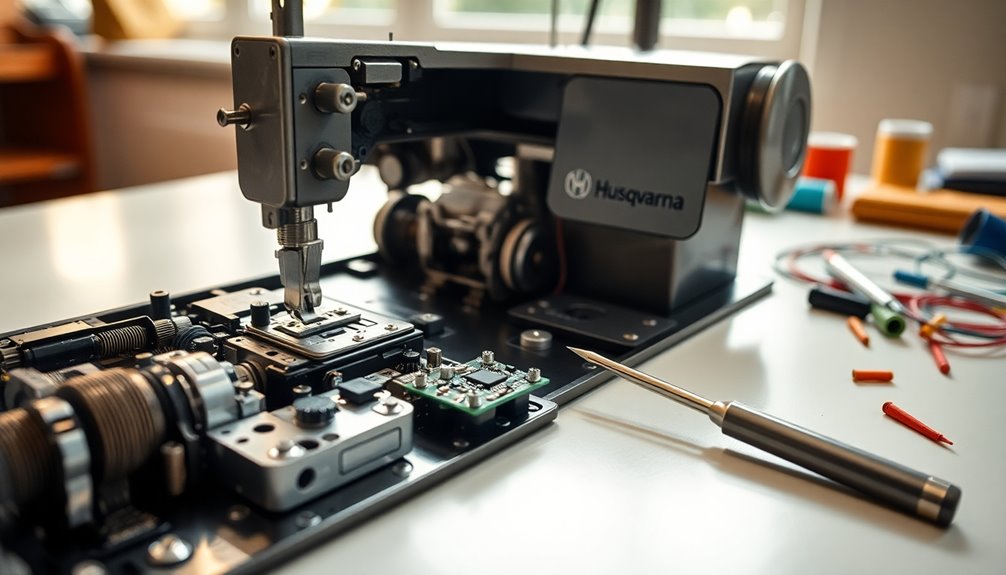
As you approach the final steps in disassembly, it's vital to guarantee that you've carefully released the screws surrounding the tension assembly. This will help you dismount the front cover easily.
Once that's done, rotate the front cover away from the touchscreen, revealing additional areas that may need servicing. Remember to unplug all cables gently, as this tip will help prevent any damage during the process.
Following a systematic approach around the machine's frame is important; it assures you don't miss any components during disassembly.
After removing the covers, organize the screws and parts systematically, preparing for further servicing or repairs. This structured method will save you time and hassle when reassembling your Husqvarna sewing machine.
Frequently Asked Questions
Why Does My Husqvarna Viking Sewing Machine Keep Jamming?
If your Husqvarna Viking sewing machine keeps jamming, it could be due to improper threading. Verify both the upper thread and bobbin thread are threaded correctly.
Check for lint or debris in the bobbin case, as this can obstruct thread movement. Also, confirm your needle is properly installed and not damaged.
Using the right needle for your fabric type is essential too. Regular maintenance, like cleaning and oiling, can help prevent these issues.
How to Remove the Cover of a Sewing Machine?
Did you know that over 60% of sewing machine issues stem from improper maintenance?
To remove the cover of your sewing machine, start by ensuring it's powered off and unplugged.
Grab a T20 screwdriver to remove the four screws on the front and back covers.
Next, use a T10 screwdriver for the smaller screws around the machine.
Carefully detach the cover, ensuring you handle any cables with care to prevent damage.
What Is the Most Common Problem of the Sewing Machine?
The most common problem you'll encounter with a sewing machine is thread tension issues.
If you notice uneven stitches or frequent thread breakage, it's likely due to improper tension settings.
Another frequent issue is lint buildup in the bobbin case and feed dogs, which can hinder fabric feeding.
Make sure you’re also using the correct needle type and size for your fabric, as this can prevent skipped stitches and potential damage. Additionally, it’s important to consider the weight of the fabric when selecting your needle, as lighter fabrics require finer needles while heavier fabrics may need a thicker gauge. For those interested in learning how to sew silk fabric, a universal needle or a specialized silk needle can help achieve the best results, ensuring smooth stitching without snagging the delicate fibers. Always remember to test your stitches on a scrap piece before starting your project to avoid any unforeseen issues.
Do Husqvarna Sewing Machines Need to Be Oiled?
Absolutely, your Husqvarna sewing machine won't just hum; it'll sing when you keep it oiled!
Regular oiling is essential for maintaining its smooth operation and preventing wear. You should oil it every 8 hours of use or whenever it's not running smoothly.
Focus on key areas like the needle bar and bobbin case, as your user manual suggests.
Just remember to unplug it before you start to avoid any surprises!
Conclusion
Now that you've successfully taken apart your Husqvarna sewing machine, you're well on your way to keeping it in tip-top shape. Remember, a stitch in time saves nine, so regular maintenance will prevent bigger issues down the road. As you reassemble, double-check your work to guarantee everything fits snugly. With a little patience and care, your machine will be ready to tackle any project you throw its way. Happy sewing!