
Mastering your sewing machine's thread tension is key to achieving flawless stitches. Start by checking that your spool is positioned correctly and that the thread path is clear. Adjust the top thread tension, usually around 4 for straight stitches, and make small tweaks to find the perfect balance. Keep an eye out for common issues like uneven stitches or visible loops. With the right techniques, you'll enhance your sewing experience and get beautiful results. Keep going to discover more tips!
Key Takeaways
- Start with the default top thread tension, typically around 4, and adjust based on fabric type and thread weight.
- Regularly check the thread path for obstructions and ensure proper threading through all guides.
- Test tension adjustments on scrap fabric, adjusting incrementally and observing stitch balance on both sides.
- Use contrasting thread colors to easily spot tension imbalances and troubleshoot issues effectively.
- Maintain your sewing machine by cleaning and lubricating it regularly to prevent tension-related problems.

MARRTEUM 3Pcs Knitting Machines Tensioner, Stable Knit Replacement Tension Rod Adapter Accessories Compatible with Sentro 22 32 40 48 Knitting Machines (Pink)
- Hands-Free Tensioning: No need to hold yarn manually
- Easy Installation: No drilling required, simple to attach
- High-Quality Material: Made of durable, odorless acrylic
As an affiliate, we earn on qualifying purchases.
As an affiliate, we earn on qualifying purchases.
Understanding the Importance of Thread Tension

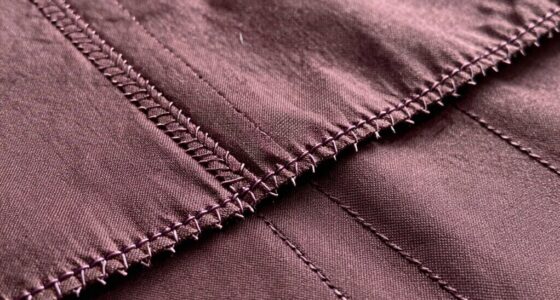
Thread tension plays a vital role in your sewing success. Proper tension guarantees that the top and bottom threads interlink in the fabric's middle, creating balanced stitches for a seamless finish.
If your thread tension's off, you might see visible loops or puckering. Tight tension can cause the bobbin thread to show on top, while loose tension makes the top thread visible underneath.
The default top thread tension is usually around 4.5, but you may need to make tension adjustments based on your fabric and thread thickness. Regular tension checks are important when starting new projects or changing threads.
Initial Checks for Thread Tension

Before you start sewing, it's essential to check a few key elements that affect thread tension.
First, make certain the spool is positioned correctly and that the thread path is clear of any obstructions.
Finally, verify the bobbin is inserted properly, as these initial checks can save you from tension headaches later on.
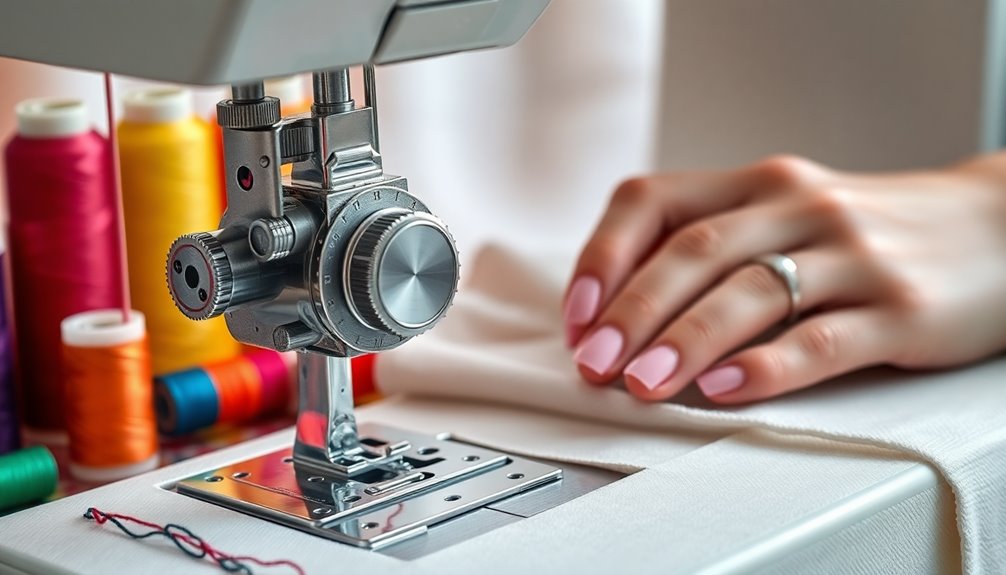
Spool Position Verification
To guarantee smooth sewing, it's vital to verify that your spool is positioned correctly on the spool pin. This guarantees the thread unwinds smoothly in the proper direction toward the machine.
Before starting, remove any spool stickers or labels that might obstruct the thread's movement. Check that all thread guides, including the take-up lever and tension discs, are threaded correctly to prevent tension issues.
Additionally, make certain the spool thread isn't caught on the bobbin winder guide, as this can lead to uneven tension during sewing.
Finally, confirm that the bobbin is inserted correctly into the bobbin case, following your sewing machine's specific unwinding direction.
These initial checks are fundamental for achieving flawless stitches!
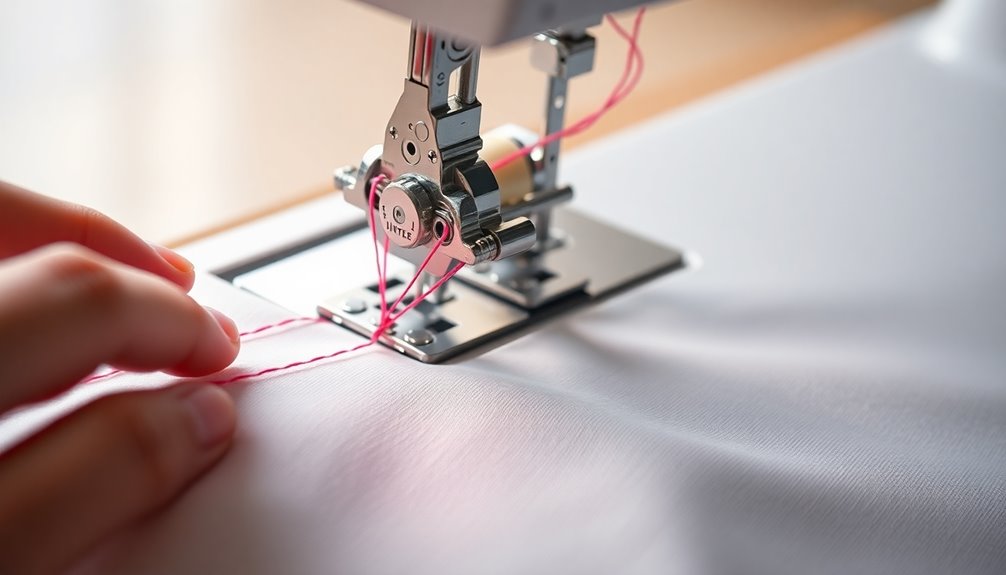
Thread Path Inspection
Once you've confirmed the spool is correctly positioned, inspecting the thread path becomes the next step in maintaining proper tension.
Start by ensuring that the spool thread unwinds in the correct direction, free from any obstructions like spool stickers.
Check each thread guide to confirm that the thread is threaded properly, as any errors can lead to tension issues and poor stitch quality.
Make sure the spool thread isn't caught on the bobbin winder guide, as this can create resistance and affect your sewing.
Finally, verify that the bobbin is inserted correctly, adhering to your machine's unwinding direction to maintain ideal bobbin thread tension.
These checks set the foundation for flawless stitching.
Bobbin Insertion Check
Proper bobbin insertion is vital for achieving balanced tension and smooth stitching. First, verify the bobbin's oriented correctly according to your sewing machine's manual. An incorrectly placed bobbin can lead to tension issues. Next, check that the bobbin is wound evenly and free of loose threads. A secure bobbin case is important; a loose one can cause inconsistent tension and thread breakage. Make certain the thread is threaded through the bobbin tension spring correctly. Finally, conduct a test stitch to confirm that the top and bottom threads interlink in the fabric's middle, indicating balanced tension.
| Check Item | Importance |
|---|---|
| Bobbin Orientation | Prevents tension issues |
| Bobbin Winding | Guarantees smooth feeding of thread |
| Bobbin Case Security | Avoids inconsistent tension and breakage |
Adjusting Thread Tension Settings

To get the best results from your sewing machine, start by setting the top thread tension to the default value, usually around 4 for straight stitches.
If you notice any issues, make small adjustments and test on scrap fabric, as this helps you find the right balance.
Default Tension Settings
When working with your sewing machine, understanding default tension settings is essential for achieving the best stitch quality. Typically, the default top tension setting is around 4.5, which serves as a baseline for your adjustments depending on the fabric and thread types you're using.
Keep in mind that zig-zag stitches may require different tension settings compared to straight stitches, especially if the bobbin thread pulls through to the top. It's vital to make small tension adjustments and test the stitch quality on scrap fabric after each change.
The bobbin tension is usually factory-set, so only adjust it if problems persist after modifying the top tension. Using contrasting thread colors can help you spot tension imbalances, ensuring balanced stitches on both sides.
Incremental Adjustments Process
Adjusting thread tension settings is essential for achieving the perfect stitch, especially after you've established your machine's default tension.
Start with a top tension setting of around 4.5 and test on scrap fabric. Make small adjustments of 1/4 to 1/2 a turn on the tension dials to avoid drastic changes.
After each tweak, test your stitching again to see if the top or bobbin thread stands out. If the top thread looks too tight or puckered, lower the needle tension incrementally; if you spot loose tension with visible loops, increase it.
Consistent testing after each adjustment is key to finding that perfect thread tension for your fabric and thread combination.
Happy sewing!
Advanced Tension Adjustments
While fine-tuning your sewing machine's tension settings, it's essential to approach bobbin tension with care and precision.
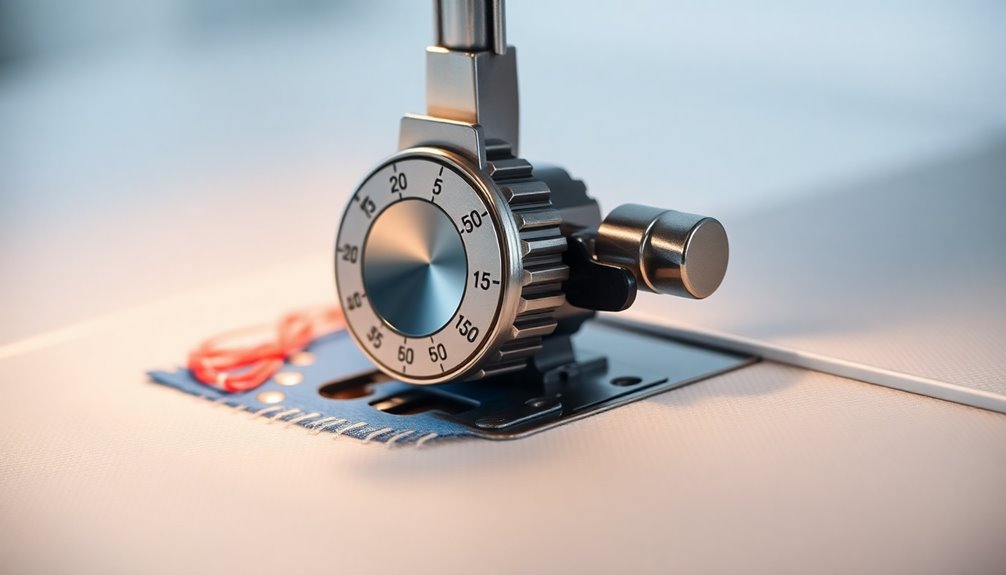
Start by noting the default setting before you adjust, so you don't get confused later. Using a small screwdriver, carefully turn the unlabelled screw on the bobbin case, making tiny adjustments of less than 1/8 rotation.
After each adjustment, test the tension with a fabric swatch. The bobbin case should lift slightly when you pull the thread; if it lifts too easily, tighten the tension by turning the screw clockwise.
If your top tension adjustments aren't improving stitch quality, checking the bobbin tension can help achieve that balanced stitching you're aiming for.
Keep testing until you find the perfect fit!
Common Tension Issues and Solutions

Tension issues can disrupt your sewing project, but identifying and resolving them doesn't have to be complicated.
If your stitches look uneven, you might be facing tension troubles. Visible loops on the fabric's top side often indicate loose top tension, while tight tension can cause bobbin thread to peek through.
You may also notice eyelashes or floaters—these occur due to improper presser foot placement or an imbalance between top and bobbin thread tensions.
To fix these problems, regularly check both sides of your fabric for broken threads or uneven stitches. Adjust your settings in small increments, testing after each change, to achieve balanced stitches that look flawless.
Happy sewing!
Testing Thread Tension Effectively
How can you guarantee your sewing machine's thread tension is just right? Start by using contrasting colors for your top thread and bottom thread. This makes it easier to spot any tension issues during your tension test.
Sew a diagonal line across a scrap piece of fabric, then stretch it to check for balanced stitches. If you see loops or puckering, it's time to adjust the tension settings incrementally. Always test after each change, examining the stitches from both sides to verify the top thread isn't too tight or loose.
Regularly conduct tension tests, especially when starting a new project or switching thread types, to keep your stitches looking flawless and your tension controlled.
Tips for Maintaining Proper Tension
Maintaining proper tension is essential for achieving beautiful and consistent stitching in your sewing projects. Here are some tips to help you keep your tension in check:
- Always thread with the presser foot up to guarantee the thread seats correctly between the tension discs.
- Use high-quality threads and needles suited to your fabric type to minimize tension issues.
- Regularly clean your machine to remove lint and debris, which can affect thread tension.
Before diving into a project, perform tension tests on scrap fabric to identify and adjust any discrepancies in your settings.
Keeping a tension adjustment cheat sheet handy can also guide you through recommended settings for different fabrics and threads, helping you maintain flawless stitches every time!
Resources for Further Learning

As you continue your sewing journey, exploring additional resources can deepen your understanding of machine tension and enhance your skills.
Start by checking out video resources that visually demonstrate troubleshooting steps for adjusting sewing machine tension. These can make the process clearer and more approachable.
Additionally, consider reading "Seven Common Overlocker/Serger Issues and How to Fix Them" to gain insights that complement your tension adjustment knowledge.
Following Tilly and the Buttons offers ongoing tips and inspiration through their blog posts, including discussions on tension management.
Don't forget to engage in quilting forums or social media groups to share experiences and learn from others.
Finally, sign up for email newsletters from sewing educators for new classes and exclusive tension adjustment tips.
Frequently Asked Questions
What Is the Perfect Tension on Sewing Machine?
The perfect tension on your sewing machine is when the top and bobbin threads meet seamlessly in the middle of your fabric.
You'll know you've achieved it when both sides show balanced stitches—no loops or visible bobbin thread.
Start with the default setting around 4.5, then adjust in small increments.
Always test after each change to guarantee accuracy, and remember to check your tension whenever you start a new project or change threads.
How to Tell if Tension Is Correct?
You might see beautiful, balanced stitches, but then again, you could spot loops and puckering.
To tell if your tension's correct, check both sides of your fabric. If the top thread peeks through underneath, it's too loose. If the bobbin thread surfaces, it's too tight.
Using contrasting threads helps you identify the troublemaker easily. Always test on scrap fabric first to verify your adjustments create flawless stitches before diving into your project.
What Setting Do You Set a Sewing Machine for Zigzag Stitch?
To set your sewing machine for a zigzag stitch, start with the top tension at a range of 4 to 5.
However, you might need to adjust it based on your fabric's thickness and type. If you notice the bobbin thread pulling to the top, it's likely too tight, so loosen it a bit.
Always test your zigzag stitch on a scrap piece, tweaking the tension until the stitches look balanced and neat.
How Do You Know if Your Tension Is Too High or Low?
You can tell if your tension's too high or low by examining your stitches.
If you see the top thread on the underside, it means the tension's too low, causing loose loops.
On the flip side, if the bobbin thread shows on top, the tension's too high.
Ideally, your stitches should interlock nicely in the middle, with no visible thread on either side.
Test with contrasting thread colors to easily spot issues.
Conclusion
So, there you have it! With this ultimate guide, you're now a thread tension wizard—ready to dazzle the world with your perfectly stitched masterpieces! Just remember, adjusting tension isn't rocket science; it's more like trying to convince a cat to take a bath. So go ahead, embrace the chaos of thread and fabric, and if all else fails, just tell everyone it's "artistic." Happy sewing, and may your threads stay as straight as your sewing ambitions!