If your sewing machine won't sew Velcro, it could be due to using the wrong needle or type of hook and loop tape. Check that you're using a sturdy denim or topstitch needle, preferably in a 14 or 16-gauge size. You might also need to adjust your machine settings, like the stitch length and tension. Slowing down while sewing can help too. There are plenty of other tips and tricks you can explore to solve this issue.
Key Takeaways
- Using a dull needle can cause skipped stitches; opt for a sturdy 14-gauge or 16-gauge needle to handle Velcro's thickness.
- Ensure you are using a sew-on Velcro type, as adhesive-backed varieties can gum up the needle and hinder performance.
- Adjust your sewing machine settings, including stitch length and tension, to accommodate the bulk and texture of Velcro.
- Slow down your sewing speed for better control and to prevent fabric shifting, which is essential when sewing through thick materials.
- Test your machine on scrap fabric before starting to ensure proper needle size, thread tension, and stitch quality for Velcro attachment.
Get the Right Hook and Loop Tape for Sewing
When tackling a project that involves sewing Velcro, the right hook and loop tape makes all the difference.
You'll want to choose sew-on Velcro over adhesive-backed varieties to prevent needle gumming and guarantee smoother sewing. Opt for high-quality, thinner hook-and-loop tape, as this will facilitate easier needle passage and reduce the risk of skipped stitches.
It's important to select Velcro that matches the fabric type and weight of your project for compatibility and durability. Look for soft hook and loop strips that provide flexibility and comfort, steering clear of stiff options that complicate the sewing process.
Finally, consider the width of the Velcro; wider strips are easier to handle and sew accurately, minimizing alignment issues.
Use Stronger Needles
When sewing Velcro, using the right needle size and type is essential.
Opt for a sturdy denim or topstitch needle in a 14-gauge or 16-gauge to prevent breakage and skipped stitches.
This simple adjustment can make a significant difference in your sewing success.
Needle Size Matters
Using the right needle size is essential for successfully sewing Velcro, as a stronger needle, like a denim or 16-gauge needle, can prevent bending and breakage.
A sturdier needle guarantees you avoid skipped stitches, leading to a reliable seam. Here are some important considerations:
- Match needle size to fabric type for ideal results.
- Use needles specifically designed for heavy fabrics to reduce jamming.
- Regularly replace dull needles to maintain performance.
- Choose a needle that complements the thickness of the Velcro.
Needle Type Recommendations
Choosing the right needle type can make all the difference when sewing Velcro. A denim needle is your best bet, as it's stronger and designed for thick materials.
Opt for a 14-gauge or 16-gauge needle to guarantee durability and minimize skipped stitches. If you're tackling heavy-duty tasks, consider a topstitch needle; its larger eye and thicker shaft handle Velcro well.
For stretch fabrics, a ballpoint needle works effectively, allowing smooth movement through Velcro fibers without damage.
Remember to replace your needle if it shows signs of wear, as a dull needle can lead to more issues.
Pair the right needle with quality thread for the best results in your sewing projects!
Avoiding Needle Breakage
To avoid needle breakage while sewing Velcro, opt for stronger needles like denim or topstitch types. These heavy needles can handle the dense material more effectively.
Consider the following tips for ideal results:
- Use a 14-gauge or 16-gauge needle to withstand thicker fabrics.
- Verify the needle is properly seated and threaded in your machine.
- Regularly replace worn or damaged needles to maintain performance.
- Test with other needle types, like ballpoint or universal, to find the best fit. Additionally, ensure that your sewing machine is well-maintained to prevent mechanical failures that could lead to issues while sewing.
Upgrade Your Machine

Upgrading your sewing machine can make a world of difference when tackling challenging materials like Velcro. Modern machines typically have stronger motors and better handling capabilities, allowing you to sew through thick materials with ease.
Older machines often struggle due to inadequate needle strength and design limitations, making an upgrade a practical solution. Newer models usually feature adjustable presser foot pressure, which helps maintain even feeding for bulkier materials.
Investing in a machine that accommodates a wider variety of needle sizes, like 14-gauge or 16-gauge, adds versatility. Additionally, advanced stitching options such as zig-zag patterns guarantee secure attachment of Velcro without skipping stitches. Furthermore, consider how smart features in new models can enhance your sewing experience by providing better control and convenience.
An upgrade can transform your sewing experience and open new creative possibilities.
Use a Shorter Stitch Length
After upgrading your sewing machine, you'll want to focus on fine-tuning your settings for the best results with Velcro. One important adjustment is using a shorter stitch length, ideally around 1.5. This helps minimize skipped stitches and enhances the hold of the sticky backed Velcro.
Here are some benefits of a shorter stitch length:
- Increases points of contact with the fabric
- Improves needle penetration through thick Velcro
- Reduces the risk of the needle getting caught in the hooks
- Enhances overall durability of your finished project
Experimenting with these stitch length settings can lead to improved sewing outcomes, ensuring your Velcro projects are both functional and long-lasting.
Don't hesitate to make these adjustments for a smoother sewing experience!
Try a Zig-Zag Pattern
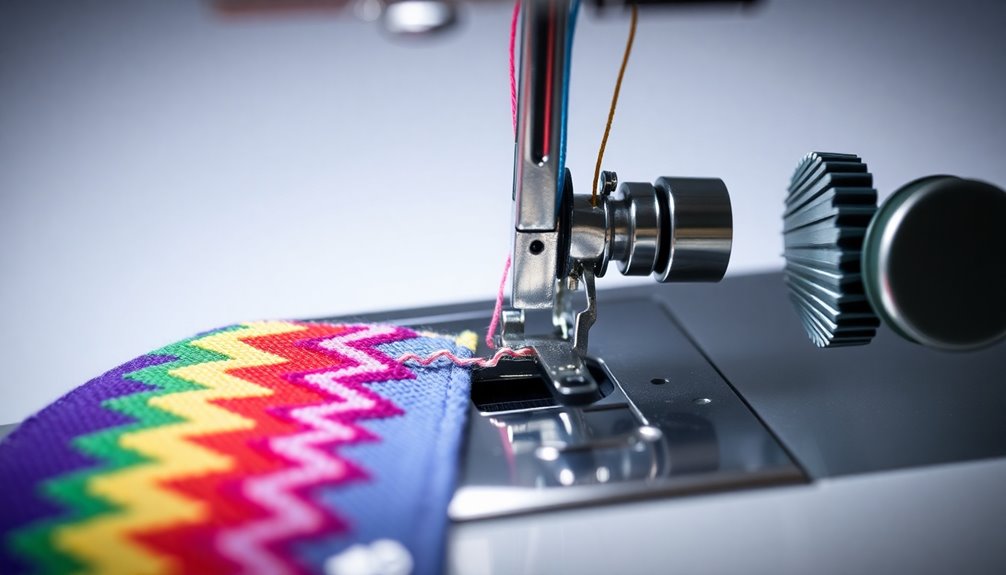
If you want to guarantee your Velcro stays securely attached, trying a zig-zag pattern is a smart move. A zig-zag stitch not only provides flexibility but also firmly anchors the tape to the fabric.
Position half of the zig-zag on the Velcro and half on the fabric to achieve a stronger hold, reducing the risk of skipped stitches. You can adjust the width of your zig-zag stitch to ascertain it adequately covers the Velcro without compromising the fabric's integrity.
For best results, use a shorter stitch length, around 1.5, to enhance stitch quality. This technique accommodates any movement of the Velcro during use, ascertaining a secure attachment while maintaining the fabric's flexibility.
Use Robust Thread

A zig-zag stitch is a great start, but using robust thread takes your Velcro sewing projects to the next level.
Opt for a heavier thread to enhance durability and avoid breakage when stitching through Velcro's dense material. Here are some tips to guarantee success:
- Choose nylon or heavy-duty polyester thread for strength.
- Match the thread with the appropriate needle size.
- Adjust your machine's tension settings to accommodate thicker thread.
- Test different thread types on scrap fabric before starting your project.
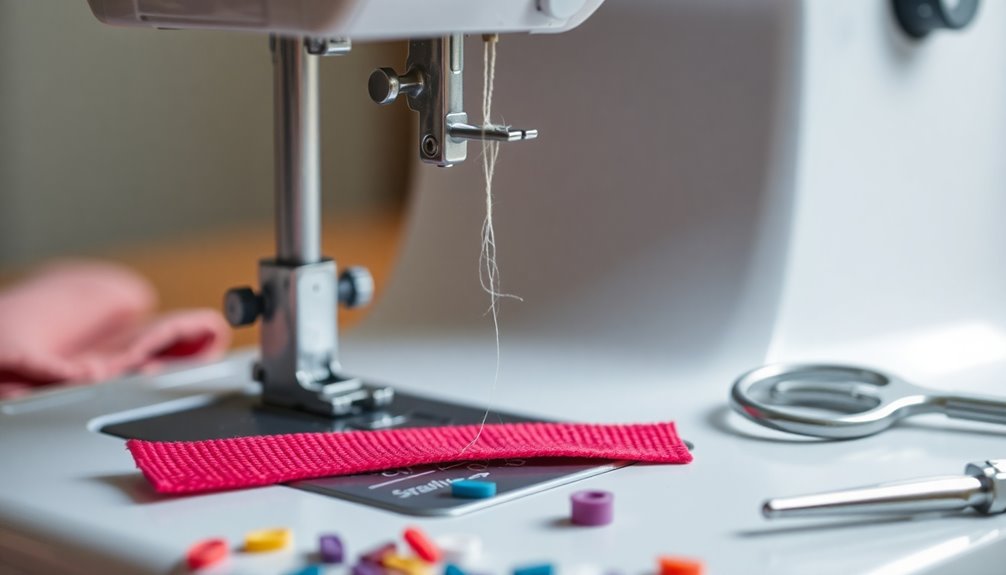
Test Your Settings
Before you start sewing Velcro, it's crucial to test your machine settings.
Use fabric scraps that match your project to guarantee your stitch quality is up to par.
This simple step can save you time and frustration later on.
Machine Settings Verification
How can you guarantee your sewing machine is set up properly for Velcro? Start by checking these essential settings:
- Use a 14-gauge or 16-gauge needle for thicker materials.
- Adjust the tension settings to avoid thread breakage.
- Opt for a zig-zag stitch for flexibility and security.
- Slow down your sewing speed to maintain control.
Before you begin, always test your sewing machine settings on fabric scraps. This helps you avoid damaging your final project.
Remember, the top thread should flow smoothly, and any tension issues might cause skipped stitches.
With the right adjustments, you'll find that sewing Velcro becomes a breeze. Don't overlook these vital steps, and you'll achieve better results with your sewing machine.
Test Fabric Samples
Testing fabric samples is essential for ensuring your sewing machine is ready to handle Velcro. Start with scrap pieces that match the weight and texture of your final project, including sticky back Velcro. This helps you accurately assess stitch quality and machine performance.
Based on your test fabric samples, adjust your stitch length and tension settings, as these can greatly impact your results. If you experience skipped stitches, try different needle types or sizes to find the right fit for sewing Velcro.
Testing with Velcro samples also helps you spot issues like needle gumming or thread breakage, allowing you to make necessary adjustments before tackling your main project. Don't skip this vital step!
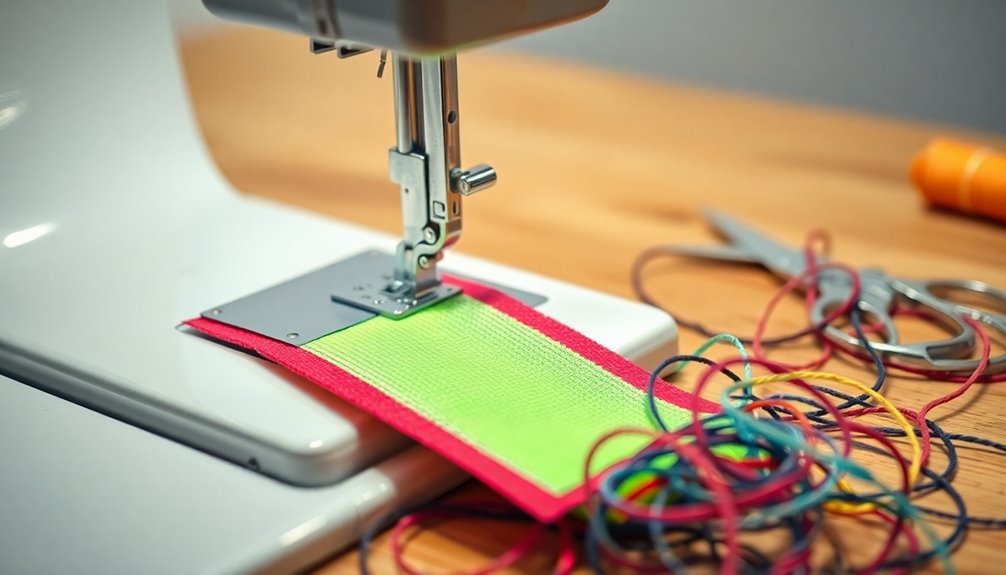
Slow Down
When you're tackling Velcro, slowing down your sewing speed can make a significant difference in your results. By taking your time, you gain better control over the needle and avoid tangling in those thick fibers.
Here are some benefits of slowing down:
- Reduces chances of skipped stitches, especially with zigzag patterns
- Helps maintain alignment, preventing fabric shifts
- Allows for more precise sewing on heavy materials
- Lets you gradually increase speed for consistent results
Utilizing your sewing machine's slow-speed setting can be particularly helpful. As you sew, gauge your machine's performance and adjust as needed. Additionally, understanding data privacy challenges related to sewing machine technology can enhance your overall sewing experience.
Pin Your Hook and Loop Tape
Secure your hook and loop tape with plenty of pins to prevent any movement while you sew. This guarantees accurate alignment and a clean finish. Use pins closely spaced to hold the Velcro in place, or consider fabric clips for thicker materials. Remember to pin only on the edges for easier access to the center and to avoid pinning over the hooks. Always test your method on a scrap piece of fabric to check that the pins won't interfere with your stitching.
| Pinning Method | Advantages | Disadvantages |
|---|---|---|
| Traditional Pins | Easy to use | May damage delicate fabric |
| Fabric Clips | Strong hold | Can be bulkier |
| Adhesive on the Back | Quick placement | May not hold during sewing |
Following these tips will help you pin your hook and loop tape effectively.
Consider Your Colors
When you're sewing Velcro, the right thread color can make a big difference in how your project looks.
Choosing a shade that matches both your Velcro and fabric helps hide stitch lines and creates a polished finish.
Plus, testing thread colors on scrap fabric guarantees you find the best match before you start sewing.
Thread Color Matching
How can you elevate the appearance of your sewing project? Thread color matching is key to achieving a professional finish, especially when working with Velcro.
Here's how you can enhance your work:
- Choose a thread that closely resembles the fabric color.
- Use strong, durable thread like nylon or polyester to prevent fading.
- Test various thread colors on scrap fabric before committing.
- Adjust your sewing machine's tension settings for ideal vibrancy.
Fabric Compatibility Considerations
Choosing the right fabric and Velcro colors is essential for a polished look in your sewing project. Pay attention to fabric compatibility considerations to guarantee your Velcro in place complements your chosen material.
Matching colors enhances cohesion, while contrasting shades can offer an intentional design twist—just make sure it boosts the visual appeal. For darker fabrics, opt for black or dark-colored Velcro to avoid unwanted contrast.
Testing color compatibility on scrap fabric helps prevent mismatches, guaranteeing your selected Velcro blends seamlessly with your project. Remember, the texture and color of the Velcro should harmonize with your fabric to maintain both functionality and aesthetics.
This thoughtful approach will elevate your work and create a finished item you'll be proud of.
Frequently Asked Questions
Why Won't My Machine Sew Velcro?
If your machine won't sew Velcro, it might be due to several factors.
First, check if you're using the right needle; a thicker needle like a denim one can help.
Adjust your tension settings, as incorrect tension can cause issues.
Also, try using a zig-zag stitch instead of a straight one for better flexibility.
Finally, slow down your sewing speed to maintain control and prevent tangles.
Can You Sew Velcro on With a Sewing Machine?
Imagine you're crafting a custom bag and want to add Velcro for easy closure. Yes, you can sew Velcro with a sewing machine!
Just make certain to use sew-on Velcro, not the sticky kind. A sturdy needle, like a denim needle, works best to handle the thickness.
Adjust your machine’s settings for stitch length and tension, and use a zigzag stitch for flexibility. Always test on scrap fabric to confirm everything’s set up perfectly! If you notice that your stitches are looking uneven or the fabric is puckering, this may indicate some adjustments are needed. Pay close attention to your tension settings, as bottom stitch bunching causes can result from incorrect tension and lead to frustrating sewing experiences. Additionally, keeping your presser foot at the right height can ensure a smooth feed as you work, further enhancing the quality of your stitching.
What Size Sewing Machine Needle for Sewing Velcro?
When sewing Velcro, you should use a sturdy needle, like a denim or heavy-duty needle, sized 14 or 16.
These needles prevent bending or breaking during the sewing process. If you're working with delicate fabrics, consider a ballpoint needle, as it smoothly navigates the fibers.
Make sure the needle is compatible with both your sewing machine and the Velcro type.
Adjust your thread tension accordingly to avoid skipped stitches or breakage.
What Stitch to Use for Velcro?
When sewing Velcro, you should use a zig-zag stitch for flexibility and secure attachment.
Opt for a shorter stitch length, around 1.5, to prevent skipped stitches. Focus on sewing along the side of the Velcro tape, avoiding the hooks to protect your needle.
A wider zig-zag stitch helps guarantee that half of the stitch lands on the Velcro and half on the fabric, giving you durability and a neater finish.
Conclusion
So, if your sewing machine's giving you the cold shoulder with that pesky Velcro, don't fret! Just remember, it's not the machine; it's you and your questionable choices in needles and settings. With a few adjustments and a sprinkle of patience, you'll be a Velcro-sewing virtuoso in no time. Who knew sewing could be so dramatic? Just think of it as your machine's way of testing your dedication—like a reality show, but with more thread and fewer roses!