
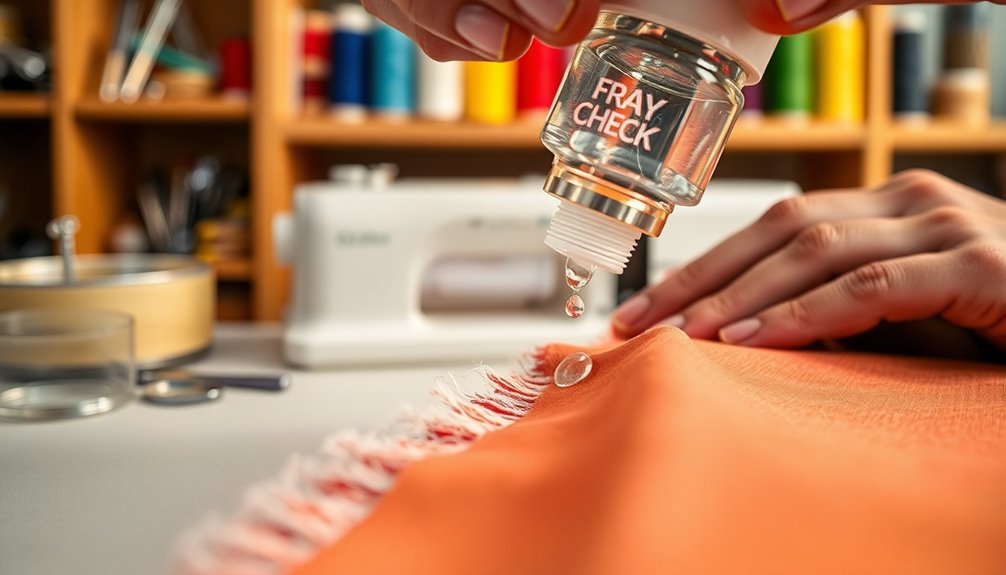
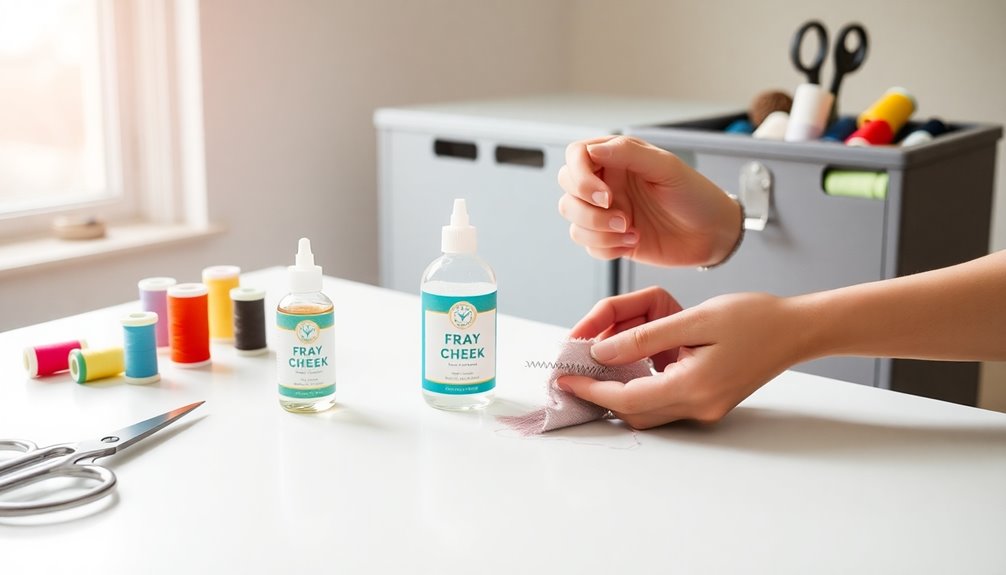
To use Fray Check, start by preparing a clean, dry workspace away from heat. Protect surfaces with cardboard and puncture or cut the applicator tip as needed. Apply the liquid directly to frayed fabric edges with a steady hand, avoiding oversaturation. Allow it to dry for 15-30 minutes and reapply if necessary. Use protective eyewear and store the product properly. If you want tips on maintaining it and other techniques, there's plenty more to explore!
Key Takeaways
- Prepare a clean, dry workspace free of heat sources and use cardboard to protect surrounding fabric areas before application.
- Puncture or cut the tip of the Fray Check for desired application size, then apply directly to clean, frayed fabric edges.
- Use a steady hand for even application, avoiding over-saturation to maintain fabric flexibility and prevent stiffness.
- Allow the Fray Check to dry for 15-30 minutes for optimal effectiveness; reapply if additional protection is needed.
- Always wear protective eyewear and store Fray Check in a cool, dry place away from children and flames.

Dritz Fray Check Liquid Seam Sealant 2-Pack – Permanent Clear Fabric Edge Protector to Prevent Fraying and Secure Thread Ends – 0.75 oz Bottles
Prevents fabric from fraying and secures thread ends
As an affiliate, we earn on qualifying purchases.
As an affiliate, we earn on qualifying purchases.
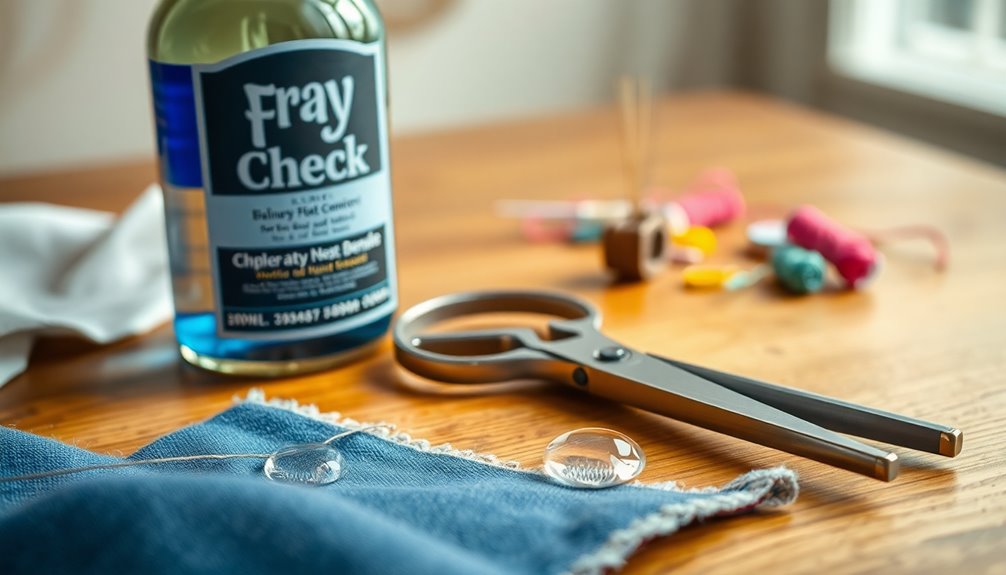
Materials Needed
When you're ready to use Fray Check, gather a few essential materials to confirm a smooth application.
First, you'll need Fray Check liquid seam sealant, which comes in a convenient 2 pack option.
Next, have a pin on hand to puncture the tip for small amounts, or scissors to cut off the tip for larger applications.
It's also crucial to use cardboard or a protective surface to shield other fabric areas from accidental spills.
Make sure your work area is clear of heat sources since Fray Check is flammable, and keep it away from flames.
Finally, don't forget to have protective eyewear nearby to prevent any eye contact during application, along with proper storage materials for safe keeping.
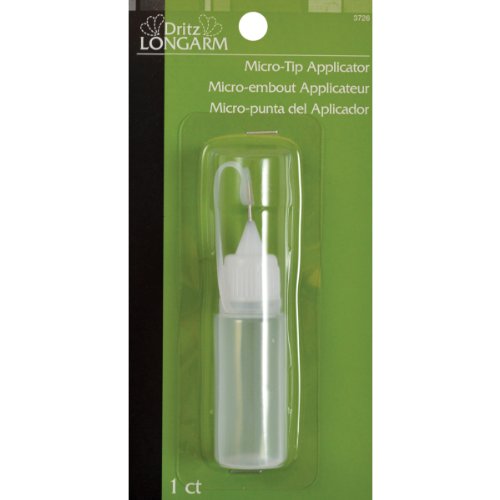
Dritz Longarm 3726 Applicator Bottle with Micro-Tip
The Package Height Of The Product Is 6.6 Inches
As an affiliate, we earn on qualifying purchases.
As an affiliate, we earn on qualifying purchases.
Related Products
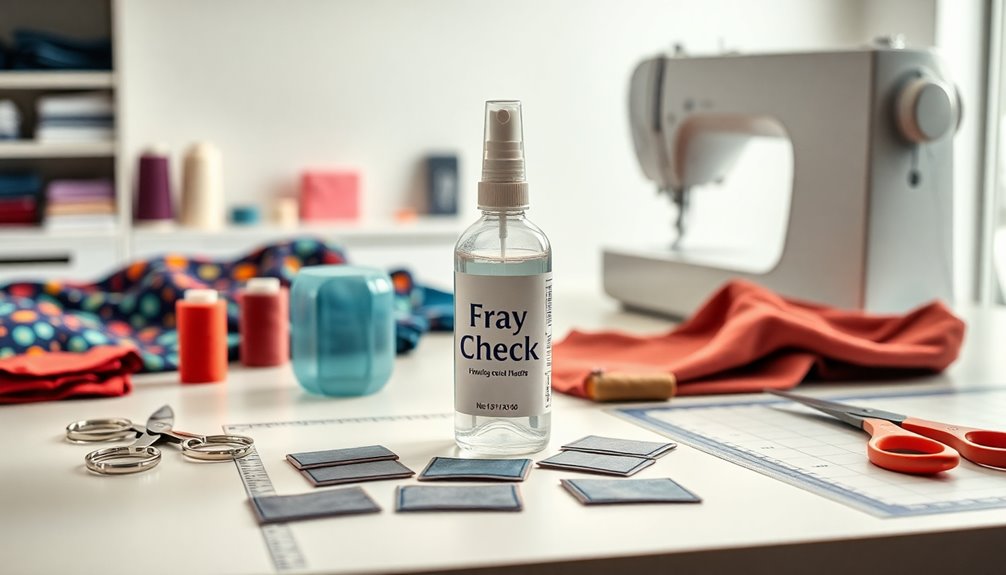
Several products can enhance your experience with Fray Check, making your sewing projects even more efficient.
The Prym Fray Check, priced at £5.10 for a 22.5ml bottle, is perfect for preventing fraying on loose weave fabrics like wool and linen.
For color matching, consider the Prym Transparent Sewing Thread, available for £2.30 per 200m spool, which blends seamlessly and resists yellowing.
You can also purchase Fray Check in a convenient 2 pack, speeding up your application process.
For precise application, Micro-Tip Applicator Bottles range from $0.99 to $2.49, ensuring you target fabric edges effectively.
Finally, tools like the Clip n Glide Bodkin and Fabric Eraser further enhance your ability to keep fabric from fraying.
Dritz Fray Check Liquid Seam Sealant 2-Pack – Permanent Clear Fabric Edge Protector to Prevent Fraying and Secure Thread Ends – 0.75 oz Bottles
Prevents fabric from fraying and secures thread ends
As an affiliate, we earn on qualifying purchases.
As an affiliate, we earn on qualifying purchases.
Video Demonstration
In the video demonstration, you'll get a clear overview of Fray Check and how to use it effectively.
It walks you through application techniques and highlights essential safety precautions to keep in mind.
Product Overview Highlights
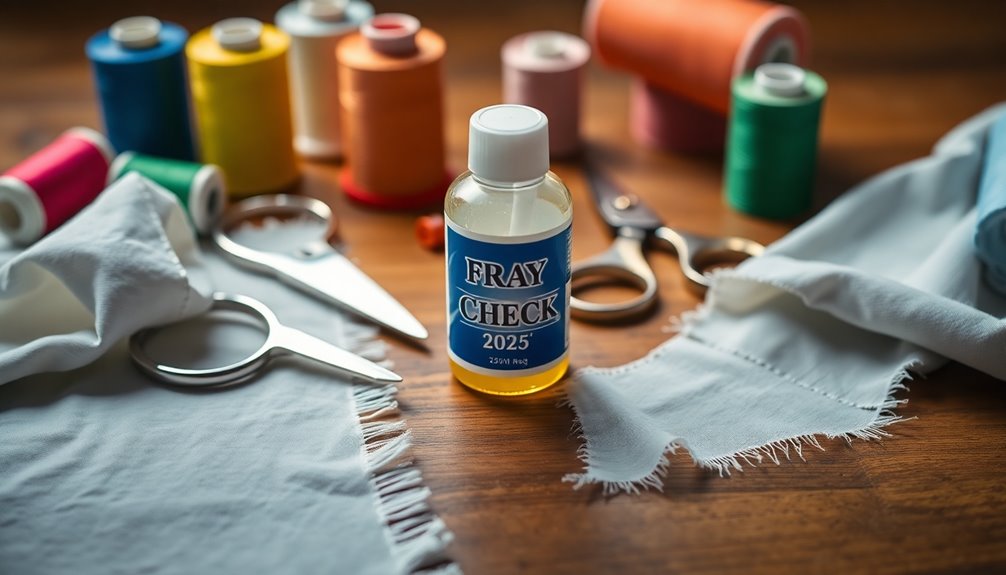
Fray Check stands out as an essential tool for anyone looking to prevent fabric fraying. This liquid seam sealant by Dritz is perfect for securing thread ends and comes in a convenient 2-pack option.
Its innovative applicator design screws onto the original tip, making application faster and easier along fabric edges. To use it, just puncture the tip with a pin for small amounts or cut it off for larger applications.
Remember to protect other fabric areas with cardboard. After you apply Fray Check, allow 5 to 10 minutes before handling and let it dry completely for 15 to 30 minutes for ideal results.
Always keep it away from heat and store it in a cool, dry place.
Application Techniques Explained
When you plunge into applying Fray Check, mastering the technique can make a world of difference in your sewing projects.
Start by puncturing the tip with a pin for small amounts or cutting it off for larger applications, ensuring precision as you secure thread ends. Always use cardboard to protect surrounding fabric areas during application to prevent unwanted sealing.
Carefully apply the liquid along fabric edges or thread ends, keeping it away from heat sources since it's flammable. Allow 5 to 10 minutes for the product to set, and wait 15 to 30 minutes for it to dry completely for best results.
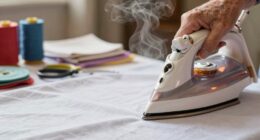
For a polished finish, consider ironing the area post-application, but avoid excessive use to prevent stiffness.
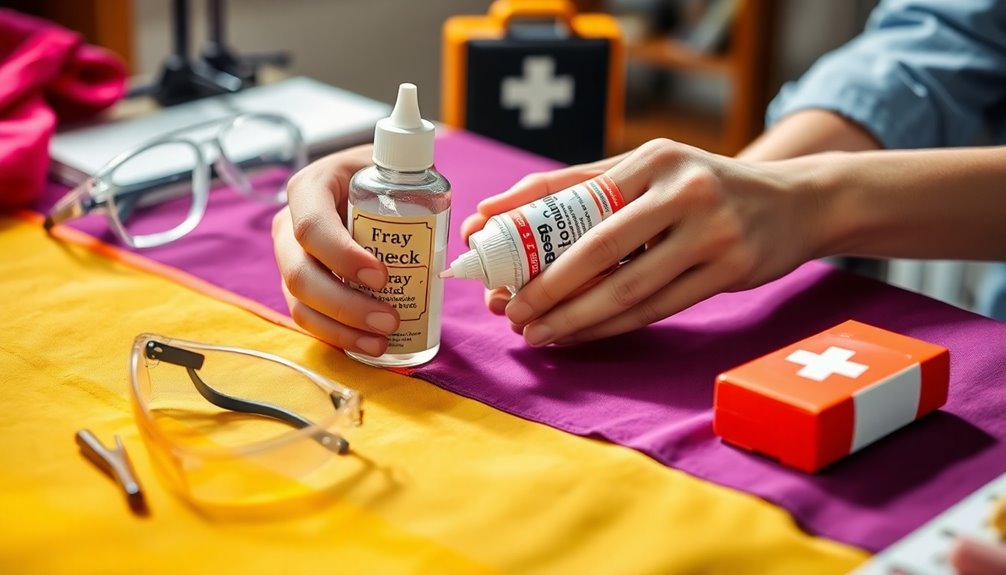
Safety Precautions Emphasized
Applying Fray Check correctly is just the beginning; safety should always come first. To guarantee a safe experience while using this product, follow these essential safety precautions:
- Keep Fray Check away from heat and flames, as it's flammable and poses fire hazards.
- Use it in well-ventilated areas to avoid inhaling vapors; open spaces are best.
- Wear protective eyewear to shield your eyes from accidental splashes.
Additionally, store Fray Check in a cool, dry place to maintain its effectiveness and avoid chemical degradation.
When disposing of any unused or expired product, follow local regulations to support safe environmental practices.
Prioritizing these safety precautions will make your Fray Check experience smoother and safer.

SQIMZAR 3 PCS Safety Glasses Goggles For Women Nurses Protective Eyewear,Anti Fog Safety Goggles
Safety glasses with side shields: This safety clear glasses with side shield design, can be used to anti…
As an affiliate, we earn on qualifying purchases.
As an affiliate, we earn on qualifying purchases.
Instructions for Use
Before you start using Fray Check, make sure you've prepared your workspace and gathered your materials.
It's also vital to follow safety guidelines to avoid any mishaps during application.
Let's go over what you need to do before getting started.
Preparation Before Application
To guarantee a successful application of Fray Check, start by preparing your workspace properly.
First, make sure your area is clean, dry, and free of heat sources since Fray Check is flammable.
Next, protect surrounding fabric areas by placing a piece of cardboard underneath the application site to catch any spills.
- Puncture the tip with a pin for small applications or cut it off for larger ones to control the flow.
- Always read the product label for safety precautions and wear protective eyewear if needed.
- Store Fray Check in a cool, dry place and keep it out of reach of children.
With these preparations, you'll set yourself up for a smooth, washable application!
Safety Guidelines to Follow
Once you've prepared your workspace, it's important to follow safety guidelines during the application of Fray Check. Always puncture the tip of the Fray Check applicator with a pin for small applications, or cut it off for larger amounts. Use cardboard to shield other fabric areas from accidental application of the liquid seam sealant.
Apply Fray Check in a well-ventilated area, away from heat sources and flames, since the product is flammable. Wear protective eyewear to avoid eye contact, as the check liquid can be harmful. Finally, dispose of any leftover product according to local regulations.
| Safety Measure | Importance |
|---|---|
| Ventilation | Reduces inhalation risks |
| Protective eyewear | Prevents eye injuries |
| Proper disposal | Protects the environment |
Before First Use

When you're ready to use Fray Check for the first time, it's important to prepare properly to secure effective application. To get started, make sure you follow these essential steps:
- Puncture the tip of the applicator with a pin for small applications, or cut it off for larger amounts.
- Protect surrounding fabric areas with cardboard to prevent accidental application.
- Confirm your workspace is clear of heat sources, as Fray Check is flammable.
Additionally, store Fray Check out of reach of children to avoid accidental ingestion or exposure.
Always read the label and safety precautions to familiarize yourself with the product's handling and storage requirements. Taking these precautions will help you achieve the best results while keeping your workspace safe.
Application Techniques
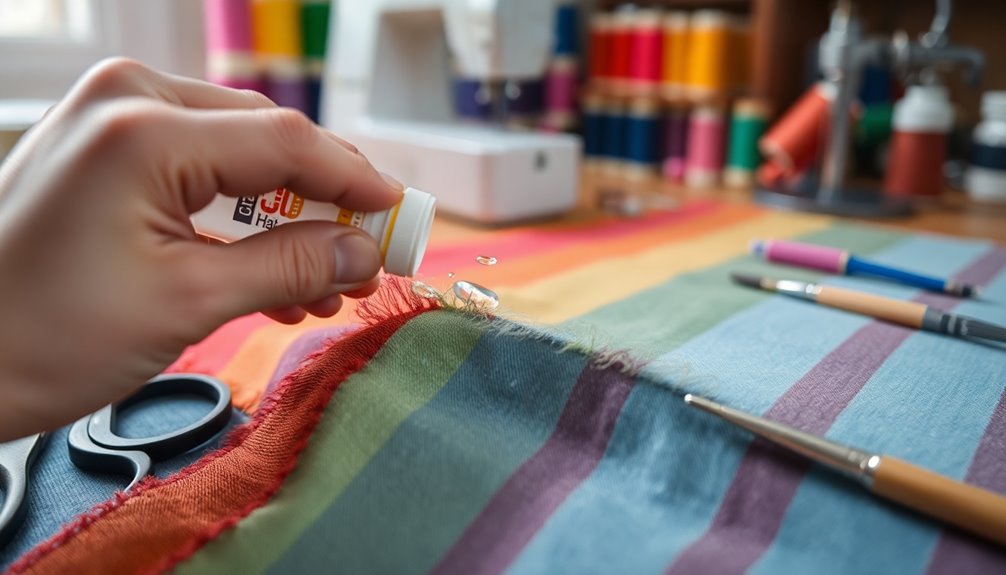
Applying Fray Check effectively guarantees that your fabric edges stay neat and fray-free.
Start by puncturing the tip with a pin for small amounts or cutting it off for larger applications. Use a squeeze bottle to carefully apply Fray Check along the edges or ends of threads, ensuring you avoid excess to prevent fabric stiffening.
It's a good idea to place cardboard underneath the fabric to protect surrounding areas from any spills or drips.
After application, allow the Fray Check to set for 5 to 10 minutes before handling the fabric. For ideal results, let it dry completely for 15 to 30 minutes, as this secures thread and prevents further fraying.
Store Fray Check in a cool, dry place to maintain effectiveness.
Safety Precautions
Although using Fray Check can help you keep your fabric edges tidy, it's important to prioritize safety during the application process. Here are some key precautions to follow:
- Always keep Fray Check away from heat sources and flames, as it's flammable and can pose a fire risk.
- Verify adequate ventilation to avoid inhaling harmful vapors that might discolor or stain your workspace.
- If necessary, wear protective eyewear to prevent accidental contact with your eyes.
Additionally, store Fray Check in a cool, dry place to maintain its effectiveness and dispose of it according to local regulations.
Troubleshooting Tips

Have you ever faced issues while using Fray Check? If you notice it isn’t adhering properly, check that the fabric edges are clean and free from dust or fraying before application. In addition, ensure that you’re applying the product generously along the edges for optimal adherence. It may also help to use stop fabric fraying techniques, such as sewing a quick zigzag stitch or applying additional fabric glue, to reinforce the edges and prevent future issues. Taking these extra steps can greatly enhance the longevity of your fabric and ensure a cleaner finish.
To prevent stiffness, apply Fray Check sparingly and let it dry for 15 to 30 minutes. If you see discoloration, test on a small, inconspicuous area of the fabric first.
In case of overspill or excess application, quickly use a cotton swab to remove the extra before it dries, as it'll be tough to fix once set.
If the applicator tip gets clogged, simply puncture it with a pin or clean it with warm soapy water. This'll help keep your thread secure along the edge.
Storage Recommendations
Proper storage of Fray Check is essential to keep it effective and extend its shelf life. To guarantee your product remains in top condition, follow these guidelines:
- Store it in a cool, dry place away from heat sources or flames, as it's flammable.
- Always seal the cap tightly after each use to prevent drying out or evaporation.
- Keep Fray Check out of reach of children to avoid accidental ingestion or misuse.
Additionally, check the expiration date periodically. Dispose of any expired products according to local regulations to maintain safety.
Frequently Asked Questions
How Do You Use a Fray Check?
To use Fray Check, start by puncturing the tip of the applicator with a pin for precision or cut it for larger areas.
Apply it along the fabric edges or thread ends, but be careful to avoid your eyes and work in a well-ventilated area.
Let it dry completely for 15 to 30 minutes before touching the fabric.
Store it safely in a cool, dry place, away from children and heat sources.
Is Fray Check Better Than Super Glue?
Fray Check's definitely better than super glue for fabric projects.
It prevents fraying without making your fabric stiff or brittle, allowing it to stay flexible after drying. You can apply it precisely along edges, making it perfect for delicate sewing.
Plus, it dries clear and won't alter your fabric's look, unlike super glue, which can leave messy residue.
If you want durability and finesse, stick with Fray Check for your fabric needs.
How Long Does a Fray Check Need to Dry?
Fray Check needs about 15 to 30 minutes to dry completely, depending on how thickly you applied it.
You should let it set for 5 to 10 minutes before handling the fabric.
Keep in mind that humidity and airflow can affect drying times, so it might take longer in certain conditions.
Always check the fabric afterward to verify it's fully dried and free of any sticky residue before using it.
How to Use Fray Check on Raw Hem Jeans?
To use Fray Check on raw hem jeans, start with clean edges, puncture the bottle tip, and apply evenly.
You'll want to guarantee the coverage is consistent to prevent fraying.
Place a piece of cardboard underneath to protect the fabric.
Let it dry for 15 to 30 minutes, avoiding excessive application to keep the fabric flexible.
Conclusion
Now that you've mastered using Fray Check, imagine transforming frayed edges into crisp, polished finishes with just a few drops. Picture your fabrics looking pristine, preserving their beauty for years to come. With the right techniques and a little practice, you'll enjoy seamless projects and a newfound confidence in your sewing skills. So, grab that bottle, let your creativity flow, and watch as your fabric dreams come to life, stitch by stitch!