
Transforming a pillowcase into a peasant top is a fun, budget-friendly DIY project perfect for teens. Start by choosing a comfortable, breathable fabric like cotton, wash and iron it to remove wrinkles. Cut your pillowcase to size, then sew the edges, armholes, and neckline for a polished look. Add embellishments or trim for a personalized touch. With some sewing skills, you can create a trendy top that’s perfect for summer. Keep going to discover all the simple steps to make yours!
Key Takeaways
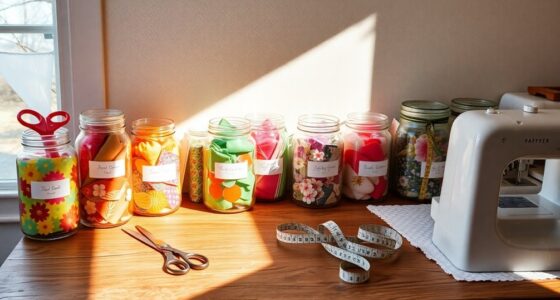
- Choose a soft, breathable cotton pillowcase with a decorative top for a comfortable, stylish peasant top.
- Pre-wash and iron the pillowcase to prevent shrinking and wrinkles before cutting.
- Measure and cut the fabric to your desired top size, leaving seam allowances for hemming.
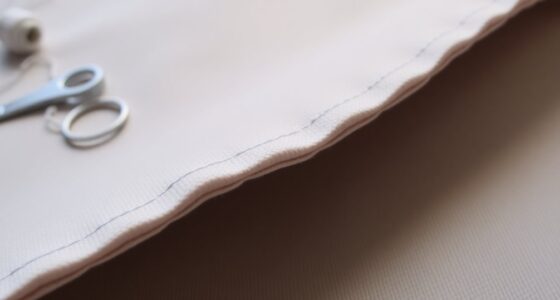
- Sew the side seams and neckline using a straight stitch; hem armholes and edges to prevent fraying.
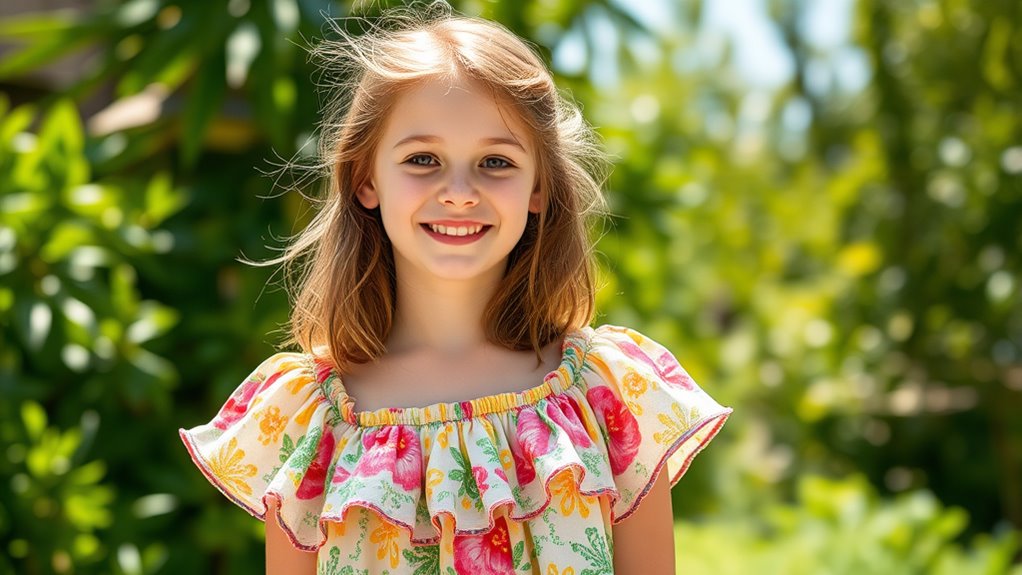
- Personalize the top with embroidery, trim, or embellishments for a fun, teen-friendly DIY fashion project.
Ever wondered how to give your wardrobe a fresh, personalized touch without breaking the bank? Turning an ordinary pillowcase into a stylish peasant top is a fun, easy project that lets you express your style while saving money. The key to a successful transformation lies in choosing the right fabric and mastering some basic sewing techniques. When selecting fabric, focus on comfort, breathability, and durability. Cotton pillowcases are ideal because they’re soft, easy to work with, and hold their shape well. If you want a more vibrant or textured look, consider pillowcases with embroidery or patterns that can add extra flair to your top. Avoid fabrics that are too slippery or stretchy, as they can be tricky to sew and may distort your finished piece.
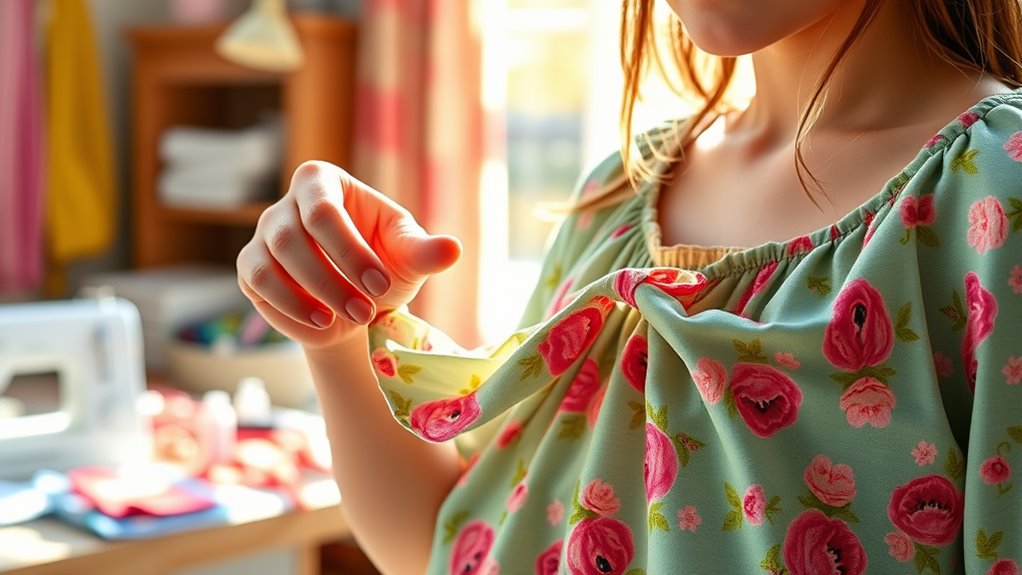
Transform your wardrobe with a DIY pillowcase peasant top—easy, stylish, and budget-friendly.
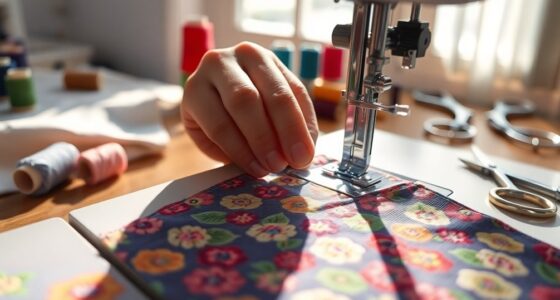
Once you’ve picked the perfect pillowcase, you’ll want to focus on sewing techniques that make the process smooth and give your top a polished finish. Start by washing and ironing the pillowcase to remove any wrinkles and to pre-shrink the fabric. This step ensures your shirt maintains its shape after washing. Using fabric scissors, carefully cut the pillowcase along the seams, and measure your desired length and width. When cutting, remember to leave extra fabric for hemming and seam allowances—about an inch or so should do it. If you’re new to sewing, consider using a straight stitch for seams, as it’s straightforward and strong enough for casual wear. A zigzag stitch can help prevent fraying along raw edges if you don’t plan to finish the seams with a serger or seam binding.
Next, create the neckline by folding over the top edge and sewing a narrow hem, or add a decorative trim for a personalized touch. For the sleeves, cut armholes to your preferred size, then hem the edges to prevent fraying. You can leave the sleeves as-is for a loose, boho vibe, or add elastic or drawstrings for a more fitted look. Throughout the process, pin your fabric pieces carefully to keep everything aligned and use a sewing machine to secure the seams. If you’re feeling adventurous, try adding embellishments like embroidery, patches, or fabric paint to further customize your peasant top. Additionally, understanding beach destinations can inspire fun summer styles, like breezy tops perfect for seaside adventures.
In just a few simple steps, you’ll have a trendy, one-of-a-kind shirt made from what was once a plain pillowcase. It’s a fantastic way to refresh your wardrobe and showcase your creativity—plus, it’s budget-friendly! With some patience and a little sewing know-how, you’ll be rocking your personalized peasant top in no time.
Frequently Asked Questions
Can I Customize the Design With Fabric Paint or Embellishments?
You can definitely customize your design with fabric painting and embellishment techniques. Using fabric paint, you can add vibrant colors, patterns, or even personalized messages to make your top unique. Embellishments like beads, sequins, or patches also enhance your creation, giving it a fun, personalized touch. Just make sure to follow the fabric paint instructions and secure embellishments properly for a lasting, stylish finish.
What Sewing Skills Are Necessary for This Project?
You don’t need advanced sewing skills for this project. Just mastering sewing machine basics like straight stitches and seam finishing helps you get started. With some practice, you’ll get comfortable using fabric selection techniques to choose the right material for your peasant top. Focus on simple seams and hems, and you’ll be able to customize your shirt easily, even if you’re new to sewing.
How Long Does It Typically Take to Complete?
You’ll usually spend a few hours on this project, depending on your sewing skills and the complexity of your design. Make sure to follow fabric care instructions to keep your materials in good shape. Gather your sewing tools early, like scissors, pins, and a sewing machine, to speed up the process. With patience, you can transform a pillowcase into a stylish peasant top in just an afternoon.
Which Fabrics Work Best for a Peasant Top?
When choosing fabrics for a peasant top, you want something that offers good fabric durability and comes in plenty of color options. Light, breathable fabrics like cotton or linen work best because they’re comfortable and easy to sew. These materials also hold up well over time, making your DIY project last longer. Plus, they come in a variety of colors, so you can customize your top to match your style.
Are There Any Safety Tips for Beginners?
Think of your sewing journey as planting a seed; safety is the nourishing water. For fabric safety, always test for colorfastness and handle sharp beginner tools carefully. Keep scissors and needles organized, and work in a well-lit, clutter-free space to prevent accidents. Wearing protective gear like thimbles can also help. With patience and caution, you’ll cultivate confidence and create beautiful projects safely.
Conclusion
Now that you’ve transformed a simple pillowcase into a stylish peasant top, aren’t you excited to try more DIY fashion projects? Remember, with just a little creativity and effort, you can turn everyday items into unique, trendy pieces that express your style. Why settle for store-bought when you can create something truly yours? So go ahead, get inspired, and keep experimenting—your perfect teen wardrobe is just a DIY away!