
Mastering thread tension is key to flawless sewing. You need to adjust settings based on fabric type—high tension for thin materials and low tension for thick ones. Avoid common mistakes like using high tension on heavy fabrics, which causes ripples. Test your tension on scrap fabrics to find the perfect balance. Keeping a record of successful settings will help you in the future. Stick around to uncover even more tips for elevating your sewing skills!
Key Takeaways
- Adjust thread tension based on fabric type: higher for thinner fabrics (6-7) and lower for thicker fabrics (2-3) to ensure optimal stitch quality.
- Always test tension settings on scrap fabric before starting a project to prevent common sewing mistakes and achieve uniform stitch quality.
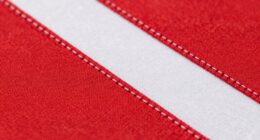
- Monitor for ripple effects on thick fabrics, which can indicate excessive tension, leading to wavy seams that compromise the final product.
- Document successful tension settings in a personal reference guide to streamline future projects and improve overall sewing skills.
- Regularly experiment with different tension adjustments, as consistent practice enhances your understanding and mastery of thread tension.

Original Tajima Thread Tension Gauge TTG-CM76907 for Embroidery Factory Tools 912500110000
TOWA Bobbin Tension Gauge fit for TAJIMA, RICOMA Embroidery Machine
As an affiliate, we earn on qualifying purchases.
As an affiliate, we earn on qualifying purchases.
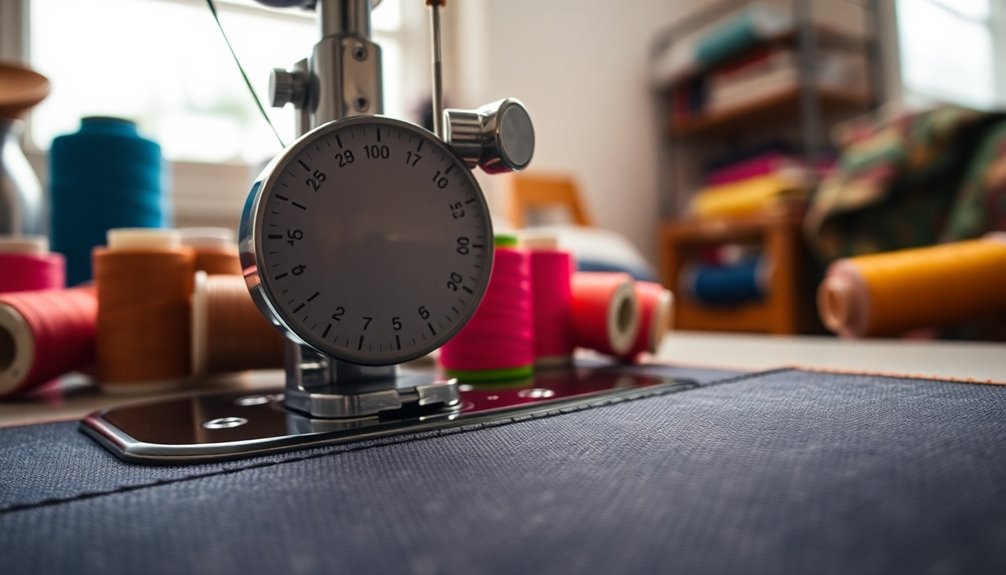
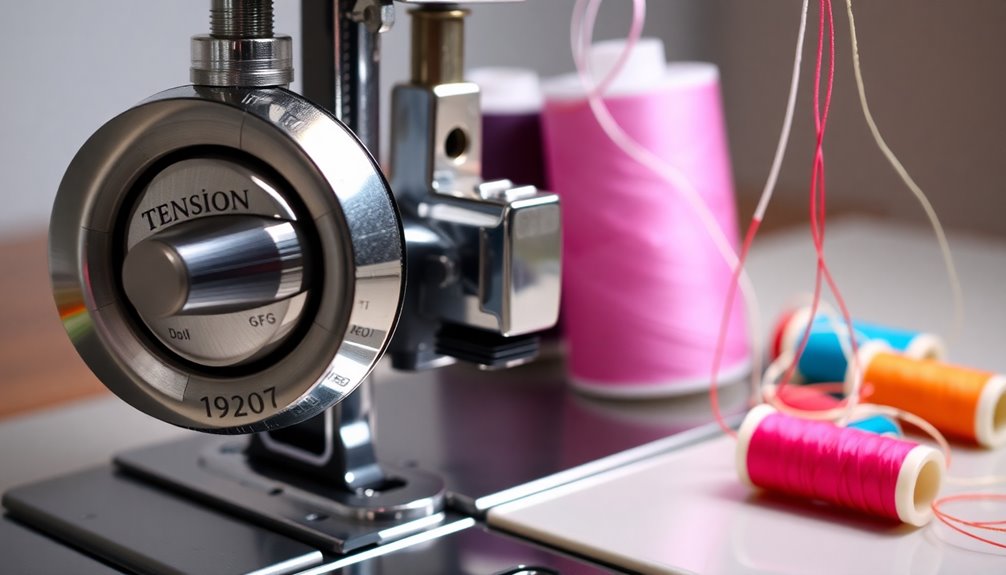
Understanding the Basics of Thread Tension
Understanding the basics of thread tension is essential for any sewing enthusiast. It controls the tightness of your stitches, with settings ranging from 0 (loose) to 9 (tight).
When you adjust the tension dial on your sewing machine, you provide the resistance that influences stitch tightness, vital for achieving a polished seam.
Make sure to remember that thicker fabrics typically require lower tension settings to avoid wavy seams, while thinner fabrics benefit from higher tension, usually around 6 or 7, for secure stitches.
Mastering thread tension takes practice, but with consistent adjustments based on your chosen fabric, you'll see improved sewing outcomes. Your seams will be stronger and more professional, enhancing your overall sewing experience.
TorSor 2 Pack Thread Tension Assembly Replacement Tension Yarn Trapper Sewing Fittings Regulator Parts For Juki Sewing Machine DDL-5550 DDL-8700 DDL-5530 DDL-8100E DDL-8300N DDL-8500 J-350QVP DDL-8900
Package includes: 2 x Yarn Trapper
As an affiliate, we earn on qualifying purchases.
As an affiliate, we earn on qualifying purchases.
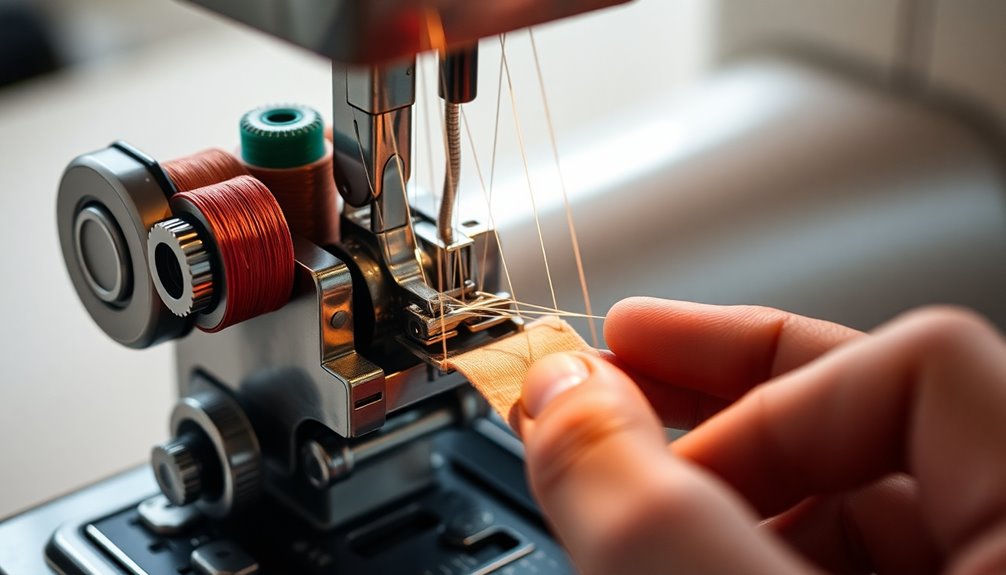
Adjusting Tension for Different Fabric Types
When working with different fabric types, adjusting your thread tension is crucial for achieving the best results. Each fabric has its unique characteristics, and your settings should reflect those differences.
Here are some tips to help you:
- Thinner materials: Set your tension higher, between 6 and 7, for tight, consistent stitches.
- Thicker fabrics: Lower the tension to around 2 or 3 to avoid rippling and guarantee smooth seams.
- Loose materials: Increase tension to maintain strong stitches, preventing seams from pulling apart.
- Always test: Before starting your project, test and adjust your tension settings to maintain uniform stitch quality.
Original Tajima Thread Tension Gauge TTG-CM76907 for Embroidery Factory Tools 912500110000
TOWA Bobbin Tension Gauge fit for TAJIMA, RICOMA Embroidery Machine
As an affiliate, we earn on qualifying purchases.
As an affiliate, we earn on qualifying purchases.
Common Mistakes in Thread Tension Settings
You might think that thick fabrics need high tension settings, but that can actually cause wavy seams and fabric rippling.
Similarly, using low tension on loose fabrics often leads to weak stitches that can easily come apart.
Understanding these common mistakes is key to achieving a polished finish in your sewing projects.
High Tension on Thick Fabrics
Though many believe that thick fabrics require higher thread tension, this common misconception can lead to a host of problems in your sewing projects. Setting high tension can cause the material to ripple and create wavy seams, ruining your garment's appearance.
Instead, aim for lower tension settings, around 2 or 3, to accommodate thick fabrics. Here are some tips to avoid mistakes:
- Observe the Fabric: Watch how the fabric behaves while sewing to identify tension issues.
- Adjust Gradually: Make small adjustments to the tension settings until you find the right balance.
- Test Sew: Always do a test stitch before starting your project.
- Check for Evenness: Confirm stitches are even on both sides of the fabric.
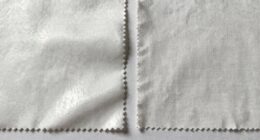
Low Tension on Loose Fabrics
Many sewers mistakenly believe that all fabrics, especially loose ones, require low tension settings to achieve the best results.
However, setting the tension too low can lead to weak stitches that easily pull apart, compromising your garment's integrity. Low tension on loose materials often causes the fabric to shift during sewing, resulting in uneven seams and potential failure.
Instead of assuming loose fabrics need low tension, aim for settings around 5 to 6 to guarantee balanced stitches that hold the fabric securely.
As you sew, observe how the fabric behaves—this can help you identify when to adjust tension, preventing issues like puckering or seam separation. Understanding lighting design can also play a crucial role in ensuring that your workspace is well-lit, allowing for better visibility of your stitches and fabric.
Mastering tension is essential for achieving quality results with loose fabrics.

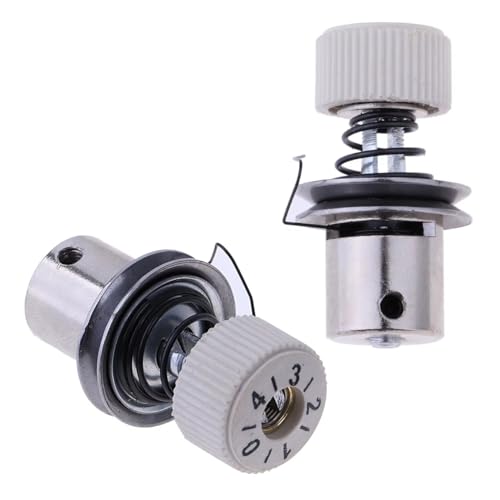
YEQIN Industrial Sewing Machine Tension Spring, Check, Will FIT, Brother, JUKI + More
Industrial Sewing Machine Tension Spring, Check, WILL FIT, BROTHER, JUKI + MORE
As an affiliate, we earn on qualifying purchases.
As an affiliate, we earn on qualifying purchases.
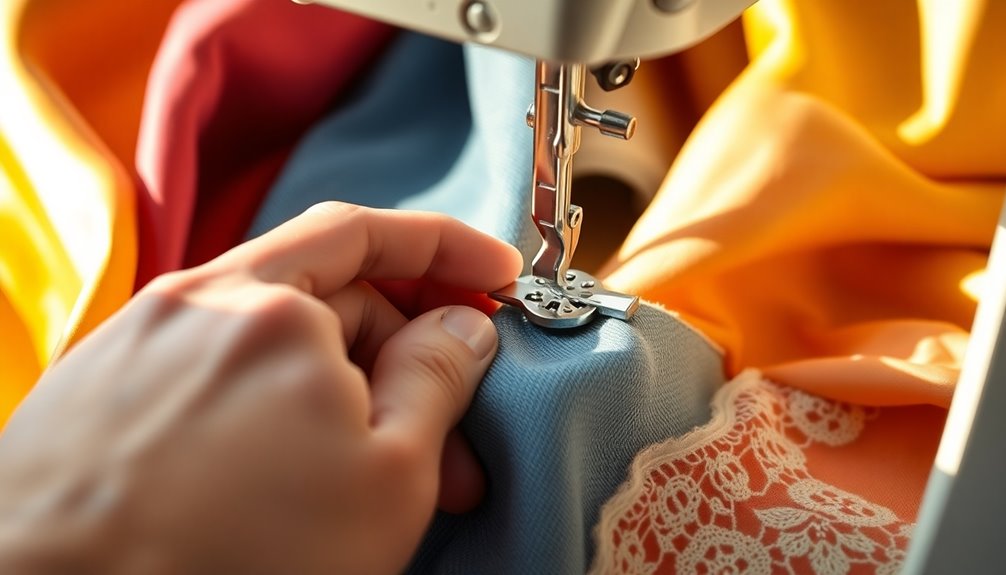
Practical Tips for Mastering Thread Tension
Mastering thread tension is vital for achieving professional-looking seams in any sewing project. To help you navigate this significant aspect of sewing, keep these practical tips in mind:
- Adjust for Fabric Type: Use higher tension settings (6 or 7) for thinner fabrics and lower settings (2 or 3) for thicker materials to prevent puckering.
- Watch for Ripple: When working with thick fabrics, avoid setting tension too high to prevent rippling and wavy seams.
- Monitor Loose Materials: Verify your tension isn't too low on loose fabrics to avoid weak seams that could pull apart.
- Experiment Regularly: Test different tension settings as you switch fabrics to discover the best tension for each project.
With these tips, you'll be well on your way to mastering thread tension!
The Importance of Consistency in Tension Settings
When you maintain consistency in your tension settings, you set the stage for uniform stitch quality throughout your sewing project. This consistency prevents variations in seam appearance, ensuring your finished garment looks polished.
By using the same tension for specific fabric types, you establish a reliable baseline that enhances efficiency in future projects. Fluctuating tension can lead to uneven stitches or puckering, compromising the garment's integrity.
It's crucial to keep tension consistent across different sections of the same fabric to avoid issues like distortion.
Consider documenting your successful tension settings for various materials; this personal reference guide can greatly improve your accuracy and speed in sewing, making your projects more enjoyable and successful.
Experimenting With Tension: Finding Your Optimal Setting

Achieving consistent tension settings lays a solid foundation, but there's room for exploration to fine-tune your results.
Start by testing different tension settings on scrap fabric, and note how adjustments affect your stitch appearance and fabric behavior. Here are some tips to help you find your ideal tension:
- For thinner materials, aim for tension settings of 6 or 7.
- For thicker fabrics, try lower settings of 2 or 3 to prevent rippling.
- Pay attention to resistance in the tension dial; it indicates changes in thread tightness.
- Keep a tension adjustment log to track your best settings for various materials, making future projects easier.
Experimenting will enhance your sewing skills and results!
Frequently Asked Questions
What Should My Thread Tension Be Set At?
To set your thread tension, it depends on the fabric you're using.
For thinner materials, aim for a tension between 6 and 7 to secure tight stitches.
If you're working with thicker fabrics, lower your tension to around 2 or 3 to avoid rippling.
Always test on a scrap piece first.
Remember, if your stitches feel weak, your tension might be too low; too high can cause puckering.
Adjust accordingly!
What Should the Tension Be on My Singer Sewing Machine?
When you're using your Singer sewing machine, the tension setting depends on the fabric thickness. For thinner materials, set it around 6 or 7 for tight stitches.
If you're working with thicker fabrics, lower it to 2 or 3 to avoid rippling and guarantee smooth seams.
Always remember that high tension can create wavy seams in thick fabrics, while low tension might weaken stitches in loose materials.
Experiment to find what works best for your projects!
How Do I Know if My Thread Tension Is Too High?
If your sewing machine's acting like a stubborn mule, it might be time to check your thread tension.
You'll know it's too high if your fabric puckers or ripples, or if the thread keeps breaking.
Check the back of your fabric; if those stitches are tighter than the front, you've got a tension issue.
Lower your tension settings to around 2 or 3 for thicker materials, and watch your sewing improve!
What Should My Thread Tension Be for Embroidery?
For embroidery, you should aim for a tension setting between 4 and 6 to guarantee balanced stitches without puckering.
If you're working with thicker fabrics, lower the tension to around 3; for thinner fabrics, you might need to increase it to up to 7.
Always test your tension on a scrap piece before starting.
Keep an eye out for thread breaking or looping, as these indicate adjustments may be necessary.
Conclusion
Now that you've unraveled the secrets of thread tension, envision your sewing projects blossoming like a well-tended garden. With each stitch, you'll weave confidence into your creations, transforming fabric into beautiful works of art. Remember, it's all about finding that sweet spot, where tension sings in harmony. So grab your machine, adjust those dials, and let your imagination take flight – the world of sewing awaits you, ready to be stitched together, one perfect seam at a time!