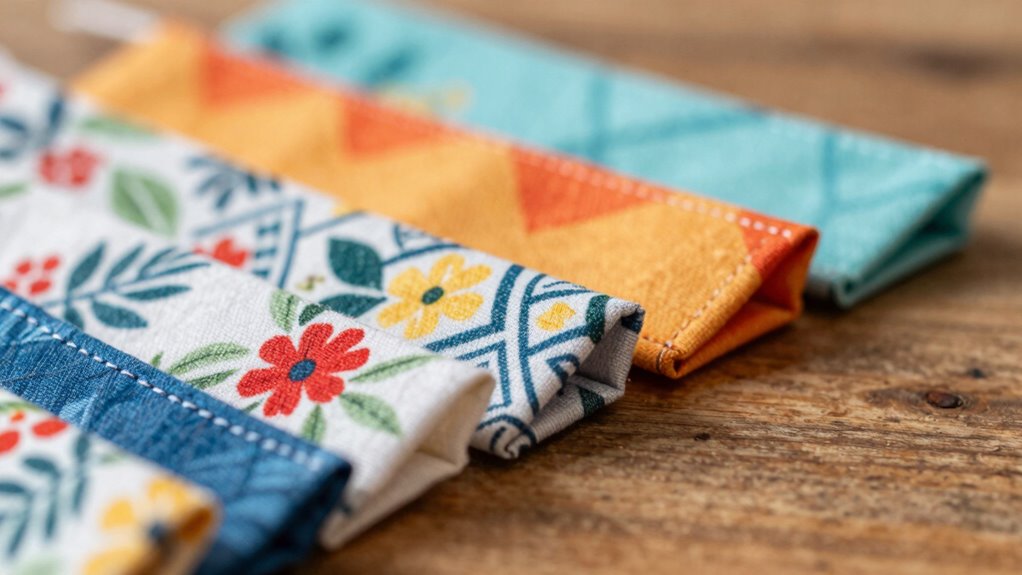

To make a fabric bookmark set with crisp corners, start by choosing your fabric patterns and gather essential sewing tools. Cut each piece to about 2 x 6 inches using a rotary cutter and ruler for accuracy. Sew around the edges with a 1/4 inch seam, stopping before the corners to pivot the fabric at 90 degrees for sharp, neat points. Trim the corners, turn the fabric right side out, and press well. Finish with topstitching if desired. Keep going to learn more tips for perfecting your craft.
Key Takeaways
- Cut fabric pieces to 2 x 6 inches with a rotary cutter and quilting ruler for precise edges.
- Sew around edges with a 1/4 inch seam allowance, stopping before corners to pivot accurately.
- Trim corners diagonally before turning right side out to reduce bulk and achieve sharp points.
- Push corners out gently with blunt tools and press thoroughly for crisp, defined edges.
- Optionally, topstitch around the bookmark for a polished finish and enhanced corner sharpness.

Ever wondered how to create a charming fabric bookmark set with crisp, professional-looking corners? The secret lies in choosing the right fabric patterns and having the proper sewing tools at your disposal. When selecting fabric patterns, go for prints and textures that reflect your style—whether floral, geometric, or solid colors with interesting textures. The right fabric adds personality to your bookmarks and makes the finished set more appealing. Before you start, gather your sewing tools, which include a sharp rotary cutter, cutting mat, quilting ruler, straight pins or clips, a sewing machine, and a pressing iron. These tools help you achieve precise cuts and neat seams, essential for crisp corners. Additionally, understanding how to prepare your fabric properly can make a significant difference in achieving clean, sharp edges.
Begin by cutting your fabric pieces to the desired size, typically around 2 x 6 inches for a standard bookmark. Use your rotary cutter and quilting ruler to ensure straight, clean edges. Cutting accurately is vital for achieving sharp corners later on. Once you have your pieces cut, place two fabric rectangles right sides together, aligning the edges carefully. Pin or clip the layers to prevent shifting as you sew. When sewing, leave a small seam allowance—about 1/4 inch—around the edges. Use your sewing machine’s straight stitch, and sew slowly to maintain control, especially at the corners. Practicing corner turning techniques can help improve the sharpness of your finished corners.
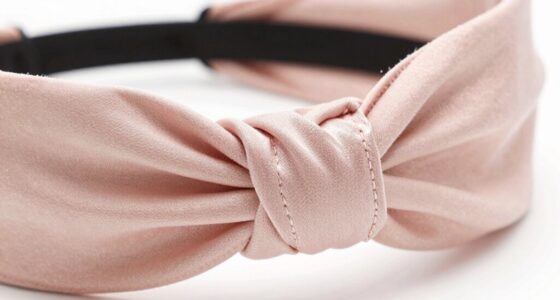
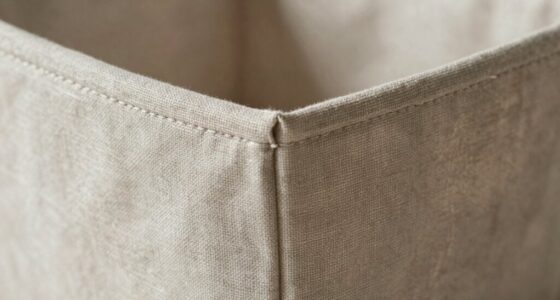
To create crisp corners, stop sewing just before reaching the corner point, leaving a few stitches. Lower the needle into the fabric, lift the presser foot, and pivot the fabric 90 degrees to sew along the next side. Repeat this process at each corner, making sure your stitches are secure but not too tight, which can cause puckering. After sewing all sides, trim the corners diagonally, close to the seam but without cutting through the stitches. This step reduces bulk and helps produce sharp, clean corners once turned right side out. Using a sharp fabric scissors can make this trimming process easier and more precise.
Turn your bookmark right side out through the opening, pushing out each corner with a blunt tool like a chopstick or a pencil. Be gentle to avoid poking through the fabric. Once the corners are perfectly pointed, press the entire piece with your iron, paying special attention to the edges and corners. Pressing helps set the seams and enhances the crispness of your corners. Finish by topstitching around the edges if desired, which secures the edges and adds a professional touch. With these steps, your fabric bookmark set will have beautifully crisp corners and showcase your careful craftsmanship.

Fiskars 45mm Rotary Cutter for Fabric, Premium Steel Stick Fabric Cutter Cuts Through Multiple Layers, Right and Left Handed, Easy and Safe Blade Change, Arts and Crafts, Sewing and Quilting Tools
- Versatile Cutting for Fabrics: Cuts multiple layers of fabric and craft materials
- Precise 45mm Blade: Ideal for accurate, detailed cuts
- Durable Steel Blade: Long-lasting and sharp for repeated use
As an affiliate, we earn on qualifying purchases.
As an affiliate, we earn on qualifying purchases.
Frequently Asked Questions
Can I Use Any Fabric for These Bookmarks?
You can use many fabric types for your bookmarks, but choosing the right material depends on your preferences. Cotton and linen are popular because they’re durable and easy to work with, while silks or satins add a touch of elegance. Consider your material preferences for texture and appearance. Avoid stretchy or flimsy fabrics, as they can be difficult to sew with and may not hold crisp corners well.
How Long Does It Take to Make a Set?
Creating a set of fabric bookmarks is like painting a quick masterpiece; it can take about 30 minutes to an hour. Your time depends on your sewing patterns and whether you’re fabric dyeing for a unique look. If you’re experienced, you’ll finish faster, but beginners might spend a bit longer. Gather your materials, follow your sewing patterns, and enjoy the process—your beautiful bookmarks will be ready in no time!
What Tools Are Essential for Crisp Corners?
To achieve crisp corners, you need fabric scissors to cut precisely and a corner rounder to shape the corners perfectly. Fabric scissors guarantee clean edges, while the corner rounder smooths out sharp angles, giving your bookmarks a professional finish. You might also use a ruler or straight edge for accurate measurements. These tools work together to help you create sharp, neat corners that enhance your fabric bookmarks’ overall look.
Can I Customize the Size of the Bookmarks?
Yes, you can definitely customize the size of your fabric bookmarks. Simply measure and cut your fabric to match your preferred dimensions, whether you want small, delicate bookmarks or larger ones to showcase fabric patterns or bookmark themes. Adjust the size based on your personal style or the recipient’s preferences. This flexibility allows you to create unique, personalized bookmarks that perfectly fit your favorite books or match specific themes.
How Do I Prevent Fraying on the Edges?
To prevent fraying on the edges, you should focus on proper edge finishing techniques. Using pinking shears creates zigzag edges that reduce fray, while applying a fabric sealant or fray check provides extra fray prevention. You can also sew a narrow zigzag or serger stitch along the edges for a clean, finished look and added durability. These methods will help keep your bookmarks neat and fray-free over time.
Conclusion
By crafting your own fabric bookmarks with crisp corners, you’re not just creating a practical tool—you’re forging a small, tangible reminder that details matter. Like a well-placed stitch in a tapestry, your attention to precision elevates the ordinary to the extraordinary. These bookmarks become symbols of care and craftsmanship, inviting you to approach life’s tasks with patience and flair. After all, as in any good story, it’s the little touches that leave a lasting impression.