To make a foldable fabric tray for small supplies, select durable, flexible fabrics like cotton or canvas. Measure and cut pieces, adding seam allowances, then sew the sides to the bottom to shape a box. Reinforce corners and add lightweight interfacing along sides for foldability. Finish edges neatly and add compartments or decoration if desired. Using techniques like fold lines and reinforcement makes the tray both sturdy and easy to flatten for storage. If you’re curious how to perfect each step, keep exploring further.

Get business pricing on tools and workshop supplies
- Business-only prices and quantity discounts
- Tax-exempt purchasing
- Multiple users, one account, clear invoices
Key Takeaways
- Select durable, fold-friendly fabrics like cotton or canvas and add fusible interfacing to support foldability and shape.
- Measure and cut fabric pieces with seam allowances, typically 12″ x 8″ x 3″, for sides, ends, and bottom.
- Sew side panels to the bottom, reinforce corners, and fold edges inward for a clean finish.
- Create fold lines with extra stitching and reinforce edges to allow the tray to flatten when not in use.
- Add pockets, decorative accents, or waterproof lining for customization and enhanced functionality.
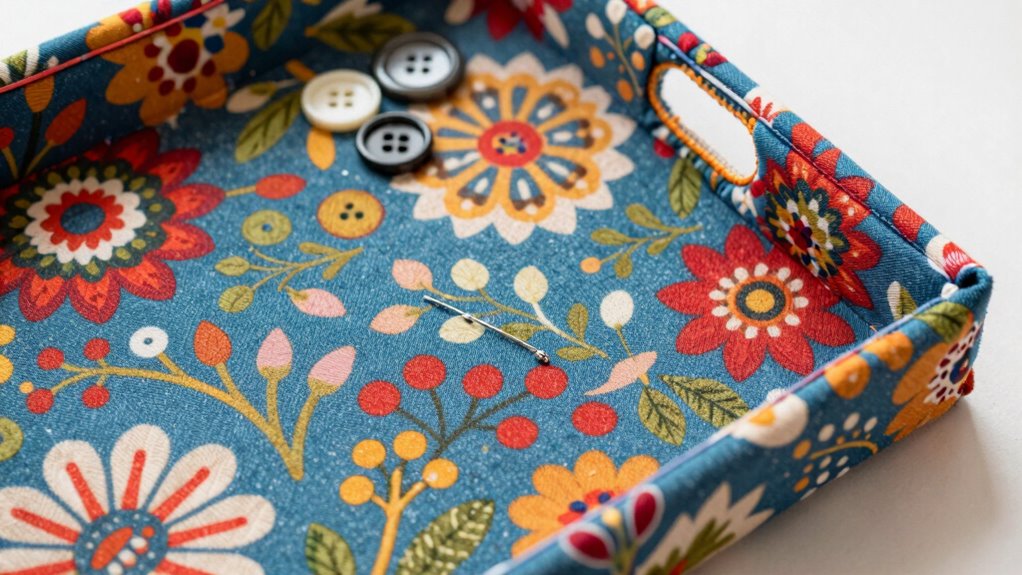
If you’re looking for a practical way to organize small supplies, making a foldable fabric tray is a simple and customizable solution. This project falls under the domain of creative storage solutions, giving you an easy, inexpensive way to keep your space tidy. Plus, fabric tray customization allows you to match your tray to your decor or personal style, making it both functional and attractive.
Start by selecting a sturdy fabric that can hold small items without sagging or tearing. Cotton, canvas, or denim work well because they’re durable yet easy to work with. Measure and cut your fabric pieces: two rectangles for the sides, two rectangles for the ends, and one larger piece for the bottom. The dimensions depend on how big you want your tray to be, but a typical size might be around 12 inches long, 8 inches wide, and 3 inches high. Add about half an inch to each measurement for seam allowances.
Choose durable fabrics like cotton, canvas, or denim, and measure carefully for a perfect fit.
Once you have your pieces, sew the side panels to the bottom piece, creating a box shape. Fold the edges inward by half an inch and sew along the top to create a clean finish. To give your tray stability and shape, reinforce the corners by sewing small triangles at each joint, or add interfacing between layers for extra sturdiness. If you want to make your fabric tray foldable, you can add lightweight fusible interfacing along the sides or create fold lines with extra stitching. This way, when you’re not using the tray, it folds flat, making storage even easier. Using reinforcing techniques can significantly enhance the durability of your fabric tray, especially if you plan to store heavier items. Incorporating appropriate materials such as interfacing or fusible webbing further ensures your tray maintains its shape and strength over time. Additionally, considering the fabric choice can greatly influence the overall durability and aesthetic of your finished tray. Selecting the right fabric with consideration for weight and texture can improve both the look and longevity of your storage solution.
For fabric tray customization, think about adding pockets or decorative accents. Pockets are perfect for smaller items like paper clips or jewelry, while decorative trims or embroidery can give your tray a unique look. You can also choose different fabrics or patterns for each side to match your style or room decor—this personal touch elevates your storage solution from basic to stylish. When selecting your fabrics, consider eco-friendly or sustainable options to further embrace sustainable living practices.
Finally, consider adding a waterproof lining or a fabric sealant if you plan to store items that might leak or cause stains. This step ensures your fabric tray stays in good condition over time. When finished, you’ll have a handy, personalized foldable fabric tray that’s perfect for organizing small supplies while blending seamlessly into your space. Making your own fabric tray offers endless opportunities for creative storage solutions and allows you to craft something uniquely suited to your needs.
Popular right now

eufy E25 Robot Vacuum and Mop Combo with HydroJet Roller Mop

Ninja Foodi DZ201 8-Quart DualZone 6-in-1 Air Fryer

KitchenAid Artisan 5-Quart Tilt-Head Stand Mixer, KSM150PS, Almond Cream
As an affiliate, we earn on qualifying purchases.
Frequently Asked Questions
What Types of Fabric Are Best for Durability?
For durability, you should choose fabrics with a tight weave, like heavy-duty canvas or denim, which withstand wear and tear. Look for fabrics with water resistance, such as coated or treated materials, to protect your tray from spills and moisture. These fabrics guarantee your foldable tray remains sturdy and long-lasting, even with frequent use. Their strong weave and water-resistant properties make them ideal choices for a practical, durable fabric tray.
Can the Tray Hold Heavy Items Reliably?
Your fabric tray acts like a sturdy bridge, but its ability to hold heavy items depends on the fabric and construction. It can reliably carry moderate weights if you choose durable materials and reinforce stress points, ensuring a good weight capacity. Always consider safety considerations—avoid overloads that could cause it to collapse. Properly sewing seams and using strong fabric will help it hold small, heavier supplies without compromising stability.
How Do I Clean the Fabric Tray?
To clean your fabric tray, start by gently vacuuming or brushing off loose dirt and dust. For stains or spots, use a mild detergent mixed with water and spot-clean with a soft cloth. Avoid soaking the fabric entirely, as this can damage the structure. Regular fabric maintenance includes air drying and avoiding harsh chemicals. Following these cleaning tips guarantees your fabric tray stays fresh, durable, and looking good over time.
What Are Alternative Closure Options?
You can consider magnetic closures or Velcro fasteners as alternative closure options for your fabric tray. Magnetic closures are sleek, easy to open and close, and secure the tray’s contents. Velcro fasteners offer adjustable, reusable fastening, perfect for a flexible design. Both options keep your supplies safe while maintaining a clean look. Choose based on ease of use and the aesthetic you prefer for your foldable fabric tray.
How Do I Customize the Tray’s Size?
To customize your tray’s size, you can adjust the dimensions during the cutting process, tailoring it to your needs. For example, if you’re making a travel-sized tray, cut your fabric to smaller measurements. Incorporate personalized patterns for a unique look and add adjustable dimensions with fold lines or seams that allow resizing. This way, your tray fits perfectly, whether it’s for jewelry, craft supplies, or makeup.
Conclusion
Now that you’ve crafted your foldable fabric tray, you’ve got a handy, portable oasis for small supplies. It’s like having a secret pocket that hides your treasures until you need them. With just a few simple stitches, you’ve turned fabric into a versatile organizer that’s as flexible as your imagination. So go ahead, fill it up and let your creativity unfold—your perfect little organizer is ready to spring into action whenever you need it!