Creating the easiest zipper wristlet helps you master essential sewing skills like fabric choice, precise cutting, and sewing sturdy seams. You’ll learn to install a zipper smoothly, finish edges neatly, and turn your project right side out for a professional look. Personalize it with hardware or embellishments for a unique touch. If you keep exploring, you’ll find tips to troubleshoot common challenges and take your sewing to the next level easily.
Key Takeaways
- Choose simple, durable fabrics and essential supplies to create a sturdy, beginner-friendly wristlet.
- Follow straightforward cutting and sewing techniques, including precise pattern marking and basic finishing methods.
- Install the zipper carefully using clips and a zipper foot for a neat, functional closure.
- Add personal touches with embellishments or hardware to enhance style and practice design skills.
- Focus on finishing details like pressing, secure stitches, and hardware placement for a polished, professional look.
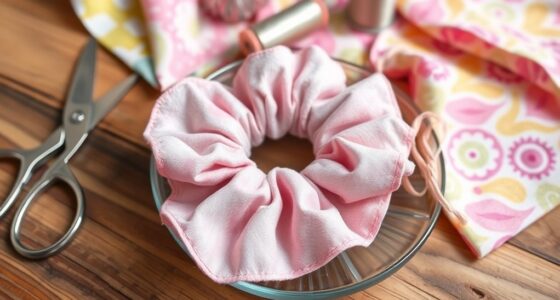
Choose the Best Fabric and Supplies for Your Wristlet

To create a stylish and durable zipper wristlet, selecting the right fabric and supplies is essential. Your fabric selection sets the foundation for your wristlet’s look and longevity. Choose sturdy, easy-to-work-with materials like cotton, canvas, or faux leather. Consider color coordination to ensure your wristlet matches your style or accessories. Bright, bold fabrics make a statement, while neutral tones offer versatility. Pay attention to the fabric’s weight and texture; lighter fabrics are easier to sew, but thicker materials add durability. Gather matching thread, a sturdy zipper, and appropriate tools. By carefully choosing fabrics with complementary colors and qualities, you’ll create a wristlet that’s both attractive and long-lasting, setting the stage for a successful sewing project. Remember that understanding fabric qualities and material properties can help you select fabrics that perform well over time, especially when considering factors like stretch, wear resistance, and ease of cleaning. Additionally, being aware of fabric stretch and recovery can ensure your wristlet maintains its shape after repeated use. Moreover, selecting fabrics with appropriate fiber content can influence the wristlet’s overall durability and appearance over time. Considering fabric care instructions can also help in maintaining the wristlet’s appearance and functionality through multiple washes.
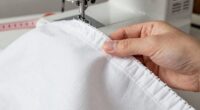
Cut and Assemble Your Wristlet Pieces Step-by-Step

Before you start cutting, gather all your fabric pieces and your pattern templates. Check that your fabric coordination is consistent, so colors and textures complement each other. Lay out your pieces flat on a clean surface, ensuring the grainlines match your pattern markings. Use sharp scissors or a rotary cutter for precise cuts. Adjust your sewing machine settings to match each fabric type—usually a medium stitch length and appropriate tension—so your seams are strong and even. Carefully cut out each piece, following your templates exactly. Once all pieces are cut, gently place them in the order you’ll sew them together. Accurate cutting and proper machine settings are essential for a tidy, professional-looking wristlet. Incorporating proper cutting techniques and simple organizing strategies can help keep your workspace clear and efficient during your project. Paying attention to fabric grainlines during cutting ensures your wristlet maintains its shape and durability over time. Utilizing properly marked patterns can also improve your accuracy and overall project quality. Additionally, taking a moment to double-check measurements before cutting can prevent mistakes and save time later.
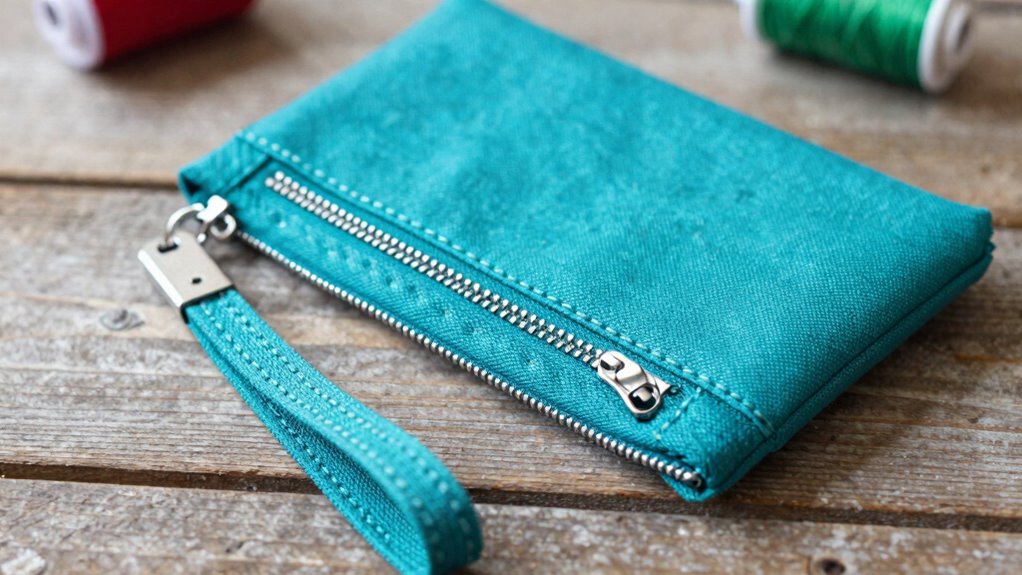
Insert the Zipper for a Clean, Professional Look
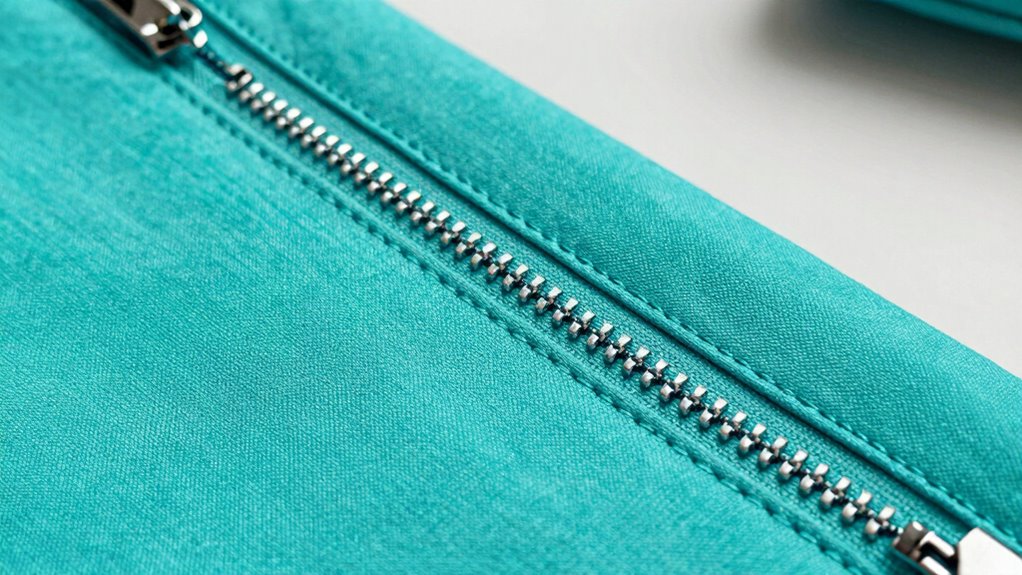
Have you ever noticed how a well-installed zipper can elevate the look of a project? Proper zippers installation is key to achieving a clean, professional finishing. To start, position the zipper face-down on the right side of one wristlet edge, aligning the teeth with the edge of the fabric. Use clips or pins to hold it in place, ensuring it’s straight. Sew along the zipper tape, close to the teeth, with a zipper foot for precision. Repeat on the other side, attaching the second side of the zipper. Take your time to keep stitches even; this makes all the difference in professional finishing. When done, press the zipper area gently to set the stitches, resulting in a polished, seamless look. Paying attention to creative storytelling can help you showcase your projects and attract more attention to your work. Additionally, understanding Free Floating techniques can help you achieve smoother, more flexible finishes that complement your design.
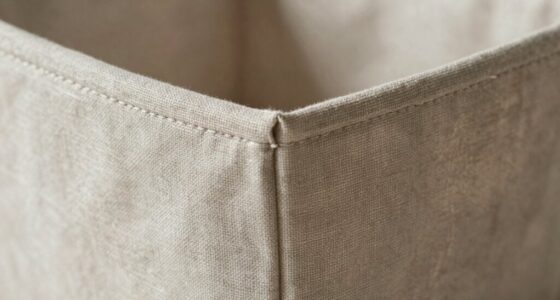
Finish Edges and Turn Your Wristlet Right-Side Out

Once you’ve sewn the zipper securely, it’s time to finish the edges of your wristlet for a polished look. To do this, you can add decorative stitches along the raw edges, which not only strengthen the seams but also add a stylish touch. Before stitching, make sure to stabilize your fabric with a light fusible interfacing or stay tape to prevent puckering and fraying. Carefully press the edges flat, then sew decorative stitches close to the edge for a clean finish. Additionally, using stabilizers can help maintain the fabric’s shape and prevent stretching during finishing. These interfacing materials are essential for achieving a professional-looking result and ensuring durability. Using the proper edge finishing techniques can also contribute to a sleek appearance and help prevent fraying over time. Once that’s done, turn your wristlet right-side out through the opening, gently pushing out the corners for a crisp shape. This step ensures your wristlet looks professional and ready to use, while the decorative stitches help secure the edges and elevate the overall design.
Troubleshoot Common Sewing Challenges
Sewing challenges are common, but most can be quickly resolved with some troubleshooting. If your stitches are uneven or your fabric puckers, check your sewing machine maintenance—clean the bobbin area and ensure proper tension. Poor fabric choice can cause difficulties; stick to lightweight, stable fabrics suitable for small projects. Here’s a quick guide:
| Issue | Solution |
|---|---|
| Thread bunching | Re-thread your machine; check tension |
| Puckering fabric | Use fabric selection tips: choose smooth, stable fabrics |
| Skipped stitches | Replace needle; ensure correct needle type |
| Uneven stitches | Adjust stitch length/tension |
| Zipper issues | Use a straight zipper; stabilize edges |
Additionally, understanding body jewelry measurements and materials can help you better assess the quality of your project’s visual results. Troubleshooting improves your skills and results, turning sewing challenges into learning opportunities. Incorporating proper fabric selection techniques can also prevent many common issues and make your projects more successful.
Add Final Touches and Personalize Your Wristlet
Now, it’s time to add your personal flair to the wristlet. Choose embellishments that reflect your style and pick hardware that complements your design. These final touches make your wristlet truly unique and ready to showcase. Incorporating safety standards for wearable accessories ensures your design remains compliant with relevant standards and protects your investment. Being aware of regulatory considerations helps you select materials and components that are both durable and compliant. Additionally, selecting high-quality hardware can enhance the overall look and longevity of your wristlet. Paying attention to affiliate disclosure guidelines ensures transparency if you share your project online or recommend products. When selecting hardware, considering durability and safety can help ensure your wristlet remains functional and safe over time.
Personalize With Embellishments
Adding embellishments is your chance to make your wristlet truly unique. You can explore various embellishment ideas, such as sewing on decorative patches, adding beads, or attaching charms that reflect your style. Use different decorative techniques like embroidery, appliqué, or fabric paint to create texture and visual interest. Consider layering elements or combining materials for a personalized touch. These details can elevate your wristlet from simple to special, showcasing your creativity. Remember to keep your embellishments secure and proportionate so they don’t interfere with functionality. Incorporating craftsmanship techniques ensures your embellishments are both durable and aesthetically pleasing. Paying attention to embellishment placement helps achieve a balanced and harmonious design. Whether you prefer subtle accents or bold statements, this step lets you infuse your personality into your project. Have fun experimenting—your wristlet will be one-of-a-kind, with a design that’s all your own. Community-driven projects like fan trailers demonstrate how sharing creative efforts can foster learning and innovation, just like personalized accessories showcase individual expression.
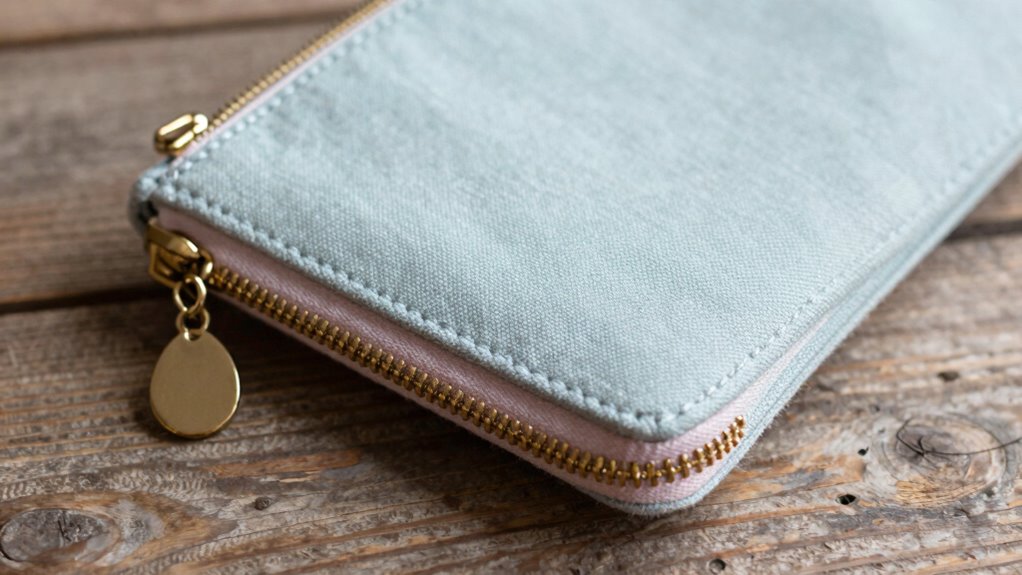
Choose Complementary Hardware
Selecting the right hardware is the final step to truly personalize your wristlet and give it a polished look. When choosing hardware pairing, focus on color coordination to match or complement your fabric and zipper. Consider these options:
- Metal finish—opt for gold, silver, or antique to align with your style.
- Color contrast—use hardware in a different shade for a bold statement.
- Size and shape—select small clasps or decorative accents that suit your wristlet’s scale.
- Texture—smooth or matte finishes can add subtle elegance or a modern touch.
Frequently Asked Questions
Can I Make This Wristlet With Waterproof Fabric?
Yes, you can make this wristlet with waterproof fabric. Just guarantee you use waterproof or water-resistant fabric for the main material and choose a waterproof zipper for added protection. Follow sewing tips like using a heavy-duty needle and adjusting your stitch length to prevent leaks. Test your materials first, and consider sealing seams with waterproof tape for extra durability. This way, your wristlet stays stylish and functional in wet conditions.
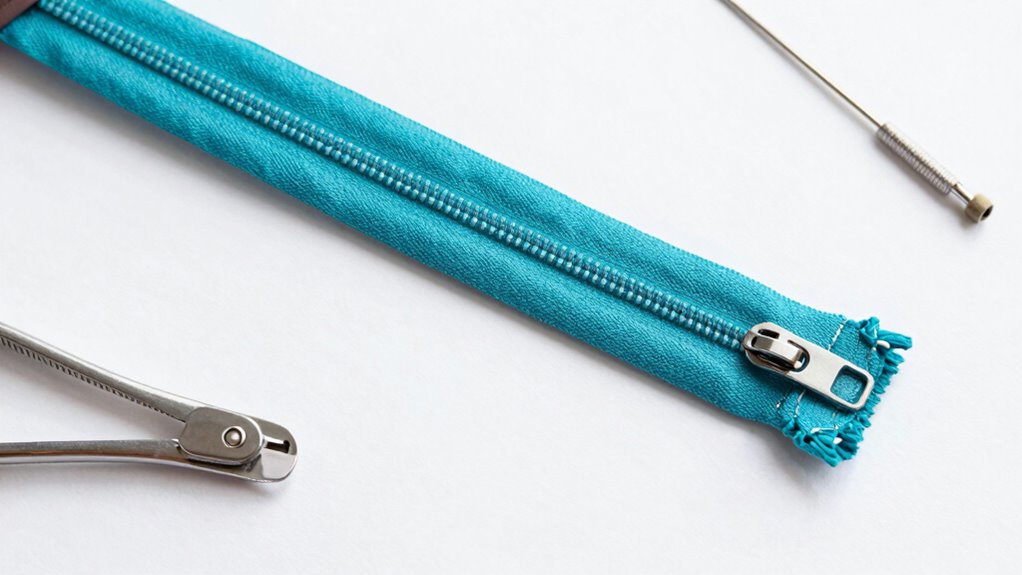
What Size Zipper Works Best for This Project?
The best zipper length for this project is around 7 inches, which fits snugly without being too bulky. You’ll want a sturdy zipper type, like a nylon coil or molded plastic, to guarantee smooth opening and closing. Don’t be afraid to shop around—sometimes, a slightly longer zipper can be trimmed if needed. It’s all about finding the right fit so your wristlet works like a charm.
How Can I Customize the Wristlet’s Size?
To customize your wristlet’s size, start by adjusting your fabric pieces’ dimensions before sewing. You can make it larger or smaller depending on your needs, and choose fabric patterns and color choices that reflect your style. Keep in mind that a wider or taller wristlet will require a longer zipper and more fabric, so measure carefully and cut your fabric accordingly for a perfect fit.
Is Fusible Interfacing Necessary for Durability?
Yes, fusible interfacing is essential for durability. It improves fabric stability, helping your wristlet hold its shape through everyday use. Without it, sewing techniques become trickier, and the finished piece might feel flimsy or misshapen. If you want a sturdy, professional look, don’t skip this step. The added reinforcement guarantees your wristlet not only looks great but also lasts longer, making your sewing project truly worthwhile.
Can I Add a Decorative Lining or Pocket?
Yes, you can add a decorative lining or pocket to your wristlet. Choose a fun fabric for the lining to give it a personalized touch, and sew a small pocket inside for extra storage. Just make sure to measure carefully and pin everything in place before sewing. Adding these features enhances both the look and functionality, making your wristlet truly unique and tailored to your needs.
Conclusion
You’ve just completed your wristlet and learned a bunch along the way. This project is a great way to build your sewing muscles and gain confidence. Remember, every new skill is a stepping stone, so don’t be afraid to try different fabrics or add your personal flair. Keep practicing, and soon you’ll be sewing like a pro in no time. It’s all about taking one step at a time and reaping the rewards of your hard work.