
To hem like a pro and achieve a flawless dress train, start by trying on your gown with the right shoes and undergarments. Pin the desired hem length, then measure and mark your cut line. Carefully cut along the marked line, serge the raw edges, and press the hem up. Finally, stitch the hem and take care of the lining for a polished finish. Follow these steps to guarantee your dress train looks tailor-made, and you’ll uncover even more expert tips along the way! For a truly professional look, consider how you plan to style your gown for the occasion; this can influence the hem design and length. If you’re dealing with a heavier fabric, such as a velvet or satin, it can require additional care to ensure the hem hangs correctly. Remember, if you’re unsure about your skills, don’t hesitate to seek help from a tailor who can hem sweater dress professionally, ensuring that your garment not only fits perfectly but also looks impeccably finished.
Key Takeaways
- Begin by trying on the gown with undergarments and shoes to accurately assess the desired hem length and comfort.
- Measure and mark the hem accurately using a seam gauge and tailor's chalk, accounting for the train's fabric.
- Cut along the marked line with precision using a rotary blade, and finish raw edges with a serger for a polished look.
- Press the hem flat using a press cloth, ensuring no puckering, and stitch while keeping the fabric taut.
- Finalize by aligning and cutting the lining to the correct length, then securely stitch it for a clean finish.
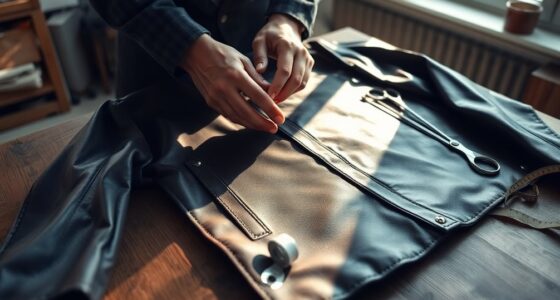
Equipment & Supplies Needed

When you're ready to hem a dress with a train, having the right tools makes all the difference. First, gather your essential equipment: a rotary blade and cutting mat for precise cutting.
You'll also need a sewing machine with matching thread and bobbin to stitch the hem securely. If you want a truly professional seamstress finish, consider using a serger or overlock machine to neatly finish the raw edges.
Keep Fray Check handy to prevent fraying and guarantee durability. A seam gauge is vital for accurate measurements, helping you determine the right hem length.
Finally, have pins or clips available to secure the hem in place before stitching, which ensures a neat, even finish.
Step 1: Try the Gown on

Trying on the gown is an essential first step in the hemming process. Before making any adjustments, wear the intended undergarments and shoes to accurately assess the desired hem length.
Pin the areas where the dress hits the floor to create a clear starting point for adjustments. Make sure the gown is in a comfortable position, allowing you to see how the fabric drapes and moves.
As you stand and walk, reassess the hem length to confirm it won't cause tripping or discomfort on your special day. This step is significant for getting a perfect fit, so take your time to verify everything feels right before proceeding with any cutting or alterations.
Step 2: Measure From Pins to Hem
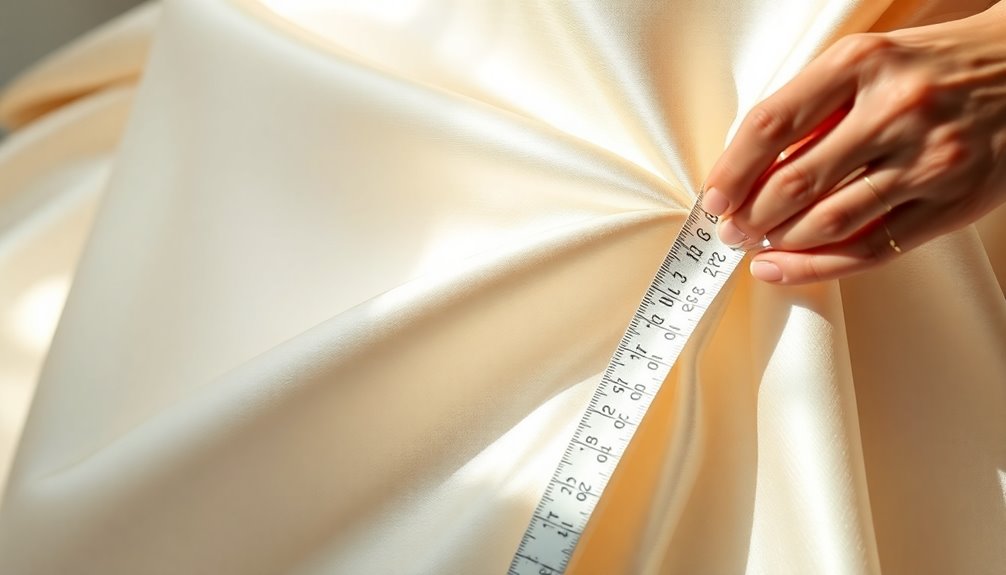
Now that you've pinned the gown to the floor, it's time to measure the distance from those pins to the hem.
Grab your seam gauge and verify your measurements are accurate, accounting for any extra fabric from the train.
Once you've got everything measured, use tailor's chalk to mark a clear cut line for cutting.
Accurate Pin Placement
To achieve a perfect hem, it's crucial to accurately measure from the pinned marks to the hem. When trying on your gown, use pins to mark where the hem hits the floor, ensuring the length suits your intended undergarments and shoes.
Place the pins evenly around the hem for consistent length and to avoid unevenness after cutting. After you've secured the pins, measure the length from these marks to the hem seam with a seam gauge for precise adjustments. This helps you maintain accuracy in your final hem length.
Once you've marked the hemline, use chalk or a tailor's pen to create a clear cut line. Finally, remove the pins so the marked line is your only guide for cutting.
Seam Gauge Usage
Measuring your hem accurately is essential for a polished finish, and a seam gauge is your best ally in this task.
To measure from the pins to the hem, follow these steps:
- Place the seam gauge next to the pinned area.
- Align the zero mark of the gauge with the pin.
- Verify the fabric lies flat to avoid folds.
- Record the measurement for future reference.
- Make necessary adjustments based on your desired hem length.
Consistent use of the seam gauge helps maintain uniformity in your hem length, guaranteeing that you hem a dress with precision.
This attention to detail will lead to a professional-looking finish that enhances your overall garment.
Happy sewing!
Marking Cut Line
Accurately marking the cut line is essential for achieving the perfect hem. Start by trying on the dress with your intended undergarments and shoes to guarantee it reaches the floor at your desired length.
Use pins to mark where the dress touches the floor; these points will guide your cut line. Next, measure the length from the pinned marks to the hem using a seam gauge to determine how much fabric to remove.
Once you've got your measurements, mark the cut line around the hem with chalk or a tailor's pen, ensuring it's smooth and even for a professional finish.
Finally, remove the pins to prepare the fabric for cutting along the marked line. Taking this time now saves you much time later!
Step 3: Mark the Cut Line
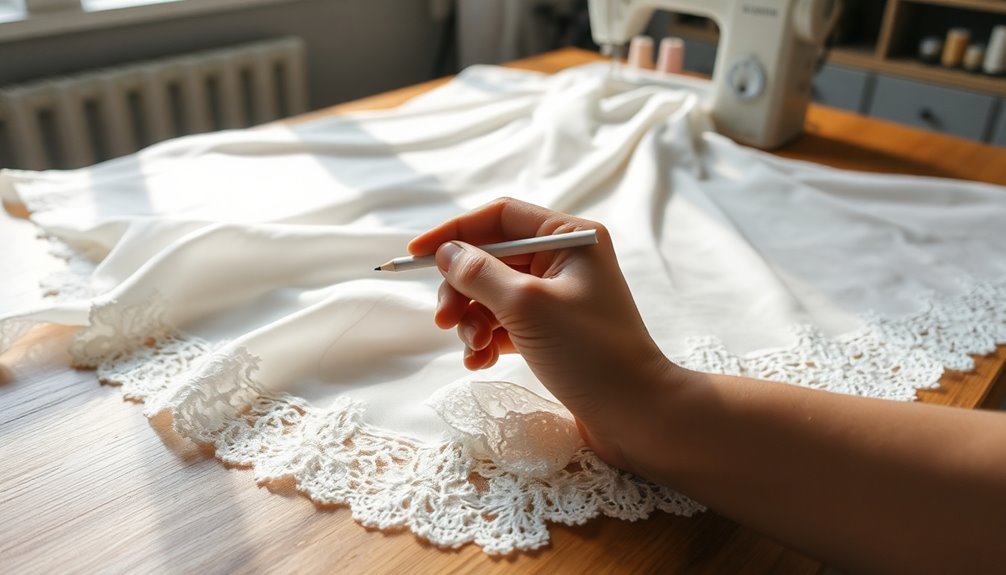
Marking the cut line is essential for achieving a polished hem. Start by trying on the dress with your intended undergarments and shoes for an accurate fit.
Use pins to mark where the dress hits the floor, distributing them evenly around the hem. This will help you measure accurately.
Here's how to mark the cut line:
- Measure the length from the pinned points to the hem using a seam gauge.
- Use chalk or a tailor's pen to draw a cut line, following the shape of the dress and side seams.
- Confirm the line is even for a professional finish.
- Carefully remove the pins once you've marked everything.
- Double-check your markings before proceeding to the next step!
Step 4: Cut on Drawn Cut Line
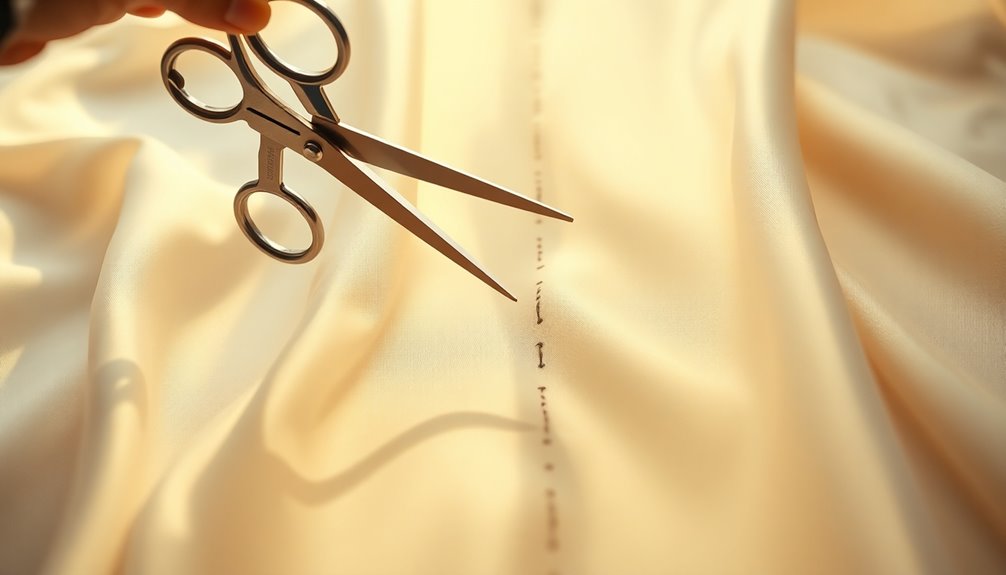
Now that you've marked your cut line, it's time to cut with precision.
Use a rotary blade and cutting mat for a clean edge, and remember to check that line one last time before you start.
Always prioritize safety by closing the blade when adjusting your fabric.
Precision in Cutting
Cutting along the drawn cut line is essential for achieving a professional-looking hem. Using a rotary blade guarantees precision in cutting, delivering a clean, sharp edge.
Here are some tips to enhance your cutting process:
- Keep the rotary blade closed when adjusting the fabric.
- Cut excess fabric into smaller pieces first for practice.
- Follow the marked line closely to determine the final hem length.
- Maintain an organized workspace to minimize errors.
- Always double-check your measurements before cutting.
Safety With Tools
When you're ready to cut along the drawn cut line, safety should be your top priority. Always guarantee the rotary blade is closed when adjusting fabric. Use a cutting mat to protect your work surface and blade. Cut with a steady hand for a precise edge, and practice on scrap fabric to test your blade's sharpness. Keep your workspace organized to minimize accidents during the cutting process. Preventive maintenance can mitigate the risk of expensive repairs while ensuring your tools remain in good condition.
| Safety Tip | Description |
|---|---|
| Close Rotary Blade | Prevents accidental cuts while adjusting fabric. |
| Use a Cutting Mat | Protects your work area and blade. |
| Steady Hand | Guarantees a clean cut along the marked line. |
| Practice on Scrap Fabric | Builds confidence and checks blade sharpness. |
| Organize Your Workspace | Reduces clutter and enhances safety with tools. |
Step 5: Serge Your Hem
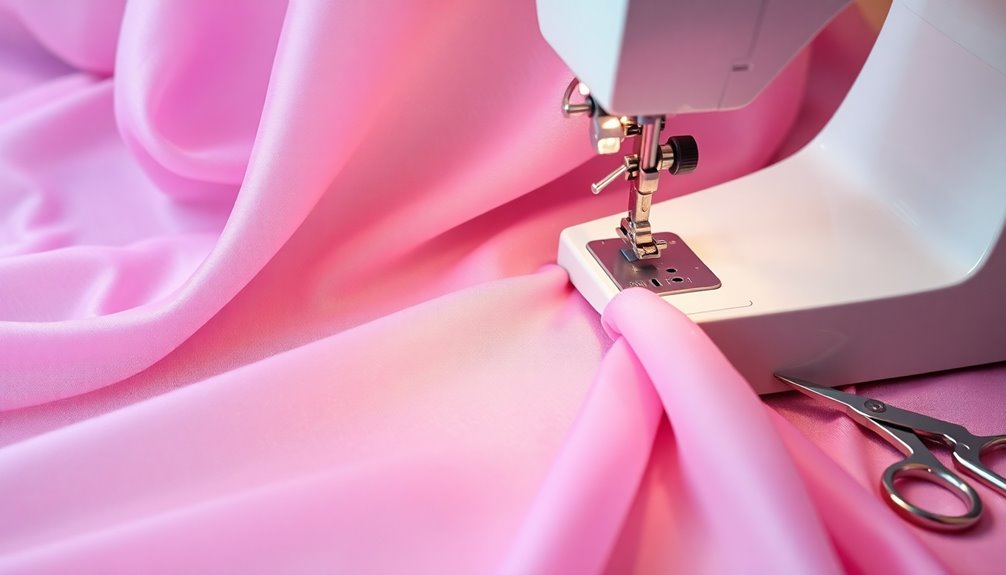
To achieve a professional finish on your hem, serging the raw edges is essential. Start by using a serger to guarantee your hem looks polished.
Here are some tips to keep in mind:
- Test the stitch on scrap fabric for the best results.
- Adjust your serger settings based on the fabric type to avoid damage.
- Fold up the hem and pin it in place for evenness before stitching.
- Secure the serger tails using Fray Check for extra security against unraveling.
- Iron the serged hem with a press cloth to protect the fabric and enhance its appearance.
Step 6: Press Up Serged Hem
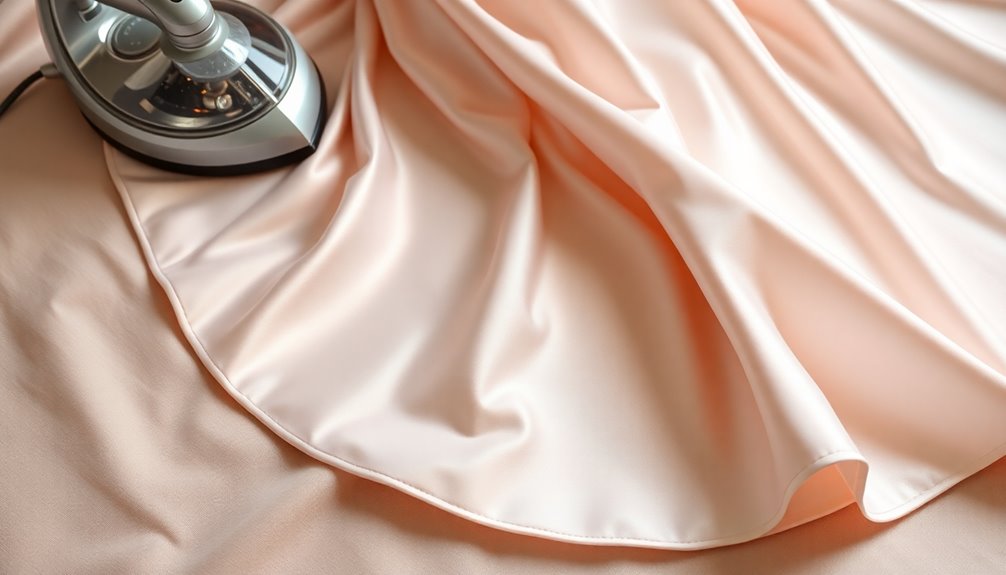
Pressing up your serged hem is essential for achieving that crisp, professional finish.
First, grab a press cloth to protect your fabric during the pressing process. Set your iron to the appropriate temperature based on your fabric type to avoid any damage.
As you press, make certain the hem lies flat, free of puckering or bulk, contributing to a polished appearance. Using steam or a damp cloth can help the fabric hold its shape and eliminate any wrinkles.
Don't forget to check the hem alignment as you press; keeping it consistent around the entire dress prevents uneven lengths.
With these steps, your hem will look immaculate and ready for the spotlight!
Step 7: Stitch Hem Up
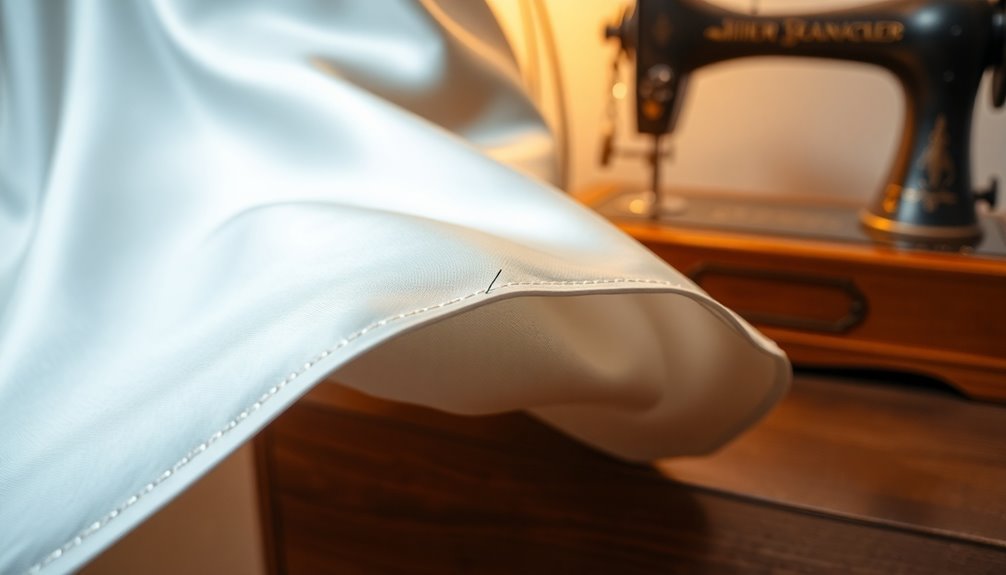
Start stitching the hem by positioning your fabric with the wrong side facing up. Begin at a seam for a less visible start, and don't forget to backstitch at both ends to secure your stitches. Use a sewing machine with a complementary thread for a seamless look. Keep your fabric taut for a straight line.
Here's how to make the process smoother:
- Pin or clip the hem after pressing it up.
- Fold the hem under evenly for a polished finish.
- Stitch on the wrong side to achieve a clean edge.
- Check your tension for consistent stitches.
- Press the hem with a pressing cloth to set your stitches.
You're one step closer to a flawless finish!
Step 8: Hem the Lining
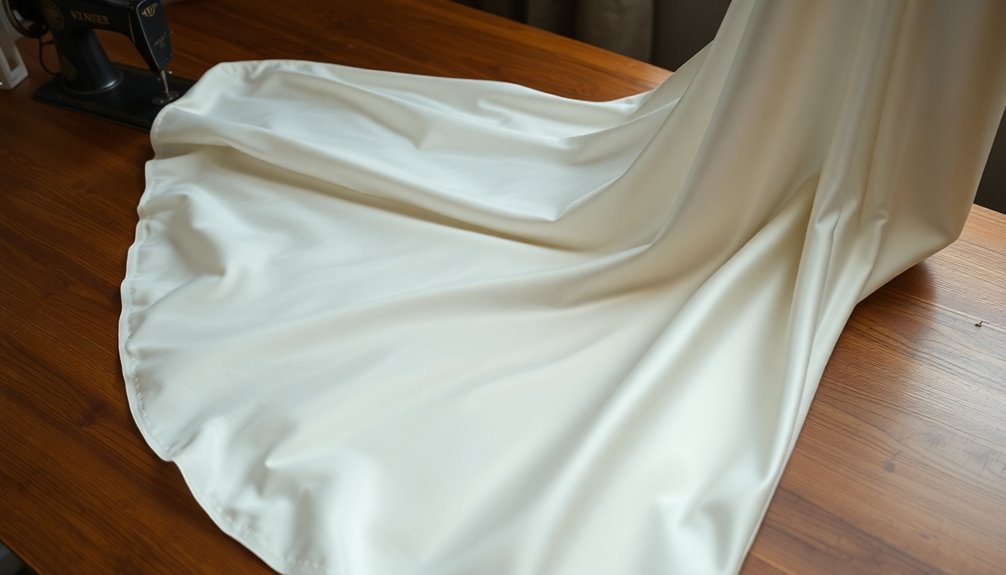
With the outer fabric hemmed, it's time to focus on the lining. Start by marking where the lining meets the floor with pins, guaranteeing it aligns with the outer fabric. Use a seam gauge to measure these pin placements, then calculate the average height for uniformity around the skirt. Once you cut the lining to the right length, fold up the hem and pin it securely.
| Step | Action | Purpose |
|---|---|---|
| Marking | Use pins to align with outer fabric | Guarantees accurate alignment |
| Cutting and Folding | Cut lining and fold up the hem | Prepares for stitching |
| Stitching and Ironing | Sew on the wrong side, then press | Creates a polished finish |
Iron the hem with a press cloth for a neat finish.
Frequently Asked Questions
What Are the 5 Basic Steps in Hemming?
To hem a garment, start by trying it on with the right undergarments and shoes to determine the desired length.
Pin the hem in place, then measure from the pins to the original hem and mark a cutting line.
Cut along this line, finish the raw edge to prevent fraying, and press the hem up.
Finally, pin it in place and stitch it with a sewing machine, ensuring to backstitch for security.
Can You Hem a Wedding Dress Train?
Yes, you can hem a wedding dress train at home! Start by wearing the dress with the shoes you'll use, and pin the desired length.
Remember to taper from the front to the side seams for a smooth silhouette.
Use a rotary blade to cut along your marked line, then finish the raw edges with a serger or zigzag stitch.
Finally, trim the lining slightly shorter to fit neatly underneath.
You've got this!
How Do You Get Perfect Hemming?
To get perfect hemming, start by trying on your dress with the shoes and undergarments you'll wear.
Mark the hem length with pins for accuracy.
Use a rotary blade for clean cutting along the marked line.
Finish the hem with a serger or zigzag stitch to prevent fraying.
Press the hem before stitching, and choose thread that matches your fabric.
Finally, backstitch at the beginning and end to secure your seams.
What Stitch Do You Use to Hem a Dress?
What's the best stitch for hemming a dress?
You've got a few great options! A straight stitch offers a secure finish, while a blind hem stitch keeps your work discreet.
Don't forget about the zigzag stitch, which prevents fraying and allows for some stretch.
If you're working with knits, a serger with a 3-thread overlock stitch gives a professional look.
Just make sure to match your thread color to the fabric for a seamless finish!
Conclusion
To sum it up, hemming your dress train can transform your gown into a stunning masterpiece. Did you know that a well-fitted hem can enhance your overall look by up to 30%? With just a bit of patience and the right techniques, you can achieve a flawless finish that showcases your style. So grab your supplies and get started—you're just a few steps away from making your dress truly shine! Happy hemming!