
To add belt loops to your pants without sewing, gather sturdy fabric like ribbon and some adhesive fabric tape. Cut 4 to 6-inch strips, then prepare the waistband by cleaning the area. Apply the adhesive to both the loop and waistband, positioning the loops evenly. Press firmly and let the adhesive set for the recommended time. Test the loops with a belt to guarantee they hold well. There's more to explore for a unique and stylish finish!
Key Takeaways
- Use sturdy fabric strips, like ribbon or bias tape, cut to 4-6 inches, plus an extra inch for folding.
- Clean the waistband area of the pants to ensure proper adhesion for the loops.
- Apply strong fabric adhesive or fusible webbing to both the loop and waistband, positioning them evenly.
- Press the loops firmly against the adhesive and allow the bond to set for 24 hours before wearing.
- Experiment with contrasting colors and patterns to add a unique touch to your customized pants.
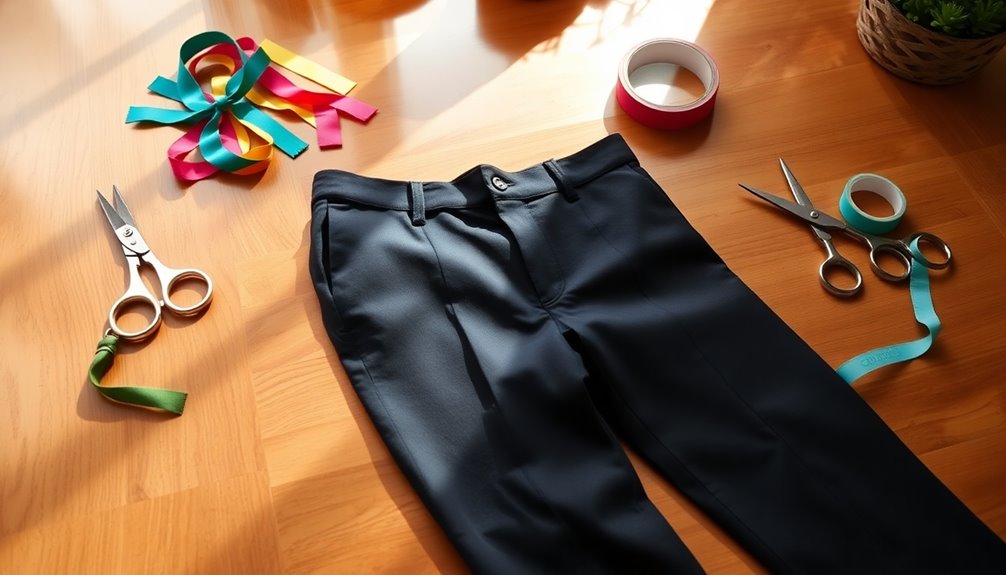
Materials Needed for Adding Belt Loops
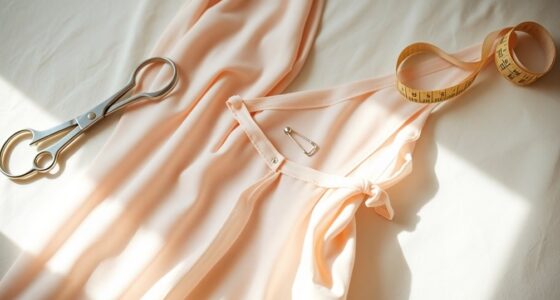
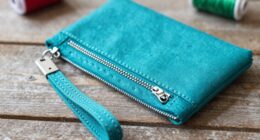
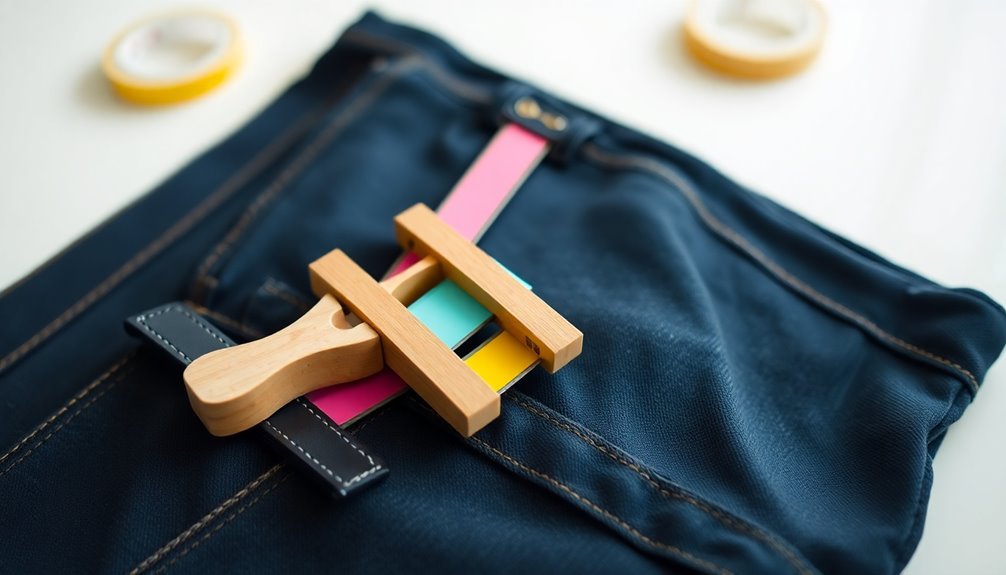
To successfully add belt loops to your pants, you'll need a few essential materials. First, choose a sturdy material for the belt loops, like ribbon or bias tape, that matches your pants' fabric and can endure daily wear.
You'll also need a sturdy adhesive fabric tape or fusible webbing to attach the loops without sewing, ensuring a strong bond. Don't forget to have scissors on hand to cut the loops to your desired length, typically around 2-3 inches, based on your belt width.
Finally, prepare the area where you'll attach the loops by cleaning the fabric, ensuring the adhesive sticks well. With these materials, you're ready to add belt loops and enhance your pants' functionality.
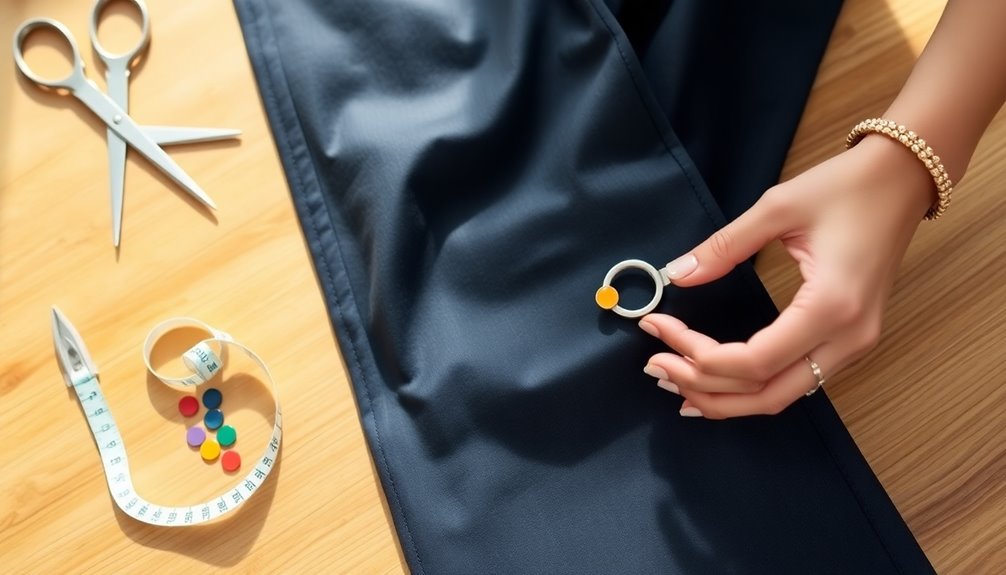
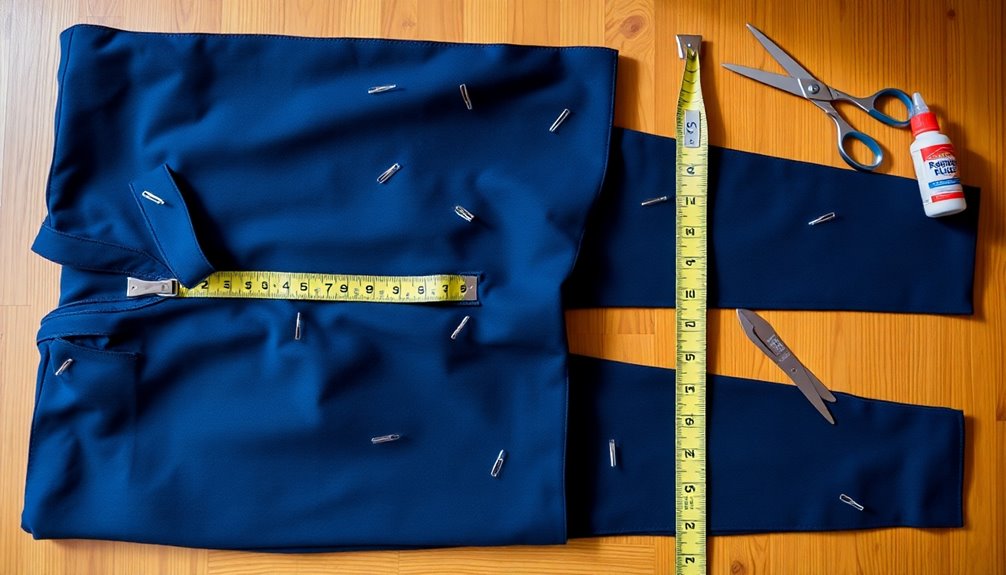
Measuring and Cutting the Fabric
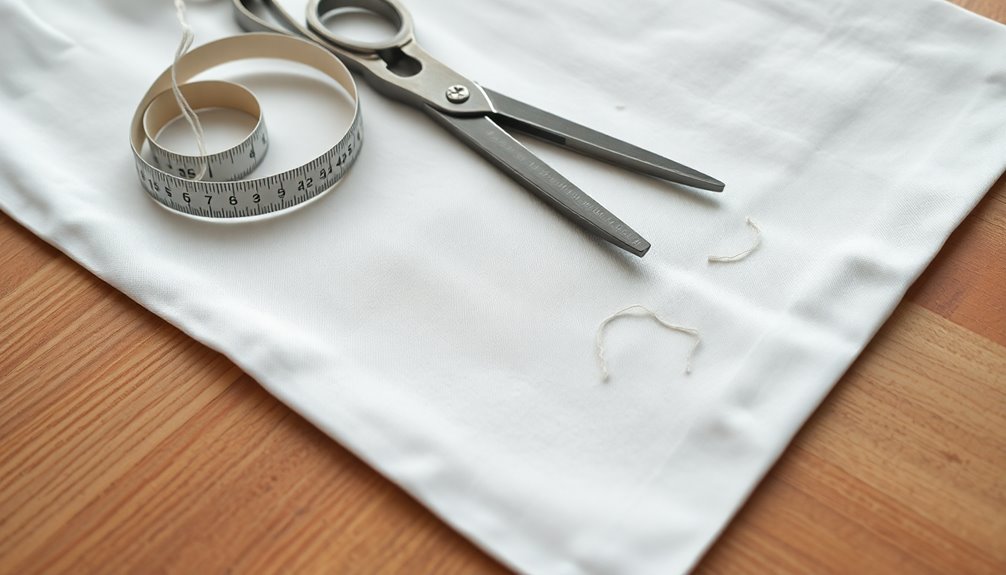
With your materials ready, measuring and cutting the fabric for your belt loops is the next step.
Start by measuring the desired length for the loops, usually between 4 to 6 inches. Make certain to add an extra inch for folding and securing.
Choose a sturdy yet flexible fabric, like cotton or ribbon, to guarantee durability. For added stretch, cut the fabric strips on the bias, which helps prevent fraying.
Plan for five loops—two at the front, one at the center back, and two at the side seams—for ideal support.
Use sharp scissors to make clean cuts, guaranteeing a neat appearance and preventing fraying.
This careful measuring and cutting the fabric sets you up for success!
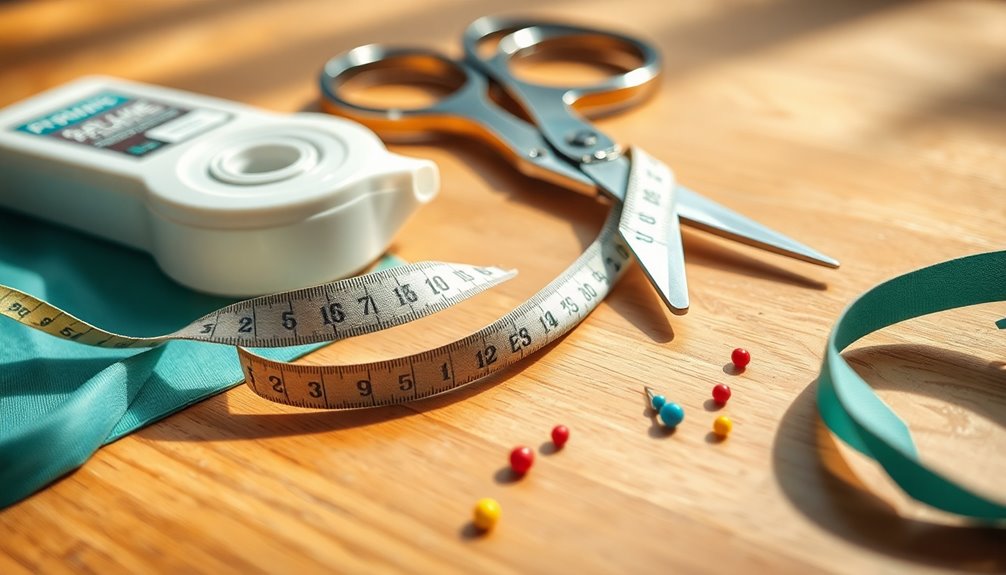
Preparing the Adhesive
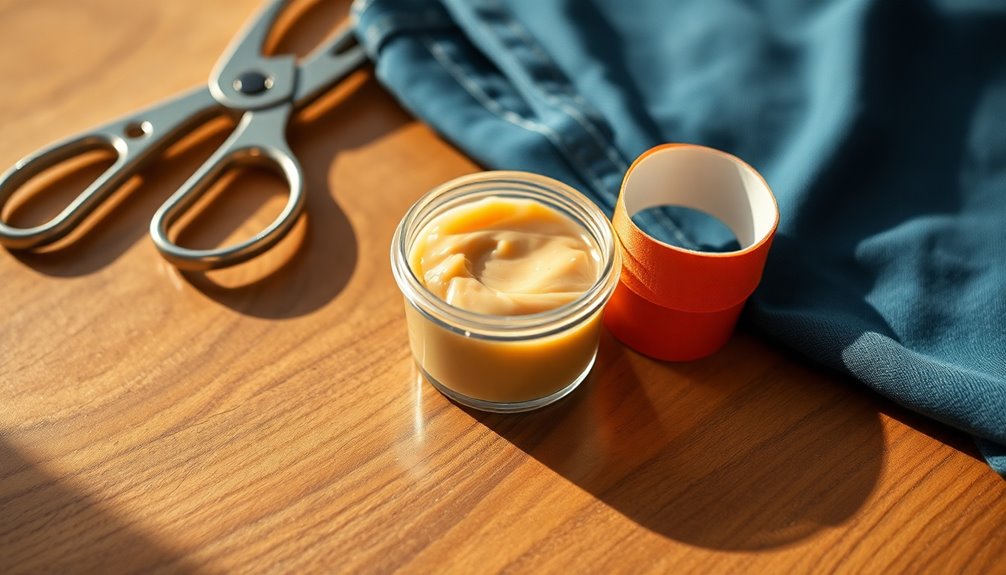
Preparing your adhesive is essential for guaranteeing your belt loops stay securely attached to the pants. Start by choosing a strong fabric adhesive or heavy-duty iron-on adhesive tape. Next, clean the area where the belt loops will attach to remove dust, oils, or residues for better adhesion. Cut the adhesive tape to match the width and length of the loops. Heat the adhesive according to the manufacturer's instructions, using an iron set to the correct temperature to avoid damaging the fabric. Finally, allow the adhesive to cool completely after application. This will guarantee a strong bond.
| Step | Action | Notes |
|---|---|---|
| Choose Adhesive | Select heavy-duty adhesive | Guarantee durability |
| Clean the Area | Remove dust and oils | Promotes better adhesion |
| Cut Adhesive Tape | Match length and width | Secure bond |
| Heat and Cool | Follow instructions carefully | Strong bond before use |
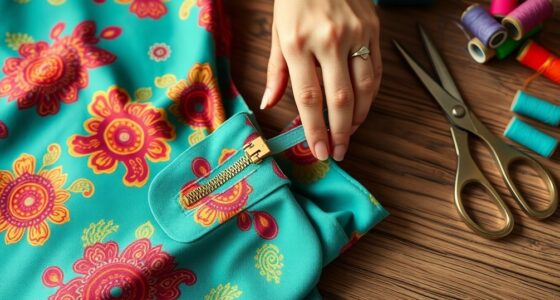
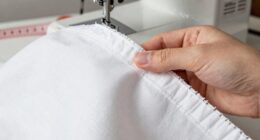
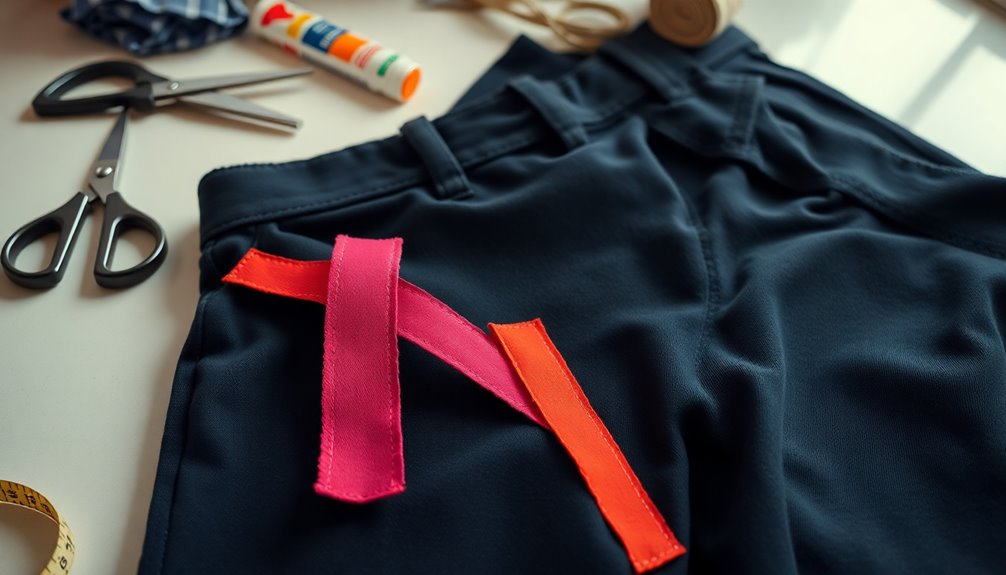
Attaching the Loops to the Pants
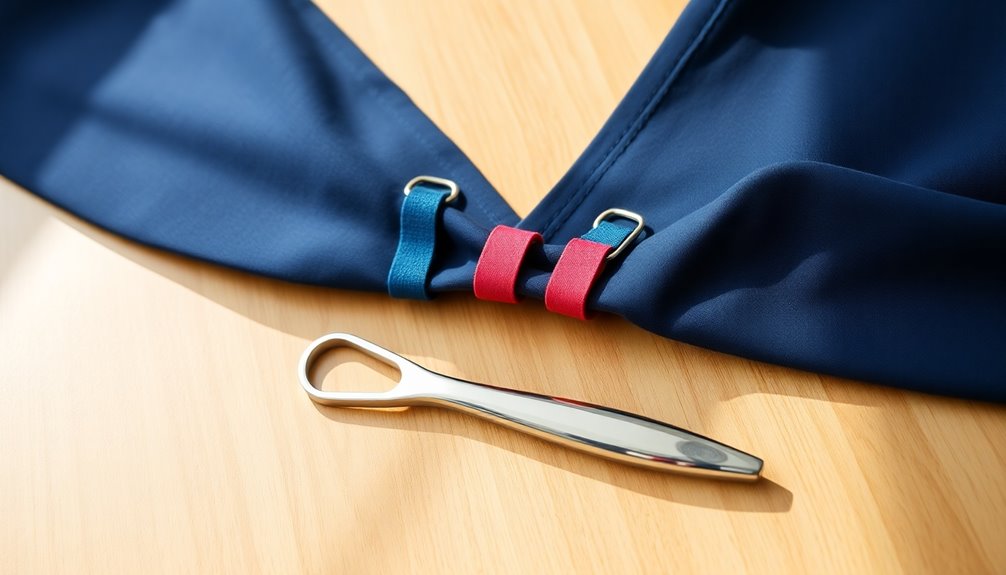
After confirming the adhesive is ready, it's time to attach the loops to your pants.
Start by cutting strips of fabric or ribbon for the belt loops, making sure they're wide enough for your belt. Clean the waistband area for proper adhesion.
Then, apply fabric glue or adhesive tape to both the loop and the waistband. Place the loops strategically; typically, you'll use two at the front, one at the center back, and two at the side seams.
Verify they're evenly spaced for a balanced look. Once positioned, press firmly to secure the loops in place.
Allow adequate drying time as specified by the adhesive instructions before wearing your pants to verify the belt loops stay attached properly.
Ensuring Even Placement
To achieve a polished look with your belt loops, measure and mark their positions on the waistband before you begin attaching them. Typically, place two loops at the front, one at the center back, and two at the side seams. Use a fabric measuring tape to maintain consistent distances, guaranteeing even placement.
| Position | Distance from Edge |
|---|---|
| Front Loop 1 | 2 inches |
| Front Loop 2 | 2 inches |
| Center Back Loop | 2 inches |
| Side Seam Loop | 2 inches |
Consider the width of your belt to guarantee the loops are just right. Use fabric chalk or a washable marker for precise guidelines, and double-check the spacing before securing each loop.
Allowing Adhesive to Set
Once you've applied the adhesive to the belt loops, it's vital to allow it to set properly for at least 24 hours.
Different adhesives have varying setting times, so check the manufacturer's instructions to guarantee you're following the best practices.
This waiting period is essential for creating a strong bond that will last through wear and tear.
Adhesive Types Comparison
While choosing the right adhesive for adding belt loops to your pants, it's crucial to evaluate how long each option will hold up.
This adhesive types comparison will help you decide what works best, especially if you're going without a belt.
- Fabric Glue: Strong bond, ideal for regular wear, but requires proper application.
- Double-Sided Fusible Tape: Great for easy positioning; needs heat to set permanently.
- Hot Glue: Quick fix for temporary solutions but may not withstand washing or heavy use.
Always remember to test the adhesive on a scrap fabric first to verify compatibility.
Following the manufacturer's instructions and allowing the glue to set completely will guarantee maximum strength for your newly added belt loops.
Setting Time Importance
Allowing the adhesive to set properly is essential for creating a strong bond between the fabric and the belt loops, as this prevents them from peeling off during wear.
Most fabric adhesives recommend a setting time of at least 24 hours for ideal strength, so patience is key. During this period, keep the fabric flat and undisturbed to minimize the risk of misalignment or shifting.
Remember, temperature and humidity can affect the adhesive's performance, so choose a controlled environment for the best results.
Before applying the adhesive to your pants, test it on a small fabric scrap to verify compatibility and effectiveness without causing damage.
Taking these steps will help you achieve durable, long-lasting belt loops.
Ensuring Strong Bond
To guarantee a strong bond between your belt loops and pants, start with clean and dry fabric surfaces. Dirt or moisture can weaken the connection, so make certain everything's prepped.
Use a strong fabric adhesive or no-sew tape designed for clothing to achieve a durable hold.
- Apply the adhesive evenly; avoid excess that might seep out.
- Press the belt loops firmly against the adhesive, holding them for the time recommended by the manufacturer.
- Allow the adhesive to set fully, usually 24 hours, before wearing the pants to ascertain a secure bond.
Testing the Fit With a Belt
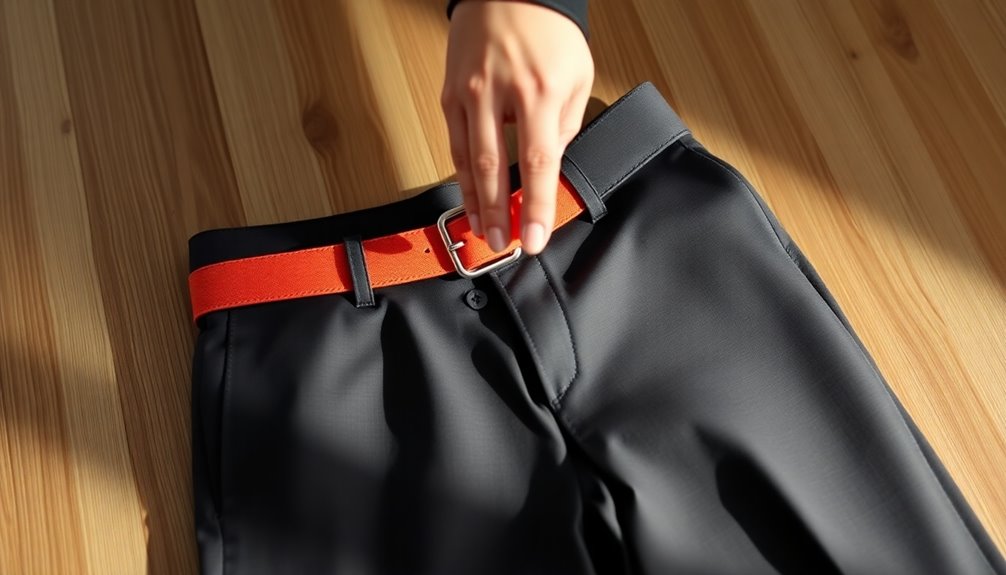
Testing the fit of your pants with added belt loops is essential for ensuring comfort and functionality.
Start by wearing the pants and inserting a belt to see how well it holds them in place without slipping. Make sure the belt is tightened to a comfortable level, as this will help you assess whether the loops provide adequate support.
Pay attention to any gaps or sagging areas when the belt is fastened; these could indicate a need for additional loops. Also, notice the pressure distribution around your waist. If any loops feel strained or the belt digs in, adjustments might be necessary.
Finally, consider your overall comfort; the ideal fit should allow for easy movement without excess fabric bunching.
Customizing Your Style
Once you’ve guaranteed your pants fit well with the added belt loops, it’s time to think about how you can personalize your style. Consider experimenting with different belt styles and colors that complement your wardrobe. You can also explore various tops and shoes that enhance your overall look. If you’re in need of adjusting your pants further, don’t forget to check out tailoring options for bigger waist to ensure a perfect fit that suits your unique body shape.
Customizing your style not only enhances your outfits but also showcases your personality. You can easily achieve this by experimenting with alternative materials for your belt loops, such as:
- Colorful ribbons that add flair
- Durable bias tape for a chic touch
- Unique fabrics that coordinate with your wardrobe
These choices can create a unique look that reflects your taste. Additionally, customizing your pants promotes sustainability by extending their life through simple alterations, which aligns with the principles of sustainable eating habits.
Tips for Future Projects
As you tackle future projects, keep in mind that planning and preparation can save you time and effort.
When adding belt loops, consider using fabric glue or iron-on adhesive strips instead of sewing. This no-sew method offers a strong bond while keeping your workflow simple.
Choose a sturdy material for the belt loops, like ribbon or strong bias tape, to guarantee they can handle the tension from your belt. Measure and cut your material beforehand for even spacing and alignment.
To prevent fraying, seal the ends with a lighter or matches, especially if you're using a fabric that unravels easily.
Don't hesitate to experiment with contrasting colors and patterns to give your pants a unique flair while enhancing functionality. Additionally, exploring basic sewing techniques can inspire you to tackle more complex projects in the future.
Frequently Asked Questions
Can Belt Loops Be Added to Pants?
Yes, you can definitely add belt loops to pants!
There are several ways to do it without sewing. You might try using fabric glue or iron-on tape for a quick fix. Pre-made fabric loops can also be purchased and attached easily.
If you're looking for a temporary solution, safety pins work well, too. Just be sure to choose adhesives that are washable, so your new loops stay intact after multiple washes.
How Do You Make a Makeshift Belt Loop?
Imagine being in a pinch, needing a belt loop fast.
You can easily create a makeshift belt loop using a sturdy safety pin and a piece of ribbon or fabric. Just attach the ribbon to your waistband, making sure it's secure.
Alternatively, fold a small piece of elastic into a loop and use fabric glue. A hair tie works too—just knot it through the waistband for a quick fix.
You've got options!
How to Add Belt Loops to Waistband?
To add belt loops to a waistband, start by measuring and cutting fabric or ribbon into strips about 2.5 inches long.
You'll need at least five loops for even spacing. Position them on the waistband, ensuring they're about 2-3 inches apart.
Use fabric glue to attach each loop and hold it in place for the recommended time.
For extra durability, reinforce with fabric tape underneath before letting the glue cure completely.
How to Tighten Pants That Don't Have Belt Loops?
When it comes to keeping your pants from slipping, you've got a few tricks up your sleeve.
You can use fashion tape to stick the waistband to your body temporarily. If you're feeling adventurous, try suspenders for a stylish twist.
A safety pin can also help by pinching the fabric at the back for a snug fit.
Alternatively, opt for a belt with a rubberized backing for a non-slip solution.
You've got options!
Conclusion
Adding belt loops to your pants without sewing is a breeze, transforming your wardrobe with just a few simple steps. By following this guide, you've turned a challenge into an opportunity for creativity, like a painter adding the final strokes to a masterpiece. With your new loops securely in place, you can enjoy a snug fit and a customized look. So go ahead, embrace your style and strut with confidence—your pants are now the canvas for your fashion flair!