
Creating a professional hem on your own is easy with the right approach. Start by prepping the garment and marking the hemline while wearing it for perfect fitting. Measure the hem depth based on the garment type, and choose your finishing technique—like a double fold or blind hem. Use tools like a seam gauge and a blind hem foot for best results. With these tips, you'll soon master the art of hemming and discover even more techniques to enhance your skills.
Key Takeaways
- Ensure the garment is fitted properly and allow it to hang for 24 hours before marking the hemline for accuracy.
- Use a seam gauge to measure the hem depth according to the garment type, typically 2-3 inches for skirts and 1-2 inches for pants.
- Choose an appropriate finishing technique based on fabric type; for knits, use a stitched and pinked finish, while lightweight fabrics require a turned and stitched method.
- For a double fold hem, fold the fabric to conceal the raw edge, pin in place, and sew a straight stitch along the top edge.
- Utilize a blind hem foot for nearly invisible stitches, ensuring to prewash fabric and check visibility after folding and sewing the hem.
Top picks for "create professional x2014"
Open Amazon search results for this keyword.
As an affiliate, we earn on qualifying purchases.
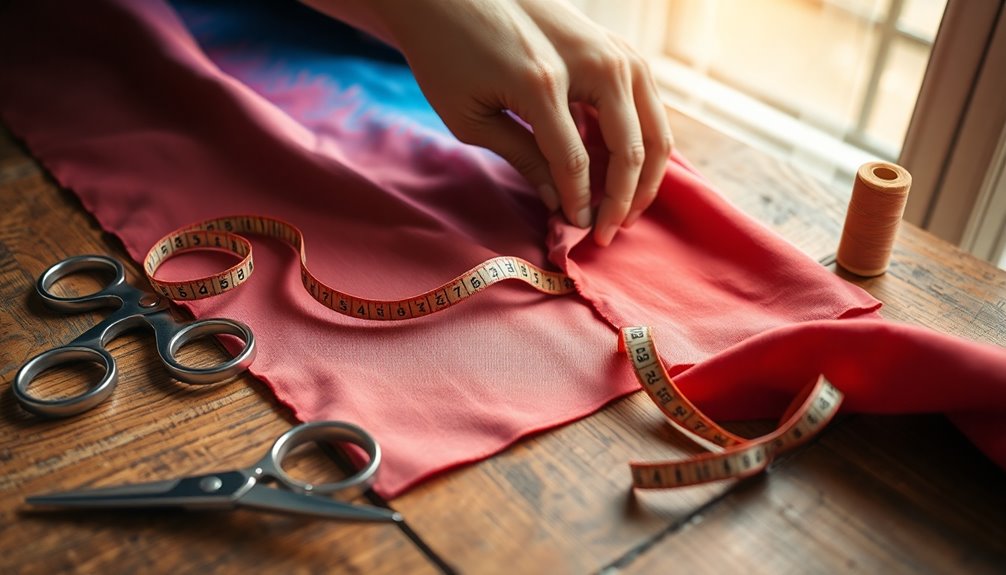
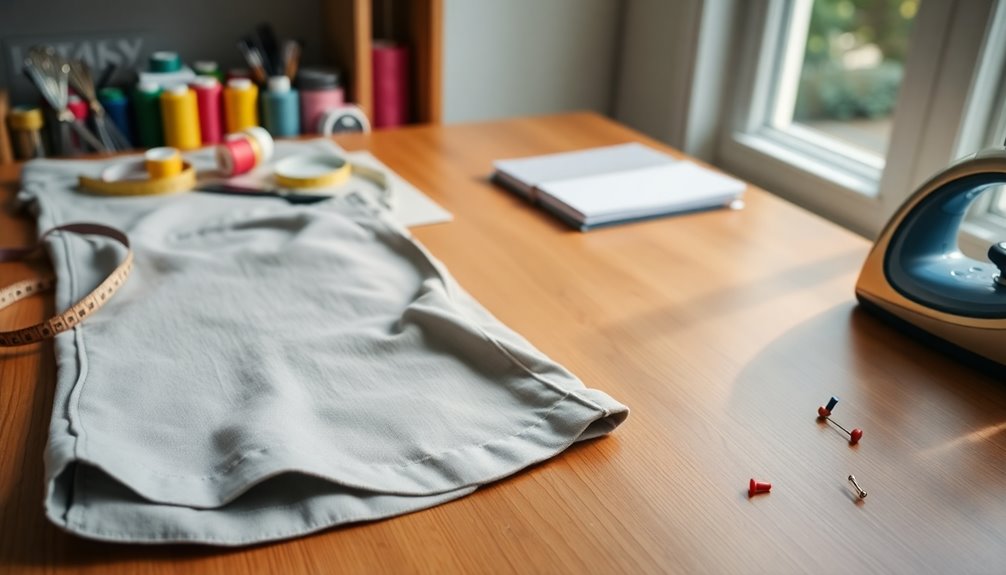
Preparing and Marking the Hem
Before you start marking your hem, make certain your garment is fitted and finished for the best results. Allow the fabric to hang on a cushioned hanger for 24 hours to account for drape and weight.
If you're working with existing garments, remove the old hem and press out the crease to prepare the raw edges.
To achieve accurate fitting, wear the garment while marking the hemline. This way, you can ascertain it meets your desired length.
When marking the hem, remember to fold the fabric and account for your hem allowance. If you're shortening, trim the seam allowance slightly, but avoid excessive trimming to maintain fabric integrity for future adjustments.
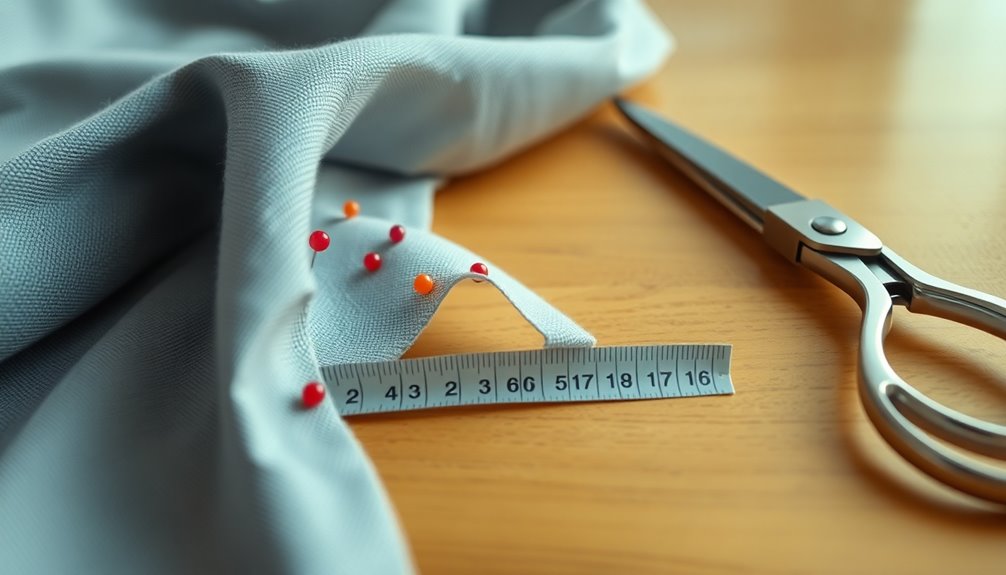
Determining Hem Depth and Finishing Techniques
When determining hem depth, it's important to take into account the type of garment you're working with, as this influences both the aesthetic and functionality.
Typically, skirts, dresses, and coats have a hem depth of 2 to 3 inches, while jackets, pants, and blouses usually feature narrower hems of 1 to 2 inches.
To guarantee an even hem depth, use a seam gauge or ruler for accurate measurements before cutting or folding.
Choose finishing techniques based on fabric type: a stitched and pinked finish suits knits, while a turned and stitched finish works well for lightweight fabrics.
For delicate materials, an overcast finish helps prevent raveling, while a zigzag stitch is ideal for most fabrics, enhancing your garment's professional appearance.
Types of Hems

With the right finishing techniques in place, understanding the various types of hems can elevate your garment's professionalism.
The double fold hem hides the raw edge by folding the fabric twice, making it perfect for lightweight materials.
For a sleek finish on armholes, consider a rolled hem, which often requires a straight stitch for finer fabrics.
Bias tape is another versatile option, allowing you to add contrasting or matching colors while finishing edges neatly, either exposed or hidden.
Faced hems use a separate piece to create a polished look, especially on curved or scalloped edges.
Each type of hem serves a specific purpose, so choose based on your fabric and desired finish to achieve stunning results.
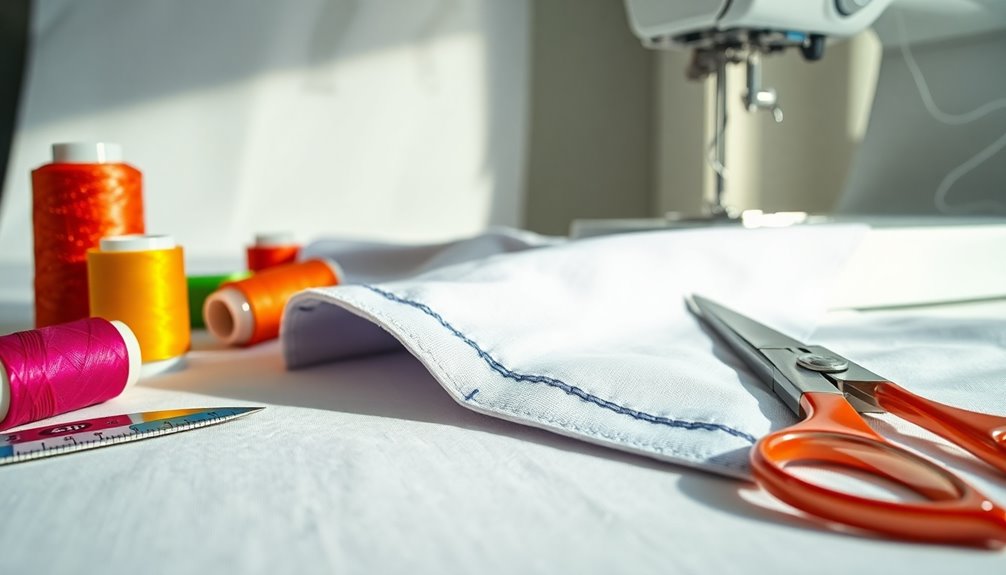
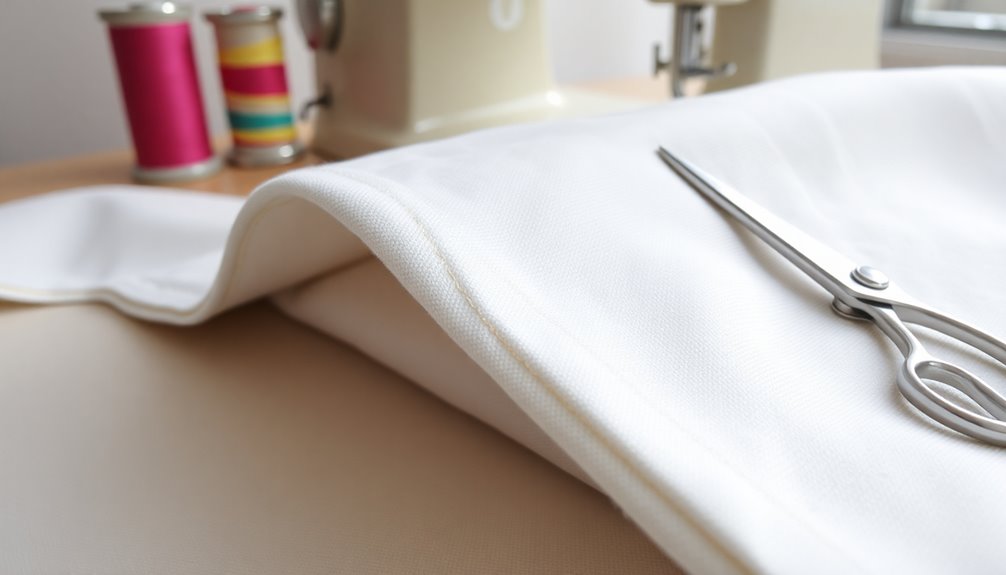
Sewing Techniques for Double Fold Hem

To create a seamless double fold hem, start by folding the fabric up ⅝-inch to conceal the raw edge. Then, fold it again to secure it before sewing.
Use straight pins to hold the folds in place, ensuring the blunt ends face outward for easy removal.
Next, sew a straight stitch along the top edge of the fold, keeping the stitches loose to prevent puckering.
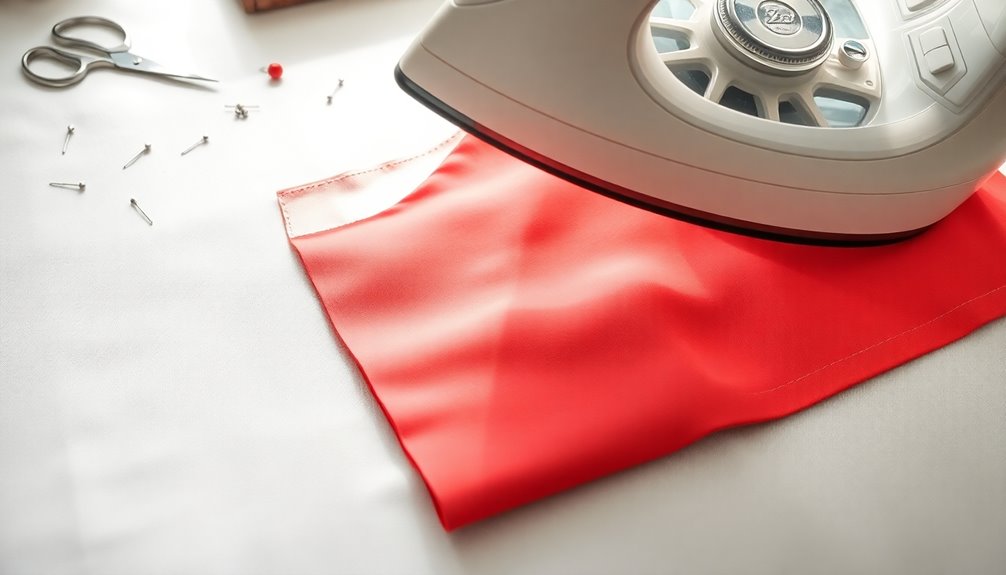
After sewing, iron the hem and press it to achieve a flat finish. Turn the fabric right-side-out for a polished look.
Sewing Techniques for Blind Hem
To achieve a clean and professional blind hem, you'll need specific tools and materials, including a blind hem foot for your sewing machine.
Start by following a step-by-step process that guarantees your stitches remain nearly invisible on the front side of your fabric.
With a few tips for perfecting your hem, you'll create a polished finish that elevates your garment.
Required Tools and Materials
Creating a professional blind hem requires specific tools and materials to guarantee a seamless finish. First, you'll need a sewing machine equipped with a blind hem foot, specially designed for this technique.
Prewash your fabric to avoid shrinkage, ensuring the hem retains its intended length. Next, prepare your fabric by folding it with a seam allowance, hiding the raw edge, and exposing about a ⅛-inch fold at the top edge of the hem. This will facilitate the blind hem sewing process.
Finally, use the designated stitch pattern to sew the hem, making sure the stitching remains nearly invisible on the front side. Afterward, iron the hem to achieve that polished, professional finish you desire.
Step-by-Step Process
Follow these steps to master the blind hem technique and achieve a professional finish on your garments.
- Prewash your fabric to prevent future shrinkage, then fold it with a seam allowance, hiding the raw edge and exposing a ⅛-inch fold for sewing.
- Use a sewing machine equipped with a blind hem foot. Select a blind stitch pattern (–^—-^–) to secure the hem without visible stitches on the front side of the fabric.
- After sewing, carefully unfold the hem and check the visibility of the stitches. The back should display the stitch pattern while the front remains discreet.
Iron the hem as the last step to guarantee it lays flat and looks polished.
With these tips and tricks, you'll create a flawless blind hem every time!
Tips for Perfect Hems
While achieving a perfect blind hem may seem intimidating, a few key techniques can make all the difference.
Start by using a sewing machine with a blind hem presser foot, and don't forget to prewash your fabric to avoid shrinkage.
Fold the fabric with a seam allowance to hide the raw edge, exposing a ⅛-inch fold for the blind hem sewing. Use the specific stitch pattern (–^—-^–), making sure the stitches on top are almost invisible from the front.
After sewing, unfold the hem and check for any visible stitching; it should look seamless.
Finally, iron the hem flat for that polished, professional finish you desire.
With these tips, you'll master the art of perfect hems!
Tips and Warnings for Successful Hemming
To achieve a professional-looking hem, it's essential to pay attention to the details that can make or break your project. Here are some important tips:
- Choose the Right Thread: Make certain to use a thread color that closely matches your fabric. If you can't find an exact match, opt for a lighter shade to blend well.
- Secure with Pins: Before you start stitching, use straight pins to hold your hem in place. This prevents shifting and guarantees accuracy as you stitch along the edge.
- Test Your Stitches: Always test your straight stitches on a scrap piece of the same type of fabric. This helps you avoid mistakes on your actual garment.
Remember to cut the thread neatly at the end for a clean finish!
Using Fusible Web and Pressing the Hem
Using fusible web can streamline the hemming process, providing a quick and effective way to secure your fabric. This heat-sensitive adhesive is ideal for creating a professional hem, especially on lightweight fabrics. Before you start, always test the fusible web on a scrap piece to verify compatibility.
Here's a quick guide to help you choose the right strips:
| Fabric Type | Recommended Strip Width |
|---|---|
| Lightweight Fabrics | 3/4 to 1 inch |
| Heavier Fabrics | 2 inches |
Place the fusible web about 1/4 inch from the hem edge, lightly steam it to baste, and let it cool before handling. Remember not to slide the iron while pressing to avoid stretching.
Specialized Hem Techniques

Specialized hem techniques can elevate your sewing projects, giving them a polished, professional look. Here are three methods to evaluate:
- Blind Hem Foot: This tool helps create nearly invisible hems, perfect for both woven and stretch fabrics.
- Facing Technique: Trim your seam allowance to 1/4 inch to reduce bulk, especially on curves. Don't forget to understitch the facing to keep it from peeking out!
- Rolled Hem: Ideal for lightweight fabrics, this technique uses multiple rows of straight stitching for a clean, refined finish.
Additionally, using bias tape can provide a neat edge finish. Secure it to the right side, then fold it to the wrong side for a seamless appearance.
Embrace these techniques for stunning results!
Frequently Asked Questions
How Do You Make a Perfect Hem?
To make a perfect hem, start by measuring the desired length while wearing the garment.
Use a double-fold technique, folding the fabric twice to hide the raw edge, and pin it in place.
When sewing, keep your stitches loose to avoid puckering.
For a clean finish, iron the hem after stitching.
If you want it nearly invisible, try a blind hem stitch, ensuring your thread color matches the fabric closely.
How Do You Mark a Hem by Yourself?
Picture yourself standing in front of a full-length mirror, your garment draping elegantly around you.
To mark a hem by yourself, wear the garment and use tailor's chalk to draw a line at your desired length. Keep a seam gauge handy to guarantee even depth.
Step back and check your reflection, adjusting as needed until it feels just right.
How Do I Make My Sewing Look Professional?
To make your sewing look professional, start by choosing a thread color that matches your fabric closely.
Use techniques like the double fold or blind hem for a clean finish.
Measure and mark your hemline while wearing the garment to guarantee an even depth.
Press your hems properly to achieve a crisp look.
Finally, always test your stitches on scrap fabric to avoid mistakes and confirm you're happy with the results before sewing.
What Is the Best Thing to Do to Form the Hem?
Imagine your garment as a ship, ready to sail the seas of fashion. To form the hem, let it hang for 24 hours, allowing the fabric to settle like a calm tide.
Measure your desired hem depth with a seam gauge, anchoring it with pins. Fold carefully to hide the raw edge, and choose thread that blends seamlessly.
Finally, press the hem, ensuring your creation is ready to navigate any occasion with style.
Conclusion
Now that you've learned how to hem like a pro, you can tackle any project with confidence. With a little practice, you'll be able to turn your fabric woes into fabric wows, ensuring each piece looks polished and professional. Remember, the right techniques and a keen eye for detail make all the difference. So roll up your sleeves, grab your sewing kit, and let your creativity shine through every stitch you make! Happy hemming!


