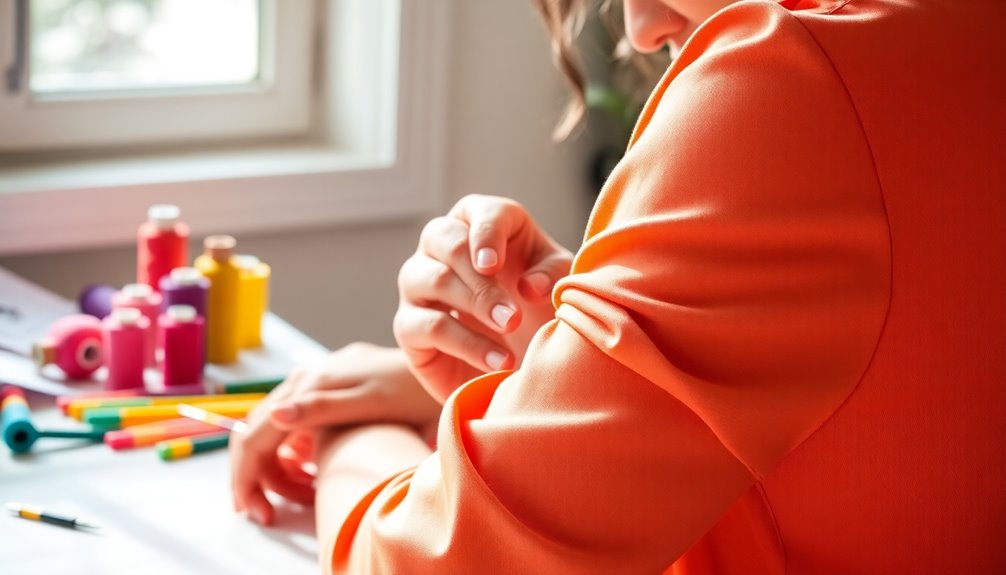
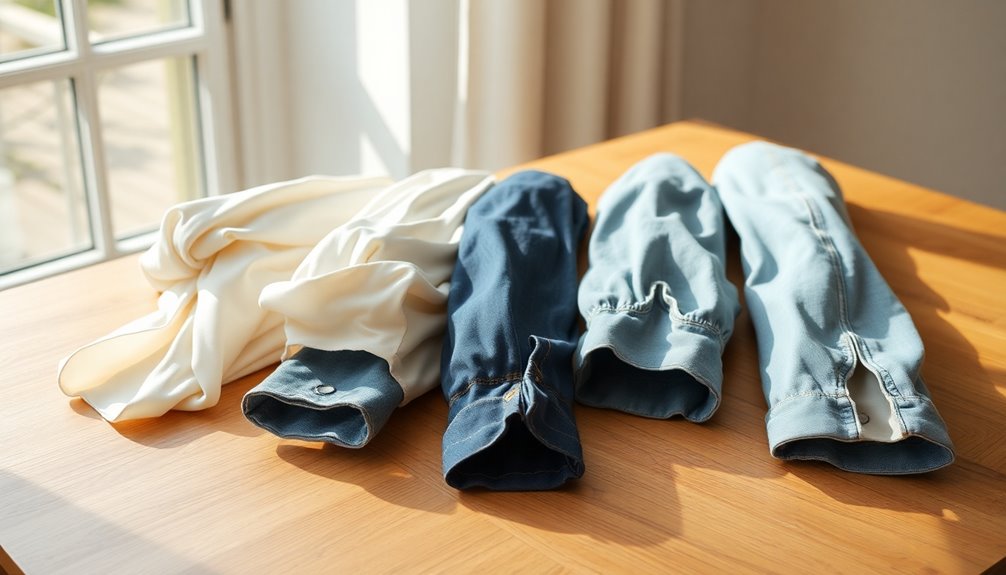
To modify sleeves for better arm mobility, start by evaluating the fit. Check for discomfort around the underarm and make adjustments like raising the underarm point by 1¼ inches. Use muslin to test any changes and verify seam allowances are correct. Consider incorporating gussets to enhance movement. Experiment with different sleeve styles and remember to balance aesthetics with functionality. For a deeper understanding of these modifications, explore further for more tips and techniques.
Key Takeaways
- Raise the underarm point by 1¼ inches to enhance comfort and mobility in sleeves.
- Incorporate gussets in the sleeve seams to improve arm movement without sacrificing style.
- Test sleeve modifications on muslin fabric to ensure proper fit and comfort before finalizing.
- Use historical sleeve patterns as references for designs that allow greater range of motion.
- Ensure seam allowances are accurate and consider letting out seams for added mobility.
Top picks for "modify sleev better"
Open Amazon search results for this keyword.
As an affiliate, we earn on qualifying purchases.
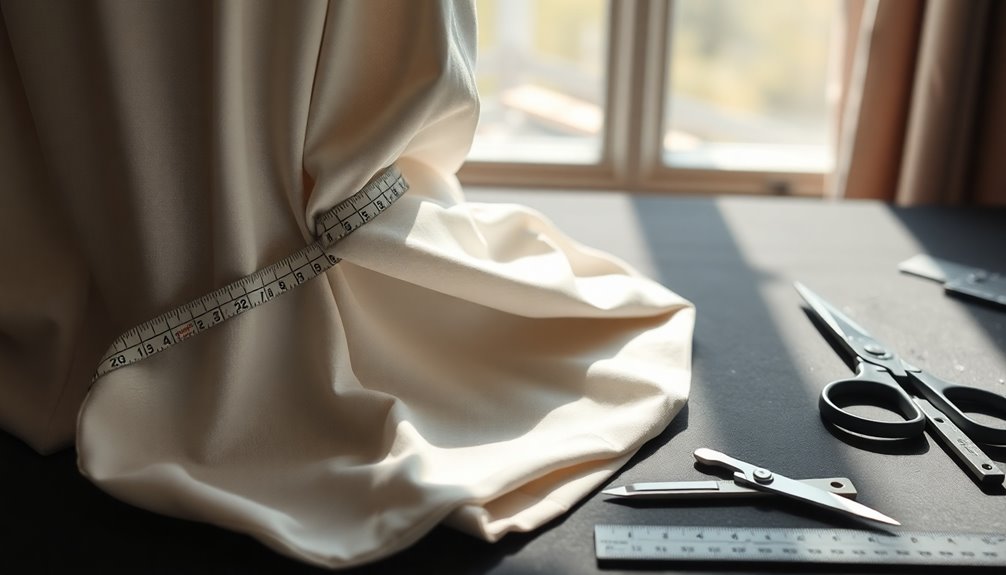
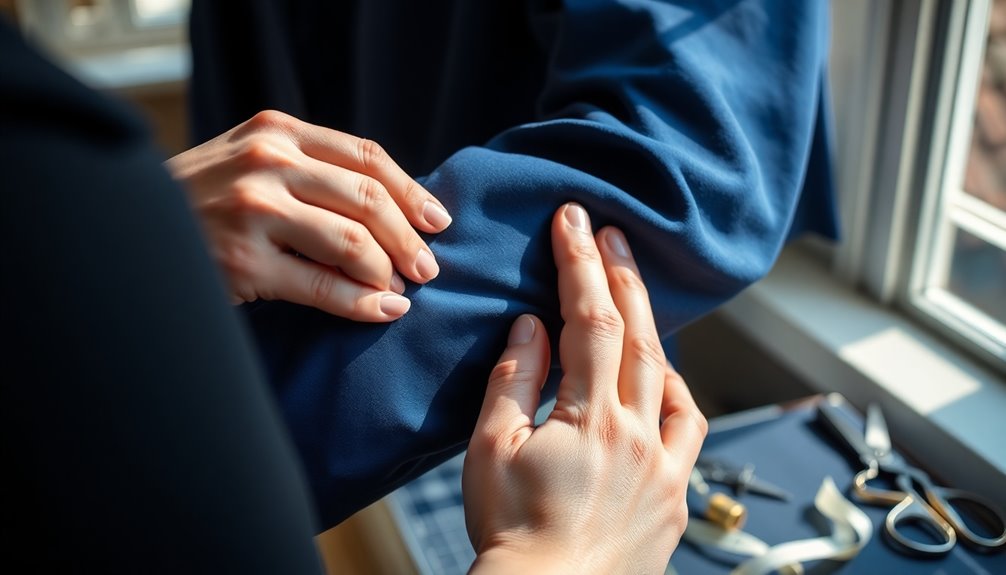
Assessing Your Sleeve Fit
When you assess your sleeve fit, pay close attention to how easily you can lift your arms. A fitted bodice with standard bell-shaped sleeves often restricts your movement, making it essential to check for any pulling or discomfort around the underarm area.
This discomfort may indicate that a low armpit design is affecting your arm mobility. To guarantee a better fit, measure the distance from your shoulder to your underarm; if the sleeve feels tight, adjusting for a higher armhole can help.
Also, compare your sleeve design with historical patterns, as these often feature higher underarms and two-piece sleeves that promote better mobility. Trying on garments with looser fits can also reveal what level of ease best suits your needs.
Understanding Sleeve Mobility Needs
How can you guarantee your sleeves support your active lifestyle? First, you need to make sure they fit well.
Standard bell-shaped sleeves often restrict arm movement, making it difficult to perform daily tasks. To enhance mobility, consider the historical two-piece sleeve designs that featured higher underarms—these allow for a greater range of motion.
Additionally, incorporating gussets, like the curved oyster shape, can greatly improve arm movement by providing extra space where you need it most.
By modifying patterns to include these elements, you'll create sleeves that not only look great but also accommodate your active lifestyle.
Don't settle for restrictive designs; prioritize functionality while keeping your style intact. Your arms will thank you!
Raising the Underarm Point
Raising the underarm point can greatly improve your arm mobility in fitted bodices.
By adjusting this point, you'll notice a more comfortable fit and enhanced freedom of movement.
Let's walk through the step-by-step modification process to achieve those benefits.
Benefits of Raising Underarm
Enhancing your garment by raising the underarm point can greatly improve arm mobility, especially in fitted bodices. This adjustment allows for a greater range of motion, turning restrictive outfits into comfortable attire perfect for activities like dance or theater. By raising the underarm point by an inch and a quarter, you'll experience a noticeable difference. Additionally, this modification aligns with historical patterns, reinforcing its effectiveness.
| Benefit | Description | Impact on Use |
|---|---|---|
| Improved Comfort | Increases ease of movement | Suitable for active wear |
| Enhanced Range of Motion | Allows for more dynamic arm movements | Ideal for performances |
| Historical Validation | Supported by past designs (e.g., 1860s) | Trendy and functional |
| Proportional Adjustments | Guarantees a balanced fit after modification | Maintains style integrity |
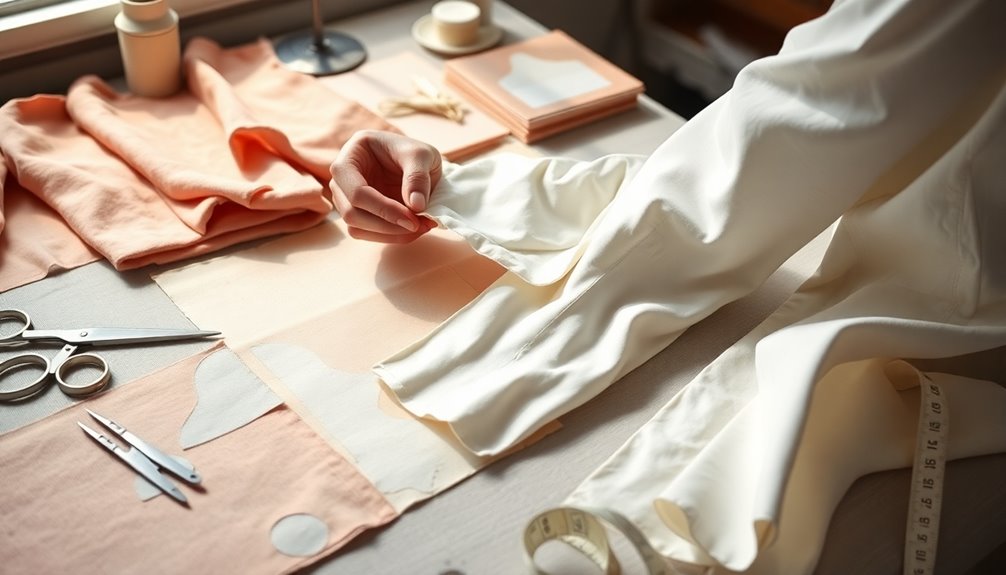
Step-by-Step Modification Guide
After understanding the benefits of raising the underarm point, you're ready to tackle the modification process.
Start by marking the original stitching lines on your dress patterns for reference. To improve arm mobility, raise the underarm point by about 1¼ inches. Next, adjust the sleeve pattern to align with the new armhole curve, ensuring a proper fit.
Remember to raise the sleeve underarm roughly twice as much as you raised the bodice to maintain proportionality. Once you've made these adjustments, test your modifications on muslin.
This allows you to evaluate fit and mobility before committing to your final sewing project. With these steps, you'll enjoy greater freedom of movement in your garments!
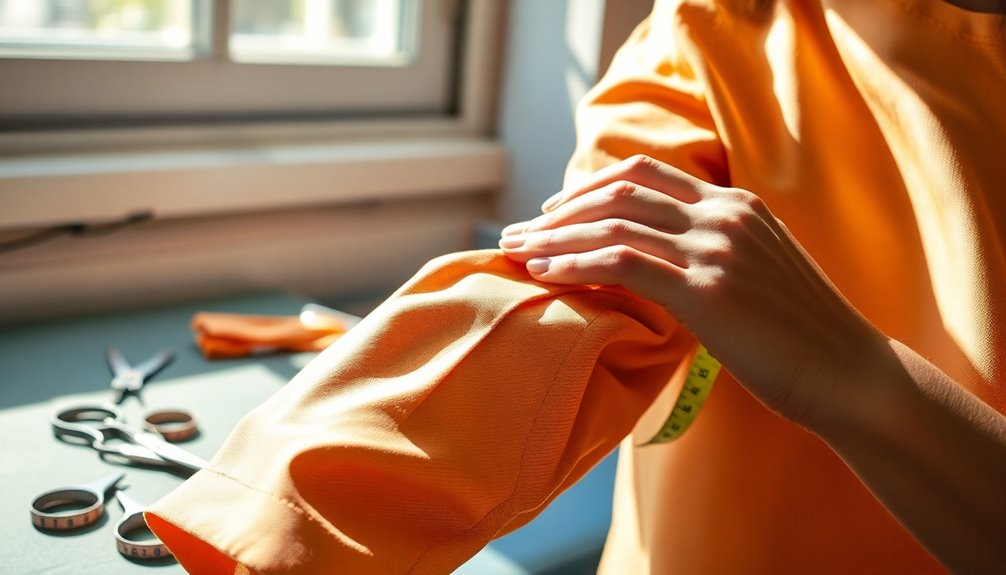
Adjusting the Sleeve Pattern
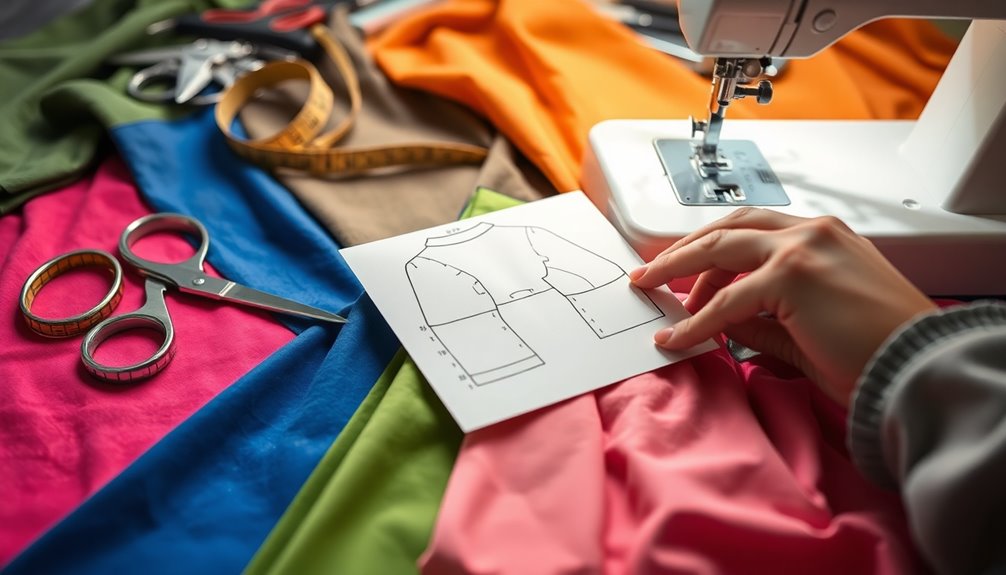
When you're looking to improve arm mobility in your sleeve patterns, one effective adjustment is to raise the underarm point by about 1.25 inches from the original stitching line. Confirm you align the sleeve pattern with the modified armhole for a proper fit. A good rule of thumb is to raise the underarm about twice as much as the bodice adjustment. Historical sleeve patterns often feature higher underarms, providing a great reference for modern designs. Use French curves to create smooth, gradual lines for a professional finish.
| Adjustment Type | Measurement Change | Notes |
|---|---|---|
| Underarm Point | +1.25 inches | Enhances arm mobility |
| Bodice Adjustment | Varies | Keep proportionality |
| Sleeve Design | Two-piece preferred | For better mobility |
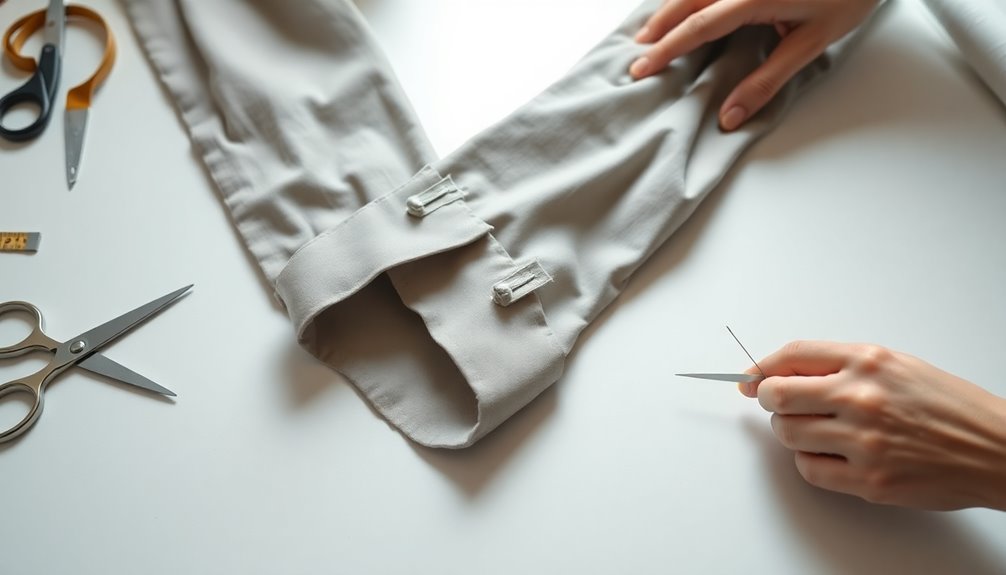
Marking Original Stitching Lines
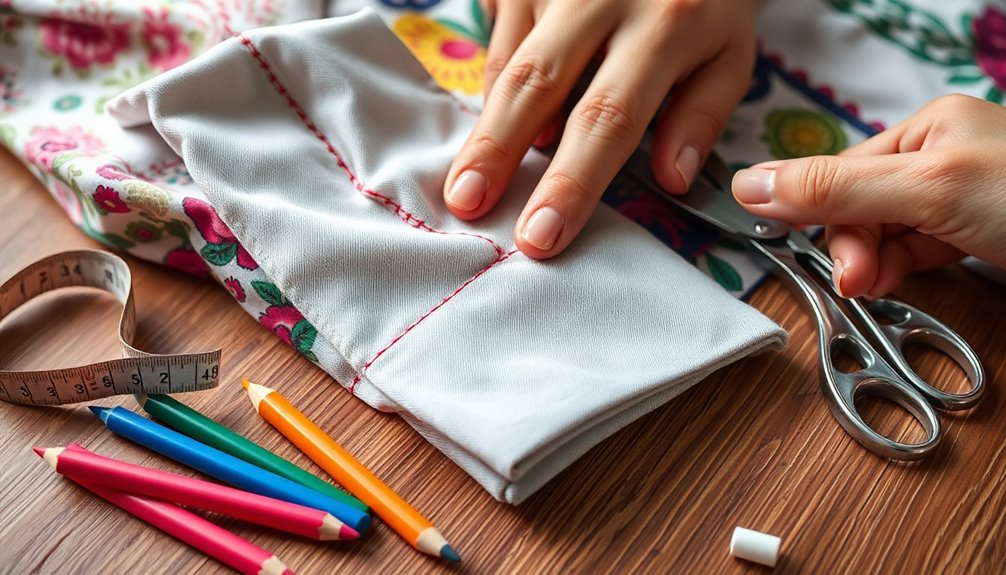
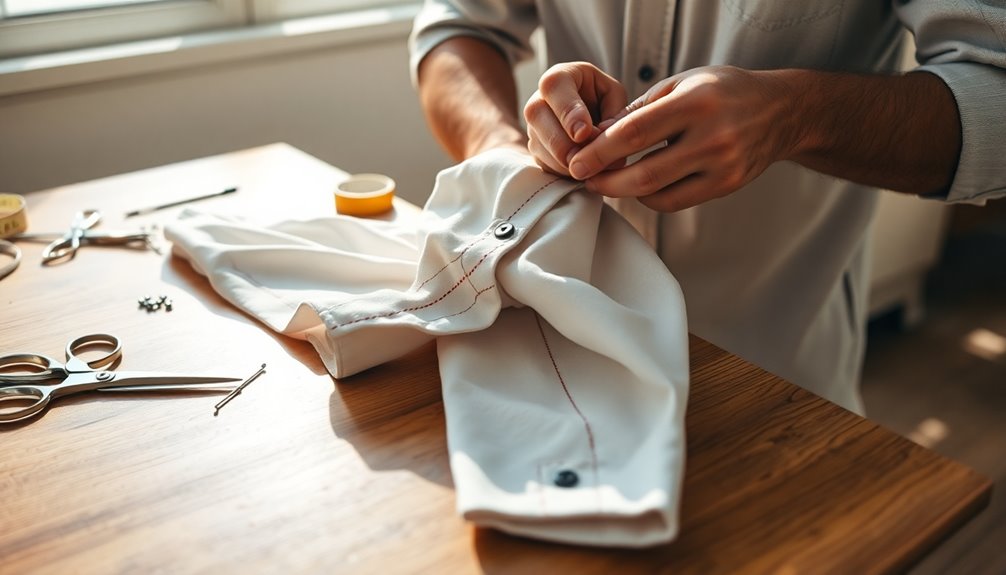
Marking original stitching lines is essential for achieving accurate modifications in your sleeve patterns. Use a fabric marking tool to clearly outline these existing stitching lines before making any alterations. This step helps you visualize where to implement changes for improved arm mobility.
By taking the time to mark these lines, you guarantee your adjustments will maintain the intended fit and design of the garment. The original stitching lines serve as vital reference points, guiding how much to raise the underarm and modify the sleeve cap.
Consistently checking against your marked lines during the modification process can prevent errors, making sure your garment stays symmetrical and looks professional. With careful marking, your modifications will be both effective and aesthetically pleasing.
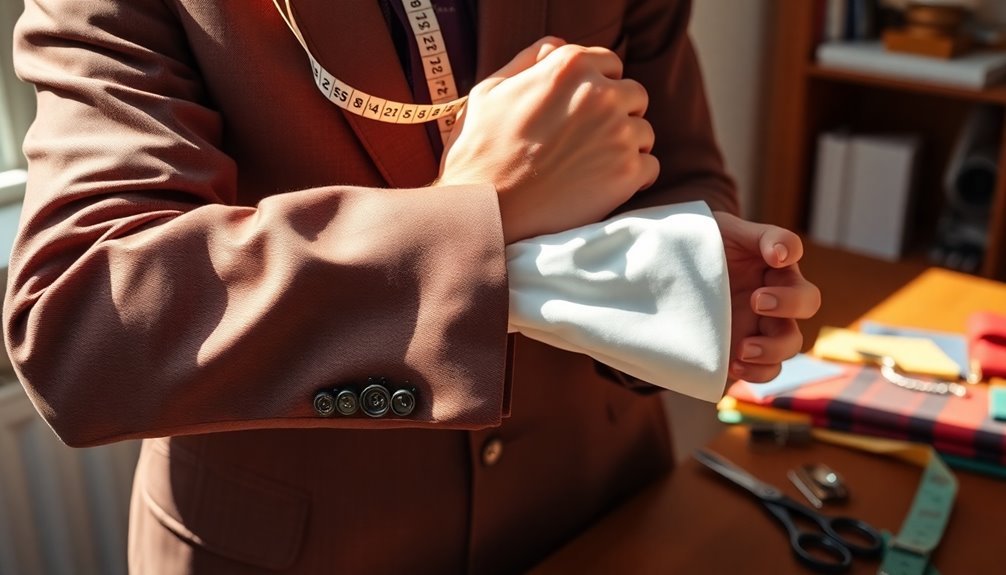
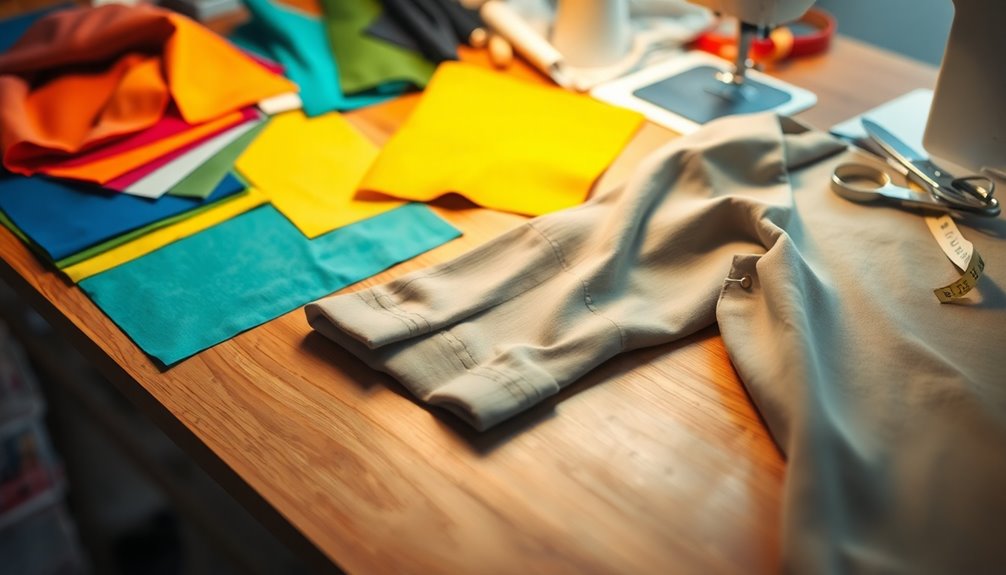
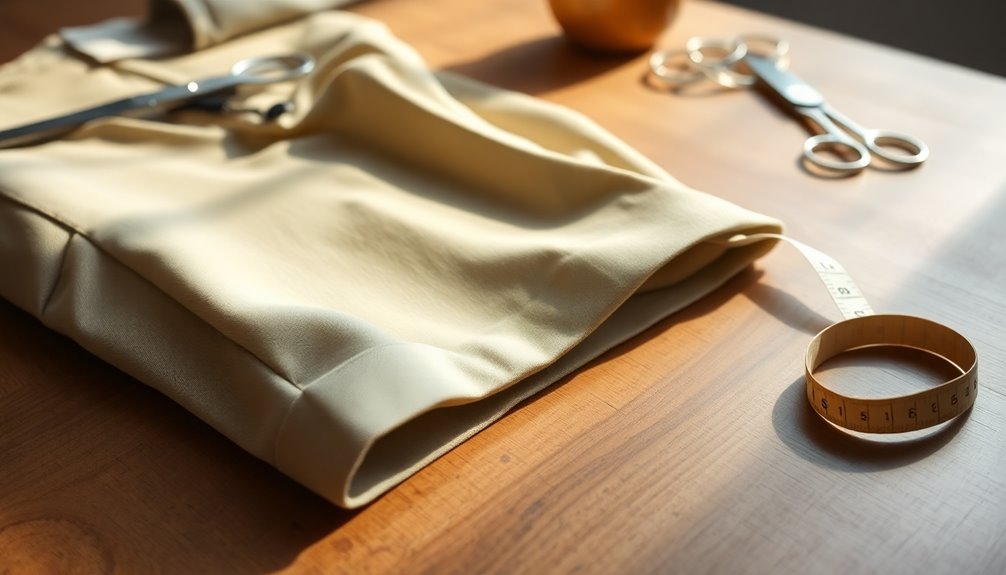
Utilizing Muslin for Testing
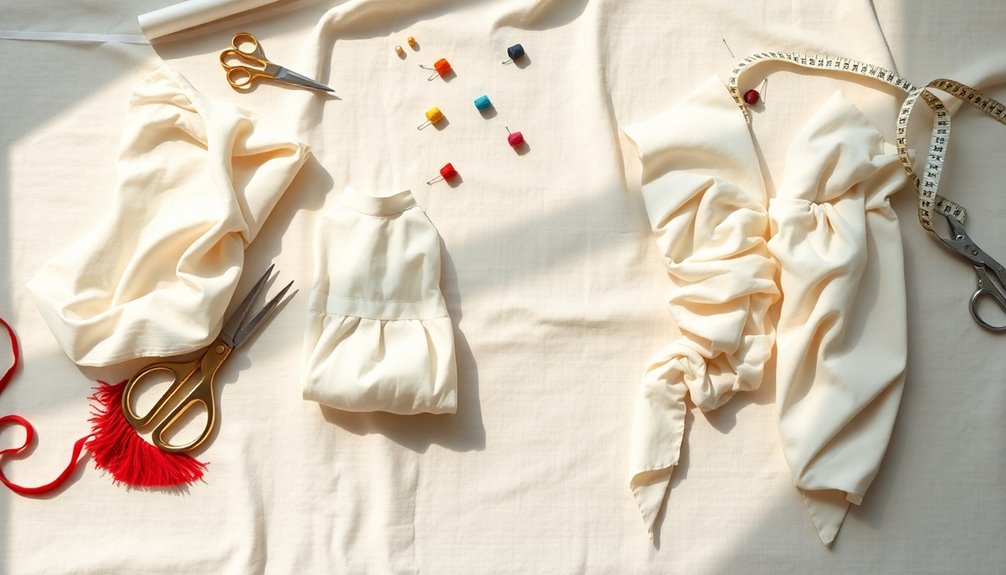
Using muslin for testing your sleeve modifications offers a practical way to visualize how changes affect fit and movement.
You can easily make adjustments to achieve the perfect fit without risking your final fabric.
Plus, marking your original stitching lines on the muslin helps you evaluate the effectiveness of each alteration.
Benefits of Muslin Testing
Muslin testing offers a practical approach to refining sleeve modifications, allowing you to assess adjustments without jeopardizing the final garment. By using muslin, you can visualize how alterations impact fit and mobility, ensuring that you make the right changes before cutting into your actual fabric.
Here are some benefits of muslin testing:
- Lightweight and inexpensive for easy experimentation
- Helps avoid costly mistakes in your final garment
- Reveals how different sleeve shapes affect overall comfort
- Provides a trial run to refine design and functionality
With muslin testing, you can confidently explore various alterations, leading to improved comfort and better arm mobility in your final design.
It's a smart step that can save you time and resources in your sewing projects.
Adjustments for Perfect Fit
To achieve a perfect fit in your sleeve modifications, it's essential to test your adjustments on muslin first. This allows you to make easy corrections without wasting your final fabric.
Mark the original stitching lines on your muslin to visualize how your modifications impact the fit. When raising the underarm, start with an increment of 1.25 inches to gauge mobility improvements.
Experiment with different gusset shapes and placements to find the design that enhances your arm movement while keeping the garment's aesthetic intact.
Always perform a full range of motion test in the muslin version to guarantee your adjustments provide the desired comfort and mobility. This sewing practice sets you up for success with your final creation.
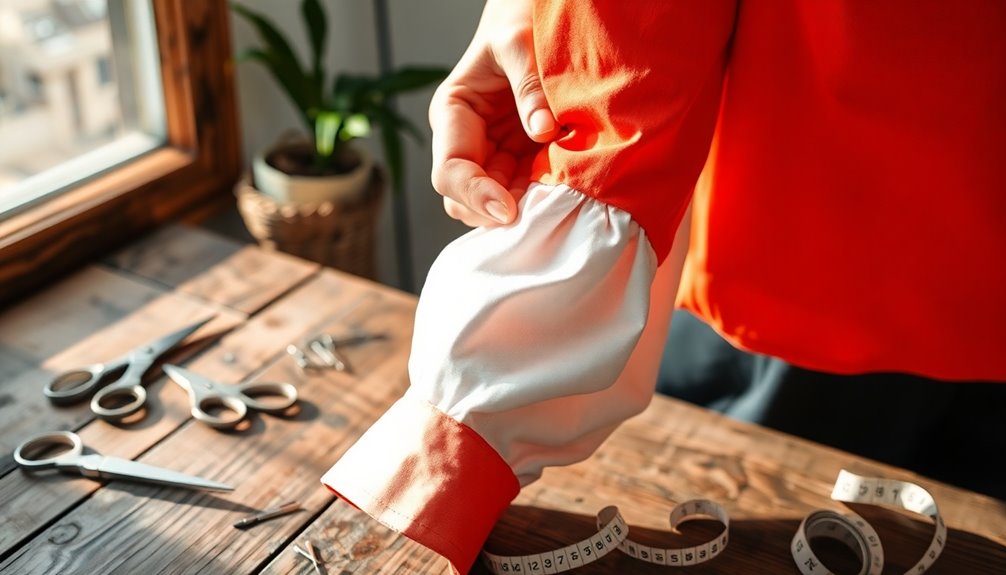
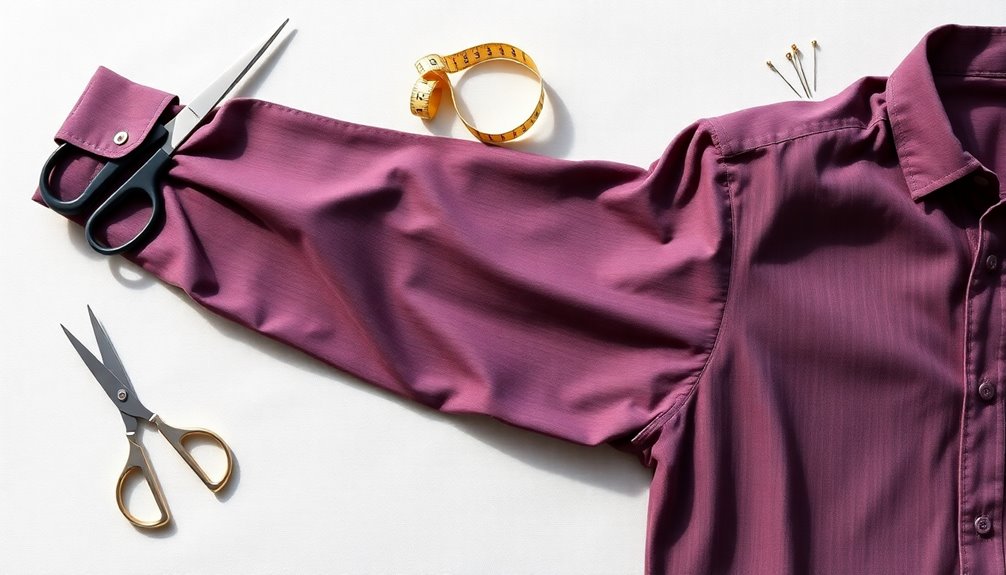
Letting Out Sleeve Seams
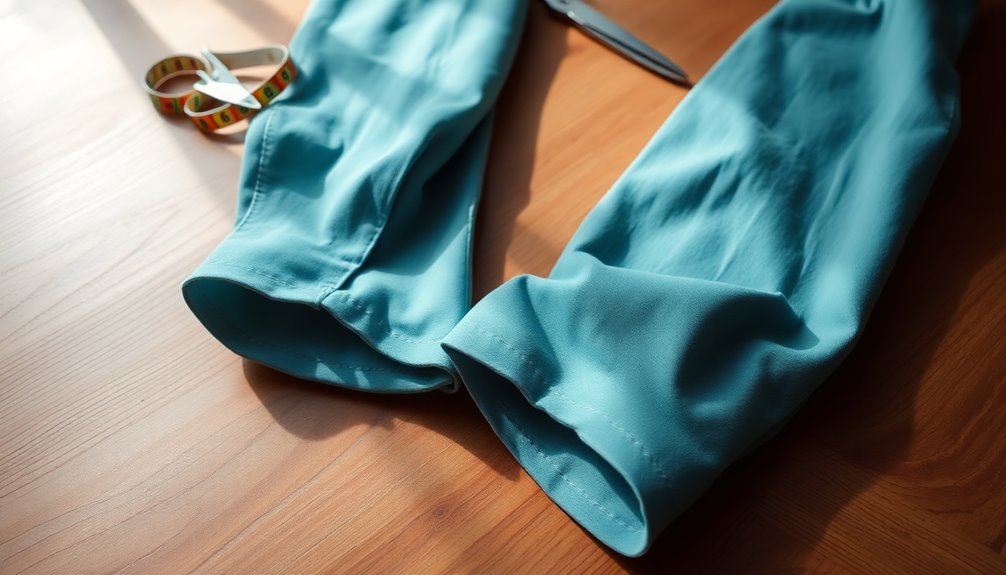
Letting out sleeve seams can make a world of difference in your arm mobility. By carefully unpicking the side seams, you can create extra room, enhancing your comfort and flexibility.
Here's how to get started:
- Identify the seam allowance, usually about half an inch to an inch.
- Press the fabric before adjusting to avoid puckering.
- Re-sew the seams, making sure of a smooth finish.
- Test the fit by moving your arms in various positions.
These steps will help guarantee that your sleeves fit better and allow for greater arm movement.
If they still feel restrictive after letting out, you might want to explore additional modifications. But for now, this simple adjustment can greatly improve your overall experience!
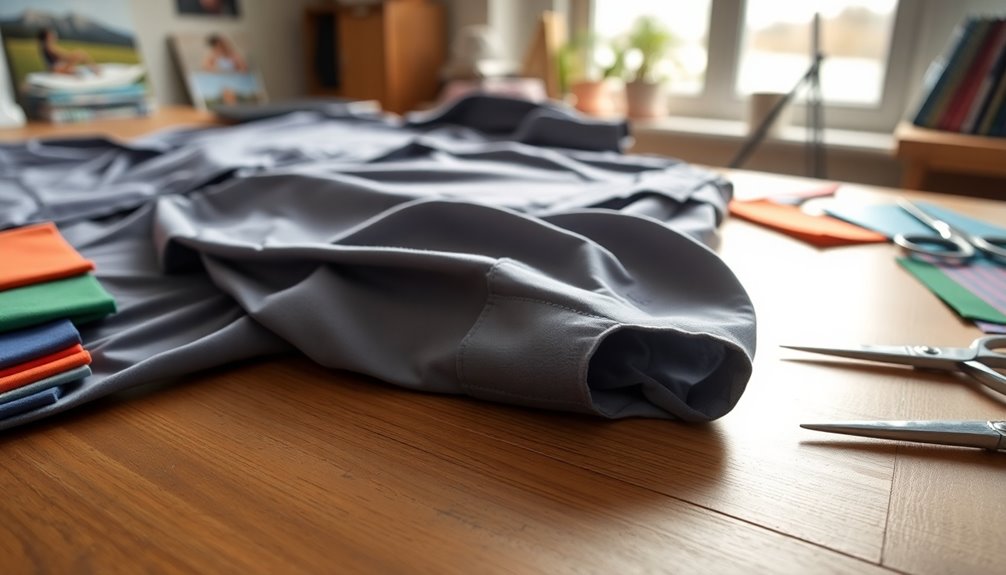
Adding Gussets for Extra Room
When you're looking to enhance arm mobility, adding gussets can make a big difference.
You can choose from various shapes and decide where to place them for the best fit.
Let's explore the techniques for attaching gussets so they integrate seamlessly with your garment.
Gusset Shape Variations
Gusset shape variations can dramatically enhance arm mobility in fitted garments, making them more comfortable and functional. By adding gussets, you can transform the way your sleeves fit and move with you.
Consider experimenting with shapes like:
- Curved oyster shape: A 3-inch high, 6-7 inch wide gusset for a sleek look.
- Diamond shape: Offers a classic option that can blend seamlessly into the garment.
- Triangular gusset: Provides extra room while maintaining structure.
- Custom shapes: Tailor gussets to meet specific movement needs.
These variations not only improve arm mobility but also allow for a personalized touch in your garment design.
Placement and Attachment Techniques
To enhance arm mobility effectively, you'll want to position and attach your gussets with precision.
Start by cutting a curved oyster-shaped gusset that's about 3 inches high and 6-7 inches across, ensuring it fits well within the sleeve seam. For ideal placement, position the gusset in the seam between the sleeve and the bodice, aligning the edges to maintain a smooth shift.
When it comes to attachment, use a straight stitch to secure the gusset, then finish the edges with a zigzag stitch or serger to prevent fraying.
Consider marking the gusset's placement on both the sleeve and bodice before cutting for accurate alignment. Testing your gusset modification on a muslin prototype will help you gauge mobility improvements. Additionally, ensure that your design aligns with creating a cohesive layout to maximize the overall aesthetic of the garment.
Choosing the Right Gusset Shape
How can you guarantee your sleeves offer ideal movement? Choosing the right gusset shape is key to enhancing arm mobility while maintaining garment structure.
Consider these options:
- Curved oyster shape for a stylish drape
- Straight gusset for a classic, fitted look
- Decorative shapes for costumes or special occasions
- Simple shapes for everyday wear
Position your gussets in the underarm area to promote a greater range of motion.
A gusset height of about 3 inches and width of 6-7 inches will provide the coverage you need.
Don't forget to test various gusset shapes and sizes on a muslin prototype to find the best fit and comfort before applying them to your final design.
Measuring Gusset Dimensions
What dimensions should you consider for your gussets to guarantee maximum mobility? Start by measuring the gusset height at around 3 inches to confirm adequate arm movement without compromising the garment's structure. The width should range from 6 to 7 inches for sufficient coverage and ease in the underarm area. Verify the gusset placement aligns with your arm's natural curve for ideal mobility needs. Cut the gussets in a curved oyster shape for better drape. Always test these gusset dimensions on a muslin prototype before finalizing your garment.
| Gusset Height | Gusset Width | Shape |
|---|---|---|
| 3 inches | 6-7 inches | Curved Oyster |
| Test Fit | Adjust As Needed | Confirm Comfort |
| Align with Arm Curve | Check Mobility Needs | Prototype First |
| Comfortable Movement | Avoid Restrictions | Finalize Design |
| Assess in Action | Adjust Dimensions | Perfect Fit |
Incorporating Two-Piece Sleeves
While many garments feature single-piece sleeves, incorporating two-piece sleeves can greatly enhance your arm mobility.
This design allows for better shaping around your arm, providing a comfortable fit while maintaining style.
Here's how two-piece sleeves can improve your experience:
- Higher dome on the upper sleeve for added range
- Looser fit in the lower sleeve to prevent constriction
- Adjustable sections to personalize your fit
- Gussets to accommodate arm movement effortlessly
Analyzing Historical Sleeve Patterns
When you look at historical sleeve patterns, you'll notice distinct characteristics that set them apart from modern designs.
The higher underarms and the use of gussets in the 1860s allowed for greater mobility, making them more functional.
Historical Design Characteristics
Historically, sleeve patterns from the 1860s offer fascinating insights into garment design, particularly in their focus on enhancing arm mobility.
These designs prioritized movement, contrasting sharply with today's fitted styles.
Consider these key features of historical sleeve patterns:
- A higher underarm point for increased range of motion
- Two-piece sleeves that promote flexibility
- The incorporation of gussets, allowing for smoother arm movement
- A dome shape that supports functionality rather than restriction
Comparison of Sleeve Styles
Examining the evolution of sleeve styles reveals significant differences in arm mobility between historical and modern designs.
Historical sleeve patterns, particularly from the 1860s, often feature higher underarm points, enhancing your range of motion. These designs incorporate two-piece sleeves, which provide greater flexibility and comfort compared to the restrictive single-piece bell-shaped sleeves prevalent today.
Many modern sleeves have a higher dome shape, limiting your ability to move freely. By analyzing these historical sleeve styles, you can appreciate how raised underarm positions boost arm lift and mobility, aspects often overlooked in contemporary fashion.
Understanding these differences can guide your modifications, emphasizing functionality without sacrificing aesthetic appeal in your garment design. Additionally, incorporating natural materials in your modifications can enhance both comfort and movement.
Practical Applications Today
Understanding the practicality of historical sleeve patterns can transform your approach to modern garment design. By examining these patterns, you can enhance the range of motion in your creations.
Consider these elements:
- Higher underarm placements for increased arm mobility
- Two-piece sleeves that follow the natural arm shape
- Modifications inspired by the 1860s for a stylish yet functional look
- Templates that balance aesthetic appeal with movement
You can modify modern sleeve designs by raising the underarm point, a technique rooted in historical patterns. This simple adjustment allows for greater comfort without sacrificing style, making your garments not just visually appealing but also easy to wear.
Embrace these practical applications to elevate your costume design and guarantee your sleeves work for you.
Experimenting With Sleeve Dome Heights
When you experiment with sleeve dome heights, you can markedly enhance arm mobility, making it easier to move comfortably in your garments.
Lower dome heights typically allow for greater freedom of movement, while higher domes may restrict your arm lift. Historical designs often feature lower domes that you can adapt for modern patterns, improving both comfort and function.
When adjusting the dome height, consider raising the underarm point by an inch and a quarter to maintain balance. Testing various dome heights on muslin helps you find the most functional design for your needs.
Adjusting Sleeve Cap for Mobility
Adjusting the sleeve cap is essential for enhancing arm mobility, especially if you want to avoid restrictions during everyday activities.
To make effective adjustments, consider the following tips:
- Raise the underarm point of the sleeve by about 1.25 inches.
- Verify the sleeve pattern matches the new armhole for a proper fit.
- Use a two-piece sleeve design for better natural movement.
- Test your modifications with muslin before using your final fabric.
With these adjustments, you'll find that your garments allow for a greater range of motion.
Historical sleeve patterns often offer inspiration, showcasing how higher underarms can lead to improved arm mobility.
Embrace these changes and enjoy a more comfortable, functional wardrobe!
Using French Curves for Adjustments
To achieve a polished and functional sleeve modification, using French curves can be a game changer. These essential tools help you make smooth, gradual adjustments to sleeve patterns, especially around the armhole and underarm areas for improved mobility.
Position the French curve along the original stitching lines to create a natural curve that complements your new sleeve shape while keeping the garment's aesthetic intact. Trace the adjusted lines onto a separate piece of paper to guarantee accuracy before cutting into the fabric.
French curves also aid in adjusting the sleeve cap height, providing a comfortable fit without sacrificing style. By utilizing French curves, you'll prevent jagged or uneven lines, ensuring your modified sleeve maintains a professional finish.
Considering Garment Purpose
When modifying sleeves, think about the garment's purpose.
For instance, performance pieces may need more flexibility for movement, while costumes for special occasions might focus on aesthetic appeal.
Balancing these needs is key to creating a functional and visually appealing design.
Performance vs. Aesthetic Needs
Balancing performance and aesthetics in garment design is essential, especially for costumes intended for dynamic activities. You want your sleeves to allow for mobility while still looking great.
Consider these elements:
- Looser fits that enhance arm movement
- Gussets for added flexibility
- Historical patterns with higher underarms
- Testing modifications on muslin for fit and style
When you design, prioritize the specific demands of your performance. Dance or theater often requires more range of motion than everyday wear. Additionally, understanding the importance of digital footprints can help ensure that any online presence related to your work is professional and secure.
Remember, aesthetic choices, like the overall silhouette, should complement functional modifications. This way, you guarantee the costume not only meets visual standards but also supports peak performance.
Get the balance right, and you'll create a stunning, functional piece!
Occasion-Specific Design Choices
Understanding the specific context in which a garment will be worn is essential for making effective design choices.
For theater costumes, prioritize sleeve modifications that support exaggerated gestures and dynamic performances.
Dance garments benefit from gussets or looser sleeves, enhancing fluidity and gracefulness in arm movements.
In everyday wear, focus on practical adjustments that maintain a polished look while ensuring comfort and ease of mobility throughout daily activities.
Historical styles can inspire modern designs; higher underarms and two-piece sleeves can be adapted to enhance both mobility and aesthetic appeal.
Always evaluate the specific actions required for each occasion to determine the most effective sleeve modifications for best performance, ensuring that your garments work as hard as you do.
Flexibility for Movement Activities
To enhance flexibility in garments designed for movement activities, you should focus on specific modifications that allow for greater freedom in arm motion.
Prioritize sleeve modifications that boost arm mobility, such as:
- Raising the underarm point by at least an inch and a quarter
- Incorporating gussets in a curved oyster shape for improved drape
- Exploring historical two-piece sleeve patterns for better movement
- Testing modifications on muslin to guarantee functionality
Balancing Aesthetics and Functionality
While enhancing arm mobility in sleeves, it's vital to keep the garment's aesthetic appeal intact. You can achieve this balance by incorporating gussets into your sewing projects. Gussets not only improve movement but also add a unique visual element to the sleeve, enhancing its overall design.
Before making permanent changes, test your modifications on muslin to guarantee the fit and look meet your expectations. Consider using historical sleeve patterns as references; they often feature higher underarms and two-piece constructions that promote both mobility and beauty.
Additionally, make gradual line adjustments with tools like French curves to create smooth shifts, assuring comfort without sacrificing aesthetics. This way, your sleeves will be both functional and stylish.
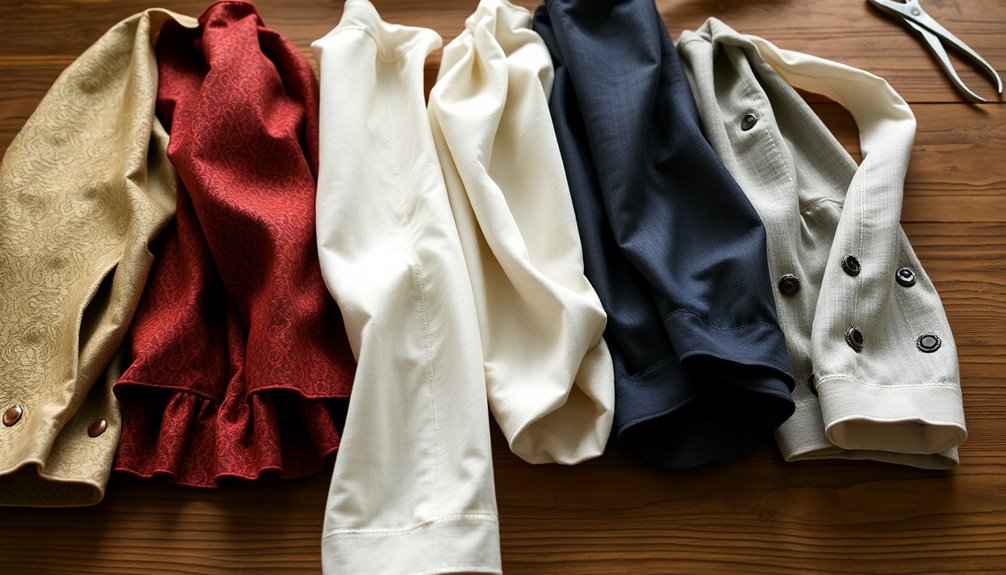
Trying Different Sleeve Styles
Incorporating different sleeve styles can markedly enhance arm mobility without sacrificing style. By experimenting with various designs, you can achieve a relaxed fit while enjoying greater freedom of movement.
Consider these options:
- Cap sleeves for a light, airy feel.
- Two-piece sleeves that maintain a tailored look but allow for better arm mobility.
- Bell-shaped or bishop sleeves for a loose fit that's stylish and functional.
- Dropped shoulder seams to alleviate tightness and promote comfort.
These sleeve styles not only improve your range of motion but also keep you looking chic.
Choose wisely, and you'll find the perfect balance between functionality and fashion in your wardrobe.
Ensuring Seam Allowances Are Correct
Ensuring your seam allowances are correct is essential for achieving a well-fitting sleeve that enhances arm mobility. When you make modifications, aim for consistent seam allowances, typically ranging from 1/4 to 5/8 inch.
Always measure and mark these allowances on both the bodice and sleeve to keep everything aligned after your adjustments. If you raise the underarm point, remember to adjust the seam allowance to prevent puckering or misalignment at the armhole.
Use a ruler or measuring tape to double-check that the seam allowances are even on both sleeves, ensuring symmetry in both appearance and movement. If you're adding gussets, make sure the seam allowances match for a smooth integration into your sleeve design.
Final Fitting Adjustments for Comfort
After making certain your seam allowances are correct, it’s time to focus on final fitting adjustments that enhance comfort. These adjustments can make a significant difference in how your garment sits on your body. Pay close attention to areas such as the waist, hips, and bust, ensuring everything aligns properly. Additionally, remember to consider shoulder seam placement tips, as the right positioning can greatly improve the overall look and feel of your outfit.
These final touches can make all the difference in how your sleeves feel and move. Here are a few tips to contemplate:
- Let out sleeve seams by up to an inch for improved mobility.
- Add gussets, around 3 inches high and 6-7 inches across, to enhance arm movement without changing the look.
- Use French curves for smooth shifts in the armhole and sleeve.
- Always test sleeve modifications on muslin first to guarantee your desired fit.
Frequently Asked Questions
How Can I Improve My Sleeve Ease?
To improve your sleeve ease, start by raising the underarm point about 1.25 inches. This change enhances mobility in fitted bodices.
Don't forget to adjust the sleeve pattern to match the modified armhole for a smooth fit.
You might also consider adding gussets, like a curved oyster shape, to boost movement.
Finally, letting out the sleeve seams is an easy way to increase comfort and freedom of movement in your garments.
Can You Make Arm Sleeves Tighter?
Ever felt that your arm sleeves just don't fit right? You can absolutely make them tighter!
Start by taking in the side seams for a snugger fit. Consider adding elastic or a drawstring at the opening for easy adjustments.
If you're dealing with lining, remember to adjust both layers to keep things neat. Adding darts or tucks can also help.
Just keep testing the fit to guarantee you maintain comfort and freedom of movement.
How Do You Tighten Compression Arm Sleeves?
To tighten compression arm sleeves, start by measuring your arm's circumference at the bicep, forearm, and wrist to guarantee you've got the right size.
If they're too loose, try washing them in hot water and drying them on high heat to shrink them slightly.
For a more personalized fit, consider using elastic bands or fabric adhesive to adjust the sleeve openings.
Regularly inspect for wear, as damaged sleeves won't provide the support you need.
How to Properly Wear Arm Sleeves?
You might think wearing arm sleeves is as simple as pulling on a sock, but it's not that straightforward.
To properly wear them, make sure they fit snugly without pinching your skin. Choose a length that covers your forearm, reaching just below the elbow.
Opt for breathable materials to keep cool. If you're outdoors, look for sleeves with UV protection.
Conclusion
In conclusion, smartly shaping your sleeves can greatly enhance your arm agility. By boldly balancing beauty and practicality, you can create comfortable creations that move with you. Don't hesitate to try tailored techniques and tweak your templates for terrific results. With a little time and attention, you'll transform your tops into stylish yet functional garments that boost your confidence and comfort. So, go ahead—embrace the elegance of effortless arm movement!