To shorten a coat sleeve with functional cuffs, start by carefully unpicking the cuff stitching if you plan to reuse it. Remove the existing sleeve to your desired length, leaving 1-2 inches for the new hem. Sew a clean edge, then reattach the cuff, ensuring it fits snugly and remains operable. Reinforce seams for durability, press for a polished look, and double-check that the cuff functions smoothly once finished. To master each step, keep exploring for more detailed instructions.
Key Takeaways
- Carefully unpick the cuff stitching if keeping the cuffs functional, then remove and measure the desired sleeve length.
- Mark the new sleeve length, leaving 1-2 inches for seam allowances, ensuring even measurements on both sleeves.
- Cut the sleeve to the marked length, folding the raw edge inward for a clean finish.
- Reattach the cuff, aligning edges precisely, and sew with reinforced stitches for durability.
- Test the cuff’s functionality after sewing to ensure it remains operational and secure.
If your coat sleeves are too long, shortening them is a straightforward fix you can do yourself with some basic sewing skills. When working on this project, the first step is to weigh fabric selection carefully. Since you’re working with a coat, you’ll want to match the original fabric as closely as possible to guarantee a seamless look. If the coat’s fabric is thick or textured, find a similar weight and type of fabric for the new cuff or hem. This way, your alterations will look natural and hold up over time. For lighter fabrics, you might have more flexibility, but always choose a durable material that can withstand wear and washing.
Once you’ve selected the right fabric, you’ll need to determine how much to shorten the sleeves. Turn the coat inside out and try it on or lay it flat to measure how much needs to be taken up. Remember to leave extra fabric for sewing the new cuff or hem; about an inch or two beyond your desired length gives you room for seam allowances and finishing. Mark this length with fabric chalk or a fabric-safe marker, making sure your measurements are even on both sleeves. Checking the fabric’s characteristics can help ensure your alterations will be durable and look professional. Understanding the fabric’s sewing requirements can also influence your choice of stitches and finishing techniques. Additionally, taking accurate measurements is essential to achieve a balanced and polished appearance. Proper fabric selection is crucial for a seamless and durable alteration.
Measure and mark even lengths, leaving extra fabric for a clean, professional finish.
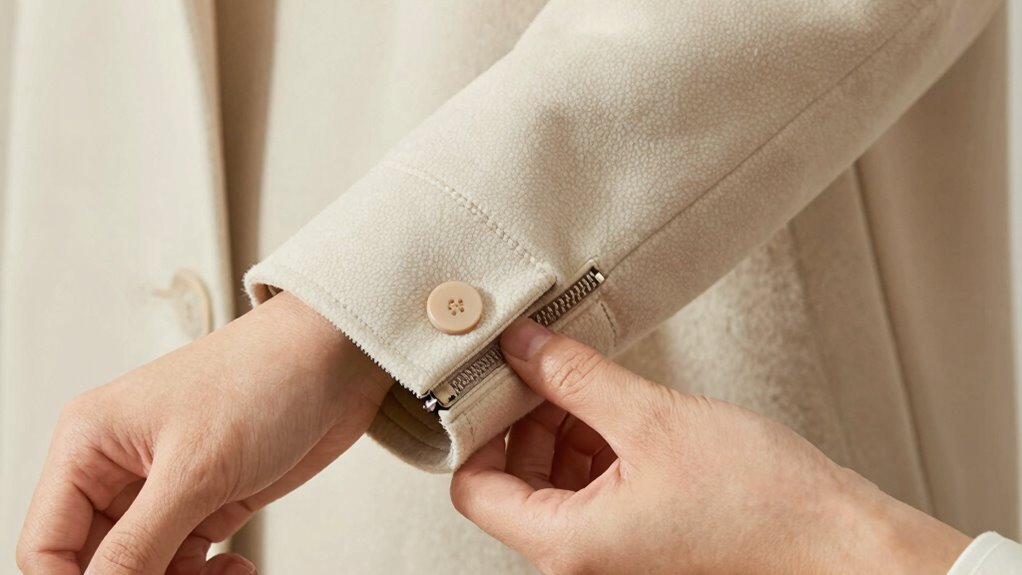
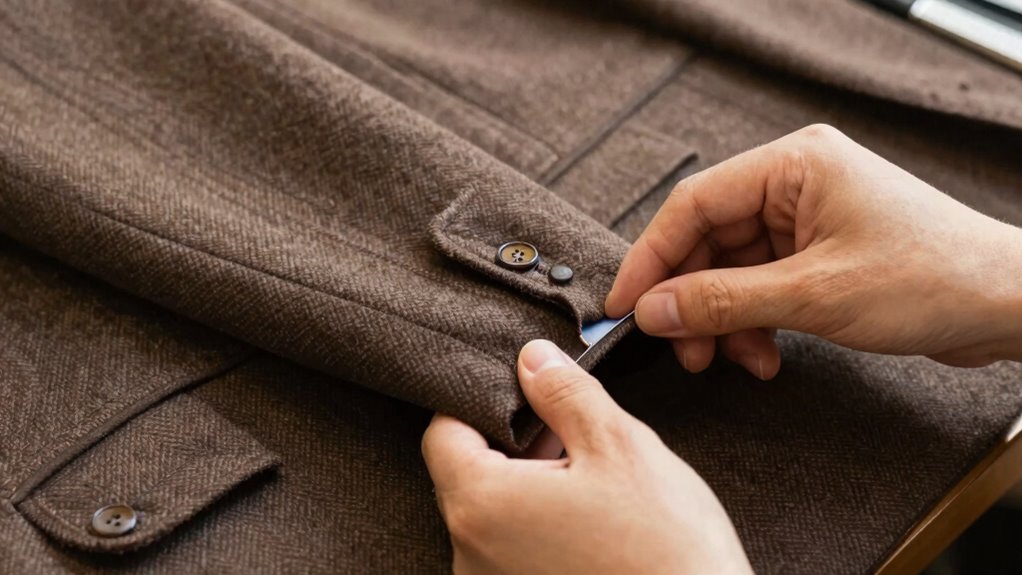
Next, you’ll need to decide whether to shorten the sleeves with or without functional cuffs. If your coat has functional cuffs that you want to keep, carefully remove the existing cuff by unpicking the stitching. This process allows you to reattach the cuff later or replace it with a new one. When sewing the new or shortened sleeve, use the appropriate sewing techniques — reinforced seams for durability and a clean finish. A straight stitch works well for most fabrics, but for thicker or stretch fabrics, consider using a zigzag or stretch stitch to prevent puckering.
After cutting the excess fabric, fold the raw edge inward to create a clean finish, then sew the new hem or cuff in place. If you’re reattaching a cuff, align the edges carefully before stitching, ensuring the cuff fits snugly and functions properly. Press the seam with an iron to set it and give your work a professional look. The key to a polished result lies in sewing techniques that secure the fabric neatly and evenly, maintaining the coat’s original style while adjusting the length. Being mindful of the sewing techniques will help you achieve a durable and neat finish that lasts over time. Remember, taking your time with each step can greatly improve the overall appearance of your tailored coat.
With these steps, you can successfully shorten your coat sleeves and restore their proper function. Your careful fabric selection and precise sewing techniques will make the alteration look seamless, saving you money and giving your coat a fresh, tailored appearance.

Coquimbo Sewing Kit for Adults, Christmas Stocking Stuffers for Teen Girls
- Ideal Gift for Travelers and Loved Ones: Great for moms, grandmothers, teens, and travelers
- Complete Basic Sewing Tools: Includes thread, needles, scissors, and accessories
- Easy-to-Use Sewing Starter Kit: Suitable for beginners and professionals alike
As an affiliate, we earn on qualifying purchases.
As an affiliate, we earn on qualifying purchases.
Frequently Asked Questions
Can I Shorten Coat Sleeves Without Sewing Skills?
Yes, you can shorten coat sleeves without sewing skills by trying DIY tailoring with simple sleeve alteration techniques. Use fabric glue or iron-on hem tape for a quick fix, or pin and fold the sleeve to your desired length. For a more secure result, consider using a no-sew fabric adhesive or experimenting with temporary sleeve cuffs. These methods help you achieve a shorter sleeve without needing advanced sewing expertise.
What Tools Are Needed for Shortening Coat Sleeves?
Imagine you’re in a cozy atelier, ready to alter your coat. You’ll need sharp scissors, a seam ripper, pins, a measuring tape, and possibly a sewing machine. Consider fabric types like wool or cotton, which influence your approach. Don’t forget seam allowances—extra fabric to work with—vital for a neat, lasting fit. These tools and details help you shorten sleeves effectively, even with some patience.
How Do I Maintain the Coat’s Original Style After Shortening?
To maintain the coat’s original style after shortening, focus on preserving its fashion elements and style consistency. Carefully match the fabric and thread for the new hem, ensuring it blends seamlessly. Take your time when sewing, especially around functional cuffs, to keep their original look intact. If unsure, consult a professional tailor. This attention to detail helps retain the coat’s original design while achieving the perfect fit.
Is It Possible to Lengthen a Coat Sleeve Again Later?
Coincidences happen, but when it comes to lengthening coat sleeves, it’s often more complicated. Generally, alteration techniques exist, but material considerations are essential—some fabrics don’t lend themselves well to re-lengthening without noticeable damage or mismatched texture. If your coat was originally designed with a longer sleeve or has extra fabric, you might be able to add length later. Otherwise, it’s usually best to consult a skilled tailor to explore options.
How Do I Measure Sleeve Length Accurately?
To measure sleeve length accurately, start by gathering measuring tools like a flexible tape measure. Put on the coat and let your arms hang naturally. Measure from the center back of your neck, across the shoulder, and down along the outside of your arm to where you want the sleeve to end. Keep the tape snug but not tight, ensuring proper sleeve fitting. This method guarantees precise measurements for tailoring.
Conclusion
Shortening your coat sleeves with functional cuffs is a simple way to customize your wardrobe and enhance comfort. With just a few steps, you can achieve a perfect fit and maintain the coat’s style. Did you know that according to a recent fashion survey, over 60% of people prefer wearing tailored clothing for better fit and confidence? So, don’t hesitate to give your coat a quick upgrade—your wardrobe will thank you!