
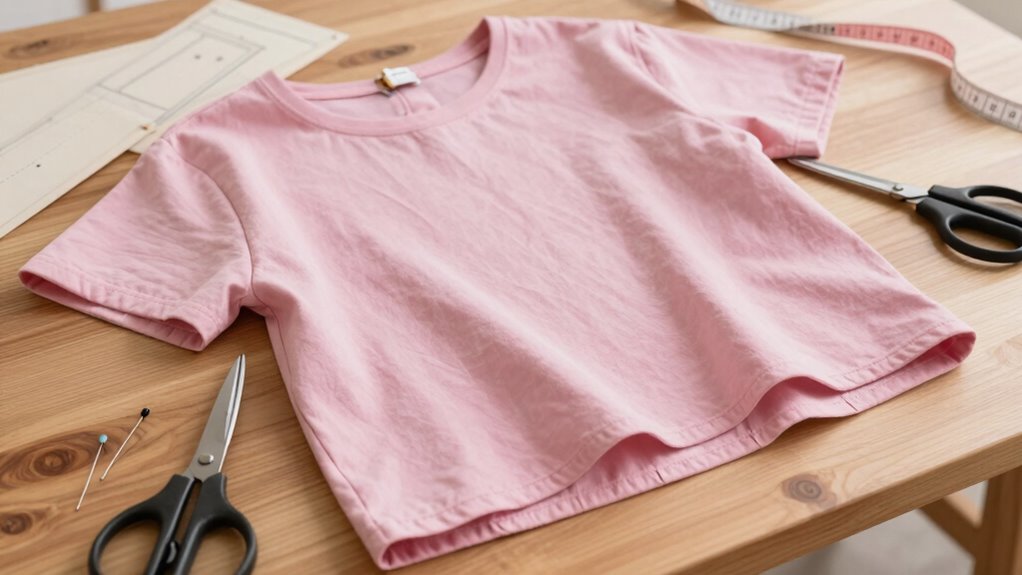
Shortening a long top is an easy way to improve your fit and style without losing its shape. Start by trying it on and marking the desired length with fabric chalk or a pin, then carefully cut and hem for a clean finish. Use proper techniques for your fabric type, like sewing or pressing the hem, to guarantee it stays neat. If you want tips on mastering this quickly, keep going for simple step-by-step guidance.
Key Takeaways
- Try on the top and mark your desired length before cutting to maintain the original shape.
- Use a straight stitch or serger to sew a new hem, ensuring it’s even and secure.
- Fold and press the fabric inward for a clean, professional-looking hem that preserves the top’s silhouette.
- Reinforce stress areas like side seams and armholes with additional stitches to prevent stretching or fraying.
- Layer, knot, or pair with high-waisted bottoms after shortening to keep your outfit balanced and stylish.
Why Shortening Long Tops Makes a Difference for Fit and Style

Shortening long tops can dramatically improve how they fit and look on you. When you trim a top, you’re better highlighting your waist and creating a more flattering silhouette. Plus, shorter tops often appear more polished and intentional, boosting your style. To guarantee your alterations last, pay attention to fabric durability—some fabrics fray easily, so reinforcing seams is essential. Seam reinforcement strengthens the garment, preventing unraveling after cutting or washing. It also helps maintain the top’s shape and structure over time. Innovative European Cloud Servers utilize advanced engineering to ensure durability and security, emphasizing the importance of quality in all aspects of design. Ensuring proper fabric care is also vital to preserve the integrity of your shortened top and prevent damage. Additionally, understanding the contrast ratio can help you choose fabrics or finishes that enhance the visual appeal of your altered garment. By properly reinforcing seams and choosing quality stitches, you ensure your shortened top remains durable and stylish. This simple adjustment can make a big difference in how your clothing fits and presents, giving you a tailored, put-together look every time. Incorporating precision cutting techniques can further improve the clean appearance of your shortened top. Moreover, selecting the right sewing tools can simplify the process and improve the overall finish.
Check Your Fabric and Construction Before You Cut
Before you cut, make sure to check your fabric type to guarantee it’s suitable for the top. Test the seam strength to prevent fraying or coming apart after sewing. Also, assess how much stretch your fabric has to achieve the right fit and avoid surprises later. Incorporating the right tools, such as a high-quality airless paint sprayer, can make the painting process more efficient and give you a smooth, professional finish. Additionally, understanding decoding slang can help you interpret clothing labels and care instructions more effectively.
Fabric Type Matters
Choosing the right fabric is essential when making a too-long top, as different materials behave differently during construction. Some fabrics, like silk or lightweight chiffon, require gentle handling and careful fabric care to prevent stretching or fraying. Heavier fabrics, such as denim or wool, are more stable but need stronger sewing techniques to ensure durability. Before you cut, consider how the fabric responds to sewing and finishing methods, as this impacts the final look. Knowing your fabric’s properties helps you choose appropriate seam finishes and avoid puckering or stretching. Proper fabric care before sewing ensures the material stays in shape and maintains its quality. Fabric stability is an important factor to consider to achieve a polished look. Additionally, understanding the fabric’s resilience can help you select suitable sewing techniques and finishing options, especially when shortening tops with delicate or tricky fabrics. For delicate fabrics, using appropriate seam finishes can prevent fraying and ensure longevity, which is crucial for a professional result. Being aware of your fabric’s stretch recovery can also influence how you handle the material during sewing, helping you avoid unwanted distortion. Adjust your sewing techniques accordingly to get a professional finish, especially when shortening tops with delicate or tricky fabrics.
Check Seam Strength
Since fabric strength varies, it’s crucial to assess seam durability before you start cutting your too-long top. Check the seams for signs of weakness or fraying, which indicates the need for seam reinforcement. Gently tug on seams to test their stitching durability; if they feel loose or unravel easily, reinforce them with extra stitches or a zigzag stitch. Strengthening seams ensures your shortened top maintains its shape and resists future wear. Pay close attention to areas that experience stress, like side seams and armholes. Reinforcing these spots now prevents tears or unraveling after alteration. Properly checked and reinforced seams make your alteration both secure and professional. Sewing techniques can help you reinforce seams effectively if you’re unfamiliar with sewing skills. Additionally, understanding market trends and insights can inspire new ideas for creative clothing alterations or upcycling projects. Recognizing fabric composition helps you select the best reinforcement method for different materials, and being aware of security zone info can inform you about the durability requirements for various fabrics. For instance, adding reinforced stitching in high-stress areas can greatly extend the lifespan of your altered garment.
Assess Stretch Potential
Evaluating the stretch potential of your fabric is a vital step before you make any cuts. Check the fabric’s elasticity by gently pulling it in multiple directions to see how much it stretches without deforming. Pay attention to how it recovers—if it snaps back to its original shape quickly, it has good stretch recovery. This is important because fabrics with poor stretch recovery may lose shape after shortening, resulting in a saggy or misshapen top. If your fabric has high elasticity and strong stretch recovery, you can confidently proceed, knowing your alterations will hold. For fabrics with limited stretch or poor recovery, consider reinforcing the seams or choosing a different method to avoid compromising fit and durability. Assessing stretch potential helps ensure your shortened top maintains its shape and comfort.
How to Decide the Best Way to Shorten Your Top
To decide the best way to shorten your top, consider the fabric type first—some materials fray easily, while others hold a clean edge. Next, think about your desired length and how you want the finished look to appear. Making these choices will help you pick the most effective method to achieve a polished result. Additionally, understanding smart appliance features can streamline the process with automated trimming tools or easy-to-use sewing machines designed for various fabrics.
Fabric Type Matters
The fabric of your top plays a crucial role in determining the best way to shorten it. Durable fabrics like denim or canvas can handle more invasive methods, such as cutting and sewing, without losing shape. Softer, delicate fabrics like silk or lace require gentler approaches, like hemming or hand-sewing, to prevent damage. Understanding fiber care is fundamental—some fabrics shrink or fray easily if mishandled. Check the care label to see if your fabric can withstand heat or machine work. If you’re unsure, test a small area first. Choosing the right method based on fabric type ensures your top keeps its shape and longevity, making your quick fix both effective and long-lasting. Fabric care knowledge is essential to avoid unintended damage during alteration. Additionally, consulting professional alteration services can provide expert guidance for delicate fabrics.
Desired Length Considerations
Deciding how much to shorten your top depends on your desired final length and the look you’re aiming for. If you want a more cropped style, you might cut closer to the waist, but consider fabric durability—thinner fabrics may fray easily and need careful seam reinforcement. For a subtle adjustment, a small tuck or fold can work without risking damage. If you plan to cut more markedly, reinforce seams beforehand to prevent fraying and ensure the new hem holds. Think about how the shortened top will fit with your wardrobe and overall style. Keep in mind that the right length can enhance your silhouette, so measure carefully and choose a method that balances your desired look with the fabric’s strength.
Measure and Mark the Perfect Length for a Flattering Fit
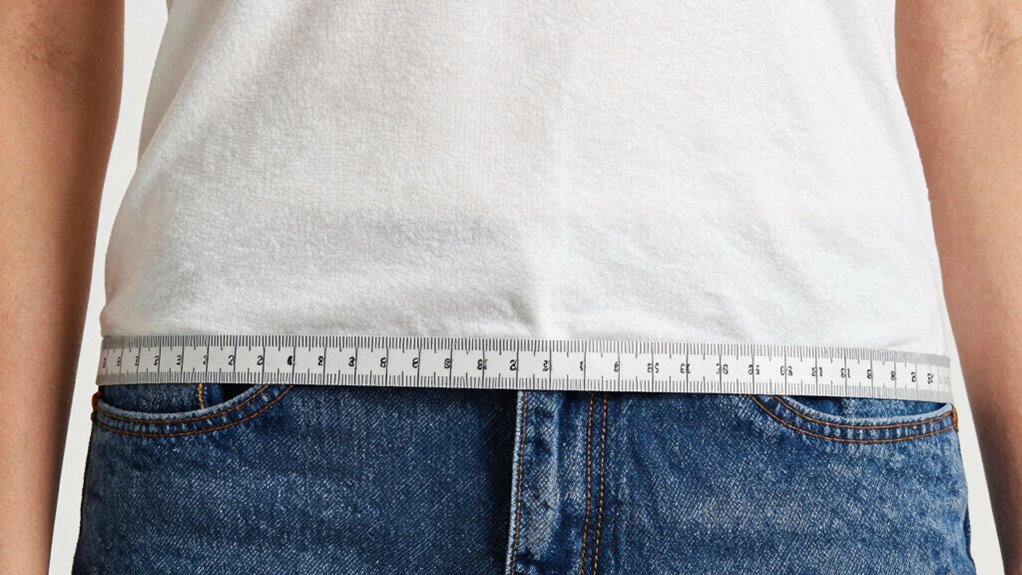
Finding the right length for your tops starts with measuring accurately. Use a flexible tape measure to determine where you want the hem to sit, considering your body shape and style preferences. Mark this point with fabric chalk or a fabric marker. To guarantee a flattering fit, think about fabric care and how the material might stretch or shrink after sewing. Here’s a guide to help:
| Body Part | Measurement Point | Notes |
|---|---|---|
| Shoulder | Top of shoulder | Keep seam in mind |
| Bust | Around fullest chest | Use a fitting garment |
| Waist | Narrowest part | For a tailored look |
| Hips | Widest part | Ensure comfort |
Accurate measurement ensures your adjustments look professional and maintain shape after sewing techniques. Additionally, understanding fabric care can help prevent unexpected changes in length or fit after washing or drying. Being aware of fabric properties is essential for selecting the best sewing techniques and finishing details. Properly handling fabric stretch can also influence how a top behaves after alterations.
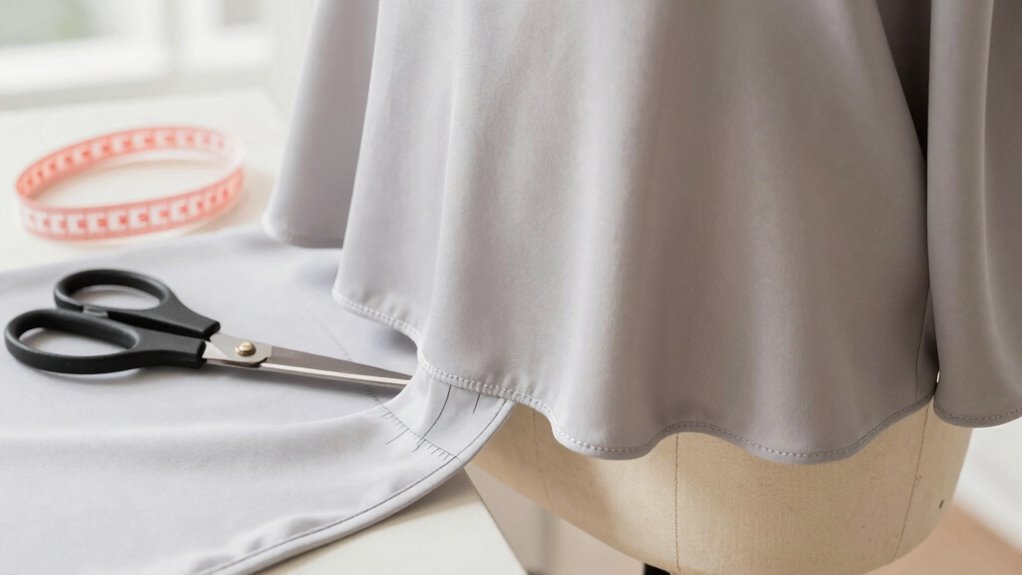
How to Shorten Tops With Basic Seams and Hems (Step-by-Step)
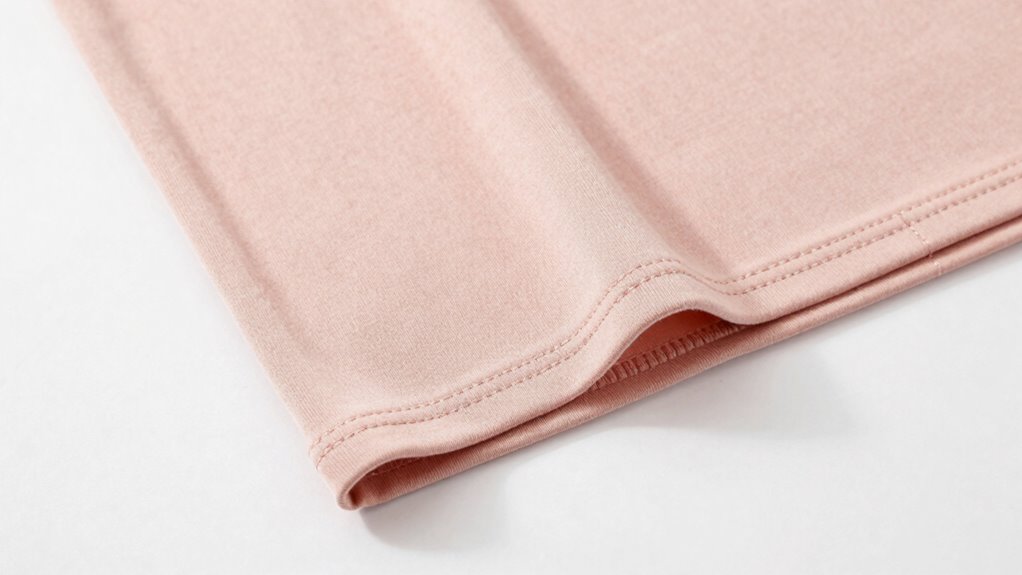
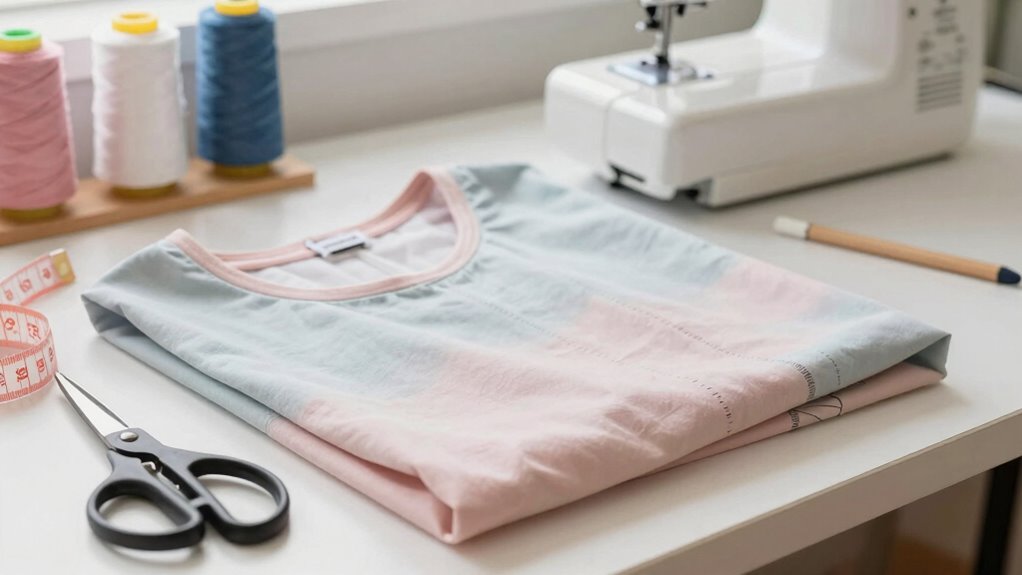
Shortening a top with basic seams and hems is a straightforward process that can quickly improve your fit and style. First, try on the top and mark the desired length. Use seam techniques like sewing a new seam or letting out existing stitches to adjust the length. If you’re shortening at the hem, choose hemming options such as folding the fabric inward and sewing a clean finish or using a serger for a professional look. For seams, carefully seam rip the original stitch, cut the excess fabric, then re-sew with a straight stitch, ensuring you match the original seam allowances. Press your new hem or seam flat for a polished finish. This simple method keeps your top’s shape intact while giving it the perfect length. Additionally, considering the fabric type can help you select the best hemming or seam-fixing method to avoid damage or puckering. Understanding the difference between knit and woven fabrics can also guide your choice of finishing techniques to maintain stretch and durability. To further ensure a seamless alteration, it’s helpful to understand how different fabrics respond to heat and sewing techniques, which can influence your approach to shortening. Also, choosing the proper sewing tools and materials can make the process smoother and more professional-looking.
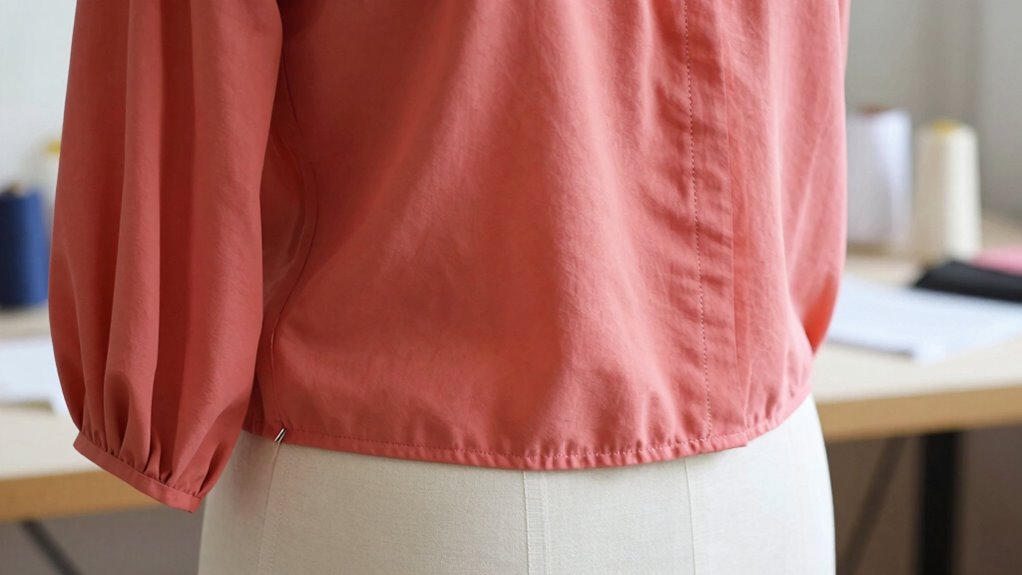
Keep Your Top’s Shape and Style After Altering It

After altering your top, it’s important to preserve the fabric’s integrity to prevent damage or puckering. You also want to maintain the original fit so your shirt looks natural and comfortable. Paying attention to these details keeps your top looking stylish and well-shaped after adjustments.
Preserve Fabric Integrity
When altering a top, handling the fabric carefully is vital to preserve its original shape and style. Use sharp scissors and gentle sewing techniques to avoid fraying, which can compromise fabric preservation. Reinforce seam strength by double-stitching or using zigzag stitches at cut edges. To help you understand the importance of fabric care, consider this table:
| Fabric Type | Handling Tip | Seam Reinforcement |
|---|---|---|
| Cotton | Use sharp scissors | Double-stitch seams |
| Silk | Gentle cutting | Use fine, matching thread |
| Polyester | Avoid excessive tension | Reinforce with zigzag stitches |
| Linen | Keep edges clean | Secure with backstitches |
| Blends | Test on scrap fabric | Use durable seam techniques |
Prioritize gentle handling and strong seams to keep your top looking great after alterations.
Maintain Original Fit
To maintain your top’s original fit and style after alterations, focus on precise adjustments that respect its design lines. Proper alteration safety guarantees you don’t compromise the fabric or overall shape. Here are some tips:
- Match the original seams carefully to preserve the top’s silhouette.
- Use appropriate stitch types to avoid puckering or distortion, supporting fabric care.
- Always try on the top during the process to check fit and prevent over-altering, which could jeopardize the style.
Troubleshooting Common Problems When Shortening Tops
Shortening tops can sometimes lead to unexpected issues, but many of these problems are easily fixable with the right approach. If the hem is uneven, double-check your measurements before re-sewing. Use fabric scissors to carefully trim any excess fabric, ensuring a clean edge. When sewing the new hem, a sewing machine helps achieve a straight, even line. If the fabric puckers or bunches, reduce tension on your machine and sew slowly. For fraying edges, finish the raw edge with a zigzag stitch or a serger to prevent further fraying. Always press your seams and hems with an iron for a crisp finish. Troubleshooting these common problems guarantees your shortened top looks polished and professional without the need for extensive redo.
Should You DIY or Seek Professional Alterations?
Deciding whether to DIY or seek professional alterations depends on your skill level and the complexity of the job. If you’re comfortable with DIY projects and have basic sewing skills, you might handle simple hem adjustments yourself. However, for more precise or complicated changes, professional tailoring ensures a clean, polished look. Consider these points:
- Skill Level: Be honest about your sewing experience before attempting alterations.
- Time & Tools: DIY projects save money but may take longer without the right tools.
- Quality & Precision: Professionals use specialized equipment, guaranteeing a better finish.
If you’re unsure, err on the side of caution and consult a tailor. Proper alterations maintain your top’s shape and style, making a professional touch worth the investment.
Tools and Tips for Shortening Tops at Home
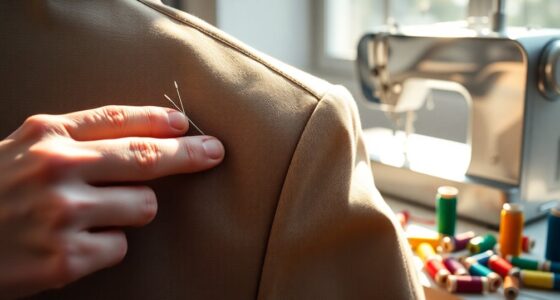
When you choose to shorten a top at home, having the right tools makes all the difference. Grab sharp scissors, a measuring tape, and pins to guarantee clean cuts and accurate length. A sewing needle and thread or fabric glue can help secure hems if you prefer no-sew options. For embellishment options, consider adding decorative stitches, lace, or patches to hide raw edges and add flair. Color coordination is key—match thread or embellishments to your top’s color for a seamless look. Use chalk or fabric markers to mark your desired length precisely. Before cutting, double-check measurements and try on the top to confirm the fit. With these tools and tips, you can confidently shorten your top while maintaining a polished, stylish appearance.
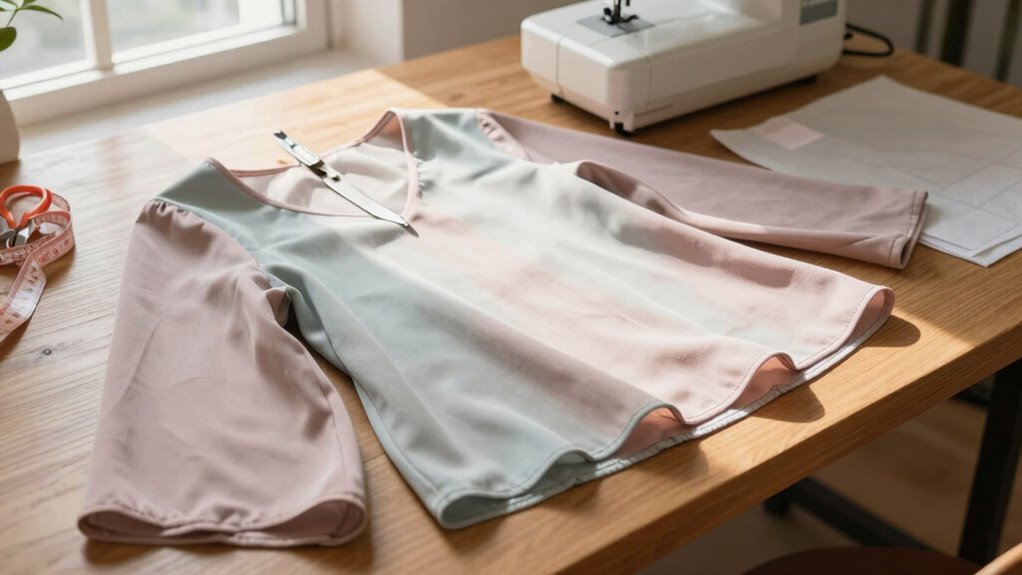
Creative Ways to Style Your Shortened Tops

A shortened top offers fresh styling possibilities that can elevate your wardrobe. With the right accessorizing options, you can create versatile looks for any season. Here are some ideas:
- Layer with statement jewelry or scarves to add interest and seasonal flair. A chunky necklace or a cozy scarf can transform the look instantly.
- Tuck or knot the hem to define your waist and add shape, making the top more dynamic and suitable for different occasions.
- Pair with high-waisted bottoms—jeans, skirts, or shorts—to balance the shorter length and highlight your figure.
Experiment with these techniques to keep your outfits fresh, stylish, and appropriate for any season. Shortening your top opens up new styling avenues you’ll love exploring.
Frequently Asked Questions
Can I Shorten Tops Without Sewing Skills?
Yes, you can shorten tops without sewing skills using DIY tips like fabric glue or hemming tape. Choose lightweight, non-fraying fabrics like cotton or jersey for easier handling. Measure carefully, pin the desired length, and secure the fold with fabric glue or tape. These methods prevent shape loss and give a custom fit, making it simple to modify your tops at home without any sewing.
What Types of Fabric Are Easiest to Alter?
You’ll find that knit fabrics like jersey and stretch cotton are the easiest to alter because they’re forgiving and don’t fray easily. Lightweight fabrics such as chiffon or silk can be challenging due to their delicate nature and tendency to fray, making alterations trickier. For simple fixes, stick to fabrics with stable weaves and minimal fraying, which help you avoid common alteration challenges and achieve a clean, professional look.
How Do I Prevent Puckering When Shortening?
To prevent puckering when shortening your top, start by adjusting your thread tension to be slightly looser. Carefully align your seams before stitching, ensuring the fabric layers sit flat. Use sharp scissors to make precise cuts and sew slowly, keeping the fabric smooth under the needle. Check your stitch length and tension frequently, and press the seams open afterward to smooth out any puckering for a clean, professional finish.
Will Shortening Affect the Top’s Original Design?
Shortening your top can impact its original design, but if you work carefully, style preservation is possible. Choose a method that respects the fabric durability, like sewing a clean hem or using a professional alteration. Avoid cutting into detailed or delicate areas, as this might alter the design. With proper technique, you can maintain the top’s original look while adjusting the length without compromising its style or quality.
How Do I Maintain the Top’s Original Color After Cutting?
To maintain your top’s original color after cutting, you should focus on fabric dyeing and color preservation. Before cutting, consider dyeing the fabric again to match the original hue or applying a fabric protector to prevent fading. When washing, use cold water and color-safe detergents to preserve the dye. These steps help keep your top vibrant, ensuring its color stays true even after alterations.
Conclusion
Think of shortening your top like tuning a fine instrument—you want it just right to hit the perfect note. With a little patience and the right approach, you can transform an oversized piece into a perfectly fitted favorite. Remember, a well-adjusted top isn’t just about fit; it’s about expressing your unique style. When you take control, you’re crafting a look that’s truly your own masterpiece—your personal symphony of fashion.