
Upcycling t-shirts into stylish pieces is easy and fun! You'll need sharp scissors, fabric markers, and safety pins to get started. Transform a standard t-shirt into a baby doll top or craft a trendy tank top by cutting off sleeves and adjusting the neckline. Try creating a dress or a two-piece set with simple cuts and creative ties. Adding ruffles and decorative elements can elevate your designs even more. Keep going, and you'll discover even more ideas!
Key Takeaways
- Upcycling t-shirts reduces textile waste and is a cost-effective way to refresh your wardrobe without needing a sewing machine.
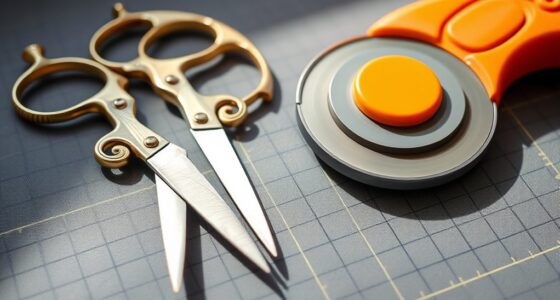
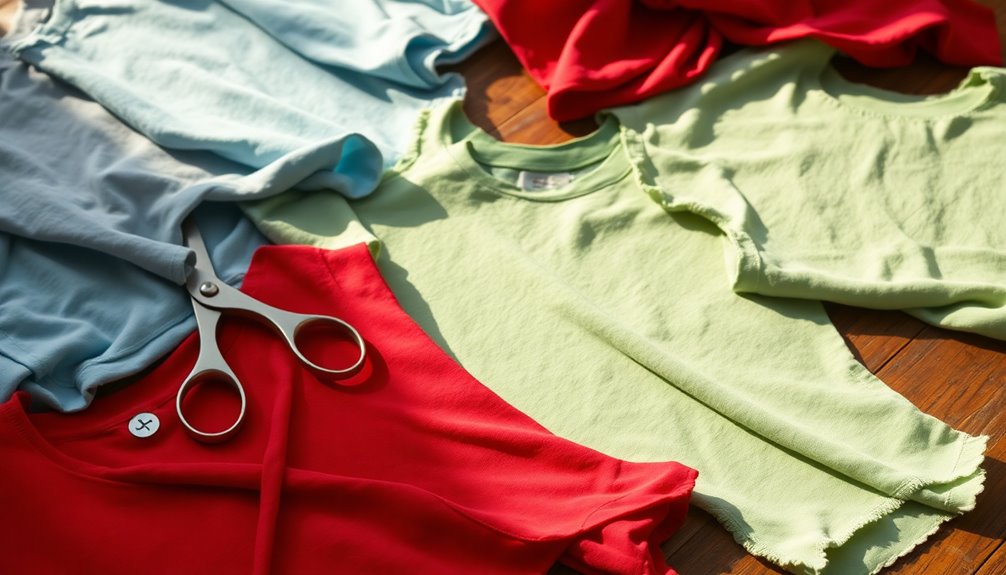
- Essential tools include sharp scissors, a ruler, fabric markers, and safety pins for easy transformations.
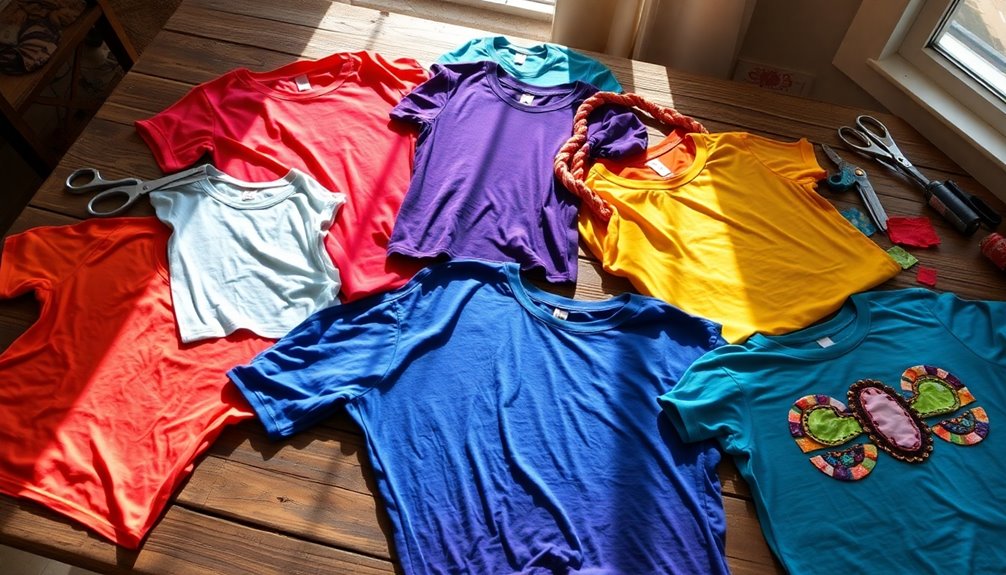
- Transform t-shirts into fashionable tops like baby doll, tank tops, or backless designs using simple cutting techniques.
- Create dresses or two-piece sets by cutting and connecting shirt pieces, enhancing them with straps and embellishments.
- Add decorative elements like ruffles or custom prints using fabric manipulation and heat transfer methods, all without sewing.

Fabric Scissors Professional, 8" Heavy Duty Sewing Scissor for Fabric Cutting, Tailor Sharp Sewing Shears for Cutting Leather craft Home Office Students Artists Dressmakers
Ultra Sharp Fabric Scissors: Wteehn sewing scissors for fabric cutting is made of high-quality galvanized manganese, exquisite hand-forged…
As an affiliate, we earn on qualifying purchases.
As an affiliate, we earn on qualifying purchases.
The Benefits of Upcycling T-Shirts
When you upcycle t-shirts, you're not just giving old garments a new life; you're also making a positive impact on the environment.
By repurposing these pieces of fabric, you greatly reduce textile waste and contribute to sustainability. Upcycling offers a cost-effective way to refresh your wardrobe, allowing you to create stylish, personalized pieces without breaking the bank.
This creative process fosters self-expression, letting you transform basic shirts into unique fashion statements that reflect your individual style. Plus, you'll cultivate new skills in garment construction and design, enhancing your overall crafting abilities. Engaging in upcycling can also be seen as a form of risk-taking that encourages innovation in your personal fashion choices.
With just a pair of scissors and basic techniques, anyone can engage in this accessible DIY activity and enjoy the satisfaction of turning unwanted clothes into something meaningful.
ARTISTRO 24 Dual-Tip Fabric Markers – Fabric Decorating Kit – Permanent for Clothes – Acrylic Paint Pens for Sneakers, Bags, Shoes, Textile, Canvas, Sewing, Craft, DIY – Brush and Fine Tip
Dual-Tip: These fabric markers offer both a 1mm fine tip for precise details and a flexible brush tip…
As an affiliate, we earn on qualifying purchases.
As an affiliate, we earn on qualifying purchases.
Tools and Materials Needed
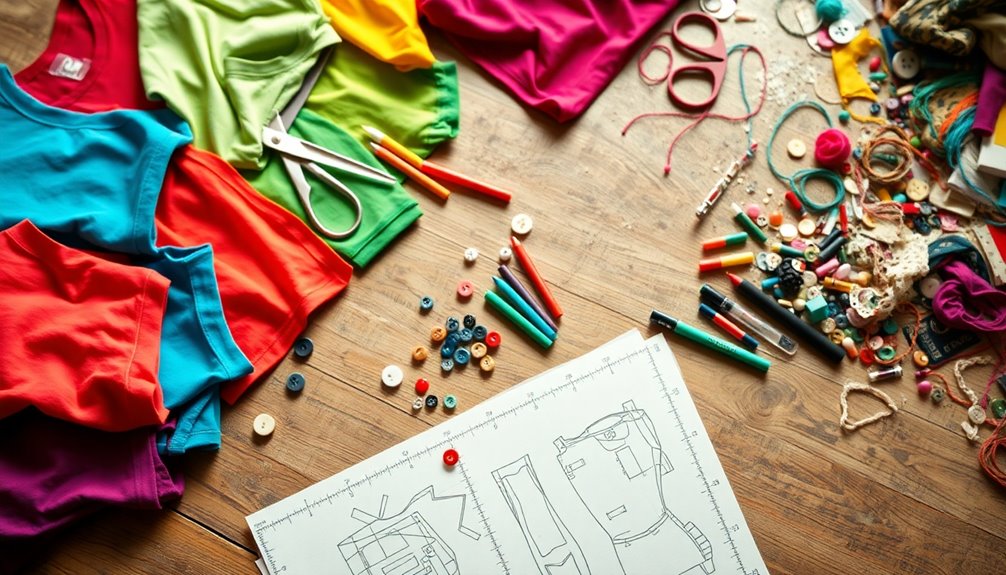
To kick off your t-shirt transformation journey, gathering the right tools and materials is vital. You'll need sharp scissors for precise cuts and a ruler or measuring tape for accurate measurements. Fabric markers let you personalize your designs. Don't forget safety pins, which are perfect for creating decorative bows or connecting two pieces together.
Here's a quick reference table to help you:
| Tools | Materials |
|---|---|
| Sharp scissors | Old t-shirts |
| Ruler or measuring tape | Ribbons for lacing |
| Fabric markers | Foil for custom printing |
| Safety pins | Optional fabric pieces |
A flat workspace and a heat source, like an iron, will guarantee your transformations are a success!

XKDOUS Safety Pins – 150 Pcs Assorted Sizes Silver Pins Bulk – Small & Large Heavy Duty for Clothes, Sewing, Craft
The Safety Pins Assorted Pack: One box of 150 safety pins in 3 different sizes: 2.2” (56mm) 20-count,…
As an affiliate, we earn on qualifying purchases.
As an affiliate, we earn on qualifying purchases.
Baby Doll Top Transformation
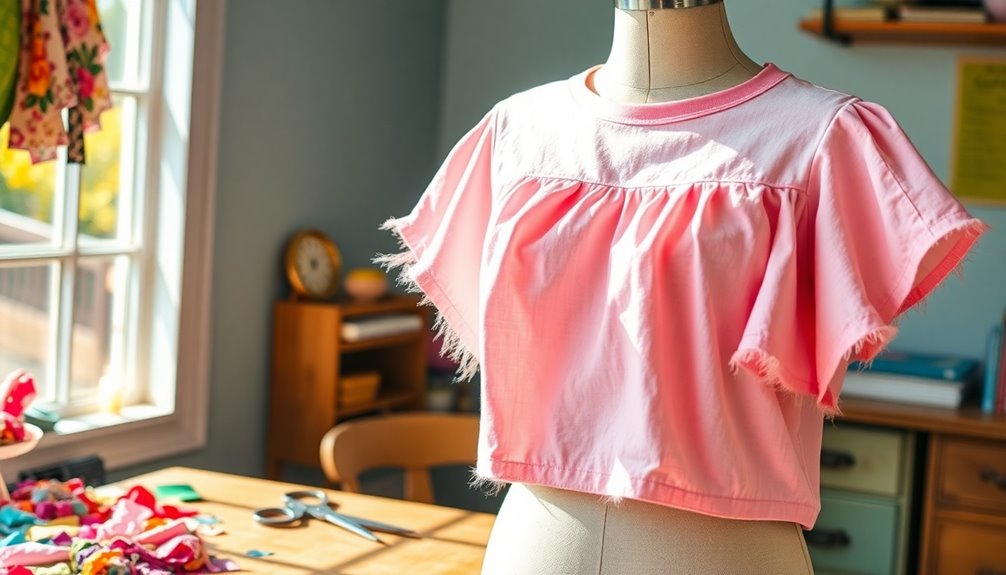
To transform your basic t-shirt into a trendy Baby Doll Top, you'll need a few materials and some simple steps.
You'll learn how to adjust the neckline, trim the length, and add stylish details for a fresh look.
Plus, I'll share some customization ideas to make it uniquely yours! Additionally, consider how color accuracy in your fabric choice can enhance the overall visual appeal of your transformed top.
Materials Needed Overview
Creating a Baby Doll Top is a fun and creative way to revamp an old t-shirt into a fashionable piece. You'll need just a few materials to get started.
| Materials | Purpose |
|---|---|
| Basic T-shirt | The main fabric for transformation |
| Scissors | To cut and shape the shirt |
| Ribbon or Lace | For the tie effect |
| Measuring Tape | To mark cuts accurately |
| Fabric Chalk | To outline where to cut |
First, make sure you enlarge the neckline and cut off half of the sleeves. The vertical cuts in the center will let you lace the ribbon through, which can help your top fit just right. It's all turned out so cute!
Step-by-Step Instructions
Now that you have all the materials ready, let's get started on transforming your basic t-shirt into a stylish Baby Doll Top.
First, enlarge the neckline to achieve that trendy off-shoulder look. Next, trim the shirt to your desired length, typically above the waist, for a flirty silhouette.
To add playfulness, cut half of the sleeves off. Then, make several cuts down the center of the top to create a tie effect; this adds visual interest and a unique flair.
Finally, lace a ribbon through the cuts you made, tying it at the front. As you piece everything together, you'll notice how charming and personalized your new Baby Doll Top becomes, perfect for any casual outing! This transformation allows you to incorporate unique pieces that reflect your personal style while being sustainable.
Style Customization Ideas
While transforming your basic t-shirt into a Baby Doll Top, you can explore various style customization ideas to make it truly your own.
Here are three fun ways to elevate your design:
- Neckline Enlargement: Cut a wider neckline for a relaxed fit, enhancing both comfort and style.
- Unique Silhouette: Trim half the sleeves and adjust the shirt length to create a trendy silhouette that stands out.
- Playful Tie Effect: Make cuts in the center of the shirt for a tie feature, then lace a decorative ribbon through the cuts. This not only adds flair but also lets you adjust the fit as desired.
These simple modifications require just scissors, making it an effortless way to refresh your wardrobe! Additionally, consider using silicone butter molds to create unique accessories or embellishments for your transformed t-shirt.

Team Upcycling – Upcycling and DIY T-Shirt
trash recycle upcycle and create unique utilize upcycle art and items. be an fixologist repair everything and create…
As an affiliate, we earn on qualifying purchases.
As an affiliate, we earn on qualifying purchases.
Custom Print Shirt DIY
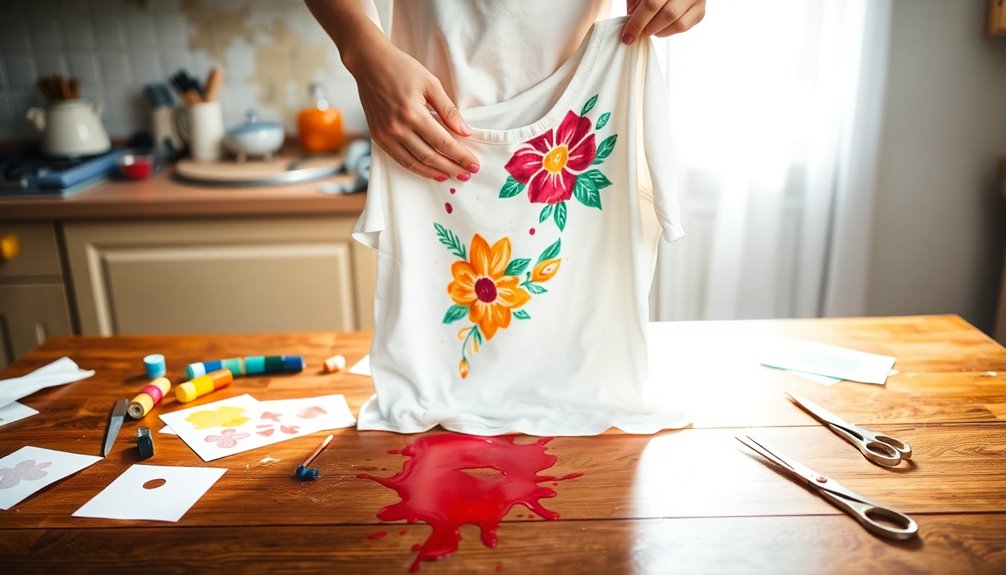
Creating a custom print shirt is easier than you think!
You'll need a few materials and a simple step-by-step process to get started.
Let's explore some design tips and ideas to make your shirt truly one-of-a-kind.
Materials Needed Overview
When beginning your Custom Print Shirt DIY project, you'll need a few essential materials to guarantee a successful transformation. Here's what you should gather:
- Basic T-shirt: Choose a shirt in a color that complements your chosen design.
- Print or Image: Make sure it's printed in reverse to transfer correctly onto the fabric.
- Aluminum Foil: This will protect both your design and the shirt during the heat transfer.
Additionally, don't forget a baking sheet and a hot iron. The baking sheet helps prevent direct heat exposure, while the aluminum foil guarantees an even transfer without damage.
After you're done with the iron-on process, let the shirt cool before peeling off the foil to reveal your custom print design!
Step-by-Step Process
To transform your basic t-shirt into a custom print shirt, start by cutting off the neckline for an off-shoulder look.
Next, print your desired image on a piece of foil, making sure it's the right size for your shirt.
Wrap the printed foil around the area where you want the design to appear, keeping the printed side facing down.
Then, cover the foil with a baking sheet to protect your iron.
Press a hot iron over the baking sheet to melt the foil onto the fabric.
Once it cools, carefully peel away the foil, revealing your custom design permanently printed on the shirt.
Enjoy your stylish creation and show it off with pride!
Design Tips and Ideas
Transforming a basic t-shirt into a unique piece can be an exciting project, especially when you incorporate your personal style.
Here are some design tips to help you create a custom print shirt:
- Cut the Neckline: Start by cutting off the neckline for an off-shoulder look, providing a fashionable base for your design.
- Foil Printing: Print your desired image onto foil, wrap it around your shirt, and cover it with a baking sheet to protect the fabric.
- Heat Application: Use a hot iron to melt the foil onto the shirt, ensuring even heat distribution for a crisp print.
Allow the shirt to cool before removing the foil.
Experiment with different images and placements to make your shirt truly one-of-a-kind! Additionally, consider using whole, unprocessed foods to fuel your creativity and energy during your DIY projects.
Creating a Dress From a Shirt
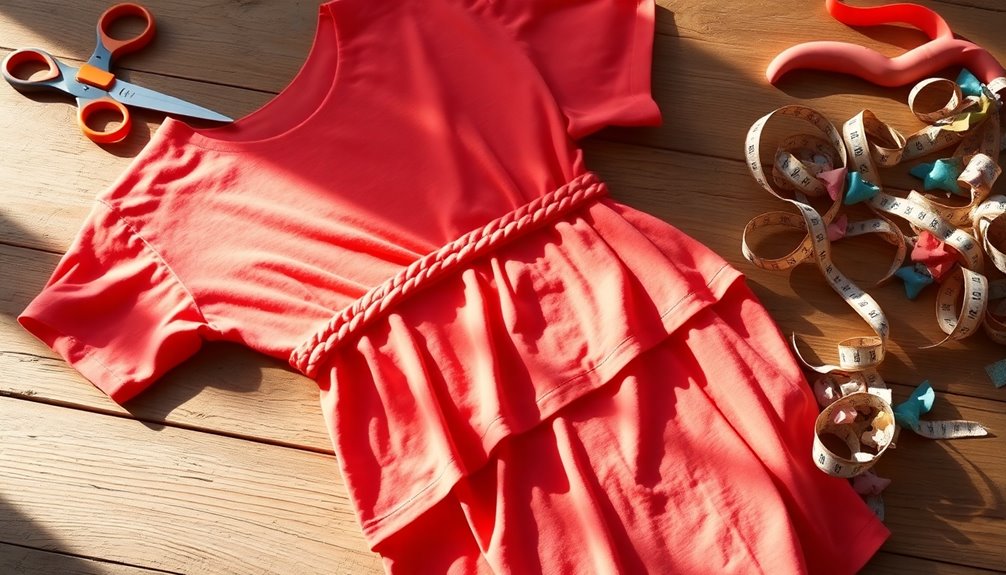
Creating a dress from a shirt can be a fun and creative way to upcycle your wardrobe.
Start by laying a fitted top over the shirt to use as a cutting guide for the desired shape and length. Cut the shirt according to the outline of the fitted top, leaving enough fabric for the dress design and straps. Next, carefully pin the edges of the fabric to secure them in place before beginning to sew. To ensure a polished finish, consider how to create a v neckline by marking the desired depth and angle on the front of the shirt. Once you’ve cut out the v shape, you can hem the edges to give it a clean look and add any embellishments or details to enhance your new dress design.
After cutting, create straps from the leftover fabric and attach them to the front and back pieces. Next, connect the front and back by making holes along the edges, using ties or additional fabric to secure them together.
Finally, enhance your dress's style by adding decorative bows or embellishments with safety pins or fabric markers for a personalized touch. Enjoy your new creation!
Crafting a Stylish Tank Top
If you're looking to refresh your wardrobe with a trendy tank top, this simple DIY project is perfect for you. All you need is a basic t-shirt, and you're ready to get started. Here's how:
- Cut the sleeves off and trim the neckline to your desired width for a modern look.
- Adjust the length by cutting the shirt to your preferred size, ensuring a comfortable fit.
- Use the cut fabric to create stylish shoulder straps or add embellishments for a personal touch.
With just scissors and a dash of creativity, you can transform an old t-shirt into a fashionable tank top that showcases your unique style. Additionally, engaging in hands-on activities like this promotes fine motor skills, essential for early childhood development.
Get ready to rock your new creation!
Making a Backless Top
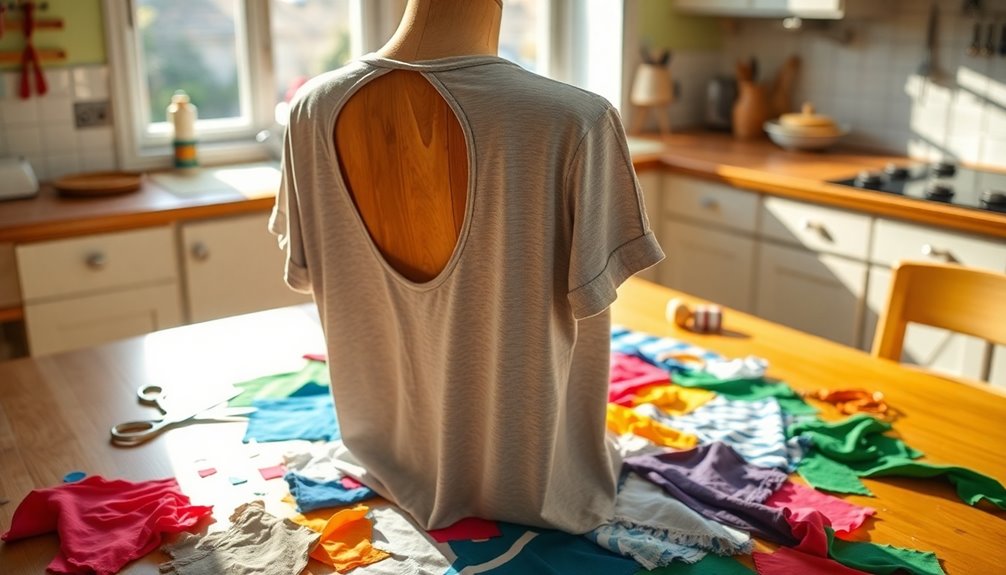
When you want to add a flirty touch to your wardrobe, a backless top is an excellent choice.
Start by laying your shirt flat and trimming the neckline for that off-shoulder vibe you love. Next, cut a U-shape into the back, making sure the size and shape fit comfortably.
If you want to adjust the straps, you can cut them shorter or create new ones from leftover fabric to enhance the design.
To make it truly yours, consider adding decorative elements like fabric markers or embellishments. Additionally, remember that proper diet is essential for maintaining your overall style and confidence.
Best of all, you only need scissors for this DIY project, making it an easy way to refresh your style without a sewing machine.
Get creative and enjoy your new look!
Designing a Two-Piece Set
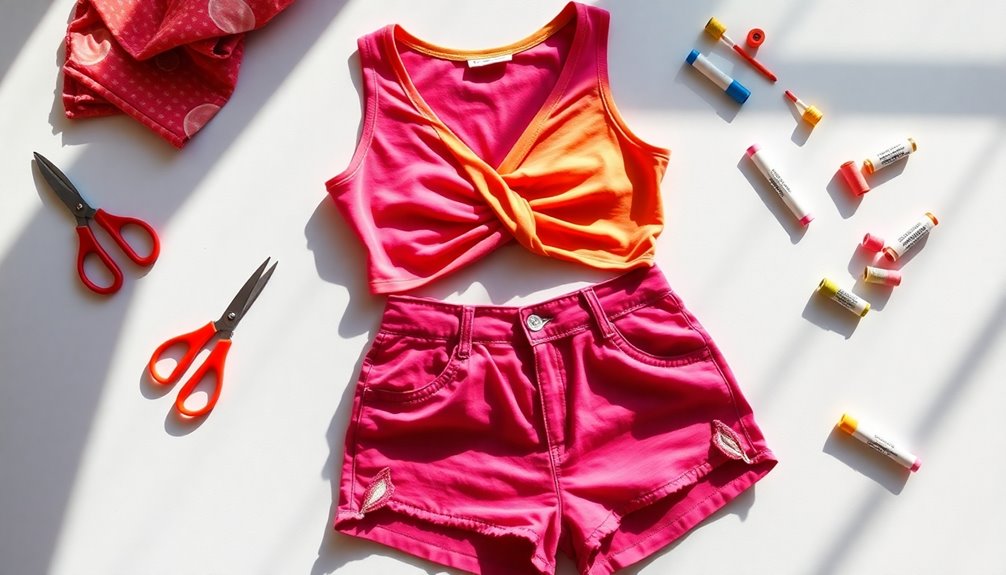
Transforming a basic t-shirt into a stylish two-piece set is a fun way to elevate your wardrobe. Start by selecting your t-shirt and determine the lengths for both the top and skirt.
Make strategic cuts:
- Cut the shirt horizontally below the armpits to create the top, fitting it to your body shape.
- Use the remaining fabric to cut a rectangular piece for the skirt, adjusting the width for your desired style, and add straps for a secure fit.
- Connect the top and skirt by creating holes along the edges and tying them together with fabric strips.
Finally, personalize your set with fabric markers, embellishments, or by mixing in other fabrics for a truly unique look. Additionally, consider using essential oils for hair growth to enhance your overall style by promoting healthy hair as you flaunt your new ensemble! Enjoy your new ensemble!
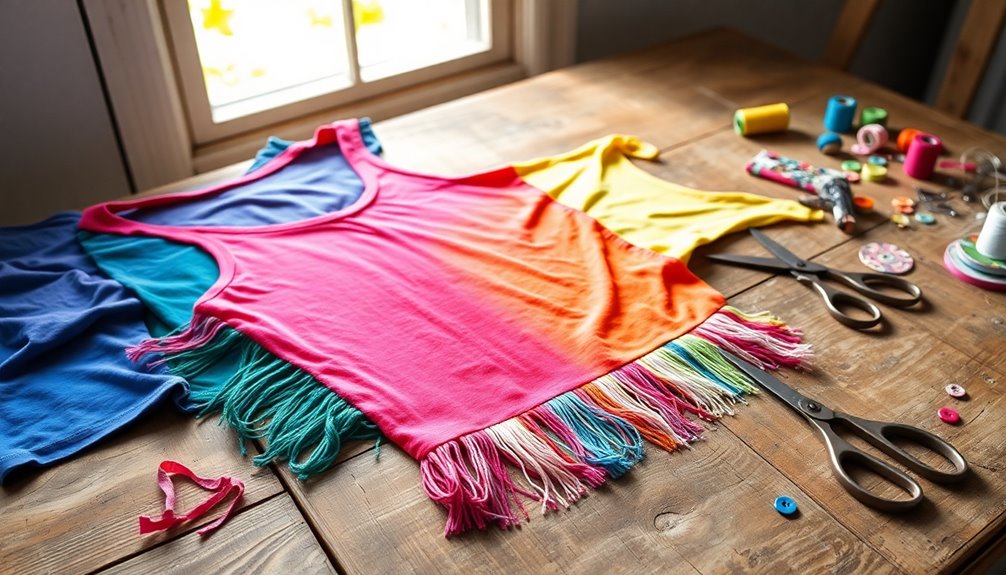
Adding Ruffles and Skirts to Your Wardrobe
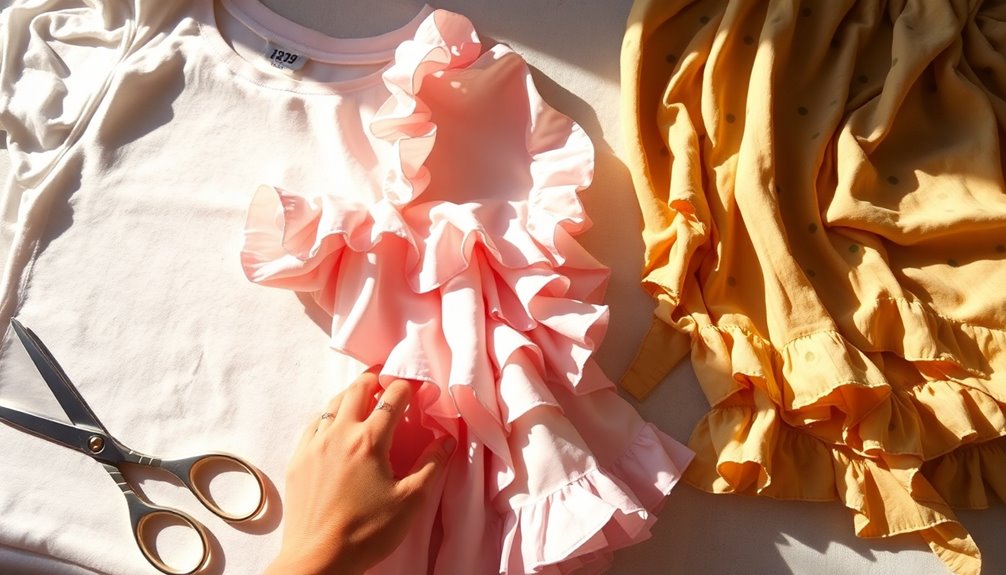
Adding ruffles and skirts to your wardrobe can instantly elevate your style, making even the simplest outfits feel more dynamic.
To create a ruffled effect, cut holes spaced 1 cm apart around your fabric, then weave a band through these holes for added texture.
For a unique skirt, use two squares of fabric, make small cuts, and connect them with leftover fabric straps. Wrap a long piece of fabric around your waist to form a waistband, enhancing the fit and style.
Incorporate ribbons into your ruffles for flair and personalization.
Each ruffled design or skirt can easily mix and match with different tops, offering versatile outfit options and creatively enhancing your wardrobe. Consider using natural materials to add an even more unique touch to your creations.
Get ready to transform your style!
Frequently Asked Questions
Can You Upcycle Clothes Without a Sewing Machine?
Yes, you can absolutely upcycle clothes without a sewing machine!
By using simple cutting techniques, you can transform old garments into stylish new pieces. For instance, you can create off-shoulder tops or tank tops with just scissors.
You don't need fancy tools or skills; just your creativity! Plus, you can add personal touches with fabric markers or ribbons.
It's a fun, easy way to refresh your wardrobe and express your unique style.
What Can I Do With Old Shirts Without Sewing?
Imagine the stories your old shirts could tell if they were transformed into something fresh and exciting.
You can easily revamp them without sewing. Consider cutting them into trendy crop tops or even a stylish backless shirt.
With just a pair of scissors, you can create skirts or two-piece sets. Add some fabric markers or ribbons to personalize your designs and make a bold fashion statement that reflects your unique style.
How Can I Reuse Old Clothes Without Sewing?
You can reuse old clothes without sewing by using simple scissor techniques.
Try cutting sleeves or necklines to create trendy tops, or transform a shirt into a stylish skirt with strategic cuts.
You can also personalize your pieces with fabric markers for a unique touch.
Experiment with ruffled effects by cutting holes and weaving fabric through them.
With a bit of creativity, you'll breathe new life into your wardrobe effortlessly!
How to Turn Old T-Shirts Into Something New?
You can easily turn old t-shirts into something new by using simple cutting techniques.
Start by deciding what style you want—like a baby doll top or a tank top. Grab your scissors and make strategic cuts to reshape the fabric.
You can also create skirts by connecting fabric squares.
Feel free to add personal touches with fabric markers or extra fabric for ruffles, allowing your creativity to shine through in every piece.
Conclusion
By embracing these DIY t-shirt transformations, you're not just revamping your wardrobe; you're also making a statement about sustainability and creativity. Who knew that a simple tee could become a stylish dress or a chic two-piece set? As you upcycle, you're not only saving money but also breathing new life into fabric that might've ended up in a landfill. So, release your creativity and let your t-shirts tell a story that's uniquely yours!