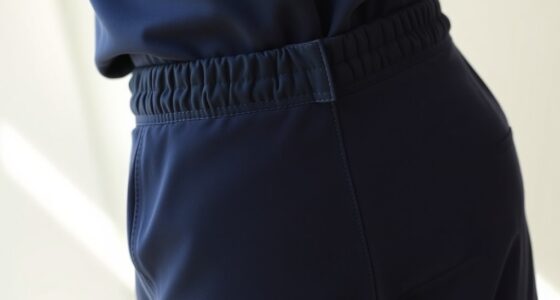

To modify your waistband, turn your pants inside out and assess whether to take in or let out fabric. For taking in, sew a new, symmetrical seam closer to your body, matching your desired fit, using appropriate stitches for stretch or non-stretch fabrics. To let out, carefully open the existing seam and re-sew with extra seam allowance for comfort. Paying attention to fabric type and technique guarantees a seamless, professional finish—continue exploring for more tips on tailoring your perfect fit.
Key Takeaways
- Assess fabric type (stretchy or non-stretch) to determine suitable alteration techniques for a durable, seamless fit.
- Turn pants inside out, mark new seam lines, and maintain about 1/2 inch seam allowance for precise adjustments.
- Use stretch stitches or zigzag for stretch fabrics, and straight stitches for non-stretch fabrics, ensuring small, even stitches.
- To let out the waistband, carefully open the seam, reinforce with zigzag or serging, and press for a clean finish.
- Always try on the pants during alteration to ensure proper fit and avoid damaging delicate fabrics with decorative details.
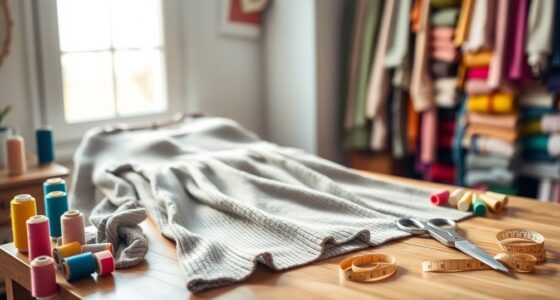
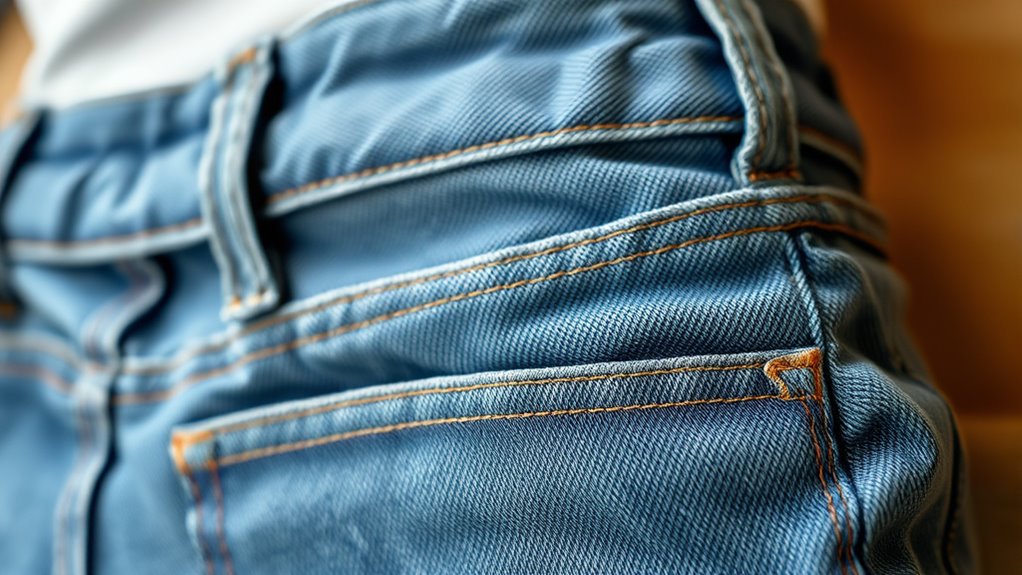
If your pants feel too tight or loose around the waist, altering the waistband can be a quick and cost-effective solution. Whether you need to take in or let out the waistband, understanding fabric selection and sewing techniques is key to achieving a professional, comfortable fit. The first step is to assess the fabric type of your pants. Stretchy fabrics like denim with spandex, jersey, or ponte knit are more forgiving when it comes to alterations, but non-stretch fabrics like wool or linen require more careful handling. Choosing the right fabric for your project ensures that your adjustments blend seamlessly and maintain the garment’s durability.
Altering your waistband? Choose fabric carefully for seamless, durable results—stretchy or non-stretch, each needs the right approach.
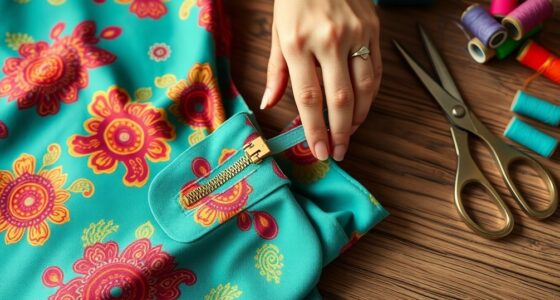
When taking in the waistband, you’ll typically want to turn your pants inside out. Carefully examine the side seams and waistband seam to see how much fabric needs to be removed. Use a measuring tape to mark the new seam line, ensuring symmetry on both sides. For fabric selection, if you’re working with stretch fabrics, opt for a stretch stitch or a zigzag stitch to accommodate the fabric’s flexibility. For non-stretch fabrics, a straight stitch with a sturdy needle provides clean, secure seams. When sewing, start with small stitches and try on the pants frequently to check the fit, making adjustments as needed. Maintain a consistent seam allowance—usually about 1/2 inch—to keep the alteration neat and durable.
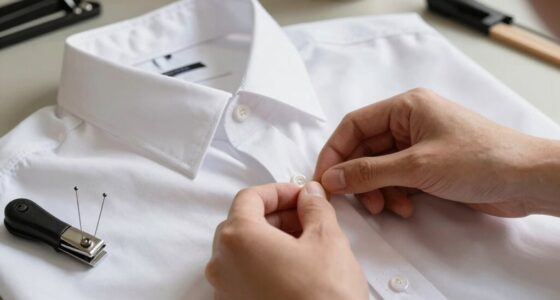
Letting out the waistband involves a different approach. If there’s enough extra fabric in the seam allowance, you can carefully open the waistband seam and re-sew it with a slightly larger seam allowance. Be cautious with fabric selection here—delicate fabrics may fray easily, so reinforce the seam with a zigzag stitch or serging if available. When sewing, use a matching thread color and a stitch length appropriate for your fabric to avoid puckering. After resewing, press the seam flat to set it properly and try on the pants to ensure the fit feels natural. If the waistband is interfaced or has decorative topstitching, take extra care not to damage these features during alterations.
Additionally, understanding the importance of contrast ratio and how it affects the perception of the garment’s fit can be beneficial when making adjustments, especially if you plan to add decorative elements or lining to your altered waistband.
Ultimately, mastering basic sewing techniques and selecting the appropriate fabric for alteration projects will help you achieve a professional look and a comfortable fit. With patience, a few simple tools, and attention to detail, you can modify your pants’ waistband to feel just right—saving money and extending the life of your garments.
![[2 Pack] Buttonhole Elastic for Sewing with 40 Buttons - 6.4 Yards Total (Black, White) - 3/4" Adjustable Waistband Elastic Kit for Kids & Maternity - High Elasticity Knit Band for DIY Pants Repair](https://m.media-amazon.com/images/I/41btU85IuKL._SL500_.jpg)
[2 Pack] Buttonhole Elastic for Sewing with 40 Buttons – 6.4 Yards Total (Black, White) – 3/4" Adjustable Waistband Elastic Kit for Kids & Maternity – High Elasticity Knit Band for DIY Pants Repair
42 PCS TAILORING SET: with 40 Bonus Buttons Includes 2 rolls of premium buttonhole elastic (3.2 yards each,…
As an affiliate, we earn on qualifying purchases.
As an affiliate, we earn on qualifying purchases.
Frequently Asked Questions
Can I Alter a Waistband Without Removing the Pants?
Yes, you can alter a waistband without removing the pants. If your waistband has belt loops, you can take it in or let it out through small stitches, especially if there’s fabric stretch. For minor adjustments, sewing discreetly along the waistband’s inside or using a fabric stretch can help you achieve a better fit without full removal. Just be gentle and check your progress as you go.
What Tools Are Needed for Waistband Alterations?
Back in the day, you’d need a few key tools for waistband alterations. Grab a sewing machine for stitching, a seam ripper to undo stitches, and a measuring tape to get accurate measurements. Pins and chalk help mark your adjustments, while scissors are essential for trimming excess fabric. With these tools, you can easily take in or let out your waistband for a perfect fit, even without removing the pants entirely.
How Much Can I Realistically Take in or Let Out?
You can typically take in or let out a waistband by about 1 to 2 inches, depending on the fabric’s stretch and waistband elasticity. If the fabric has good stretch, you might go slightly more, but be cautious not to compromise comfort or durability. Always consider the fabric type—denser fabrics limit how much you can alter, while stretchy materials offer more flexibility for adjustments.
Will Altering the Waistband Affect the Pants’ Overall Fit?
Changing the waistband is like tuning a guitar—small adjustments can make a big difference. Altering the waistband directly impacts the overall fit, and fabric stretch plays a role. Using proper sewing techniques guarantees the change looks seamless and natural. If you take in too much, it can make the pants uncomfortable; if you let out too much, they might sag. So, yes, waistband alterations do affect the pants’ fit.
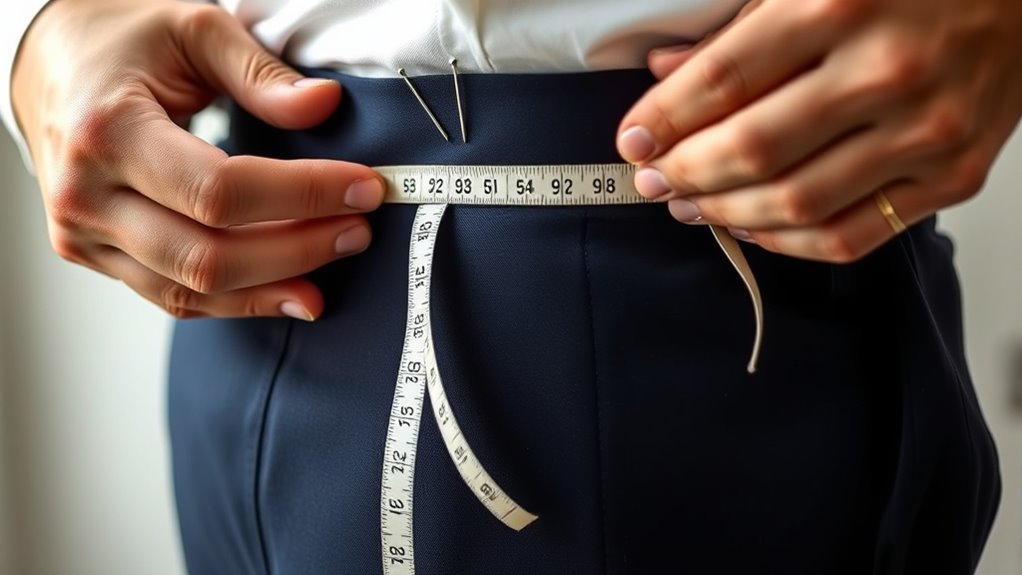
How Do I Determine the Right Waist Size After Alteration?
To determine the right waist size after alteration, measure your waist circumference accurately using a flexible tape measure. Stand straight and breathe normally while measuring at the narrowest part of your waist. Use this measurement to choose the right size for your pants, ensuring they fit comfortably without being too tight or loose. Double-check your measurements before making any adjustments to guarantee a perfect, personalized fit.
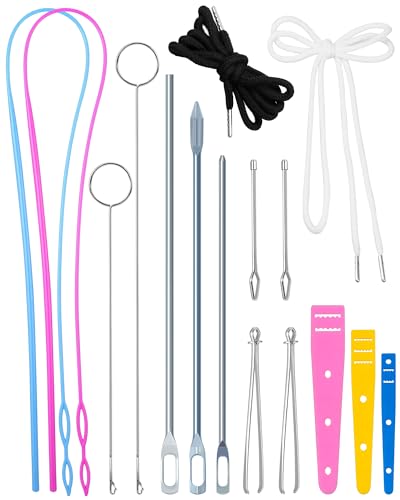
FIVEIZERO Drawstring Threader Tool Set – Loop Turner Sewing Tool for Easy Hoodie, Jacket, and Pants Threading, Bodkin Sewing Tool for Drawstrings and Cords
Various product types: Our drawstring threader tool package includes 16 pieces, featuring 3 metal drawstring threaders, 2 long…
As an affiliate, we earn on qualifying purchases.
As an affiliate, we earn on qualifying purchases.
Conclusion
Whether you take in or let out your waistband, you create a fit that’s just right, a fit that feels confident, a fit that feels comfortable. Altering your waistband puts the power in your hands, allowing you to customize your style, embrace your shape, and enjoy your clothes again. So, take control, make adjustments, and love the way your pants fit — because a perfect fit isn’t just about clothing, it’s about feeling your best every day.

Brother FB1757X Mechanical Sewing Machine
17 built-in stitches
As an affiliate, we earn on qualifying purchases.
As an affiliate, we earn on qualifying purchases.
VEVOR Serger Overlock Sewing Machine, 1250 Stitches Per Minute, 2-3-5 Thread Capability, with LED Light and Strong Suction Feet, Heavy-Duty Metal Frame Sewing Machine for Various Fabrics, White
2/3/5-Thread Versatility: Our serger sewing machine features flexible 2/3/5-thread setup with adjustable stitch length and width—great for simple…
As an affiliate, we earn on qualifying purchases.
As an affiliate, we earn on qualifying purchases.