To join a new ball of yarn without a bulky lump, leave about 6 inches of tail on both yarns and keep tension steady as you work. Use techniques like the water knot or Russian join, dampening or weaving the ends for a smooth connection. Maintain even tension throughout to prevent puckering or gaps. With consistent practice, you’ll master seamless joins that keep your project looking professional. Keep going to discover more tips for flawless yarn transitions.

Get tools and workshop supplies delivered free — and shop member deals
- Fast, free delivery on millions of items
- Access to Prime Big Deal Days deals on October 6–7
- Prime Video, Amazon Music and more included
Key Takeaways
- Leave 6-inch tails on both yarn balls for a smooth, secure join.
- Use a water knot or Russian join to connect yarns seamlessly.
- Maintain consistent tension throughout to prevent lumps and gaps.
- Slightly dampen yarn tails to facilitate easier, neater joining.
- Gradually blend yarns by knitting or crocheting into the last stitches of the old yarn.
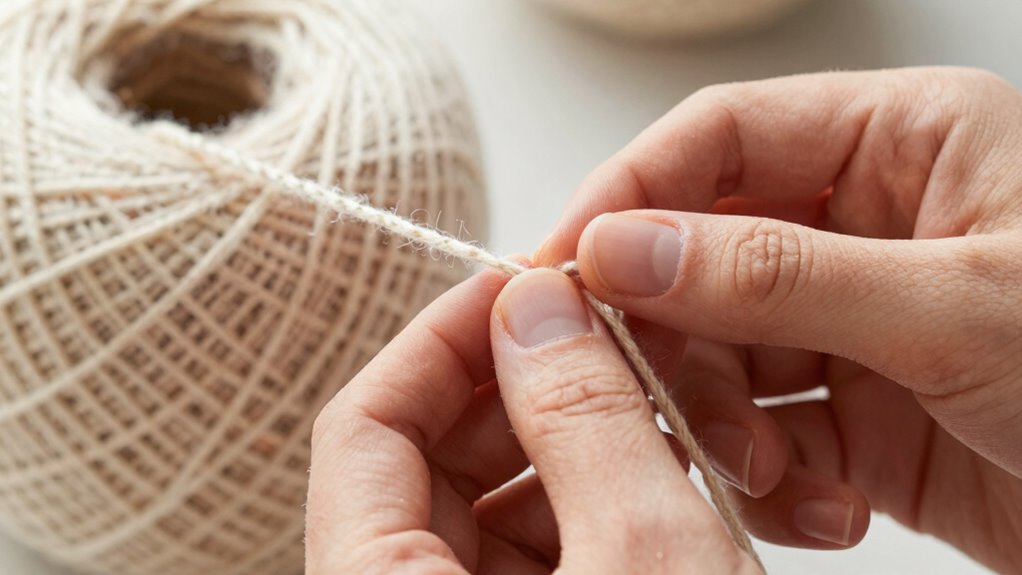
Ever wondered how to seamlessly switch to a new ball of yarn without leaving visible knots or gaps? When you’re deep into a project, running out of yarn or needing a color change is inevitable. The key to a smooth transition lies in understanding yarn tension and mastering joining techniques. Properly managing yarn tension ensures your stitches stay even, and choosing the right joining method keeps your work looking neat and professional.
First, you want to prepare your old and new yarns. As you approach the end of your current ball, leave a tail of about six inches. Similarly, keep a tail on the new ball. To prevent bulky lumps, gently adjust the yarn tension so that both yarns flow smoothly through your fingers or tensioning device. You don’t want to pull too tight or too loose, because inconsistent tension can cause puckering or gaps. Maintaining uniform yarn tension across both balls helps your stitches stay even, making the transition almost invisible.
When it comes to joining techniques, there are a few reliable options. The most straightforward is the spit splice or water knot, which works well with wool or wool blends. To do this, slightly dampen both yarn tails, then overlap them and twist gently. This creates a seamless connection that holds well once dry. Another effective method is the Russian join, where you thread the new yarn through the last few stitches of the old yarn or weave the ends together using a tapestry needle. This technique produces a very neat finish and is ideal for projects requiring a clean look, especially in textured or intricate stitches. Additionally, understanding yarn composition can help you select the most suitable joining method for your project.
If you’re working on a project with a lot of tension or complex stitch patterns, you might prefer the technique of knitting or crocheting the new yarn into the last few stitches of the old yarn. This method gradually incorporates the new yarn, blending it seamlessly into your work and avoiding any noticeable joins. It’s especially useful in delicate fabrics or when working with fine yarns where bulky knots would be distracting. Additionally, paying attention to yarn tension can help you prevent uneven stitches and achieve a professional finish. Being mindful of your tension control throughout the process is also crucial for a flawless transition.
Throughout the process, keep a close eye on your yarn tension. Slightly loosen or tighten as necessary to ensure even stitches. Once the new yarn is fully incorporated, continue knitting or crocheting with steady tension, and the changeover will be almost invisible. Practice different joining techniques to find what works best for your project and yarn type. With a little patience and attention to yarn tension, switching balls becomes a quick, seamless step, rather than a dreaded interruption.
As an affiliate, we earn on qualifying purchases.
Frequently Asked Questions
Can I Join Yarns of Different Thicknesses Seamlessly?
Yes, you can join yarns of different thicknesses seamlessly by adjusting your yarn tension to match the thinner yarn. Focus on maintaining even tension, and choose colors that blend well or complement each other to hide shifts. When switching, secure the ends with a small knot or weave in the tails carefully. This technique guarantees your project remains smooth, with minimal visible differences, creating a professional finish despite varying yarn thicknesses.
Is It Better to Tie or Weave in Ends When Joining Yarn?
Think of ending your work as planting a sturdy tree. Weaving in ends is like nurturing roots, offering a smooth, invisible finish. Knot alternatives and splicing techniques make your project look seamless and professional, avoiding bulky lumps. Tying can sometimes create bulky knots, so weaving or splicing is better for a clean, durable finish. You’ll enjoy a polished look, and your project will hold together better over time.
Will Joining Yarn Affect the Overall Texture of My Project?
Joining yarn can slightly affect your project’s texture, but choosing the right joining techniques minimizes this impact. If you match the yarn color and use seamless methods like weaving in ends or Russian joins, your project stays smooth and consistent. For a more uniform texture, carefully select joining techniques that blend fibers well, ensuring your finished piece looks polished without noticeable lumps or bumps.
How Do I Hide the Knot Securely in the Finished Piece?
To securely hide the knot in your finished piece, place the knot at the back or inside of your project, where it won’t be visible. Use a tapestry needle to weave the ends through nearby stitches, ensuring the knot is snugly secured and doesn’t pull. Keep the knot placement consistent with your stitch pattern, then trim excess yarn close to the weave for a neat, secure hiding that won’t affect your project’s appearance.
Can I Join Yarns While Working in the Round?
Yes, you can join yarns while working in the round to facilitate color blending and pattern continuity. When you reach the end of a ball, simply loop the new yarn with the old, maintaining tension, and continue crocheting or knitting seamlessly. To keep the switch smooth, weave in the ends later. This method helps your project maintain consistent color flow and pattern integrity without bulky joins disrupting the overall look.
Conclusion
Now that you know how to seamlessly switch to a new ball of yarn, you’re all set to stitch smoothly without snags or lumps. Remember, mastering the art of joining guarantees your project stays perfect and polished. Practice patience, keep your joins tight, and stay tidy with your technique. With a little care and confidence, you’ll create a canvas of continuous, charming craftsmanship—completely free of fuss, fussiness, or failure. Happy hooking!
Halloween Picks
halloween
As an affiliate, we earn on qualifying purchases.