To achieve instant texture with couching stitch, carefully lay your chosen threads on the fabric surface, ensuring they follow a smooth, even path. Use small, even stitches to secure the thicker threads without distorting your fabric. Pay attention to thread tension to prevent puckering, and experiment with contrasting or textured threads for added dimension. For more expert techniques and tips to master this craft, keep exploring how to perfect your couching stitches.
Key Takeaways
- Use smooth, tightly woven fabrics like silk or linen for secure thread placement and easy couching.
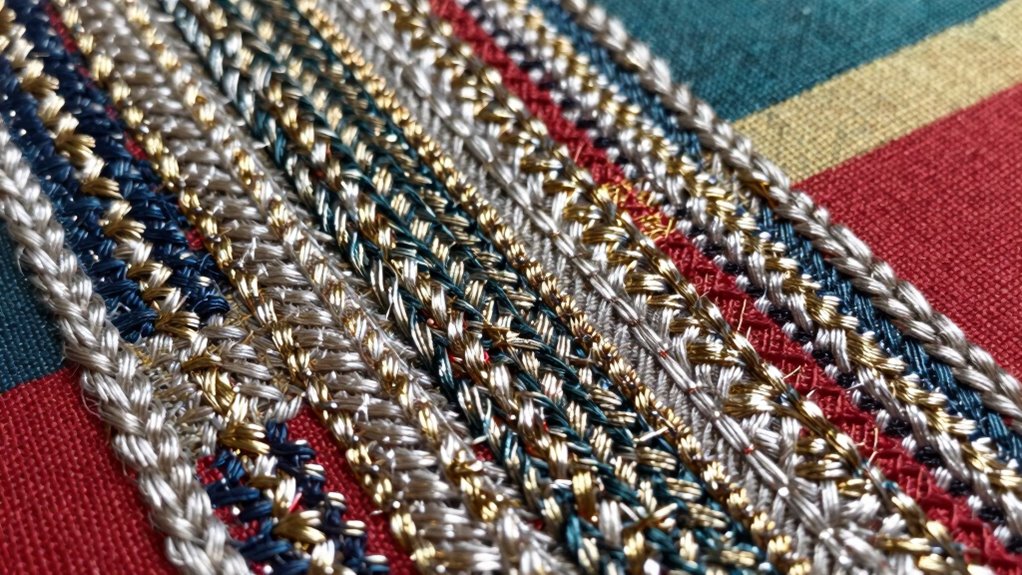
- Choose contrasting or metallic threads to enhance texture and create eye-catching effects.
- Maintain consistent thread tension to prevent puckering and ensure even, professional stitches.
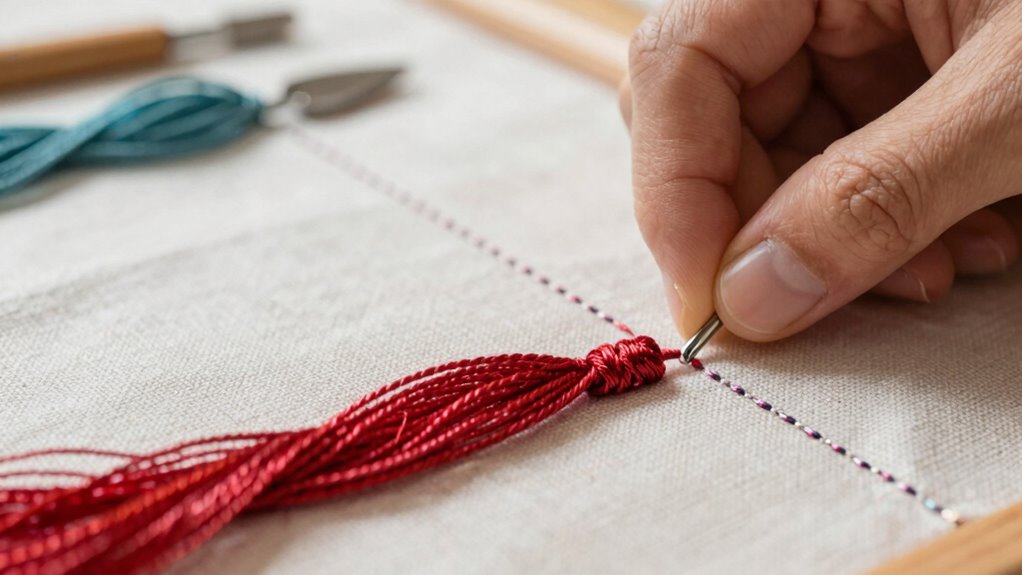
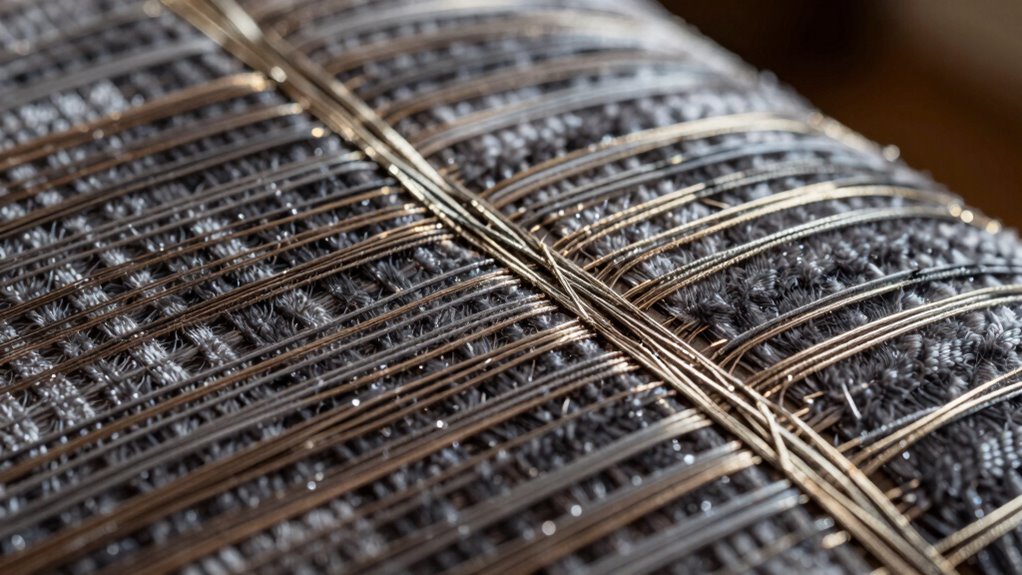
- Lay thicker or textured threads flat on the surface, securing with small stitches along the entire length.
- Plan your design with sketching and accurate markings to guide thread placement and achieve precise texture.
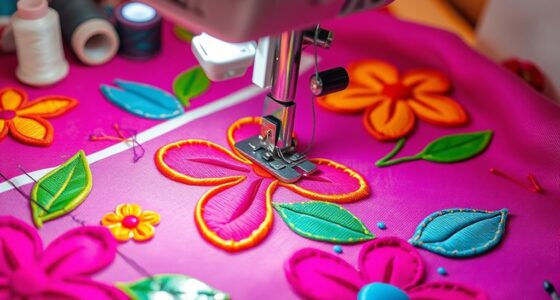
What Is Couching Stitch and Why Use It for Texture
Have you ever wondered how to create rich, textured designs in embroidery? Couching stitch has a fascinating history, dating back centuries when artisans used it to add elaborate details to textiles. It involves laying thicker threads or cords on the fabric’s surface and securing them with small stitches, creating raised, eye-catching textures. This technique is ideal for adding dimension without sewing directly through all layers, which helps preserve fabric durability. Additionally, the technique’s versatility makes it perfect for embellishing both traditional and contemporary projects. The method’s ability to incorporate a variety of materials expands creative options and textural richness in embroidery. Couching allows you to experiment with different textures and materials, giving your embroidery a luxurious, layered look. By understanding its history and benefits, you can access new creative possibilities in your embroidery work. Understanding the basics of stitch techniques can help you improve your overall embroidery skills. Exploring embroidery history reveals how traditional methods like couching have evolved to stay relevant in modern textile art. Incorporating innovative materials can further elevate your textured designs and bring new life to your embroidery projects.
Getting Your Fabric Ready for Couching

To get your fabric ready for couching, start by choosing a suitable material that can hold the stitches well. Next, make sure the surface is clean and smooth, so your design stays neat and even. Additionally, selecting a fabric with good color retention can help maintain the vibrancy of your stitches over time. Incorporating free floating techniques into your design planning can also provide more flexibility and ease during stitching. Utilizing AI-powered design tools can assist in creating more precise patterns before stitching. Paying attention to local craft traditions can inspire unique and authentic design elements. Ensuring proper ventilation considerations during your craft process can help prevent fabric damage and promote a comfortable workspace. Finally, mark your outline clearly to guide your stitching without any guesswork.
Selecting Suitable Fabric Types
Choosing the right fabric is essential for successful couching, as it provides the foundation for your design and affects how the stitches will hold. Look for fabrics with good fabric resilience to withstand the tension of the stitches without fraying or stretching. Natural fibers like linen or silk often offer excellent stability, but synthetic options can work if they’re sturdy. Additionally, ensure the fabric has high colorfastness so the dye won’t bleed or fade over time, especially if you plan to wash your piece. Smooth, tightly woven fabrics are ideal because they hold threads securely and make couching easier. Avoid loosely woven or delicate fabrics, which can distort under tension or damage easily. Selecting the right fabric sets the stage for a clean, professional-looking finished piece. Monitoring for fabric stability ensures your project remains durable and maintains its appearance over time, and paying attention to fiber content can further improve your results. Choosing fabrics with good tensile strength can help prevent puckering and ensure your stitches stay even throughout your project. For added durability, consider fabrics that are resistant to stretching, especially if your design involves complex or dense stitching. Being aware of the fabric’s woven structure can also influence how well the stitches will sit and stay in place over time.
Preparing the Surface Properly
Before starting to couch your design, it’s important to prepare the fabric surface properly to guarantee your stitches stay secure and look clean. Proper fabric preparation involves ensuring the surface is smooth and free of wrinkles or folds that could distort your stitches. Begin by gently pressing the fabric with an iron to achieve surface smoothing, which helps create an even base. If your fabric is textured or loose, consider stretching or stabilizing it with an appropriate backing. Incorporating sustainable pressing tools and techniques can also support eco-friendly practices while ensuring your fabric remains in good condition. Using proper fabric handling techniques can further help prevent distortion and ensure your stitches stay aligned. A well-prepared surface prevents puckering and uneven stitching, making your couching more precise. Take the time to inspect your fabric before stitching, addressing any imperfections. This step lays a strong foundation for your thread layout, ensuring your textured design looks professional and holds securely over time. Incorporating proper preparation techniques can significantly improve your stitching results and durability.
Marking the Design Outline
Have you ever wondered how to guarantee your design stays perfectly in place before you start couching? The key is in marking the design outline accurately. First, select fabric stabilization that keeps your fabric taut and prevents shifting. Next, choose your color selection carefully—use contrasting lines for visibility or subtle shades for delicate work. Consider using water-soluble or heat-erasable pens for precise lines that won’t interfere with your finished piece. Finally, gently transfer your design onto the fabric, ensuring the outline is clear and even. Proper marking creates a solid guide, making your couching stitches more precise and professional-looking. Remember, a clean, well-defined outline sets the foundation for stunning texture and flawless detailing.
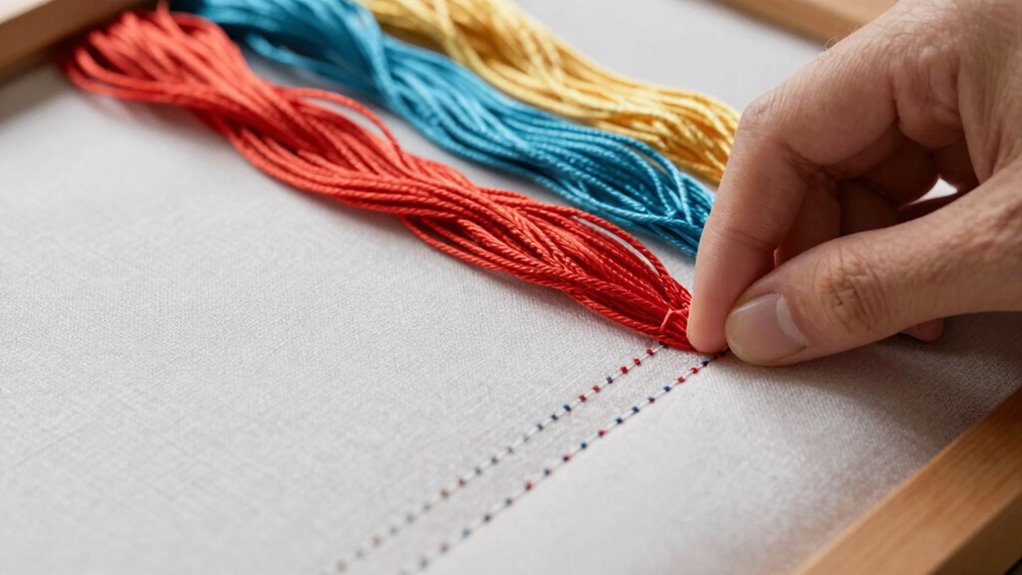
Choosing the Best Threads and Materials for Couching

Choosing the right threads and materials makes a big difference in your couching projects. You’ll want to take into account thread types and qualities to ensure your stitches are strong and smooth. Pay attention to material compatibility to prevent any issues down the line and achieve the best results. Incorporating high-quality tools can also enhance your overall sewing experience and outcomes. Selecting appropriate thread qualities can help prevent breakage and ensure durability in your finished piece. Additionally, understanding pool construction materials can guide you toward more durable and aesthetically pleasing finishes, while being aware of sound considerations can help you choose materials that minimize noise and vibration during the process. Being mindful of safety, health & sustainability practices when selecting your materials can contribute to a more environmentally friendly and safe crafting environment.
Thread Types and Qualities
Selecting the right thread for couching is vital to guarantee your stitches are secure and visually appealing. The thread’s type and quality influence the texture, durability, and overall look of your embroidery embellishments and fabric embellishment techniques. Using appropriate thread types can also prevent issues like unraveling or breaking during stitching. Consider these options:
- Silk threads for a luxurious, smooth finish.
- Cotton threads for versatility and ease of use.
- Metallic threads to add shimmer and eye-catching detail.
- Wool or felted yarns for a textured, tactile effect.
Choosing high-quality threads ensures your stitches stay intact and enhances the visual depth of your design. The right thread complements your fabric and technique, helping you achieve professional-looking embroidery embellishments with instant texture.
Material Compatibility Tips
To achieve strong and visually appealing couching stitches, matching your threads with the right materials is essential. Using compatible fabrics ensures your stitches hold and look cohesive. Consider fabric dyeing; if your fabric is dyed, choose thread colors that complement or blend seamlessly with the background. Thread color matching enhances the overall design, making stitches appear intentional rather than accidental. Some fabrics, like silk or velvet, require specialized threads to avoid damage. Use this table to guide your choices:
| Fabric Type | Recommended Thread Approach |
|---|---|
| Cotton/linen | Match thread color closely or blend |
| Satin/Velvet | Use contrasting or metallic threads |
| Dyed fabric | Opt for thread shades that match or fade |
| Light/neutral fabrics | Use transparent or neutral threads |
This ensures your couching results are durable and visually harmonious. Additionally, understanding material compatibility helps prevent damage and ensures your stitches remain secure over time.
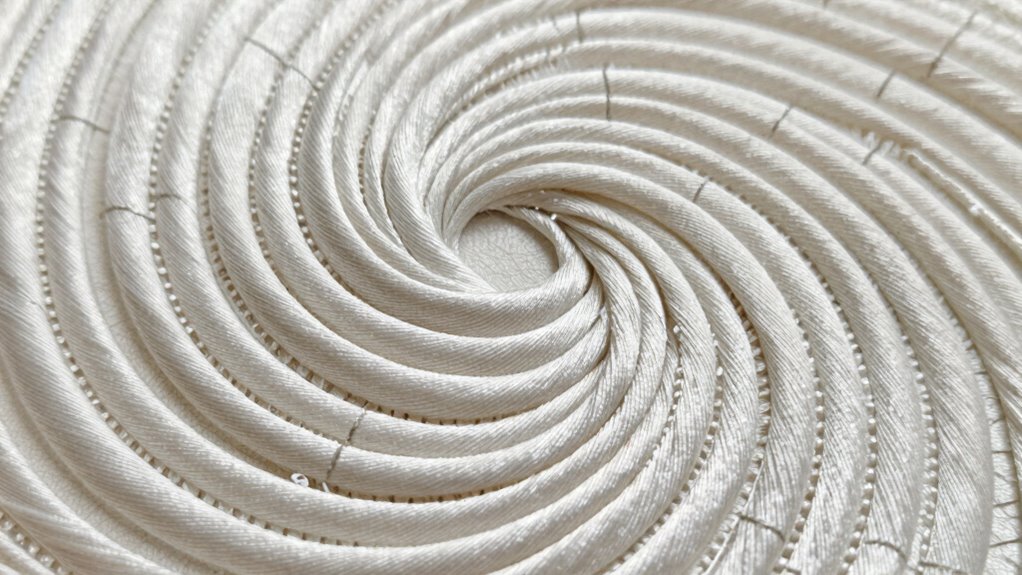
How to Secure and Lay Couching Threads Smoothly
Ensuring your couching threads stay secure and laid smoothly is essential for a polished finish. Proper thread tension helps prevent puckering and keeps the stitches even, while fabric stabilization minimizes shifting during sewing. To achieve this:
- Maintain consistent thread tension throughout to avoid uneven lines.
- Use a stabilizer or interfacing underneath delicate fabrics for firm support.
- Secure the starting and ending points with small knots or backstitches.
- Lay the thread flat, gently guiding it along the desired path without pulling tight.
Fixing Common Couching Problems and Mistakes

Even experienced crafters encounter common couching errors that can affect your project’s appearance. By recognizing these mistakes early, you can apply simple preventative tips to keep your stitches even and secure. Let’s explore how to fix these issues and avoid them in future work.
Common Couching Errors
Couching can be tricky, and mistakes often happen when you least expect them. These errors can affect your embroidery embellishments and fabric manipulation, making your design look uneven or cluttered. To avoid common pitfalls, watch out for:
- Tension issues that cause stitches to pucker or pull unevenly
- Incorrect thread placement, leading to loose or skipped stitches
- Using too few stitches, which compromises hold and durability
- Overlapping threads, creating a cluttered appearance and reducing texture clarity
Preventative Stitching Tips
To prevent common couching mistakes before they occur, it’s essential to follow some straightforward stitching tips. Start by ensuring your fabric is well stabilized; use a stabilizer or hooped fabric to minimize shifting. Proper fabric stabilization keeps your threads from puckering or skipping stitches. Next, pay close attention to thread tension. Too tight, and the thread may snap or cause puckering; too loose, and it won’t hold the design securely. Adjust your tension accordingly before starting your project. Consistent tension and stabilized fabric help produce even, clean stitches, reducing the risk of mistakes. Regularly check your tension and fabric setup as you work. These simple steps keep your couching neat, professional-looking, and free of common issues.
Designing and Creating Intricate Couching Patterns
Designing and creating intricate couching patterns requires careful planning and a steady hand. To craft stunning embroidery embellishments, you’ll want to consider how your threads will interact with the fabric manipulation techniques. Here are four key steps to elevate your design:
Craft intricate couching patterns with careful planning and creative thread choices to elevate your embroidery designs.
- Sketch your pattern first, visualizing how the threads will flow and connect.
- Choose contrasting or complementary threads to enhance visual interest.
- Plan your couching stitches to follow the natural contours of the fabric.
- Experiment with different thread thicknesses and textures to add depth.
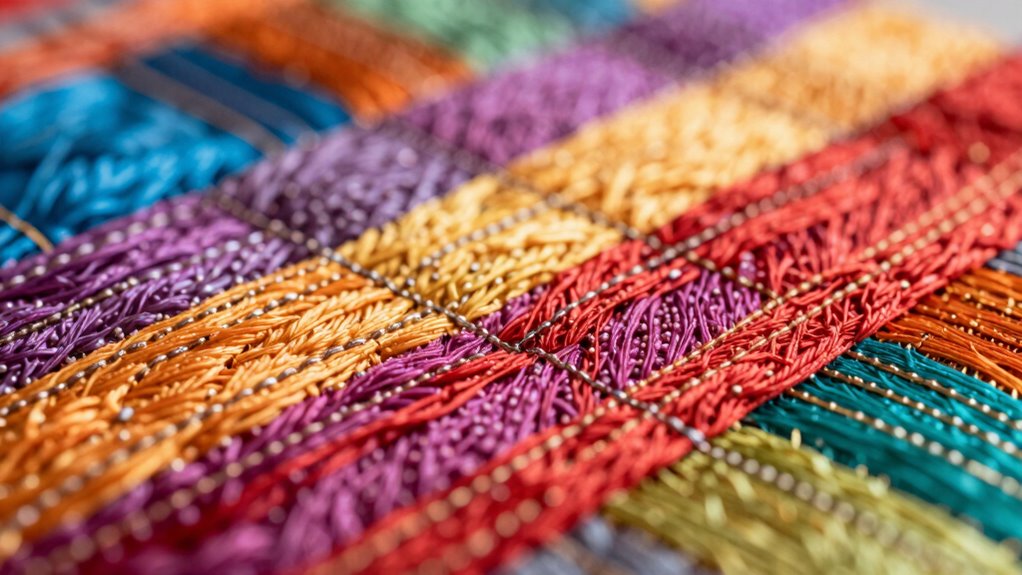
Techniques for Varying Texture and Adding Depth

Varying texture and adding depth to your couching patterns can transform flat embroidery into dynamic works of art. You can achieve this through layering techniques, where overlapping threads create rich, tactile surfaces. Experiment with different thread thicknesses and directions to introduce variety. Color blending also enhances depth by gradually shifting hues, making your design more vibrant and complex. Use contrasting or tonal shades to emphasize layers and textures. Incorporate these strategies into your stitching to make your embroidery stand out. Here’s an example of layering techniques and color blending:
| Technique | Effect |
|---|---|
| Overlapping threads | Creates a textured, multi-dimensional look |
| Varying thread thickness | Adds visual interest and depth |
| Gradual color blending | Soft transition, enhances depth |
| Directional stitching | Builds layers and shadows |
| Layer stacking | Increases complexity and richness |
Finishing Your Embroidery: Securing and Cleaning
Once you’ve completed your embroidery, securing your stitches and cleaning your work are essential steps to guarantee longevity and a polished appearance. To assure your threads stay in place, gently knot or use small stitches at the back, especially around areas with high fabric tension. Remove your embroidery from the hoop carefully, making sure the fabric remains taut but not overstressed. Properly securing threads prevents unraveling over time.
Here are four key tips:
- Use a fine needle for securing loose threads.
- Trim excess thread neatly without cutting into stitches.
- Gently wash your embroidery with mild soap to remove dust.
- Iron from the back with a pressing cloth to avoid flattening texture.
Maintaining fabric tension during your finishing process helps preserve the design’s texture and shape.
Inspiring Projects to Practice Couching Stitch
If you’re looking to build your confidence with couching stitch, starting with simple, inspiring projects can make all the difference. Try adding embroidery embellishments to a plain fabric, using couching to create textured lines or shapes. Experiment with fabric manipulation by layering different textiles and securing them with couching stitches to add depth. For example, embellish a tote bag or a cushion cover with bold, textured accents that highlight your stitch technique. These projects allow you to practice laying threads evenly while exploring creative ways to enhance fabric surfaces. By focusing on straightforward designs, you’ll develop your control, gain confidence, and discover how couching can transform ordinary fabric into eye-catching art.
Expert Tips for Flawless Couching and Texture Effects
Achieving flawless couching and compelling texture effects requires attention to detail and proper technique. To enhance your embroidery embellishments and textile decoration, follow these expert tips:
- Choose the right thread tension to avoid puckering and ensure smooth, even stitches.
- Use contrasting thread colors strategically to add depth and highlight texture effects.
- Secure your threads properly at the start and end to prevent unraveling during handling.
- Vary stitch length and direction to create dynamic textures that elevate your design.
Mastering these techniques helps you achieve professional-looking results, making your textile decoration stand out. Whether you’re embellishing garments or creating intricate art pieces, careful stitching and thoughtful thread placement make all the difference for flawless couching and striking texture effects.
Frequently Asked Questions
How Do I Choose the Right Needle Size for Couching?
To choose the right needle size for couching, consider needle compatibility with your thread and fabric. A thinner needle, like a size 70/10, works well for delicate fabrics and fine threads, providing easy fabric penetration without damage. For thicker fabrics or heavier threads, opt for a larger needle, such as size 90/14, ensuring smooth fabric penetration and secure stitches. Always test on a scrap piece to find the perfect match.
Can Couching Be Used on All Fabric Types?
Yes, you can use couching on most fabric types, but fabric compatibility varies. It works well on sturdy, tightly woven textiles for decorative applications, adding texture and visual interest. For delicate fabrics like silk or chiffon, use a finer needle and lighter threads to prevent damage. Always test a small section first to guarantee the fabric holds up well and the stitches stay secure in your chosen decorative application.
What Are Alternative Materials to Traditional Threads for Couching?
Think of your couching as a painter’s brush—there are many colors beyond traditional threads. You can use yarns, metallic foils, or even thin strips of fabric for embellishment techniques. Textile art innovations open up endless possibilities, allowing you to experiment with fibers like silk ribbon, metallic threads, or embroidery floss. These materials add unique textures and dimension, transforming your work into a true masterpiece of creative expression.
How Do I Create Symmetrical or Geometric Patterns With Couching?
To create symmetrical or geometric patterns with couching, start by drawing a geometric grid or symmetrical design on your fabric as a guide. Lay your threads along these lines, ensuring they follow the pattern precisely. Use small, evenly spaced stitches to secure each thread, maintaining consistent tension. This approach helps you achieve clean, precise geometric or symmetrical designs that enhance your textured couching work.
What Tools Can Help Achieve Even Tension in Couching Stitches?
To achieve even tension in couching stitches, use tools like alignment guides to keep your threads straight and consistent. Adjust your thread tension by gently pulling or loosening as needed while stitching, ensuring uniformity. Using a hoop or frame can also help maintain even tension across your fabric. These tools and techniques help you create smooth, professional-looking textures with perfectly aligned stitches every time.
Conclusion
Mastering couching stitch is like painting with thread, allowing you to craft stunning textures and depth in your embroidery. With patience and practice, you’ll lay threads smoothly and confidently, transforming simple fabrics into tactile works of art. Keep experimenting and refining your technique—soon, your stitches will flow effortlessly, creating intricate designs that stand out. Think of each project as a new canvas, waiting for your unique threadwork to bring it to life.