To make strong, professional patches, focus on neat borders like zigzag or laser-cut edges to prevent fraying. Choose durable fabrics such as denim or canvas, and select appropriate backing like fusible tape or stiffeners for stability. Use even, tight stitches—satin or overlock—to secure edges and improve longevity. Paying attention to detail and practicing your technique will help you create clean, durable patches. Keep exploring these techniques to master patch-making from start to finish.

Get tools and workshop supplies delivered free — and shop member deals
- Fast, free delivery on millions of items
- Access to Prime Big Deal Days deals on October 6–7
- Prime Video, Amazon Music and more included
Key Takeaways
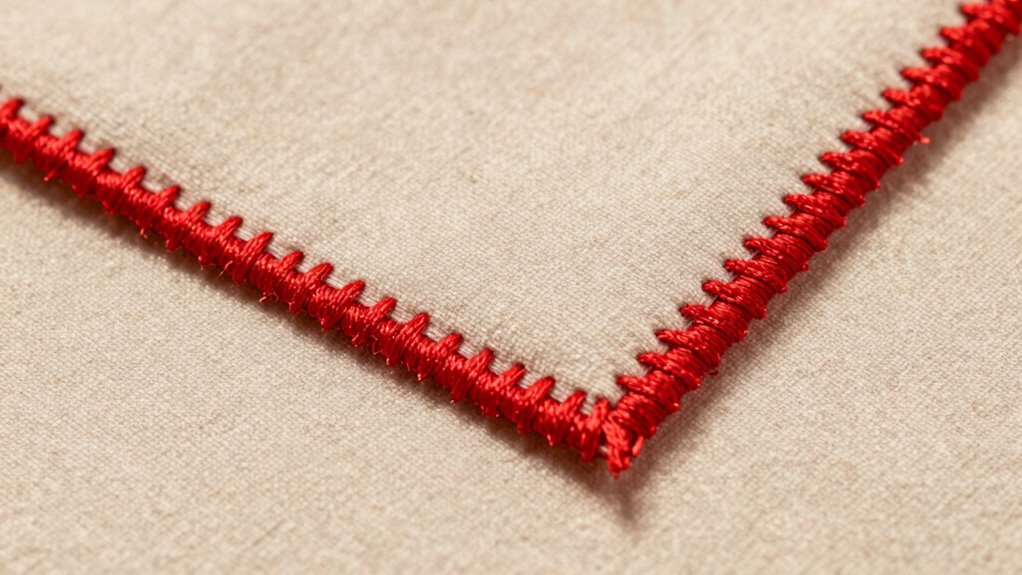
- Choose appropriate borders like zigzag or merrowed edges to prevent fraying and enhance appearance.
- Select durable fabrics such as denim or canvas suitable for the patch’s purpose and sewing ease.
- Use stable backings like fusible tape or iron-on adhesive to support attachment and maintain shape.
- Ensure even, tight stitching—such as satin or overlock stitches—for secure, professional-looking edges.
- Practice and test different techniques to improve craftsmanship, resulting in durable, polished patches.
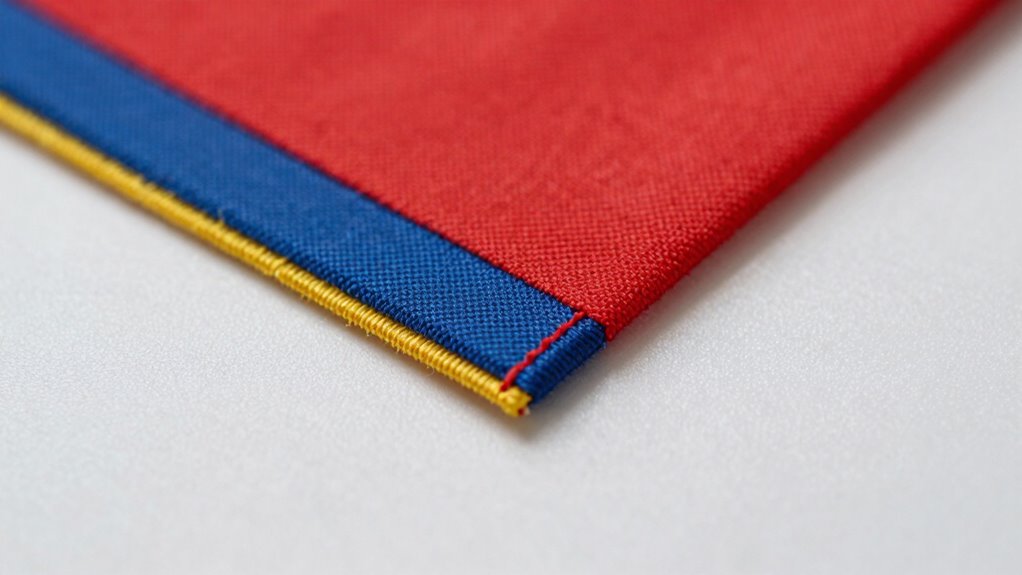
Making your own patches can be a rewarding way to personalize clothing or accessories, but it helps to start with the basics. One of the first considerations is understanding how to create clean, professional-looking borders, which can dramatically improve the overall finish. Borders serve both aesthetic and functional purposes, helping to define the patch’s shape while preventing fraying. You might opt for a simple zigzag stitch or a merrowed edge, depending on the look you want and your skill level. When working with embroidery techniques, choosing the right fabric selection is essential. Durable fabrics like canvas, denim, or twill are popular choices because they hold up well over time and provide a stable surface for embroidery. The fabric you select influences not only the durability of your patch but also how easy it is to sew and how the finished design appears. Fabric selection is a key factor that impacts both the appearance and longevity of your patch. Additionally, considering the fabric’s weave and weight can influence how well it responds to different edging and finishing techniques. Understanding how fabric properties affect sewing and finishing can help you achieve a more polished look. It’s also helpful to learn about different types of stitches and how they can be used to secure your edges effectively. Using the appropriate stitch techniques can make a significant difference in the durability and professional appearance of your finished patch.
Once you’ve picked the fabric, you can focus on the backing options. Backings give your patch stability and help it stay attached once sewn onto clothing or accessories. Fusible backing tapes or iron-on adhesives are common choices because they make the process easier and provide a clean, flat finish. For a more professional look, consider using a heat-seal backing or even a fabric stiffener that maintains the patch’s shape. When working on the edges, you’ll want to guarantee your stitches are even and tight, which requires some practice with embroidery techniques. A dense satin stitch or overlock stitch can help secure the edges, preventing fraying and giving your patch a finished look. If you’re aiming for a clean edge with no visible stitches, you might explore applique techniques or laser-cut patches that offer precision and sharp borders. Learning about edge finishing techniques can significantly enhance the durability and appearance of your patches. Moreover, testing different backing and border combinations on scrap fabric can help you identify the most suitable options for your project.
Throughout your patch-making process, attention to detail is key. Keep your fabric selection in mind because it impacts how well your embroidery techniques will work and how sturdy your patch will be. Take the time to test different backings and borders to find what works best for your project. Practice makes perfect, especially when aiming for clean edges that won’t unravel over time. With patience and proper technique, you’ll develop a keen eye for border finishing, backing choices, and overall craftsmanship. The result will be a custom patch that not only looks great but also lasts, adding a personal touch to your wardrobe or accessories.
As an affiliate, we earn on qualifying purchases.
Frequently Asked Questions
What Tools Are Essential for Patch-Making?
You’ll need essential tools like embroidery hoops, needles, and sharp scissors for patch-making. These tools help you master embroidery techniques and guarantee neat stitches. Use fabric selection tips to choose sturdy, washable fabrics that hold up well. A sewing machine or hand needle, along with fusible web or adhesive backing, makes attaching patches easier. Keep your workspace organized, and you’ll create professional-looking patches with clean edges and durable borders.
How Do I Choose the Right Fabric for Patches?
Ever wonder what fabric makes your patch stand out? You should pick a fabric with good durability to withstand wear and tear, ensuring longevity. Consider color matching carefully—your patch should blend seamlessly or pop, depending on your goal. Think about where you’ll use the patch; if it’s for clothing, choose a fabric that matches the garment’s fabric for a cohesive look. Always test a small piece first!
Can Patches Be Made Waterproof?
Yes, patches can be made waterproof by using waterproof materials like rubber or coated fabrics. To guarantee they stay sealed, you should apply sealing techniques such as heat sealing or using waterproof adhesives. These methods prevent water from penetrating the patch, making it suitable for outdoor gear or items exposed to moisture. Just make sure to choose the right waterproof materials and seal them properly for the best results.
How Do I Repair a Torn Patch?
Think of your torn patch as a story needing healing. To repair it, start by cleaning the torn area thoroughly. Use fabric adhesive for a quick fix or employ sewing techniques like zigzag stitches or hand stitching for durability. Apply adhesive carefully to avoid mess, then reinforce with stitches if needed. Both methods restore your patch’s strength and appearance, ensuring it’s ready for more adventures.
What Are Common Mistakes to Avoid?
To avoid common mistakes, you should regularly maintain your sewing machine to guarantee smooth stitching, preventing puckering or uneven edges. When selecting thread and fabric, use proper color matching techniques to blend patches seamlessly. Also, double-check your tension settings and stitch length before starting. Avoid rushing through the process, as it can lead to sloppy borders or uneven clean edges. Patience and attention to detail make your patch look professional and durable.
Conclusion
Now that you know the essentials—borders, backings, and clean edges—you’re ready to craft patches that stand out. Think of each stitch as a heartbeat, every detail a brushstroke on your masterpiece. With patience and practice, your patches will tell stories as vibrant as your imagination. So, grab your materials, embrace the process, and let your creativity patchwork its way into something truly unique. The world’s waiting to see what you’ll create next.
Fall yard work Picks
leaf blowers
As an affiliate, we earn on qualifying purchases.