
When embroidering on finished garments, choose stable fabrics like cotton or linen and use a hoop to keep the fabric taut. Prepare your tools—sharp needles, colorful threads, and stabilizers—to prevent puckering. Secure the garment with pins or clips, and sketch your design beforehand. Use small, even stitches and maintain proper tension. Handling your project carefully will guarantee your embroidery looks professional and lasts. For more detailed tips, keep exploring how to achieve stunning embellishments.
Key Takeaways
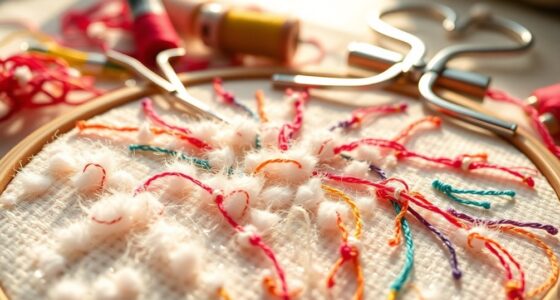
- Use stabilizers behind the fabric to prevent puckering and support embroidery on finished garments.
- Choose simple, small designs to avoid overwhelming the fabric and ensure easier stitching.
- Secure the garment with clips or pins to keep it steady during embroidery.
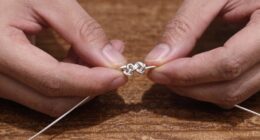
- Select sharp needles and maintain proper tension for clean, even stitches.
- Handle the finished embroidery carefully and avoid washing immediately to preserve the design.

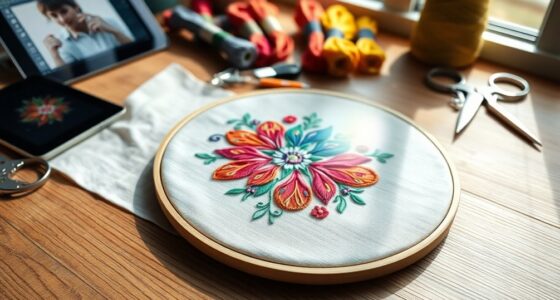
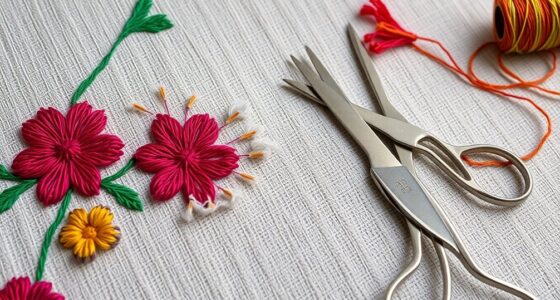
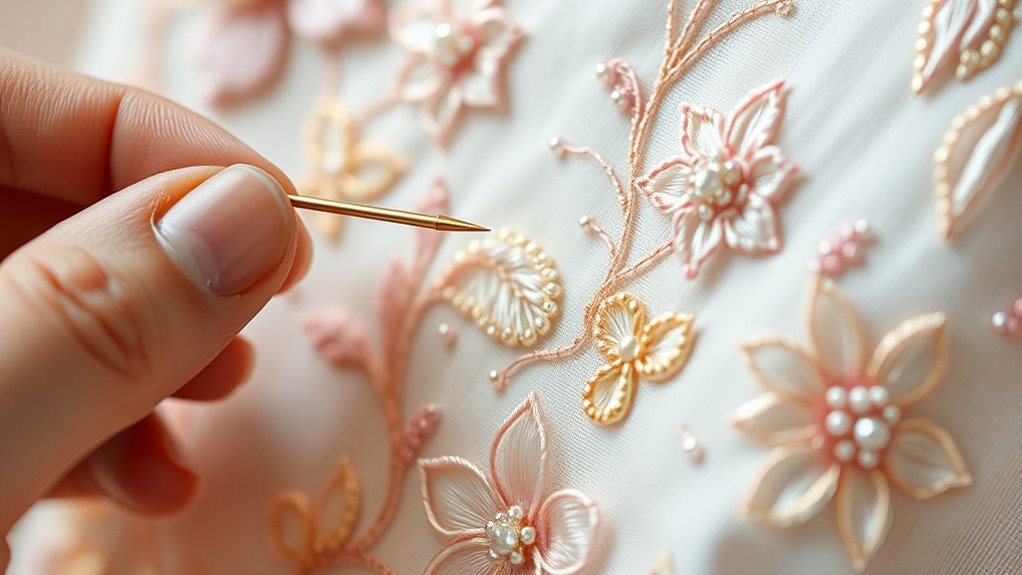
Embroidery is a timeless way to add personality and uniqueness to your clothing, transforming simple fabrics into stunning pieces. When you’re ready to embellish finished garments, the first step is choosing the right fabric. You want a fabric that can handle the embroidery without puckering or stretching excessively. Cotton, linen, and denim are excellent options because they provide a sturdy base that’s easy to work with. Avoid stretchy or delicate fabrics, as they can be difficult to stitch on and may not hold your design well over time. Once you’ve selected your fabric, it’s essential to gather the proper embroidery tools. Sharp embroidery needles are a must; they glide through fabric smoothly and prevent damage. A selection of embroidery threads in various colors will give you the flexibility to create intricate or bold designs. Additionally, having a hoop or frame helps keep the fabric taut, ensuring even stitches and reducing puckering. Be sure to use embroidery scissors for precise cuts, and keep a water-soluble marker or chalk on hand to sketch your design onto the fabric before stitching. Using a stabilizer can improve the quality of your embroidery, especially on finished garments with delicate or stretchy fabrics.
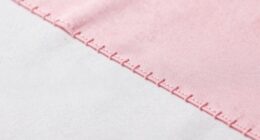
When you start stitching on finished garments, it’s important to prepare the fabric surface carefully. Lay the garment flat on a clean, stable surface and secure it with clips or pins to prevent shifting. If the fabric is delicate or prone to slipping, consider placing a layer of stabilizer behind the area you plan to embroider. This extra support helps maintain the shape and prevents puckering or distortion. Before you begin, trace or draw your design onto the fabric, keeping it simple if you’re new to embroidery. Small, detailed designs work better on finished clothing, especially if you want to avoid overwhelming the garment’s existing features. When stitching, use small, even stitches for a professional look, and pay attention to tension to prevent puckering. Take your time, and don’t rush. Embroidery on finished clothes takes patience, but the results are worth it.
Throughout the process, keep your tools clean and organized. Re-thread your needle when needed to maintain consistency, and periodically check your stitches for evenness. Remember, embroidery is about creativity and precision—it’s okay to experiment with different stitches and color combinations. With the right fabric choice and embroidery tools, along with careful preparation, you’ll be able to transform any finished garment into a personalized, eye-catching piece that reflects your style.
Frequently Asked Questions
Can Embroidery Be Done on Waterproof or Water-Resistant Fabrics?
Yes, you can do embroidery on waterproof or water-resistant fabrics. Before starting, make certain you use appropriate fabric treatment and waterproofing techniques to prevent damage. Test your embroidery stitches on a small, inconspicuous area first. Use sharp needles and stable stabilizers to avoid puckering. Keep in mind that heavy embroidery might affect water resistance, so choose lighter stitches or designs to maintain the fabric’s protective qualities.
How Do I Prevent Puckering When Stitching on Delicate Fabrics?
Oh, puckering on delicate fabrics? It’s a delightful surprise, right? To prevent it, you should stabilize the fabric with proper fabric stabilization techniques, like using a tear-away or cut-away backing. Also, don’t forget to adjust your tension—too tight, and puckering appears; too loose, and stitches look messy. Experiment with tension adjustment on scrap fabric first, and you’ll find the sweet spot for smooth, beautiful embroidery every time.
What Are the Best Embroidery Stitches for Stretchy Garments?
For stretchy garments, use a stretch stitch or zigzag stitch to guarantee flexibility and prevent puckering. The stretch stitch is ideal because it allows the embroidery to stretch with the fabric, maintaining durability. Alternatively, a zigzag stitch provides a flexible seam that accommodates movement. Always test your stitches on scrap fabric first, and adjust the tension and stitch length to achieve smooth, professional results.
How Do I Remove Embroidery Stitches if I Make a Mistake?
If you make a mistake, you can remove embroidery stitches easily. Gently use a seam ripper or small scissors to carefully cut and lift the stitches, avoiding damage to the fabric. Take your time to correct errors neatly, ensuring no leftover threads remain. Removing stitches allows you to redo your embroidery accurately, helping you achieve a polished look. Always work patiently to prevent any unintended damage to the garment.
Is It Possible to Add Embroidery to Existing Embroidered Garments?
Think of your garment as a canvas, waiting for new stories. Yes, you can add embroidery to existing embroidered garments for embroidery repair or adding embellishments. Carefully choose contrasting or complementary threads, and use fine needles to weave your new designs seamlessly. This process allows you to breathe new life into your clothing, transforming imperfections into unique features that reflect your creative spirit and make your outfit truly one-of-a-kind.
Conclusion
Now that you’ve learned the art of embellishing with embroidery, think of your finished garments as blank canvases awaiting your personal touch. Like a skilled painter adds depth with every brushstroke, your stitches breathe life and personality into your clothing. So, embrace each thread as a whisper of your creativity, turning simple fabric into a tapestry of stories. With patience and passion, your embroidered masterpieces will shine like stars in a night sky—unique, beautiful, and truly yours.