To finish your embroidery hoop without felt, start by trimming excess fabric to about 1-2 inches. Sew a loose running stitch around the edge and pull it tight to gather the fabric. Apply fabric glue along the inner hoop edge and press the fabric into place. You can enhance the look by wrapping the outer hoop with ribbon or using cardboard for a neat back cover. Stick around, and you'll discover even more tips for a polished finish!
Key Takeaways
- Trim excess fabric around the hoop, leaving 1-2 inches for gathering and securing the edges neatly.
- Sew a loose running stitch around the fabric edge and pull the thread tight to gather it for a clean finish.
- Apply fabric glue along the inner edge of the hoop to firmly secure the gathered fabric in place.
- Enhance the appearance by wrapping the outer hoop with ribbon or adding decorative elements to cover raw edges.
- Ensure all glue is dry before displaying your finished piece and regularly check for maintenance and care.

Caydo 6 Pieces Embroidery Hoops 3 Inch to 10 Inch Cross Stitch Hoop Small Embroidery Hoop with 16 Pieces Needles for Embroidery, Punch Needle, Craft Sewing and Ornaments
- Variety of Embroidery Hoop Sizes: Six sizes from 3.6 to 10.7 inches
- Includes 16 Needles: Three different needle sizes included
- Durable Plastic Material: Made of lightweight, resistant PP plastic
As an affiliate, we earn on qualifying purchases.
As an affiliate, we earn on qualifying purchases.
Understanding the Importance of Finishing an Embroidery Hoop
When you finish an embroidery hoop, you're not just wrapping up a craft project; you're protecting your hard work and ensuring it lasts. Proper finishing techniques are essential for maintaining the structural integrity of your embroidery project.
Using backing fabric helps cover the back of your work, creating a neat back appearance that enhances its overall presentation. This not only hides knots and threads but also prevents fraying and loosening over time.
Plus, effective finishing allows you to personalize your piece by providing space for your name, date, or special messages.
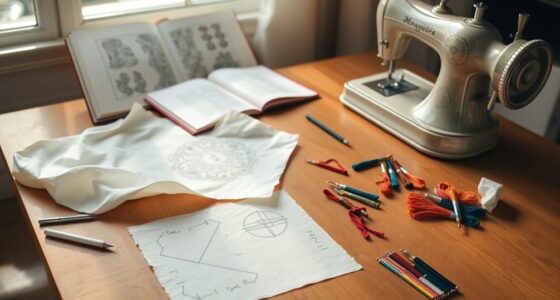
Essential Materials for Finishing Without Felt
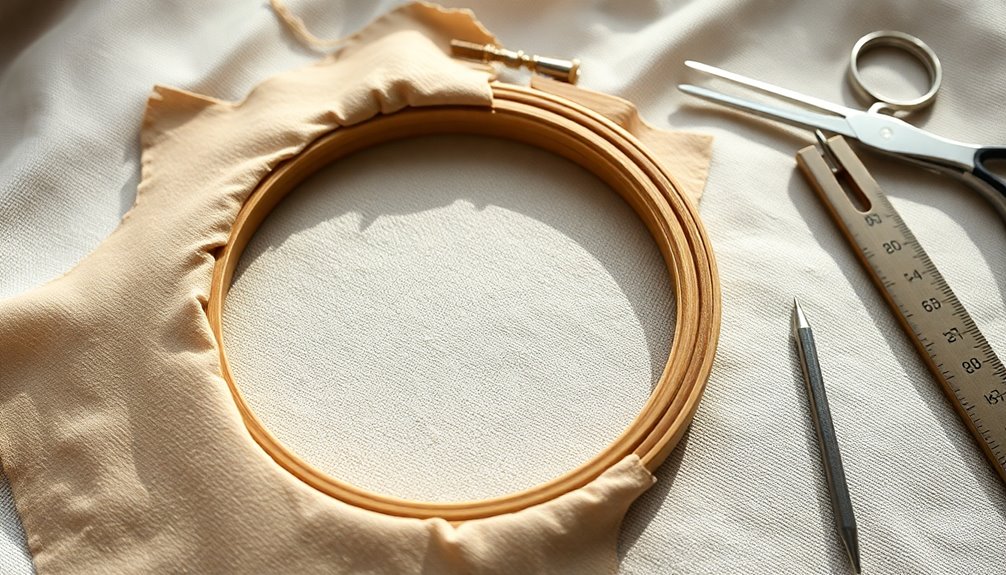
To finish your embroidery hoop without using felt, you'll need a few essential materials on hand.
Gather your finished embroidery piece, fabric glue, scissors, and a large needle for any necessary stitching.
With the right tools and a clear step-by-step process, you can achieve a polished look for your artwork.
Required Tools and Supplies
Although finishing your embroidery hoop may seem straightforward, having the right tools and supplies is essential for achieving a polished look without using felt. Here's a quick list of what you'll need:
| Tool/Supply | Purpose |
|---|---|
| Embroidery Hoops | Securely hold the fabric |
| Fabric Glue | Adhere fabric to the hoop |
| Scissors | Trim excess fabric for a clean edge |
| Embroidery Needle | Stitch layers together using a running stitch |
Make sure to have a size 22 embroidery needle handy, as it works well with thicker threads. A marker or pen can help you mark cutting lines, ensuring precision. Gather these supplies, and you're ready to finish your hoop!
Alternative Materials Options
If you're looking to finish your embroidery hoop without the use of felt, there are several alternative materials you can utilize.
Cardboard makes for a sturdy backing material that you can cut to fit the size of your hoop, providing durability.
Consider using decorative paper or fabric, ensuring it's slightly larger than the hoop to cover edges and hide any knots.
You might also explore lightweight materials like scrapbook paper or canvas for a unique and customizable finish.
A simple application of fabric glue will secure your backing; just press down firmly for a smooth look.
Additionally, adding ribbon or bias tape around the hoop's edge can enhance decoration while covering raw fabric edges for a polished appearance.
Step-by-Step Process
Finishing your embroidery hoop requires just a few essential materials, making the process straightforward and enjoyable. First, gather the fabric, an embroidery hoop, scissors, sewing thread, and a large needle.
Here's a quick overview of the steps:
| Step | Action | Notes |
|---|---|---|
| 1. Trim the Fabric | Cut excess fabric around | Leave 1-2 inches |
| 2. Running Stitch | Sew a loose stitch around | Pull tight to gather |
| 3. Apply Glue | Glue along the inner edge | Secure the gathered fabric |
Once you've gathered the fabric around the hoop and finished your embroidery, you can enhance the look by wrapping the outer hoop with ribbon or adding embellishments for a polished final touch!
Preparing Your Embroidery Hoop for Finishing

To achieve a polished final product, start by guaranteeing your embroidered fabric is pressed and free of wrinkles, creating a smooth surface for finishing.
Place the inner hoop on a flat surface and center your finished embroidery over it, aligning the design perfectly.
Carefully position the outer hoop over the fabric, pressing down to secure it, and tighten the top tension screw to keep the fabric taut.
Trim any excess fabric around the hoop, leaving approximately 1-2 inches for your finishing method.
Before securing it in the hoop, remove any pattern tracing marks and clean the embroidery as necessary.
This preparation guarantees your embroidery will look beautiful and professional when you complete the finish.
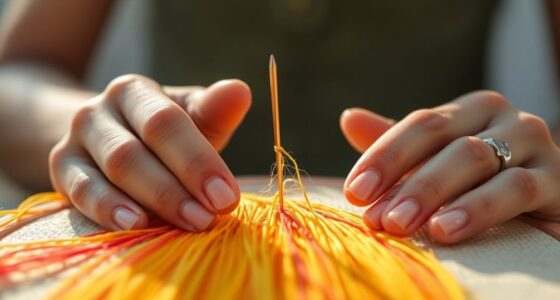
Step-By-Step Guide to Gathering Fabric With Running Stitch

Gathering fabric with a running stitch is a straightforward technique that can elevate your embroidery finish.
Start by trimming the excess fabric to about 1-2 inches from the edge of the embroidery hoop. Next, use a needle and thread to sew a loose running stitch around the outer edge of the remaining fabric, ensuring your stitches are evenly spaced.
Once you've completed the running stitch, gently pull the thread to gather the fabric toward the center of the hoop, creating a snug fit. Finally, secure the gathered fabric by tying off the thread with a knot or stitching a few secure stitches to keep it in place.
This method provides a neat back appearance for your embroidery piece, perfect for beginners.
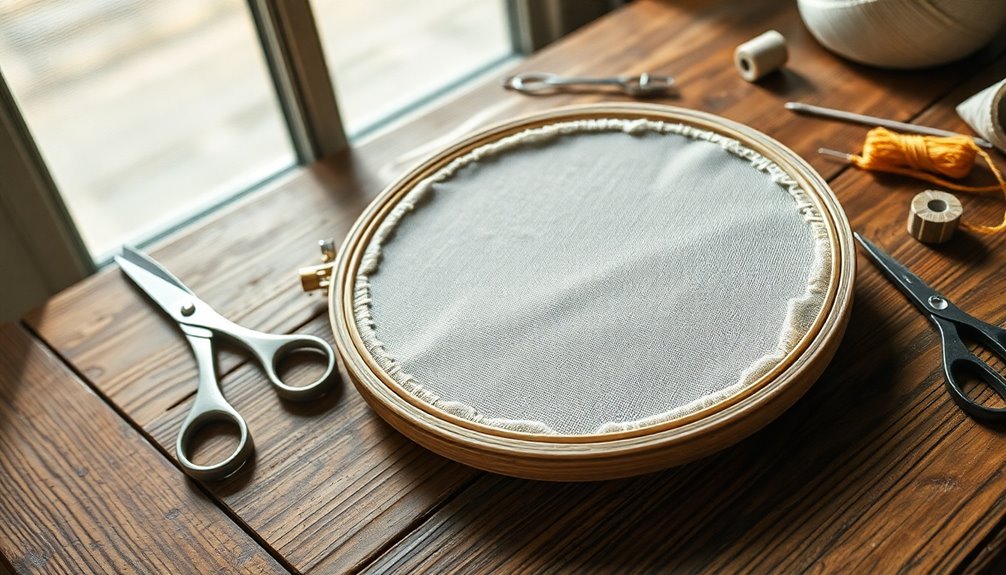
Creating a Cardboard Cover for a Neat Finish
Creating a polished look for your embroidery project is as simple as adding a cardboard cover. Start by cutting a cardboard circle slightly larger than the outer diameter of your hoop. This guarantees a precise fit to cover the back of the hoop effectively.
- Secure your finished embroidery inside the hoop, making sure the fabric is taut.
- Gather any excess fabric around the back with a running stitch.
- Glue a piece of felt to the cardboard for added protection and a better finish.
- Once the glue has dried, place the cardboard cover on top to secure everything in place.
This method not only enhances the appearance but also protects your embroidery, giving it a professional touch.
Using Fabric Glue for a Quick and Easy Finish
When you're ready to finish your embroidery hoop, fabric glue can make the process quick and simple.
You'll need a few supplies and a clear step-by-step application to get a neat finish.
Let's explore how to use fabric glue effectively for a polished look!
Supplies Needed List
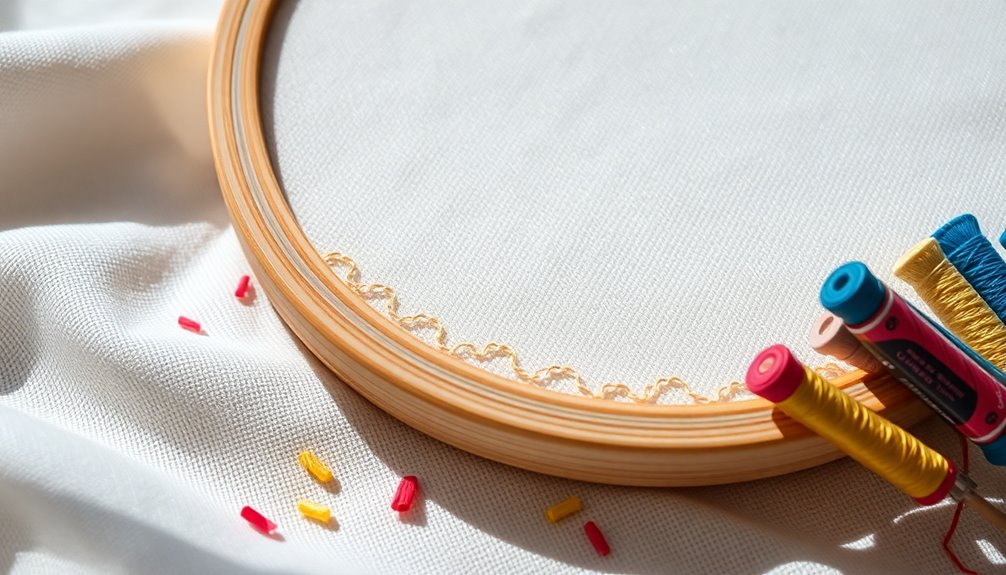
To finish your embroidery hoop quickly and easily, you'll need a few essential supplies. Gather these items to guarantee a smooth process:
- Fabric glue
- Scissors
- Your finished embroidery piece
- Ribbon for decoration (optional)
Start by trimming the excess fabric edge to about ½ to ¾ inch beyond the hoop's edge. This makes it easier to tuck the fabric into the inner ring.
Apply a generous amount of fabric glue along the inner edge of the hoop, covering the area where the fabric will be pressed down. Carefully tuck the trimmed fabric into the glued area, securing it flat against the hoop.
Allow the glue to dry completely before displaying your beautiful finished embroidery piece for a neat and polished look.
Step-by-Step Application
Finishing your embroidery hoop is a straightforward process that can be done in just a few simple steps.
First, place your finished embroidery inside the hoop, ensuring it's taut. Flip the hoop over to the back and draw a line about ½ to 1 inch from the inner edge of the hoop as a guideline for trimming excess fabric.
Next, generously apply fabric glue along this line, making sure to cover it evenly for a secure bond. Once the glue dries, cut the fabric along the line, achieving a clean edge for a neat finish.
For an extra polished look, you can add decorative elements like ribbon around the inner edge of the hoop after securing the fabric.
Tips for Neat Finish
Achieving a neat finish with fabric glue can elevate your embroidery project. To get the best results, follow these tips:
- Make certain your embroidery is securely hooped and gather any excess fabric.
- Cut slits in the fabric around the hoop for clean folding, preventing bulges.
- Apply glue along the inner edge of the hoop using a hot glue gun or fabric glue, pressing firmly to secure it.
- Trim any excess fabric for a flush display and remove glue strings for a polished finish.
Allow the glue to dry completely before showcasing your piece.
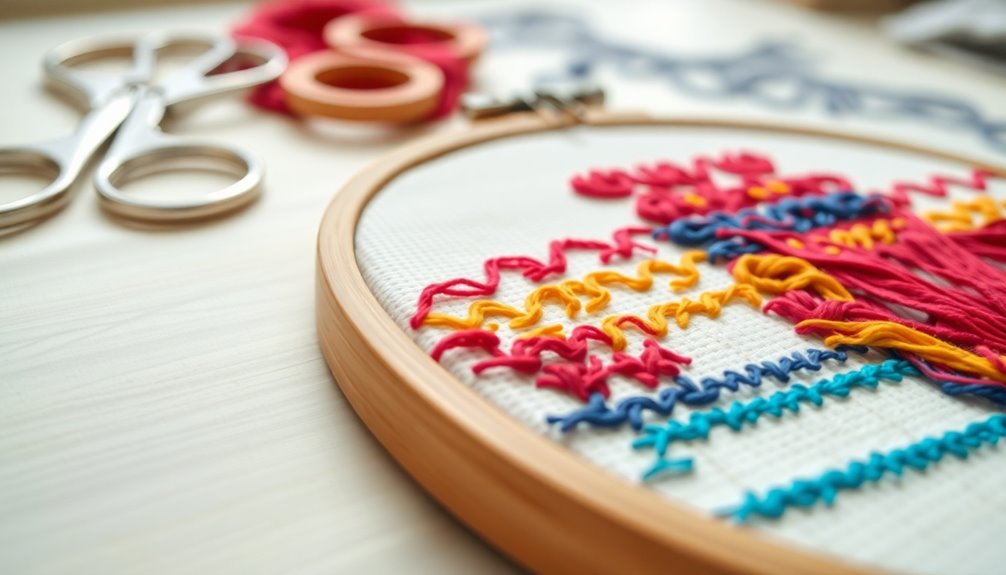
Tips for Achieving a Professional Look in Your Embroidery Hoop
While it might seem straightforward, finishing your embroidery hoop with a professional touch requires attention to detail and a few key techniques. To achieve a polished look, make sure to trim any excess fabric carefully and secure the edges with a neat stitch. If you’re unsure about how to embroider a circle, remember that practicing your technique on scrap fabric can be incredibly helpful. Moreover, experimenting with various stitches can enhance the overall design, giving your finished piece a unique character that reflects your personal style.
First, make sure the fabric is securely tightened in the hoop to prevent sagging. Use a running stitch to gather any excess fabric at the back, which hides raw edges and creates a tidy finish.
Trim the fabric to about 1-2 inches beyond the hoop edge, and consider pinking shears to prevent fraying. If you prefer a no-sew option, apply fabric glue along the inner edge of the hoop, tucking the fabric neatly for a flat finish.
Finally, add decorative elements like ribbons around the edge to enhance its visual appeal and disguise any imperfections.
Frequently Asked Questions
How to Finish off an Embroidery Hoop?
To finish off an embroidery hoop, start by trimming the excess fabric to about ½ to 1 inch from the edge.
Then, use a loose running stitch around the fabric edge, pulling the thread tight to gather it neatly behind the hoop.
You can also apply fabric glue to secure the fabric or use a cardboard backing for added stability.
Personalize your hoop by adding decorative elements like ribbon or trim around the edge.
How to Seal the Back of Embroidery?
To seal the back of your embroidery, you've got a few options.
You can gather the excess fabric with a running stitch for a tidy finish that hides all knots.
If you prefer quick fixes, apply fabric glue along the inner hoop edge.
For added durability, cut a piece of cardboard to size and glue it over the fabric.
If you want a no-sew approach, tuck the fabric edges and secure with hot glue.
How to End Embroidery Without a Knot?
To end embroidery without a knot, thread your needle through the last few stitches on the back of your fabric.
You can weave the thread through previous stitches several times for a secure finish. After that, trim the thread close to the fabric.
Alternatively, create a small loop with the thread, pull the needle through it, and tighten to secure.
For extra hold, consider using a bit of fabric glue.
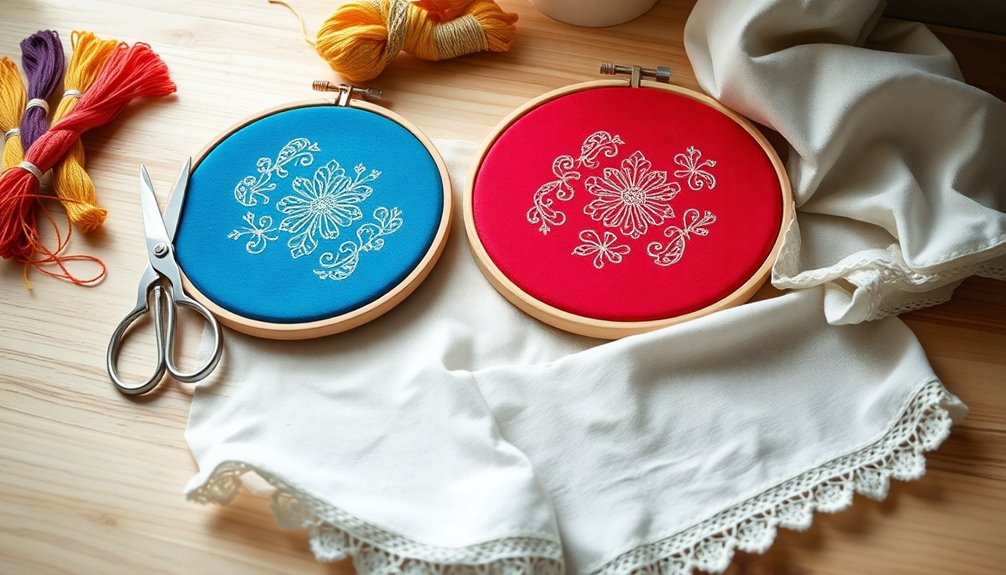
How Do You Cover an Embroidery Hoop?
Imagine your embroidery hoop dressed in a vibrant fabric, ready to shine.
To cover it, trim your fabric to about ½ to ¾ inch beyond the hoop's edge. Then, heat up your glue gun and apply adhesive along the inner edge.
Fold the fabric over, securing it nicely. If you want a gathered look, sew a loose stitch, pull it tight, and finish with a decorative ribbon to complete the transformation beautifully.
Conclusion
You're now ready to transform your embroidery hoop into a polished masterpiece. Like a painter framing their canvas, your careful finishing touches will elevate your work from ordinary to extraordinary. With the techniques you've learned, each hoop becomes a window into your creativity, showcasing not just your stitches but also your dedication. So go ahead, embrace the process, and let your unique style shine through every finished piece. Your artistry deserves to be celebrated!