
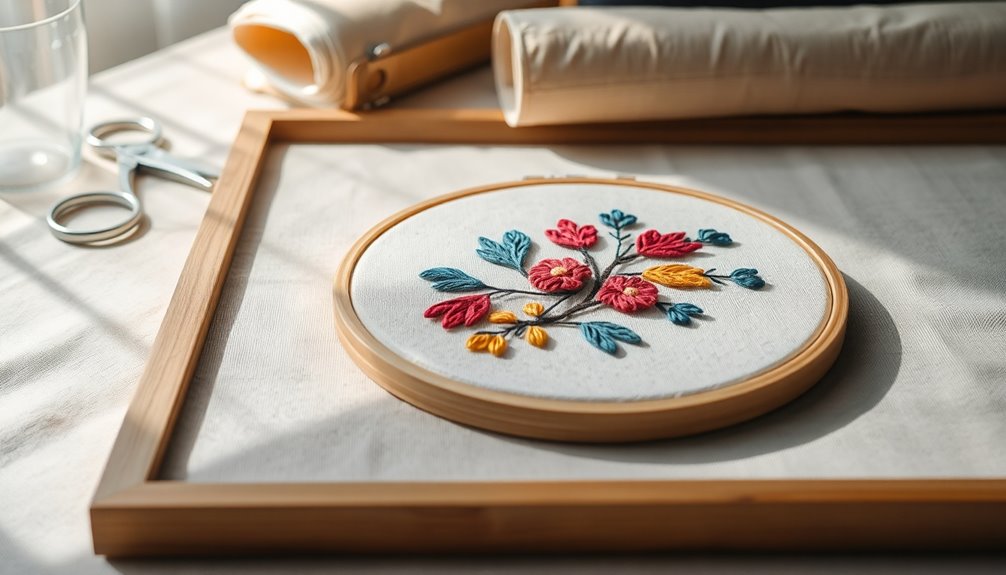
To frame your embroidery like a pro, start by choosing a frame that complements your design and use acid-free materials to prevent deterioration. Make sure to stretch the fabric and iron out any creases before mounting. Employ spacers to maintain fabric tension and avoid contact with the glass. Regularly check for wrinkles and dust gently to keep it looking fresh. If you're keen for more expert advice on enhancing your embroidery presentation, there's plenty more to explore!
Key Takeaways
- Select a frame that complements the colors and style of your embroidery while ensuring it fits properly to protect against dust and damage.
- Use acid-free materials for mats and backing to prevent deterioration and maintain the integrity of the fabric.
- Incorporate spacers between the fabric and glass to preserve texture and avoid contact, preventing stitch flattening.
- Employ the lacing technique on the back of the frame for secure edges and to maintain fabric tension without causing wrinkles.
- Regularly dust your framed embroidery gently and check for wrinkles to ensure a polished, professional appearance over time.
Why Should You Frame Your Embroidery?
Framing your embroidery not only enhances its visual appeal but also protects your hard work. When you frame your finished piece, you provide essential support that keeps the fabric tension intact, preventing unsightly wrinkles.
Proper framing creates a polished and professional look, making your embroidery project stand out in any space. Additionally, a good frame acts as a protective barrier, safeguarding your work from dust, dirt, and harmful sunlight.
By incorporating glass protection, you guarantee that your artwork remains vibrant for years. Choosing the right frame not only elevates the overall aesthetic but also complements your personal style, creating a cohesive decor that reflects who you are.
It's a worthwhile investment to cherish your beautiful embroidery creations.
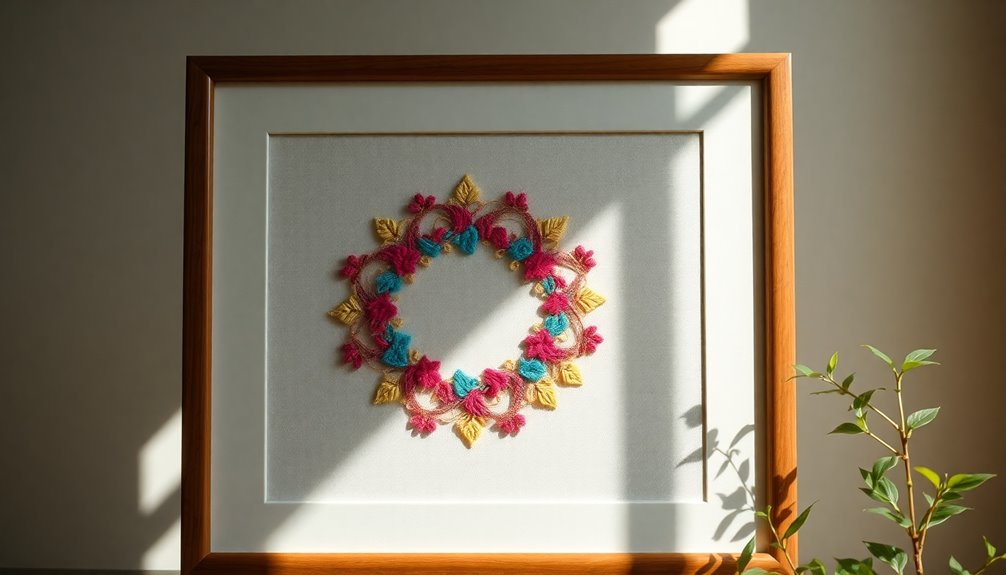
Framing Embroidery for Beauty

A beautifully framed embroidery piece can transform a simple room into a stunning showcase of art. To achieve this, choose a frame that complements the colors and style of your embroidery, enhancing its visual impact.
Consistent framing styles across multiple pieces create a cohesive look, making your display more organized. Always use acid-free materials for mats and backing; this prevents deterioration and maintains your embroidery's beauty over time.
Incorporate spacers between the fabric and the glass to avoid flattening, preserving the texture and dimensionality of your work. Finally, select UV-protective glass to safeguard your embroidery from sunlight damage, ensuring its vibrant colors and overall beauty remain intact for years to come.
Framing Embroidery for Support
When framing your embroidery, maintaining fabric tension is key to achieving a polished look.
Before you start, make sure to stretch and iron your piece to avoid any wrinkles.
Using techniques like lacing can help secure the edges without causing puckering, ensuring your artwork stays in top shape.
Maintaining Fabric Tension
Properly maintaining fabric tension is essential for achieving a polished look in your framed embroidery piece. If you want your finished embroidery to shine, follow these steps during the framing process:
- Stretch and iron your fabric to remove creases, creating an even surface.
- Use a lacing technique on the back of the frame to secure the fabric tightly against the mounting board. This guarantees consistent tension across your piece.
- Center the embroidery on the mounting board, leaving adequate space on all sides to prevent puckering.
Additionally, consider using spacers between the fabric and the frame. This helps keep the fabric from sagging and touching the glass, further enhancing the overall presentation of your embroidery.
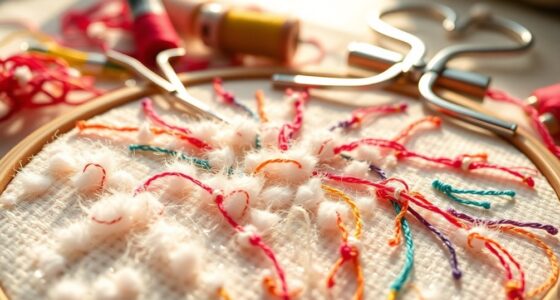
Stretching and Ironing Techniques
To achieve a smooth and professional look in your framed embroidery, stretching and ironing your fabric are essential steps. Start by gently pulling the fabric taut while pinning it to a backing board, ensuring proper fabric tension to prevent wrinkles. Iron your embroidered piece upside-down using a white pillowcase and a flannel pad, applying gentle pressure when it's still damp. This method protects your stitches and fabric.
Here's a quick reference table for your process:
| Technique | Tips |
|---|---|
| Stretching | Pin to a backing board for support |
| Ironing Embroidery | Use a pillowcase and flannel pad |
| Fabric Tension | Lace edges with space to avoid puckering |
Regularly check for wrinkles to maintain that professional appearance!
Framing for Protection
Protecting your embroidery from dust and dirt is crucial for its long-term preservation, so choosing the right frame is essential. Here are three key considerations for framing your embroidered fabric:
- Use glass or acrylic: Opt for UV-protective glass to shield your piece from sunlight damage, preventing color fading and fabric weakening.
- Select deep frames: A deeper framing option allows your embroidery to sit away from the glass, avoiding any contact that could distort your stitches.
- Regular maintenance: Dust gently with a dry brush or vacuum to keep your framed piece clean, reducing the need for extensive washing.
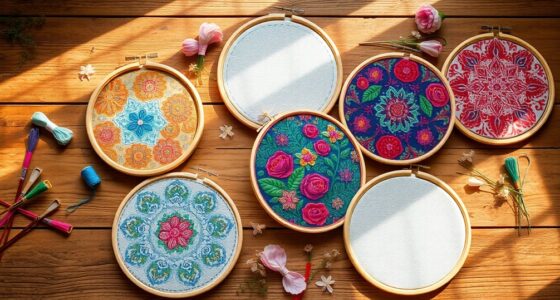
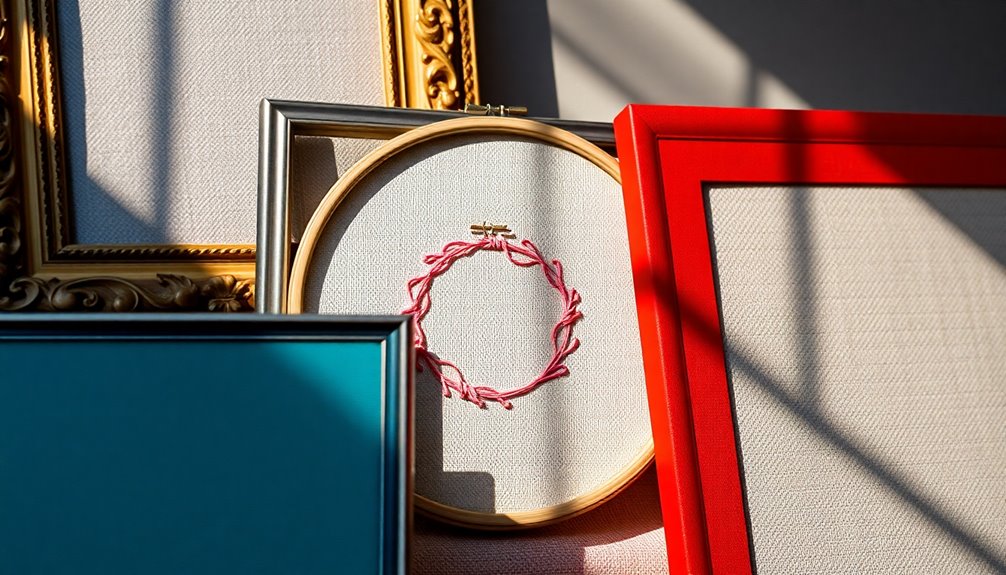
Types of Frames for Embroidery
When choosing the right frame for your embroidery, understanding the different types available can make all the difference in preserving and showcasing your work. Here are some popular options:
| Frame Type | Description |
|---|---|
| Regular Embroidery Hoop | Quick but offers limited dust protection. |
| Canvas Mounting | Neat presentation, but not dust-proof and shape-limited. |
| Picture Frame | Protects with glass; watch for stitch flattening. |
| Vintage/Antique Frame | Adds visual impact but can distract if too ornate. |
| Shadow Box Frame | Provides depth and separates embroidery from glass. |
Choosing the right frame, like a shadow box for a 3D embroidery piece, can elevate your display and keep it looking fabulous!
Framing Directly in a Regular Embroidery Hoop

Framing your embroidery directly in a regular embroidery hoop is a quick and effective way to showcase your work, especially if you're a beginner or crafting casually.
To guarantee your piece of embroidery art looks its best, follow these steps:
- Choose the right hoop size: Select a hoop that complements your embroidery; larger hoops create drama, while smaller ones suit delicate designs.
- Keep the fabric tight: Make certain your fabric is taut in the hoop to preserve the quality of your stitches over time.
- Secure behind the hoop: Use elastic bands or a small piece of fabric to hold everything in place, allowing for easy adjustments.
Mounting Embroidery on Canvas

Mounting your embroidery on canvas offers a sleek and professional look that enhances your artwork.
You'll want to follow a simple step-by-step process to guarantee your piece is well-secured and looks great.
Let's explore the advantages of this method and how to get it done right.
Advantages of Canvas Mounting
Choosing to mount your embroidery on canvas offers a contemporary and stylish way to showcase your work, as it eliminates the need for traditional framing. This method enhances the visual appeal of your piece while providing several advantages:
- Accessibility: Whether you're a beginner or an experienced crafter, securing your embroidery to the canvas is straightforward, using staples or thumbtacks.
- Reduced Risk: Without glass, you avoid flattening stitches, making maintenance easy while keeping your artwork intact.
- Versatility: Canvas mounting accommodates various shapes and sizes, allowing you to customize the display to fit your decor style.
Step-by-Step Mounting Process
When you're ready to showcase your embroidery, the mounting process can be both simple and rewarding.
Start by cutting a piece of canvas that's larger than your embroidery piece. Position the embroidery face up on the canvas, centering it perfectly.
Fold the excess fabric over the edges and secure it with a staple gun or thumbtacks. Next, use a hot glue gun or fabric glue to attach the folded edges to the back of the canvas for a neat finish.
For added stability, consider using acid-free backing to prevent moisture damage.
Finally, hang the canvas on the wall using appropriate hardware, making sure it's securely fastened to maintain the integrity of your beautiful display.
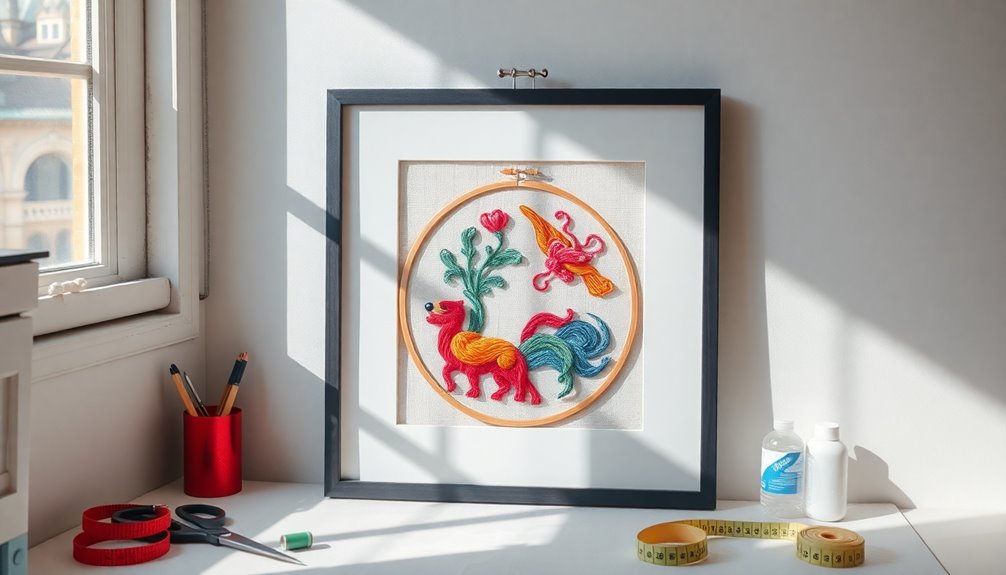
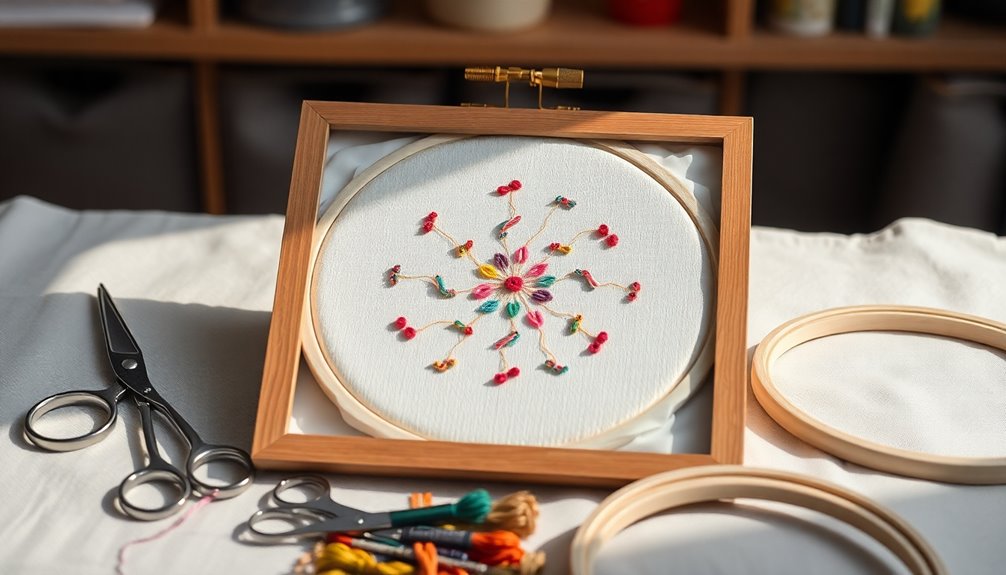
Embroidery in a Regular Picture Frame

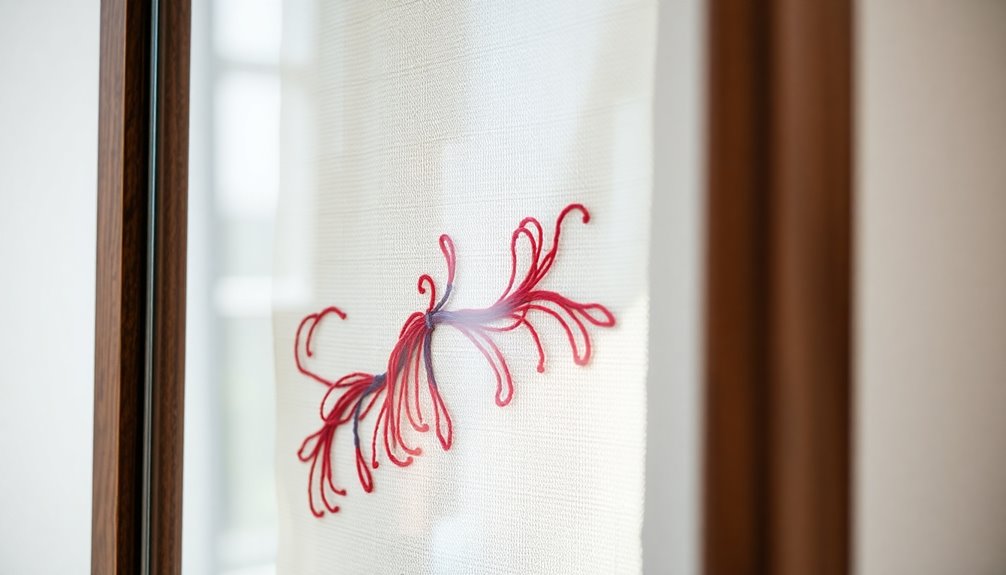
Framing your embroidery in a regular picture frame can elevate its beauty while protecting it for years to come. Not only does it showcase your craftsmanship, but it also allows you to easily incorporate it into your home décor. For those who love to experiment creatively, consider embroidering over existing designs to give them a new life, providing a unique touch that reflects your personal style. By choosing the right frame, you can further enhance the visual impact of your work, making it a centerpiece that draws admiration from all who see it.
To guarantee your framed piece looks professional, follow these steps:
- Use UV-protective glass to shield your embroidery patterns from sunlight damage and fading.
- Center the fabric on acid-free foam board, securing it tightly without puckering by lacing with sturdy cotton thread on the back.
- Consider adding spacers to create an air gap between the glass and the embroidery, allowing for better preservation.
After assembling, check for a snug fit to prevent shifting, and use appropriate hanging hardware for secure display.
With these tips, you can showcase your embroidery beautifully!
The Vintage/Antique Picture Frame
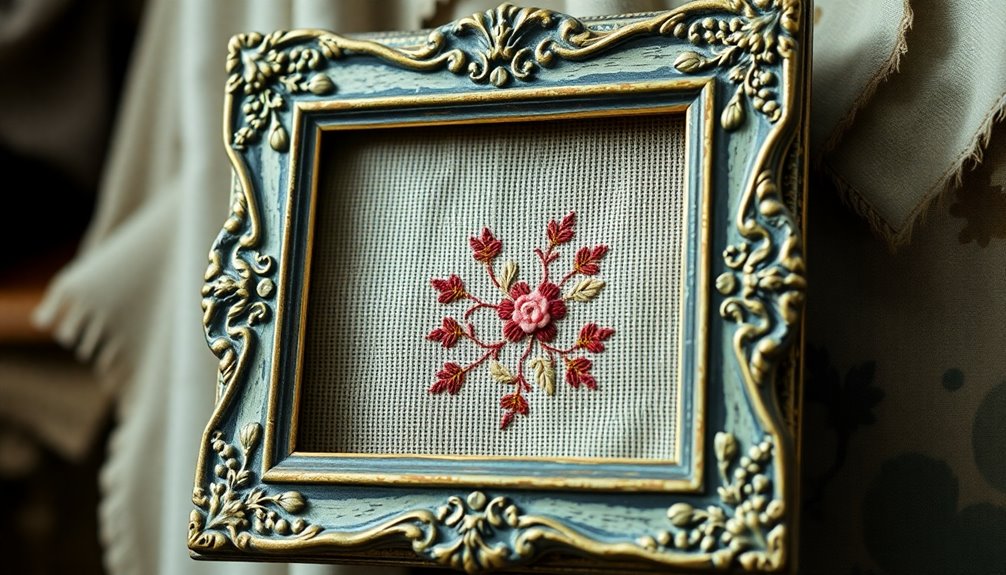
When choosing a vintage or antique picture frame for your embroidery, consider how the frame style can enhance the piece's visual impact.
The ornate designs can complement bold needlework, but you need to avoid overly extravagant styles that might distract from your art.
Striking the right balance will elevate your embroidery while preserving its focus.
Frame Style Considerations
A vintage or antique picture frame can dramatically elevate the presentation of your embroidery.
When considering frame style, keep these points in mind for a cohesive look:
- Design Harmony: Verify the antique picture frame complements the style of your embroidery pieces. Avoid frames with excessive embellishments that may distract from your work.
- Weight and Presence: Vintage frames are typically heavier and more decorative, adding a touch of elegance to bold or dark-colored designs.
- Depth and Mood: The depth of these frames can create a unique atmosphere, enhancing the overall display experience and drawing attention to your embroidery.
Enhancing Visual Impact
Choosing the right vintage or antique picture frame can transform your embroidery into a mesmerizing piece of art. The ornate details and historical charm of these frames can beautifully complement the colors and textures of your fabric.
Heavy frames work especially well for bold or dark-colored embroidery, providing a striking contrast that draws the eye. When you visit a framing shop, balance the frame's extravagance with your embroidery's simplicity to maintain focus on the artwork.
Unique design elements in antique frames can create a distinct mood, making your piece a focal point in any room. Additionally, a properly fitting vintage frame protects your embroidery from dust and damage while enhancing its overall presentation. The use of natural elements in your decor can further elevate the aesthetic, creating a harmonious environment that showcases your embroidery beautifully.
Avoiding Over-Decoration
While selecting a vintage or antique picture frame, it's important to guarantee it enhances your embroidery rather than detracts from it.
Here are three tips for avoiding over-decoration:
- Choose Simple Designs: Opt for frames with understated designs or muted finishes that complement your embroidery's colors and textures, keeping the focus on the needlework.
- Consider Size and Scale: Verify the frame matches the size of your piece; avoid excessively ornate frames that can overwhelm smaller embroideries.
- Maintain a Cohesive Aesthetic: Match the frame style with the theme of your embroidery—whether rustic, elegant, or whimsical—to create visual harmony.
Do You Want More Tips and Tricks on Hand Embroidery?
Are you enthusiastic to elevate your hand embroidery skills? Here are some essential tips to help you achieve that professional look when framing your needlework. First, if you need to wash your piece, gently rinse it in lukewarm water with ivory liquid soap to remove dust or oils. When ironing, use a white pillowcase and a flannel pad to protect your fabric. Always leave at least two inches of extra fabric around your piece for proper tension during framing. And remember, using acid-free materials is best to avoid deterioration over time.
| Tip | Detail |
|---|---|
| Washing | Gently rinse with lukewarm water |
| Ironing | Use a white pillowcase and flannel pad |
| Framing Essentials | Leave 2 inches of extra fabric |
Frequently Asked Questions
How Do You Display Embroidery in a Frame?
To display embroidery in a frame, start by choosing a frame that complements your piece's style and colors.
Use acid-free mat board for mounting to keep it safe over time. Secure the embroidery with sturdy cotton thread to avoid puckering, and consider spacers to keep the fabric away from the glass.
Regularly dust your framed piece and check for fading to guarantee it stays beautiful for years to come.
Do You Frame Embroidery With Glass?
Yes, you can frame embroidery with glass for added protection. It keeps dust and dirt away while also shielding the colors from sunlight, helping preserve the fabric's integrity.
Using UV-protective glass is a smart choice, as it minimizes fading. However, consider a deep frame to create space between the glass and the embroidery, which prevents damage.
If you're in a sunny or dusty area, glass framing is definitely worth it.
How to Block Embroidery for Framing?
To block your embroidery for framing, start by washing it in lukewarm water with ivory liquid soap to remove any dirt.
Lay it flat on a clean towel, face down, and gently stretch it back to its original shape.
Use pins or blocking wires to secure the edges on a foam board, making sure it's taut and aligned.
Allow it to dry completely before removing the pins, ensuring your piece maintains its shape.
How to Stretch and Frame Embroidery?
To stretch and frame your embroidery, start by leaving at least two inches of extra fabric around the piece.
Cut an acid-free mat board for a backing, centering your embroidery before marking.
Fold the excess fabric over a foam board, securing it with push pins.
Lace the edges tightly with cotton thread, keeping tension even to avoid puckering.
Once it's flat, fit it into the frame and seal the back for protection.
Conclusion
Framing your embroidery isn't just about putting it in a box; it's about showcasing your artistry in a way that breathes life into your space. By choosing the right frame, you're not merely enclosing your work, but inviting it to dance in the spotlight. Each piece deserves a frame that whispers elegance and protection, allowing your creativity to shine without reservation. So go ahead, let your needlework take center stage and revel in the beauty you've created!