To eliminate wavy seams, start by stabilizing your fabric with interfacing or stay tape to prevent stretching. Always press seams carefully using the right temperature and a pressing cloth to avoid shiny marks. Incorporate steam to relax fibers and use tools like seam rolls or pressing hams for curves. Press seams open or to one side for flatness, and finish with topstitching for durability. Mastering these techniques will help you achieve crisp, professional seams every time—keep going to discover more expert tips.
Key Takeaways
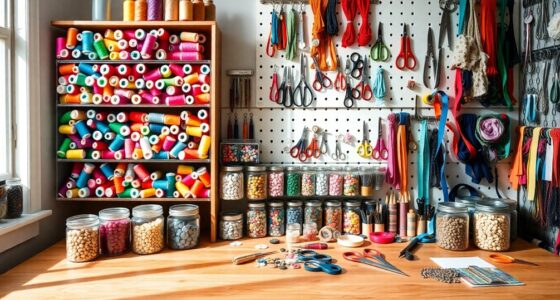
- Stabilize fabric with interfacing, stay tape, or starch before sewing to prevent stretching and shifting.
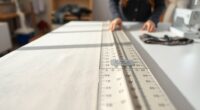
- Use a pressing ham or seam roll to press curved or tricky seams for a flat, smooth finish.
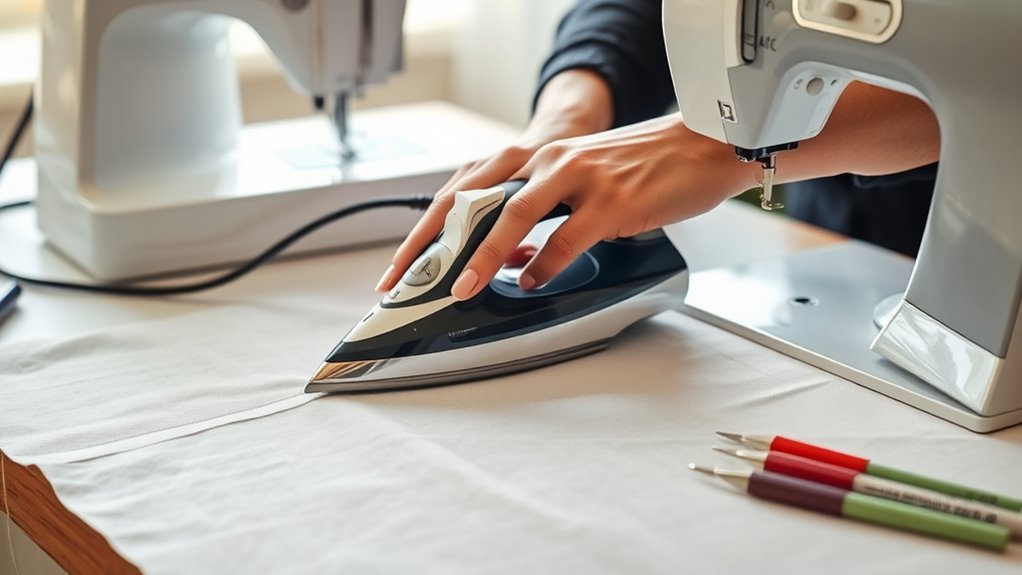
- Press seams from the wrong side first, then from the right side, applying steam for better flatness.
- Incorporate steam and a pressing cloth to relax fibers and avoid shiny marks or fabric damage.
- Topstitch close to the seam edge to flatten seams and reinforce for a professional, waviness-free appearance.
Wavy seams can ruin the professional look of your sewing projects, but with the right techniques, you can eliminate them easily. The key is understanding how fabric stabilization and proper seam pressing techniques work together to create smooth, flat seams every time. When working with different fabrics, especially those prone to stretching or shifting, stabilizing your fabric is essential. Using interfacing, stay tape, or even starch can help keep your fabric stable during sewing and prevent unwanted waviness. Before sewing, make sure your fabric is properly prepared—press it lightly to remove wrinkles and apply stabilizers if needed. This preparation ensures that the fabric stays flat and behaves consistently as you sew.
Once your fabric is stabilized, focus on seam pressing techniques that set your seams firmly and flat. After stitching each seam, don’t just press it randomly; instead, press it carefully to encourage the seam to lay flat. Use an iron set to the appropriate temperature for your fabric type, and press rather than drag the iron across the seam. Placing a seam roll or a pressing ham underneath can help you press curved or tricky seams more precisely. When pressing, avoid pressing from one side only; instead, press the seam allowances open or to one side, depending on the project and fabric. This step helps reduce bulk and prevents the seam from wiggling or warping. Additionally, choosing the right seam finish technique, such as pressing seams open for a cleaner finish, can further enhance the flatness of your seams.
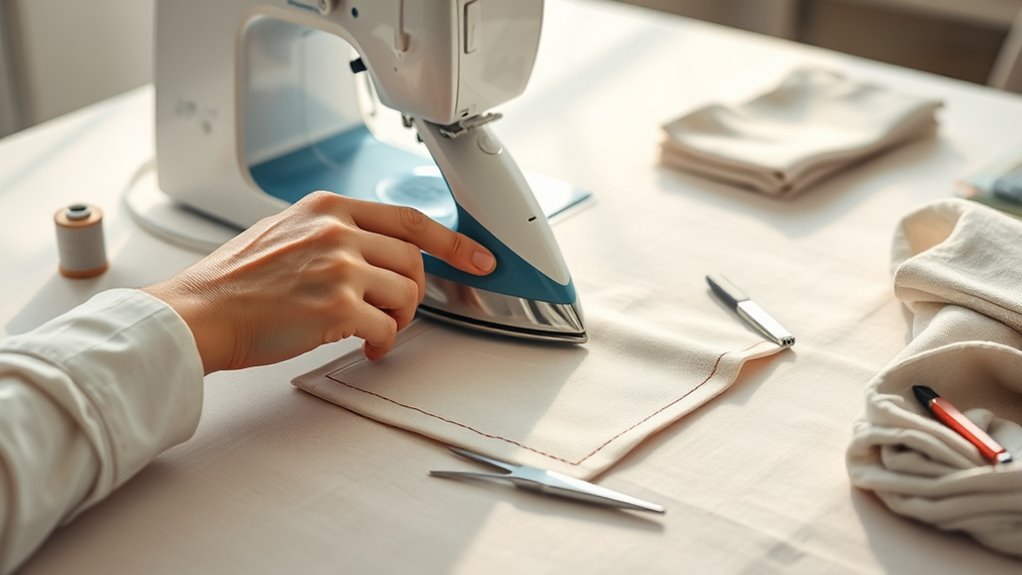
Press seams carefully, using appropriate heat and pressing from both sides for a flat, professional finish.
Another effective seam pressing technique involves using steam. Steam relaxes the threads and fibers, helping the seam relax into a smooth, flat finish. Be cautious with steam, especially on delicate fabrics—use a press cloth to shield your fabric from direct heat and moisture. Also, consider using a pressing cloth to prevent shiny marks or fabric damage. When pressing seams open, press from the wrong side first, then from the right side, to ensure the seam remains flat and secure. For seams that need extra reinforcement, you can topstitch close to the seam edge, which also helps flatten the seam and adds durability.
Incorporate these fabric stabilization and seam pressing techniques into your routine, and you’ll notice a significant difference in the quality of your finished projects. Take your time with each step, and remember that patience and proper tools are your best allies against wavy seams. With consistent effort, you’ll develop a sewing habit that produces crisp, professional-looking seams every time. Proper seam pressing is a crucial skill that can dramatically improve your sewing results and make your projects look more polished.
Frequently Asked Questions
Can Fabric Type Affect Seam Waviness?
Yes, fabric type definitely affects seam waviness. If your fabric has a lot of stretch, it can cause seams to ripple or wave over time. Similarly, fabrics with a loose weave tend to be more prone to waviness because they don’t hold their shape well. To prevent this, choose fabrics with a tighter weave and less stretch, which helps keep seams smooth and stable during sewing and wear.
Are There Specific Sewing Machine Settings to Prevent Waviness?
Ever wondered how to prevent wavy seams? You should focus on your sewing machine settings. Start by adjusting the thread tension; too tight or loose can cause waviness. Also, make certain your presser foot pressure isn’t too high, as it affects fabric feed. Fine-tuning these settings can make a huge difference, giving you smooth, professional-looking seams. Don’t underestimate these small adjustments—they’re the secret to flawless sewing results.
How Does Seam Pressure Influence Seam Flatness?
Seam pressure plays a key role in seam flatness by affecting seam tension and how fabric stretch is distributed. When you adjust the pressure appropriately, you help the fabric feed smoothly, preventing waviness. Too much pressure causes puckering, while too little results in loose seams. Find the right balance for your fabric type, ensuring the seam tension stays even and fabric stretch is controlled, giving you a flat, professional finish every time.
Can Pre-Treatments Reduce Seam Waviness?
Pre-treatments can definitely help reduce seam waviness, especially if you consider fabric stretch and seam finish. By pre-shrinking or stabilizing the fabric, you prevent it from stretching unevenly during sewing. Using appropriate seam finishes also minimizes fabric movement and distortion. These steps create a more stable surface, allowing you to sew smoother, flatter seams. So yes, pre-treatments make a noticeable difference in achieving professional-looking, flat seams.
Is It Better to Press Seams Before or After Sewing?
When it comes to seam pressing, you should press your seams after sewing to guarantee fabric stabilization and prevent waviness. Pressing before sewing can stretch or distort the fabric, making it harder to achieve smooth seams. Always press your seams open or to one side once sewn, using a hot iron and appropriate pressing tools. This technique helps create sharp, flat seams and keeps your project looking professional.
Conclusion
Think of your sewing project as a peaceful river, flowing smoothly without ripples or waves. With these expert tricks, you’ll become the skilled captain guiding your fabric to calm waters. No more battling wavy seams—just a steady, confident hand steering your creation to perfection. Embrace these techniques, and watch your seams transform into calm, flawless streams. Your sewing journey will flow effortlessly, leaving behind the turbulence of uneven edges and celebrating the serene beauty of your craftsmanship.