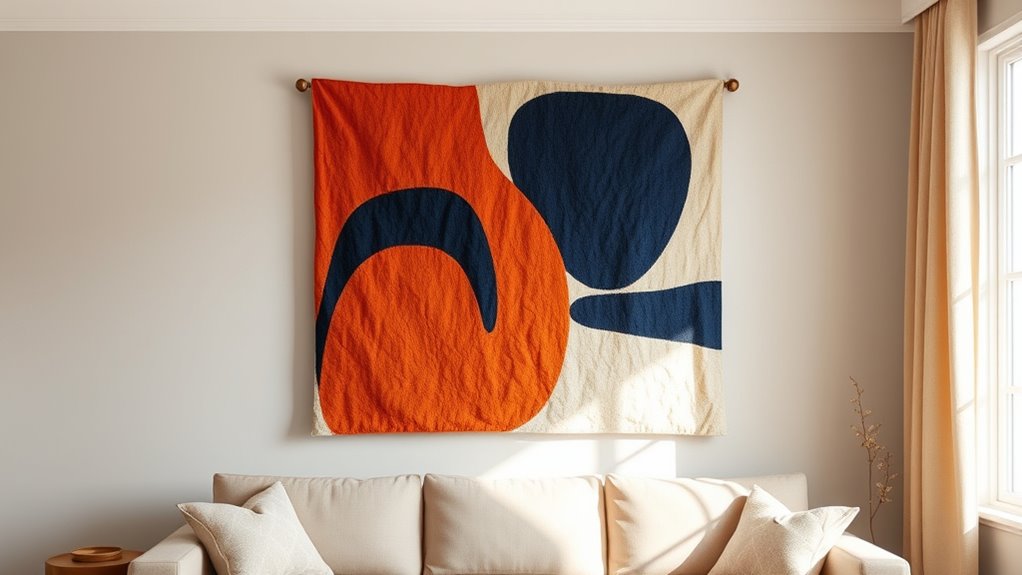

You can refresh any room in just 30 minutes using no-sew fabric wall art. Simply choose vibrant fabrics, secure them to a sturdy backing with double-sided tape or hot glue, and fold the edges neatly for a clean look. Hang your pieces with nails or adhesive strips to create a gallery wall or a single focal point. With quick tips and simple steps, you’ll transform your space effortlessly—keep going to discover more easy decorating ideas.
Key Takeaways
- Select vibrant fabric and a sturdy backing to create eye-catching wall art quickly.
- Use double-sided tape or hot glue to secure fabric to the backing for a seamless look.
- Fold and glue edges neatly for a polished, taut appearance without sewing.
- Hang with nails, hooks, or adhesive strips for easy, damage-free installation.
- Mix different sizes and patterns for a personalized, dynamic gallery wall in just 30 minutes.

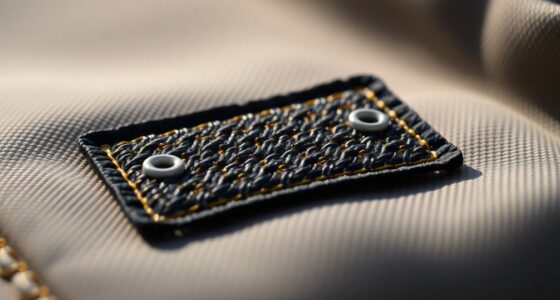
Fabric wall art offers a versatile and stylish way to personalize your space, adding texture and color with ease. If you’re looking for a quick, budget-friendly way to refresh a room, no-sew fabric wall art is the perfect solution. This project doesn’t require sewing skills or complicated tools—just some basic supplies and a little creativity. With the help of DIY tutorials, you can create stunning wall decor that complements your interior decorating style in just about 30 minutes.
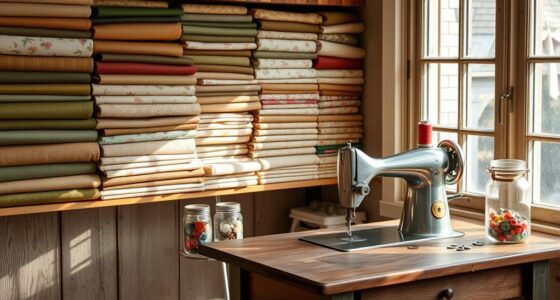
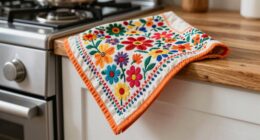
Start by choosing your fabric. Opt for something with vibrant patterns, soft textures, or bold colors to make a statement. You can repurpose an old scarf, a piece of upholstery fabric, or pick up a few yards from a craft store. To keep things simple, pick a fabric that already matches or enhances your existing decor. Next, select a backing—this could be a canvas, a wooden frame, or even a sturdy piece of cardboard. If you want a polished look, wrapping the fabric around a stretched canvas or attaching it to a frame is ideal.
Choose vibrant fabrics and a sturdy backing for easy, stylish wall art.
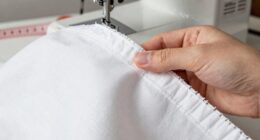
Once you have your materials, lay the fabric flat on a clean surface. If it’s wrinkled, give it a quick iron. Then, position your backing in the center of the fabric. Use double-sided tape or a hot glue gun to secure the fabric to the back of the frame or canvas. For larger pieces, fold the edges neatly and glue or tape them to the back, ensuring a smooth, taut surface. This no-sew method keeps things simple and mess-free, perfect for a quick decor update.
Hanging your new fabric wall art is straightforward. Use nails, picture hooks, or adhesive strips—whichever suits your wall type. For added visual interest, you can layer multiple pieces or create a gallery wall with different shapes and sizes. This approach allows you to experiment with various patterns and textures, making your space uniquely yours.
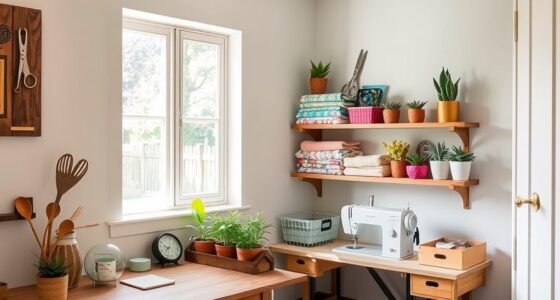
The beauty of no-sew fabric wall art lies in its flexibility. It’s an excellent way to incorporate your personal style into your home’s interior decorating without the need for extensive time or effort. Plus, it’s easily changeable—swap out fabrics seasonally or whenever you feel like a new look. Additionally, understanding how color accuracy impacts your decor choices can help you select fabrics that truly complement your existing color schemes. With a few simple DIY tutorials, you can turn ordinary fabric into eye-catching art that transforms any room in just half an hour. It’s a quick, affordable, and creative way to breathe new life into your interior spaces.
Frequently Asked Questions
Can This Fabric Wall Art Be Customized for Different Room Themes?
You can definitely customize this fabric wall art to match different room themes. With various customization options available, you can choose fabrics, colors, and patterns that coordinate perfectly with your decor. Whether you want a modern, rustic, or playful look, you have the flexibility to adapt the design. This makes it easy to create a cohesive style that enhances any room’s theme without much effort.
What Types of Fabric Are Best for Durability and Appearance?
Imagine creating fabric wall art that lasts for years. For durability considerations, you should choose tightly woven fabrics like canvas or linen. These materials resist wear and fading, maintaining their appearance over time. When considering fabric selection, prioritize those with good colorfastness and strength. Cotton blends can also work well, offering durability and a variety of textures. This guarantees your wall art stays vibrant and intact, even with daily exposure.
Is It Suitable for Outdoor or Humid Environments?
You should consider weather resistance and moisture sensitivity when choosing fabric for outdoor or humid environments. Not all fabrics hold up well outside, especially those prone to moisture damage or mold. Opt for materials specifically designed for outdoor use, like polyester or acrylic, which offer better weather resistance. Avoid fabrics that absorb moisture easily, as they can deteriorate quickly and lose their appearance, making your wall art less durable in challenging conditions.
How Do I Safely Remove Fabric Wall Art Without Damage?
To safely remove fabric wall art, start by gently loosening the edges to prevent damage. Use a plastic putty knife or your fingers to lift the fabric slowly, avoiding any tearing. During fabric removal, protect your wall by placing soft padding or a thin cloth underneath to prevent scratches or damage. Take your time, and work gradually to guarantee the wall stays pristine while you remove the fabric wall art.
Can I Reuse or Reconfigure the Fabric Wall Art Later?
Think of your fabric wall art as a chameleon, adaptable and full of potential. Yes, you can reuse or reconfigure it later, thanks to fabric reusability. Carefully remove it, and you can reshape or repurpose it into new wall art or craft projects. With gentle handling, your wall decor can evolve with your style, allowing you to refresh your space without starting from scratch.
Conclusion
Creating no-sew fabric wall art takes just 30 minutes and instantly refreshes any space. Did you know that adding a simple fabric piece can boost a room’s aesthetic value by up to 20%? With minimal effort and no sewing required, you can easily elevate your décor and showcase your personal style. So, next time you want a quick makeover, try this easy DIY—your walls will thank you!