To clean, oil, and calibrate your sewing machine at home, start by removing dust and lint from the bobbin area, feed dogs, and tension discs using a small brush or compressed air. After cleaning, apply a few drops of sewing machine oil to moving parts as specified in your manual, then run the machine on scrap fabric to distribute the lubricant. Adjust stitch tension and length for your fabric, and guarantee the bobbin is properly seated. Continuing will help you master these essential maintenance steps.
Key Takeaways
- Remove lint and debris from bobbin area, tension discs, and feed dogs using a brush or compressed air.
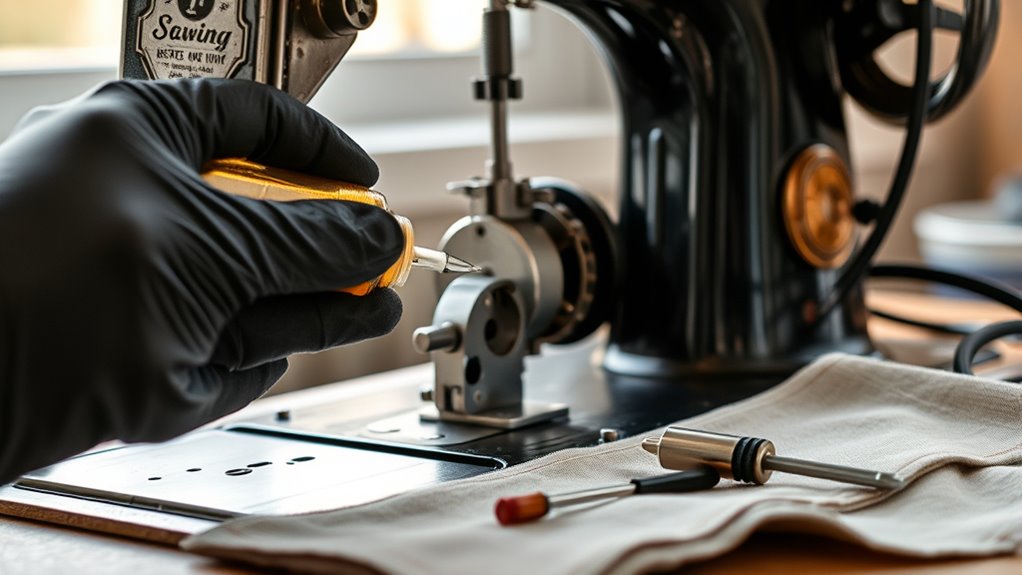
- Apply a few drops of sewing machine oil to designated moving parts as per the manual, then run on scrap fabric.
- Check and adjust thread tension to ensure balanced stitches, testing on scrap fabric before sewing your project.
- Ensure the bobbin is properly wound, seated, and turns smoothly to prevent tension issues and thread jams.
- Test and fine-tune stitch length and tension settings on scrap fabric for optimal stitch quality before starting your project.
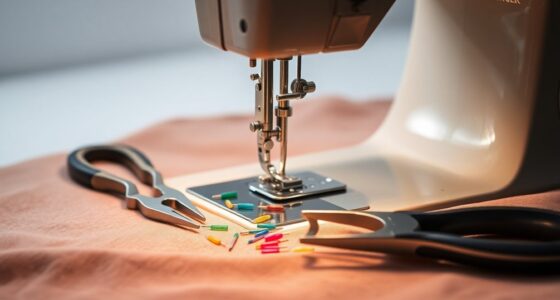
Taking good care of your sewing machine is essential to keep it running smoothly and extend its lifespan. One of the most important aspects of maintenance is ensuring that your machine’s thread tension is properly adjusted. When the thread tension isn’t set correctly, your stitches can become loose or puckered, and fabric may not feed evenly through the machine. To prevent this, always check your tension settings before starting a new project, especially if you switch between different types of thread or fabrics. Adjust the tension dial gradually, testing on scrap fabric until you achieve balanced stitches. Proper thread tension not only improves stitch quality but also reduces strain on your machine’s internal parts, helping it run more efficiently over time.
Proper thread tension ensures smooth stitches and prolongs your sewing machine’s life.
Another key factor in maintaining your sewing machine is correct bobbin placement. Incorrect bobbin placement can cause skipped stitches, uneven tension, or even thread jams. When threading your bobbin, make sure it’s placed in the bobbin case or compartment with the thread unwinding in the correct direction, as specified in your machine’s manual. After winding the bobbin, double-check that it’s seated securely and evenly in the bobbin case. When inserting the bobbin into the machine, ensure it’s properly engaged, with the thread coming out smoothly and the bobbin cover securely closed. This simple step can prevent many common sewing issues and keeps your machine running smoothly.
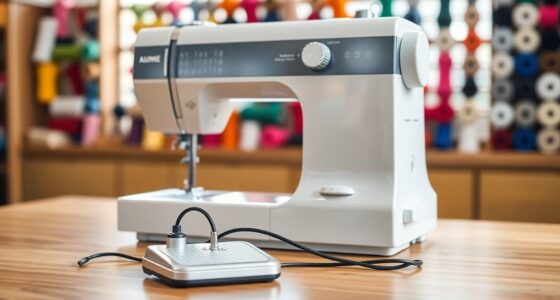
Regular cleaning and oiling are also crucial. Dust, lint, and thread fragments can accumulate in the bobbin area, tension discs, and feed dogs, causing irregular stitches or mechanical slowdown. Use a small brush or compressed air to remove debris from these areas. Be sure to consult your manual before applying oil—most machines require only a few drops of sewing machine oil on specific parts. Avoid over-oiling, as excess lubricant can attract dirt and cause more problems. When oiling, focus on moving parts like the hook race or the bobbin case area, which benefit from smooth operation. After oiling, run your machine on scrap fabric for a minute to distribute the lubricant evenly.
Finally, calibrating your machine’s stitch length and tension settings periodically ensures consistent results. Adjust these controls based on your fabric and thread type, and test on scrap material until you’re satisfied with the stitch quality. Proper calibration minimizes thread breakage and uneven stitches, making your sewing projects look professional and neat. Additionally, understanding your machine’s contrast ratio capabilities can help you select the best settings for different fabrics and lighting conditions. Taking these steps—monitoring thread tension, ensuring correct bobbin placement, cleaning, oiling, and calibration—will keep your sewing machine in top shape. Regular maintenance not only saves you time and frustration but also extends the life of your beloved machine, making every sewing session smoother and more enjoyable.
Frequently Asked Questions
How Often Should I Replace My Sewing Machine Needle?
You should replace your sewing machine needle regularly to maintain sewing tips and guarantee smooth stitching. Typically, change the needle after every 8-10 hours of sewing, or sooner if you notice skipped stitches, snags, or fabric damage. Frequent needle replacement prevents fabric damage and keeps your machine running efficiently. Remember, using fresh needles is a simple yet essential step in proper sewing care that improves your overall sewing experience.
Can I Use Household Oil on My Sewing Machine?
Think of your sewing machine as a delicate heart needing proper care. Household oils might seem like a quick fix, but they often contain additives that can harm your machine’s internal parts. For safe machine lubrication, always use oils specifically designed for sewing machines. These guarantee smooth operation and longevity, protecting your investment and your creative flow. Don’t risk damage; choose the right oil for a well-oiled, happy machine.
What Signs Indicate My Machine Needs Professional Servicing?
If your sewing machine starts vibrating excessively or makes unusual noises, it’s a sign you might need professional servicing. These issues often indicate internal problems like worn parts or poor lubrication. You should also watch for thread jams, inconsistent stitching, or difficulty in sewing fabric smoothly. Addressing these signs promptly can prevent further damage and keep your machine running efficiently, ensuring your projects turn out perfect every time.
How Do I Adjust the Tension Settings Properly?
To adjust your sewing machine’s tension settings properly, start by testing your thread tension. If your stitches are loose or puckering, tighten the top thread tension gradually. For bobbin adjustment, check that the bobbin case is correctly threaded and the bobbin is wound evenly. Fine-tune the tension until the stitches look balanced on both sides. Always test on scrap fabric before sewing your actual project to guarantee perfect tension.
Is It Safe to Clean My Machine With Compressed Air?
Using an air compressor for dust removal can be safe, but you need to be cautious. Make sure the air compressor is set to a low pressure to avoid damaging delicate parts. Hold the nozzle at a safe distance from the machine’s interior and avoid spraying directly into the motor or bearings. Proper dust removal keeps your machine running smoothly, but always follow the manufacturer’s guidelines to prevent any damage.
Conclusion
Taking care of your sewing machine is like tending to a garden—you need to nurture it regularly to see it flourish. I once skipped cleaning mine for months, and it jammed right before a big project, causing frustration I still remember. But after just a quick clean and oil, it ran smoothly again. Consistent maintenance not only keeps your machine humming but also turns sewing into a joyful, stress-free experience. Keep up with care, and your creativity will never be held back.