To sew sleeves without puckers, start by choosing a fabric that suits your pattern and shape. Ease the sleeve cap into the armhole with gentle stitches, matching notches and key points precisely. Pin carefully, distributing gathers evenly, then sew and press the seam allowances toward the sleeve. Proper pressing helps shape the sleeve smoothly. Keep practicing these techniques, and you’ll master achieving a perfect, puck-free sleeve every time. If you keep going, you’ll discover even more tips for flawless sleeve setting.
Key Takeaways
- Use easing stitches along the sleeve cap to evenly distribute fabric fullness before attaching.
- Align notches and match points precisely to ensure smooth easing and a proper fit.
- Sew the shoulder seam first to create a stable base for attaching the sleeve.
- Carefully pin and ease the sleeve into the armhole, smoothing out wrinkles before sewing.
- Press the seam allowances toward the sleeve after sewing to set the shape and eliminate puckers.
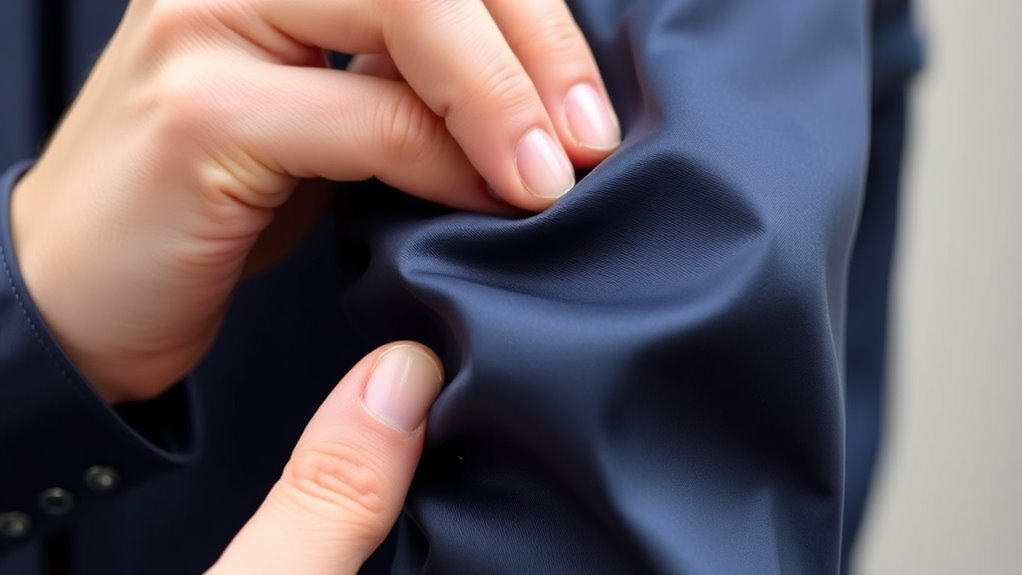
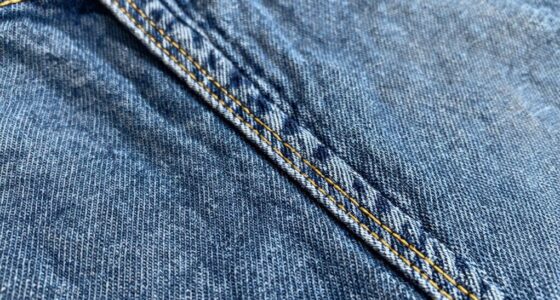
Setting in a sleeve is a fundamental sewing technique that guarantees your garment’s armholes are both durable and comfortable. When you begin, pay close attention to your fabric choice, as it impacts how smoothly the sleeve will fit and how well it retains its shape over time. Lightweight or stretchy fabrics can be more forgiving, but they also require careful handling to prevent puckering. Heavier fabrics, like denim or upholstery materials, demand extra care during assembly to avoid bulk or uneven seams. Choosing the right fabric for your project ensures the sleeve setting process becomes more manageable and results in a polished look.
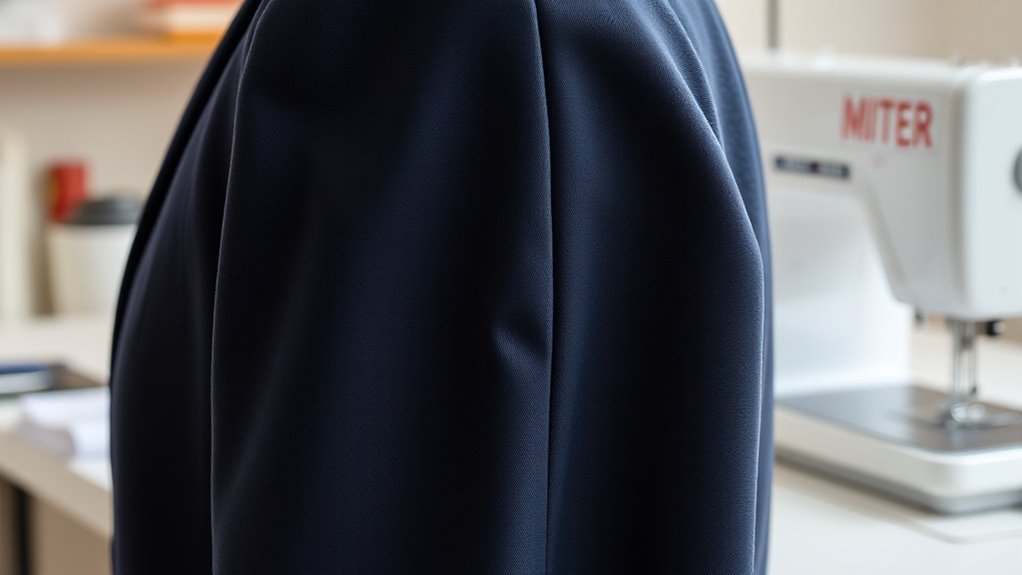
Next, focus on the sleeve cap shape. The shape of the sleeve cap plays an essential role in achieving a smooth, puck-free fit. A well-shaped sleeve cap is slightly curved and proportioned to match the armhole curve of your bodice. If the cap is too high or too flat, it can cause puckering or sagging. To optimize the fit, you might need to adjust the sleeve cap pattern or perform small notches along the seam to help ease the fabric smoothly into the armhole. Remember, a properly shaped cap reduces the amount of easing required and minimizes puckers, making the sewing process more straightforward.
A well-shaped sleeve cap ensures a smooth, puck-free fit by matching your armhole’s curve.
As you set in the sleeve, start by sewing the shoulder seam first, then attach the sleeve to the armhole using easing stitches. These stitches allow you to gather the fabric slightly and distribute the ease evenly along the sleeve cap. Take your time to pin the sleeve into the armhole carefully, aligning notches and match points precisely. When pinning, ensure the sleeve cap is slightly eased into the armhole, avoiding pulling or stretching the fabric. This step requires patience: distribute any gathers evenly and smooth out wrinkles before you sew. Using a slightly longer stitch length for easing stitches helps you manipulate the fabric more easily and allows for easier removal afterward.
Once you’ve sewn the sleeve into the armhole, press the seam allowances toward the sleeve to set the shape and remove any puckers. Pressing helps to smooth out any unevenness and gives the sleeve a crisp, professional finish. If you notice puckers after sewing, you might need to re-ease or adjust the sleeve before final pressing. Remember, a good fit begins with careful pattern selection, precise pinning, and gentle easing. Paying attention to the fabric choice and sleeve cap shape from the start makes a significant difference, ensuring your finished garment not only looks great but feels comfortable and durable for everyday wear. Additionally, understanding the importance of fabric choice and how it influences the ease of sewing can significantly improve your results and the longevity of your garments.
Frequently Asked Questions
What Fabrics Are Easiest for Sleeve Setting?
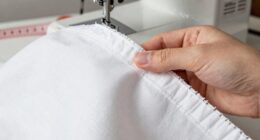
You’ll find that stable fabrics like cotton, linen, and denim are easiest for sleeve setting because they have good fabric stability. These fabrics hold their shape well, making it simpler to use proper sewing techniques without puckers. Avoid very slippery or stretchy fabrics for beginners, as they require more advanced techniques. By choosing stable fabrics, you’ll get cleaner, smoother sleeves with less effort and fuss.
Can Sleeve Puckers Be Fixed After Sewing?
Yes, you can fix sleeve puckers after sewing. To do this, you should make fitting adjustments by carefully easing or taking in the fabric where puckers appear. Use seam pressing to smooth out the fabric and flatten any gathers. Press the seams gently with an iron, working from the sleeve’s top to the cuff. These steps help improve the fit and give your sleeve a cleaner, professional look.
Do Different Sleeve Styles Require Different Techniques?
Of course, different sleeve styles do require different techniques—because why settle for one-size-fits-all when tailoring sleeve fit? Whether you’re sewing a puff sleeve or a tailored set-in, each variation demands specific methods to avoid puckers and achieve a perfect look. So, embrace the variety, adapt your techniques, and enjoy the challenge of customizing each sleeve style. After all, perfect fit is worth the extra effort!
How Do I Prevent Puckering When Sewing Stretchy Fabrics?
To prevent puckering when sewing stretchy fabrics, use fabric stabilizers like stay tape or interfacing along the seam lines to add support. Also, make sure you press your seams gently with a seam press or iron to smooth out any puckers. Using a stretch stitch or a zigzag stitch helps maintain flexibility, while reducing tension on your machine’s upper thread prevents fabric bunching. These steps keep your finished sleeve neat and smooth.
What Tools Can Help Achieve Smooth Sleeve Seams?
Did you know that using the right tools can improve seam quality by up to 50%? To achieve smooth sleeve seams, invest in high-quality sewing machine needles designed for your fabric type. Pressing tools like seam rollers and tailor’s ham help flatten and set seams perfectly. These tools help you control fabric, reduce puckers, and create professional-looking, smooth sleeve seams every time.
Conclusion
With patience and attention to detail, you’ll find that sewing sleeves without puckers becomes an elegant dance rather than a challenge. Embrace gentle easing and careful pinning, allowing your craftsmanship to shine through. Every stitch you take brings a refined finish closer to perfection, elevating your sewing skills. Remember, the beauty lies in the subtle mastery of technique—transforming a simple task into a subtle demonstration of your sewing flair.