
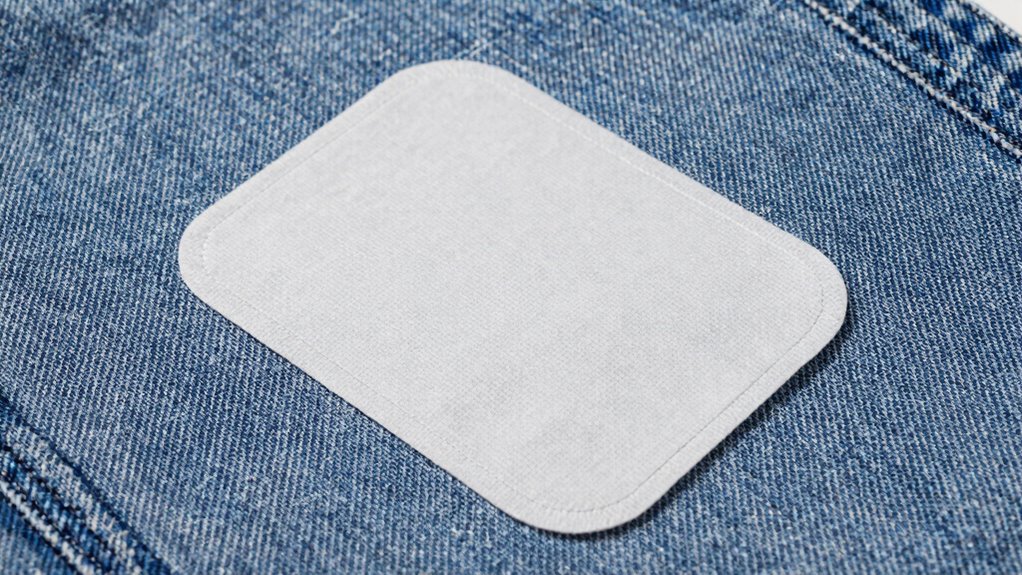
The easiest way to patch a tear without stitching is to use an adhesive patch that matches your fabric or leather. First, clean and prep the area, then carefully position the patch over the tear, pressing firmly. Choose a patch with a texture and color that blends with your item for a seamless, intentional look. For more tips on making your repair stylish and durable, keep exploring how to perfect your DIY patching skills.
Key Takeaways
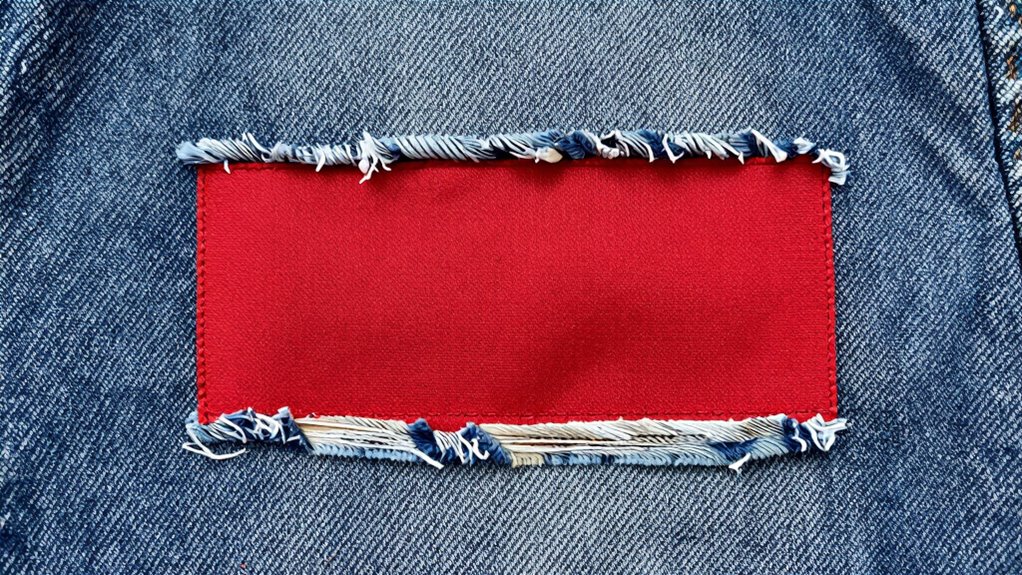
- Use a no-stitch fabric patch with adhesive for an easy, seamless repair without sewing skills.
- Choose a patch that matches or complements the fabric color and texture for an intentional, stylish look.
- Properly clean and prepare the tear area to ensure strong adhesion and a smooth, professional appearance.
- Position the patch carefully, pressing firmly and following adhesive drying instructions for durability.
- Incorporate design elements like contrasting fabrics or patterns to make the repair a fashionable feature rather than a flaw.
Why Use a No-Stitch Patch for Tears?
Using a no-stitch patch for tears offers a quick and hassle-free repair option. You don’t need sewing skills or special tools, which makes it perfect for instant fixes. When selecting a patch, consider the fabric texture to guarantee it blends well with your item. A patch with a similar fabric feel will look more seamless and natural. Additionally, choosing the right patch color is vital; a matching or neutral shade helps the repair look intentional rather than obvious. This method saves you time and effort, especially when you want a discreet fix. No-stitch patches are versatile and suitable for various materials, allowing you to repair tears efficiently without sacrificing the appearance or durability of your fabric. Understanding fabric compatibility ensures your repair holds up well over time and maintains the item’s original look. Furthermore, selecting a patch designed for sustainable repairs can contribute to more eco-friendly mending practices. Incorporating these patches can also be a way to preserve vintage or cherished items, giving them a renewed life. To maximize durability, it’s helpful to choose patches that are made from high-quality materials, ensuring a longer-lasting repair. Additionally, considering the type of tear can help you select the most effective patching method for optimal results.
How to Choose the Right Adhesive and Patch Material

Choosing the right adhesive is key to a successful patch, so make sure it’s compatible with your tear’s material. You also want a patch that’s durable enough to withstand regular use and stress. Color accuracy impacts the overall appearance of the repair, ensuring it blends seamlessly with the surrounding area. Additionally, considering the material’s origin can help determine the most suitable adhesive, especially when dealing with unique fabrics or surfaces. Using an appropriate surface preparation technique can improve adhesion and extend the longevity of your repair. Incorporating professional guidance and expert insights from architectural professionals can further enhance your repair’s durability and aesthetic. By selecting the appropriate combination, you’ll guarantee a long-lasting repair that holds tight over time. Incorporating creative problem-solving into your approach can help you find innovative solutions for seamless repairs.
Compatibility of Adhesives
Selecting the right adhesive and patch material is essential to guarantee a successful repair. You need to verify the adhesive has sufficient adhesive strength to hold the patch securely, especially in areas subject to stress or movement. adhesive strength is crucial to ensure the patch stays in place and doesn’t peel away over time. Equally important is the material flexibility; both the patch and adhesive should bend and stretch with the fabric without cracking or peeling. Compatibility between the adhesive and patch prevents issues like bubbling or detachment over time. Always check the manufacturer’s recommendations to confirm the adhesive works with your specific fabric or material. Testing a small area first can save you from larger mistakes. When you choose compatible adhesives and patches, your repair will look more natural and last longer, making the tear less noticeable and more durable. Understanding net worth growth hacks can also help you invest in higher-quality repair materials if needed for frequent or valuable repairs. Additionally, considering material properties ensures the longevity of your repair, especially when dealing with flexible or stretchable fabrics. Properly applying the adhesive in accordance with air purifier maintenance dos and don’ts can also prevent damage to delicate fabrics during the repair process. Being aware of environmental conditions such as moisture and temperature can further influence the durability of your patch over time.
Choosing Durable Patch Materials
To guarantee your patch holds up over time, you need to pick durable materials that can withstand stress and movement. First, ensure fabric compatibility so the patch adheres properly and doesn’t damage the original material. Second, select a patch material with enough thickness and flexibility to endure wear. Third, consider adhesive strength; a strong adhesive ensures the patch stays in place without peeling or lifting. Fourth, choose a patch that matches the fabric’s color and texture for a seamless look. Proper material choice prevents future tears and maintains the garment’s integrity. Additionally, selecting weather-resistant materials can help your repair withstand outdoor conditions. Incorporating fabric compatibility ensures the patch bonds well without causing additional damage. Remember, combining fabric compatibility with high adhesive strength is key to a durable, long-lasting repair that looks intentional.
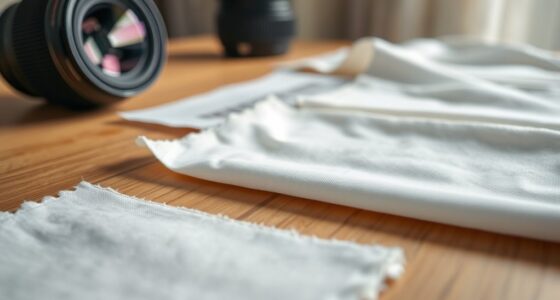
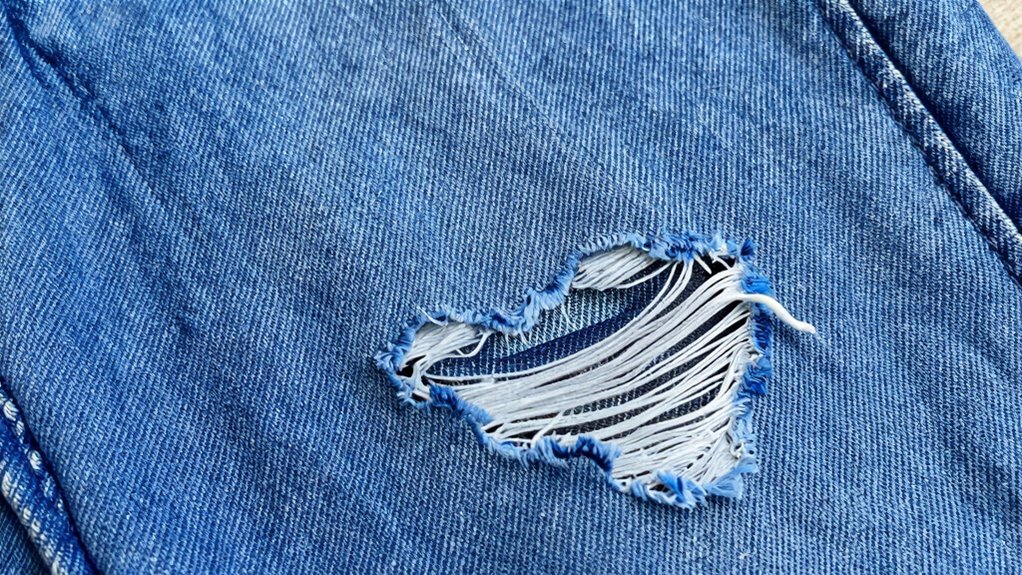
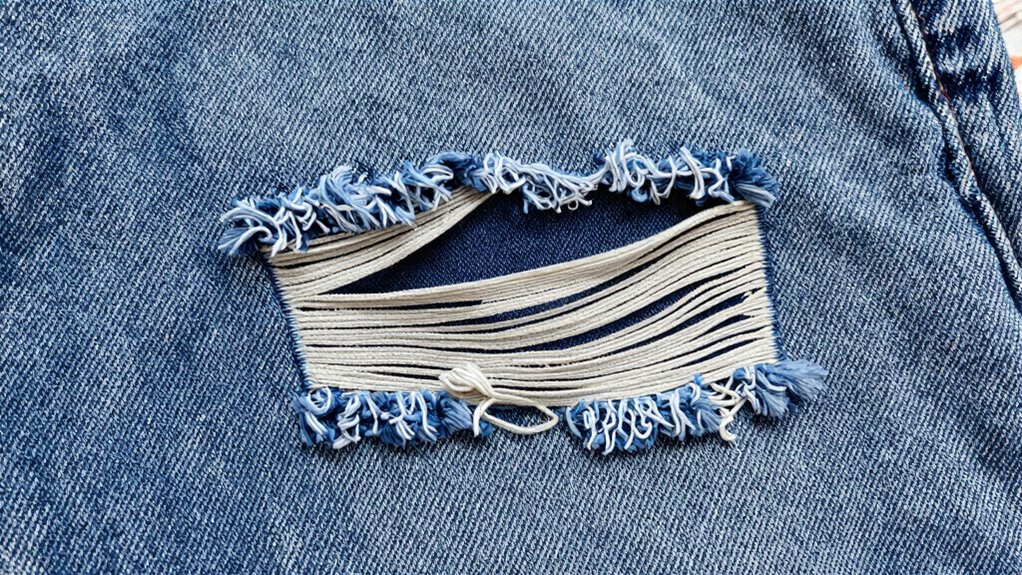
Preparing Your Fabric or Leather Item for Repair

Before you start patching, making sure your fabric or leather item is properly prepared is essential. For fabric, begin with fabric prep by gently cleaning the area to remove dirt, oils, and debris. If needed, lightly press or smooth out wrinkles to create a flat surface. For leather, focus on leather conditioning to hydrate and soften the material, making it easier to handle and guaranteeing a smoother patch application. Use a mild cleaner or leather conditioner suitable for your item, and let it absorb fully before proceeding. Removing any loose threads or frayed edges also helps create a clean, stable surface. Proper preparation ensures the patch adheres securely while making the repair look intentional and neat. Additionally, understanding material compatibility can help you choose the most effective repair method for your specific item. Being aware of surface preparation techniques ensures the patch bonds effectively and looks seamless. Incorporating cleaning techniques tailored to your material can further improve adhesion and overall repair quality. Paying attention to adhesion methods can also contribute to a more durable and visually appealing repair.
How to Apply a No-Stitch Patch in Simple Steps

First, gather all the necessary materials, including the patch, adhesive, and cleaning supplies. Next, carefully follow the application steps to make certain of a secure and seamless repair. With the right tools and instructions, you’ll make the patching process quick and straightforward. Incorporating smart home technology can also help monitor the repair area for any future issues or damage. To ensure the patch remains effective over time, consider selecting durable materials that resist wear and tear, making your fix both functional and visually appealing. Additionally, choosing appropriate adhesive ensures a stronger bond and longer-lasting repair. Ensuring proper load calculations can help you select the best materials and techniques for your specific patching needs, especially if the repair involves structural components.
Gather Necessary Materials
Gathering the right materials is the first step to successfully patching a tear with a no-stitch patch. You want to guarantee your fabric is properly prepared for a seamless repair. First, select a patch that matches your fabric care needs and color. Second, gather cleaning supplies like stain removal agents to ensure the fabric is spotless before applying the patch. Third, grab scissors to trim the patch to the right size. Fourth, have an iron or heat source ready to activate adhesive if needed. Having these materials on hand helps you work efficiently and assures the patch adheres well, making the repair look intentional. Proper preparation minimizes imperfections and keeps your fabric looking its best after the patch.
Follow Application Steps
Once you have your materials ready, applying the no-stitch patch is straightforward. Begin by verifying the fabric textures around the tear are clean and dry. Select the appropriate adhesive type—some adhesives work better with smooth fabrics, while others are designed for textured or rough surfaces. Carefully peel off the backing of the patch and position it over the tear, making sure it aligns well. Press firmly to secure the patch, applying even pressure across the surface. For best results, follow the manufacturer’s instructions regarding drying or curing times. Using the right adhesive type ensures a strong bond, and understanding fabric textures helps you choose the most compatible patch. Additionally, fabric compatibility is key to ensuring the patch adheres properly and looks intentional, helping your repair last longer. With these simple steps, your repair will look intentional and last longer.
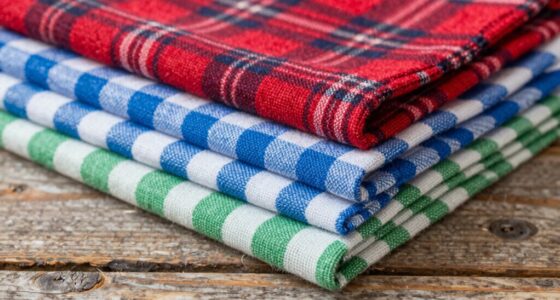
Tips for Making Your Patch Look Stylish and Deliberate
To guarantee your patch looks intentional and stylish, focus on choosing contrasting or complementary fabrics that add visual interest. This approach aligns with current fashion trends, making your repair look deliberate and chic. When selecting fabric, consider:
- Bright colors that pop against neutral backgrounds
- Coordinating hues for a subtle, cohesive look
- Patterned fabrics to create eye-catching detail
- Textured materials to add depth and dimension
These choices help your patch stand out as a fashion statement rather than a mere fix. Keep color coordination in mind to ensure harmony, whether you opt for bold contrast or subtle blending. By thoughtfully selecting fabrics, your patch becomes an intentional accessory that elevates your garment’s style and reflects your personal taste.
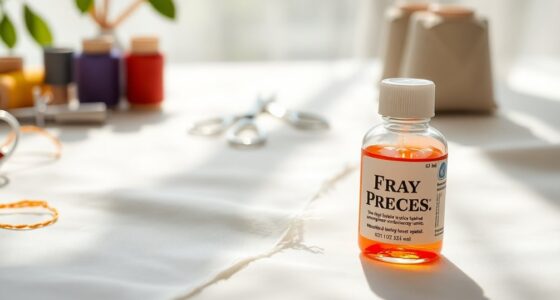
How to Blend Edges and Make the Repair Seamless

Achieving a seamless repair requires carefully blending the patch edges into the surrounding fabric. Start by trimming any excess material from the patch so it sits flush with the fabric. Use edge blending techniques, such as gently fraying the edges or applying a thin layer of fabric adhesive around the perimeter, to soften the transition. Color matching is essential—choose thread, fabric paint, or markers that closely resemble your garment’s color. Lightly blending the edges with these tools helps hide the seam and creates a unified look. Take your time to blend gradually, ensuring no harsh lines or visible borders remain. With precise edge blending and careful color matching, your repair will look intentional and almost invisible.
Ensuring Your Patch Lasts: Durability Tips
After blending your patch edges and matching colors, it’s important to focus on making the repair durable so it lasts through everyday wear and washing. To guarantee longevity, consider these tips:
- Use fabric patterns that complement the original material, reducing strain on the patch.
- Choose a fabric color matching closely with your garment to hide the repair and prevent fading.
- Apply a sturdy adhesive designed for fabrics to reinforce the bond, especially around edges.
- Avoid stretching or pulling the patched area during use or washing, which can weaken the repair.
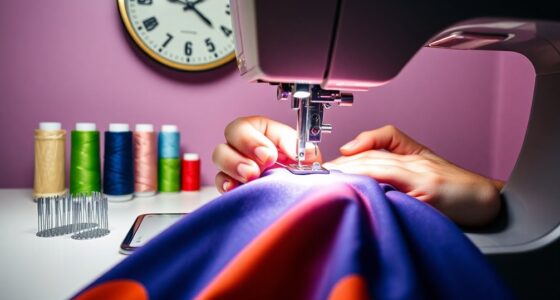
Common Mistakes to Avoid When Patching Without Sewing

When patching a garment without sewing, it’s easy to make mistakes that can weaken your repair or make it look unprofessional. One common mistake is choosing the wrong sewing alternatives, like using too much adhesive or not applying it evenly, which can cause the patch to peel or wrinkle. Avoid neglecting patch design ideas that complement your garment; mismatched shapes or sizes can stand out rather than blend in. Another mistake is not preparing the fabric properly—clean and dry surfaces assure better adhesion. Also, rushing the process can lead to bubbles or uneven edges. Take your time to carefully place and press the patch, and consider the visual outcome. Steer clear of these pitfalls to achieve a seamless, intentional look with your no-stitch repair.
Creative Ideas to Personalize Your No-Stitch Repair

Adding a personal touch to your no-stitch repair can turn a simple fix into a stylish statement. You can easily customize your patch with DIY embellishments to match your style. Here are some ideas to elevate your repair:
- Use fabric paint or markers to add designs or patterns that complement the item.
- Incorporate patches or appliqués for a unique, layered look.
- Select a patch with bold colors or patterns for eye-catching color coordination.
- Sew on decorative trims or embroidery around the repair site to add texture and flair.
These creative touches make your repair look intentional and personalized. By choosing the right DIY embellishments and coordinating colors, you turn a basic patch into a fashion statement that reflects your personality.
Maintaining and Caring for Your Patched Item
Once you’ve personalized your no-stitch repair with creative embellishments, it’s important to give your patched item proper care to guarantee it stays in great shape. Proper fabric care involves gentle washing and avoiding harsh detergents that can weaken the adhesive. When cleaning, opt for hand washing or use a delicate cycle, and air dry whenever possible. This helps preserve the integrity of the patch and prevents peeling or loosening. Additionally, avoid excessive stretching or friction that could compromise the adhesive’s longevity. If you need to iron or press the item, use a low heat setting and place a cloth between the iron and the patch to prevent damage. Following these care tips ensures your repair remains secure and looks intentional for a long time.
Frequently Asked Questions
Can This Patching Method Work on All Fabric Types?
This patching method can work on many fabric types, but fabric compatibility varies. For delicate or stretchy fabrics, verify if the adhesive provides enough strength without damaging the material. Generally, it works well on cotton, denim, and canvas, offering good adhesive strength. However, for silk or other fragile fabrics, test a small area first to ensure the patch adheres securely without causing harm.
How Long Does a No-Stitch Patch Typically Last?
A no-stitch patch typically lasts several months to a year, depending on wear and tear. Its durability lifespan varies with fabric type and activity level, but with proper application, you can expect solid repair longevity. Heavy use or rough handling might shorten this timeframe, so it’s best for light to moderate wear. Regular checks and reapplications can help maintain the patch’s effectiveness and extend its lifespan.
Is Special Equipment Needed for a Seamless Repair?
You don’t need special equipment for a seamless repair—just fabric glue and a thoughtful patch design. Fabric glue easily bonds the patch to your fabric, creating a smooth, sturdy seal. By choosing a patch that complements your fabric’s color and pattern, you make your fix look intentional and stylish. No sewing machine or tools are necessary, making the process simple, swift, and surprisingly satisfying.
Can I Remove the Patch Later Without Damage?
Yes, you can remove the patch later without damage if you use fabric glue designed for removability, but it might affect patch longevity. To prevent damage, gently peel the patch starting from an edge and apply heat or a solvent if needed. Keep in mind, removable adhesives may not last as long, so for a more durable fix, choose a strong adhesive and consider the long-term wear of your repair.
Are There Eco-Friendly Adhesive Options Available?
Yes, eco-friendly adhesive options exist, and you’re in luck if you love saving the planet while fixing tears. Biodegradable adhesives are available, so your patch can break down naturally without harming Mother Earth. Pair that with reusable patches, and you’ve got a sustainable repair kit that’s both guilt-free and effective. Why settle for wasteful fixes when you can embrace eco-conscious solutions that stick around—just like your commitment to the environment?
Conclusion
Now you’ve mastered the art of patching without stitches—who needs sewing when you can make repairs look intentional and stylish? It’s almost ironic how simple it is to turn a tear into a trendy detail, saving time and effort. So go ahead, embrace your new skill and watch everyone marvel at your “design.” Just remember, in the world of quick fixes, sometimes the best “stitch” is no stitch at all.