Understitching is an essential sewing technique that helps you achieve a polished look in your garments. It secures the seam allowance to the facing or lining, preventing it from rolling to the outside, especially at necklines and armholes. Unlike topstitching, it offers a clean finish without adding bulk. By mastering understitching, you'll enhance durability and the professional appearance of your projects. Continue exploring the details, and you'll discover even more effective tips and applications for this technique.
Key Takeaways
- Understitching is a sewing technique that secures seam allowances to facings, preventing unwanted rolling at necklines and armholes.
- It enhances the durability and neatness of garment finishes without adding bulk, unlike traditional topstitching.
- Commonly applied around necklines, armholes, waistlines, and pocket constructions for a polished look.
- The process involves sewing through the seam allowance and lining, followed by pressing for a clean finish.
- Mastering understitching improves overall garment quality, making it essential for professional-looking sewing projects.
Understanding Understitching and Its Importance
Understitching is an essential technique in sewing that plays a significant role in achieving a polished finish for your garments.
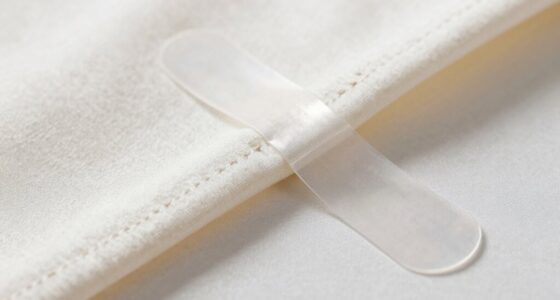
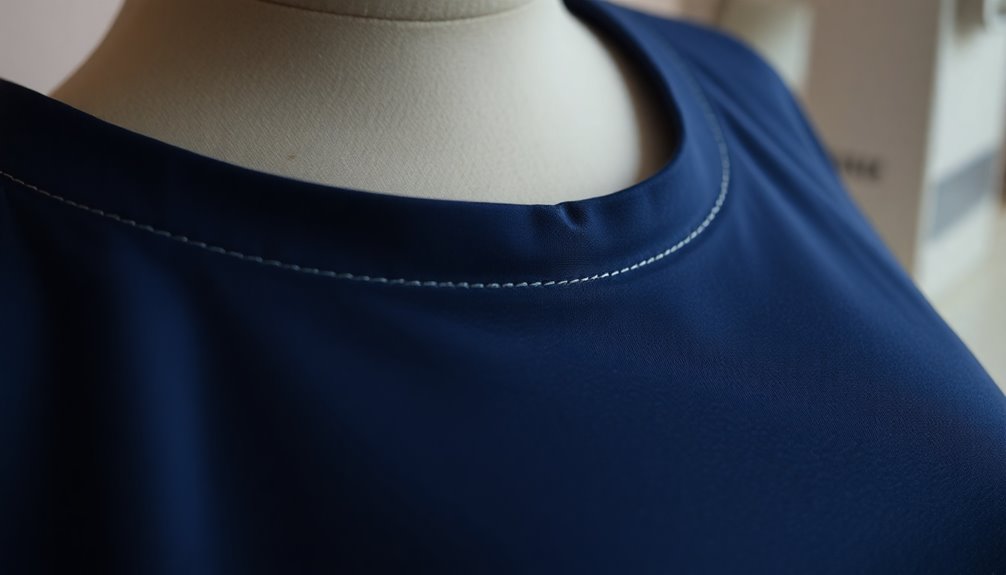
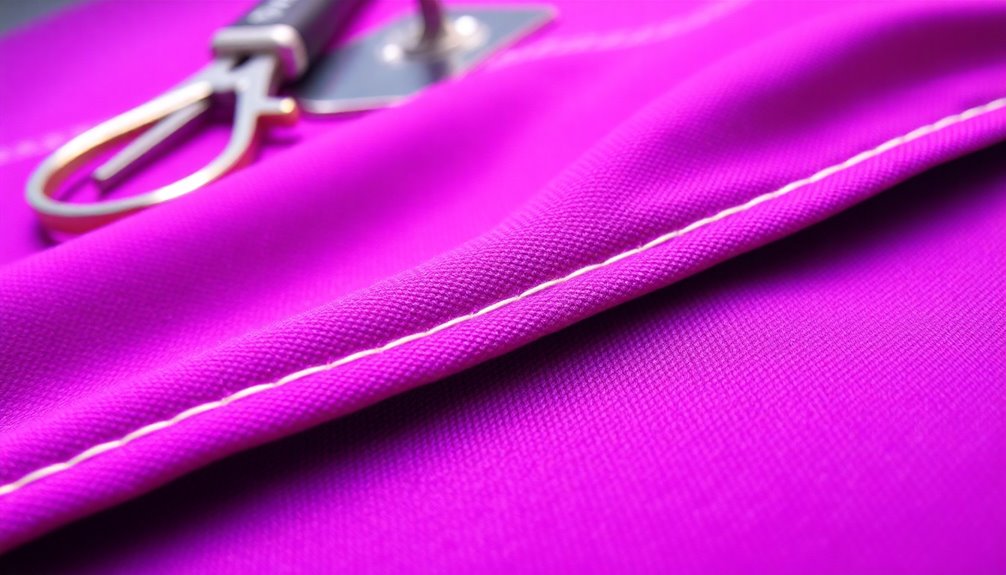
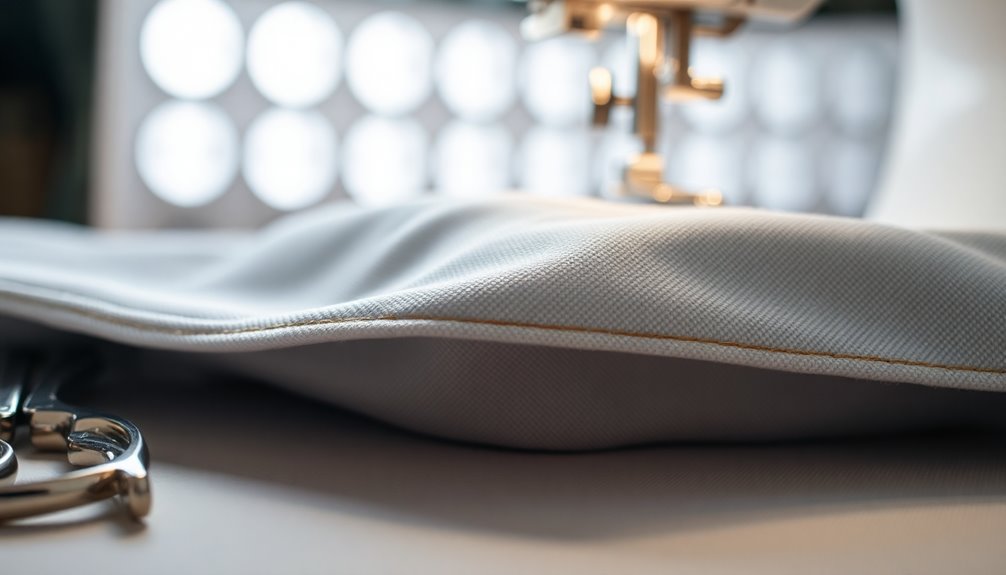
This method involves sewing a line of straight stitching just beyond the seam line to secure the seam allowance to the facing or lining. It's particularly important for preventing facings from rolling to the outside, especially around necklines and armholes.
By keeping the stitches hidden inside, understitching guarantees a clean finish without adding bulk, unlike topstitching. Furthermore, it enhances the durability of your pieces by keeping seam allowances in place.
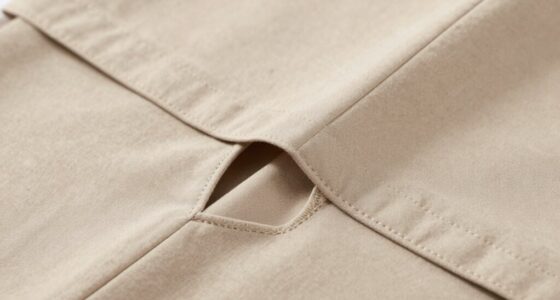
Common applications include necklines, armholes, waistlines of lined skirts, and pockets on trousers, making understitching a versatile technique in garment construction.
Practical Applications of Understitching
One of the most practical applications of this sewing technique is around necklines and armholes, where it effectively prevents facings from rolling outward. By incorporating understitching, you guarantee a clean edge, enhancing the overall appearance of your garment.
Here are some other areas where this technique shines:
- Waistlines: Keeps lining neatly tucked in for a polished finish.
- Pocket constructions: Enhances neatness in trousers and skirts.
- Pleats: Maintains sharp edges, securing pleats in place.
- Home décor: Perfect for crib skirts and pillow seams, providing a refined look.
Incorporating understitching in these areas elevates your garment construction, guaranteeing a professional finish that stands out.
Step-by-Step Guide to Understitching
To achieve a professional finish in your sewing projects, mastering the technique of understitching is essential.
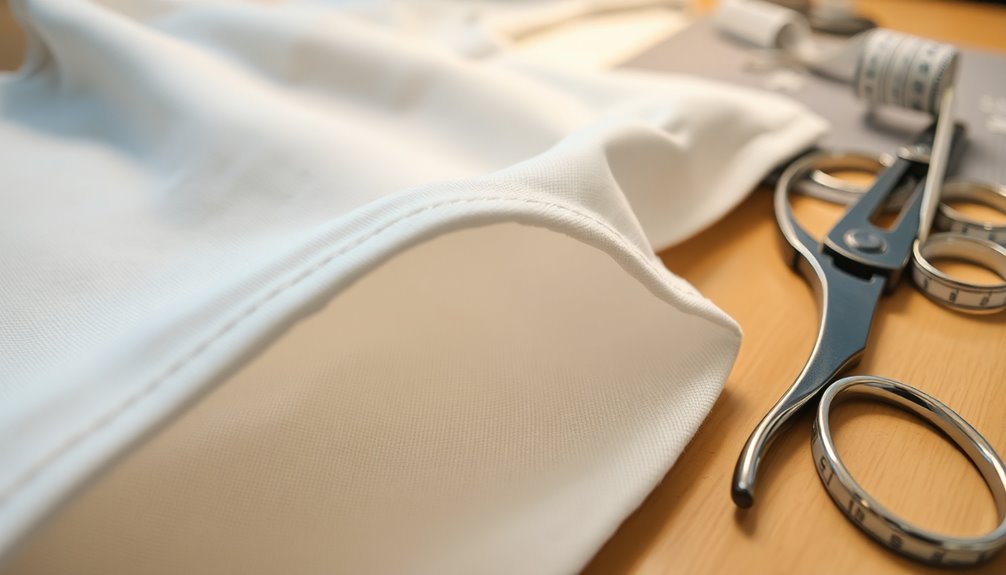
Start by stitching two fabric pieces with the right sides together, following the specified seam allowance. Once you've stitched the seam, trim one seam allowance to about 1/4 inch and grade it to reduce bulk.
Press the seam allowance away from the garment, clipping the seam on concave curves and notching convex curves for a smoother finish.
Next, stitch approximately 1/8 to 1/4 inch from the seam line, ensuring you go through the seam allowance and lining piece.
Finally, fold the pieces back along the seam line and press the seam allowance to achieve a sharp, clean finish, keeping the lining hidden inside.
Tips for Successful Understitching
While mastering understitching can elevate your sewing projects, a few key tips can help guarantee success:
- Choose the Right Thread Color: Match your thread to the facing for an invisible finish on the exterior.
- Use an Edge Joining Presser Foot: This provides greater precision and control during understitching.
- Maintain Left Needle Position: Keep the needle in the left position for consistent distance from the original seam.
- Clip Seam Allowances: On curved seams, clip the seam allowances before understitching to achieve a flatter finish.
After understitching, be sure to press for a sharp edge, ensuring your garment construction looks neat and polished.
Projects to Enhance Your Understitching Skills

As you explore projects that enhance your understitching skills, you'll discover how this technique can transform your sewing results.
Start by applying understitching to necklines and collars, which helps maintain clean seams and prevents facings from rolling out. Try it on pockets of trousers or skirts to elevate the neatness and polish of your garments.
Consider tackling projects like the Reggie dress or Kennedy's bias facing for a professional finish. Don't forget to test your skills with lined skirts without waistbands and bindings; this guarantees smooth appearances and secure seam allowances.
Engage with community patterns, such as Itch to Stitch's Davina Dress or Liana Stretch Jeans, where understitching is often featured for a refined look in your finished garments.
Frequently Asked Questions
What Is Understitching in Sewing?
Understitching in sewing is a technique where you sew a line of stitching just beyond the seam line to secure the seam allowances to the lining or facing. This technique helps to keep the seam allowances from being visible on the outer fabric, giving the garment a clean and polished look. Additionally, it can help to reduce bulk in areas where the seam allowances may be thick. When learning about various sewing methods, one might also explore backstitching techniques in cross stitching, which provide a strong and durable finish to hand-stitched designs. These methods enhance both the appearance and longevity of the finished project.
This prevents the fabric from rolling out and becoming visible, giving your garment a polished look.
You'll typically do this around necklines and armholes, enhancing the overall appearance of your project.
It's a simple yet effective way to elevate your sewing skills.
What Is the Objective of Understitching?
Imagine the smooth silhouette of a tailored garment, where every curve whispers perfection.
The objective of understitching is to secure the seam allowance to the lining or facing, keeping it snugly in place. You'll notice how it prevents the fabric from rolling out, ensuring clean, sharp edges around necklines and armholes.
What Is the Difference Between Understitching and Top Stitching?
Understitching and topstitching serve different purposes in sewing.
When you understitch, you secure the seam allowances to the lining or facing, keeping them flat and hidden for a professional finish.
In contrast, topstitching is visible on the outside and adds decorative flair.
While understitching maintains the garment's integrity without adding bulk, topstitching can enhance aesthetics or provide reinforcement, making each technique valuable in its own right.
Choose wisely based on your project's needs!
How to Do an Understitch on a Sewing Machine?
Doing an understitch on a sewing machine is like guiding a ship through calm waters; precision is key.
Start by sewing your fabric pieces right sides together, then press the seam allowance toward the lining. Trim the seam and clip curves as needed.
With the fabric wrong side up, sew a straight line through the seam allowance, staying 1/8 to 1/4 inch from the original seam.
Finally, press for a polished finish.
Conclusion
Understitching might seem like a small detail, but it's the backbone of a polished garment, much like a strong foundation supports a beautiful house. I remember the first time I saw a dress I made hang perfectly because of that little technique; it felt like watching a flower bloom. So, as you begin your sewing journey, remember that mastering understitching isn't just about technique—it's about crafting pieces that truly shine and stand the test of time.