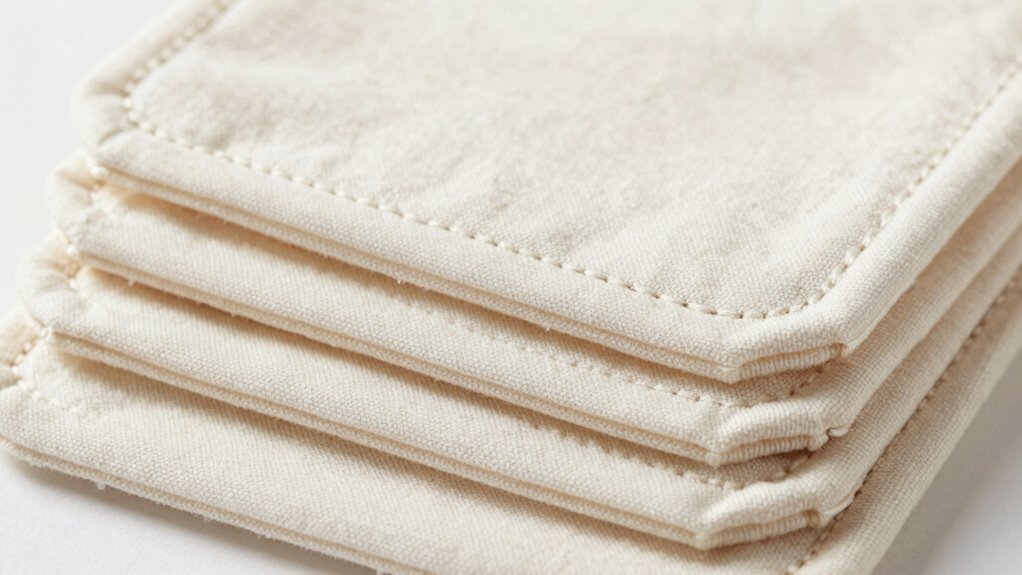

To achieve a clean finish for fabric coasters using the turn-and-topstitch method, you start by sewing around the edges with a small seam allowance, then turn the coaster right-side out, pushing out the corners for a neat look. Next, you press the edges flat and add topstitching close to the border for durability and a polished appearance. Continuing with this technique will help you create professional-looking, durable coasters that add a stylish touch to your space.

Get tools and workshop supplies delivered free — and shop member deals
- Fast, free delivery on millions of items
- Access to Prime Big Deal Days deals on October 6–7
- Prime Video, Amazon Music and more included
Key Takeaways
- The turn-and-topstitch method creates a neat, professional finish by turning fabric right side out and adding decorative, durable topstitching.
- Proper fabric selection and preparation prevent puckering, ensuring smooth edges before sewing and turning.
- Sew edges with a small gap, turn right side out, and press edges flat before applying topstitch for a clean look.
- Adjust machine tension and presser foot pressure to avoid puckering and ensure even, secure topstitching.
- Regular machine maintenance and practice improve technique, resulting in durable, visually appealing fabric coasters.
As an affiliate, we earn on qualifying purchases.
What Is the Turn-and-Topstitch Method for Fabric Coasters?

The turn-and-topstitch method is a popular technique for making fabric coasters that results in a clean, professional finish. This sewing technique involves turning the fabric right side out after sewing the edges closed, then topstitching around the border. It’s an effective way to create a polished look while securing all layers securely. As you work through this method, you’ll focus on precise fabric finishing, ensuring smooth edges and a neat appearance. The process enhances durability, making your coasters resistant to wear and tear. Plus, it adds a decorative element that highlights your sewing skills. Proper sewing techniques are essential for achieving consistent results and a high-quality finish. Additionally, practicing finishing methods like this can improve your overall sewing craftsmanship. Developing finishing techniques can significantly elevate the professionalism of your handmade projects. Overall, the turn-and-topstitch technique is an excellent choice for achieving a sleek, functional, and visually appealing fabric coaster. Mastering this method also helps you gain confidence in your sewing skills and encourages exploring other advanced sewing techniques.
Gather Your Supplies and Prepare Your Fabric
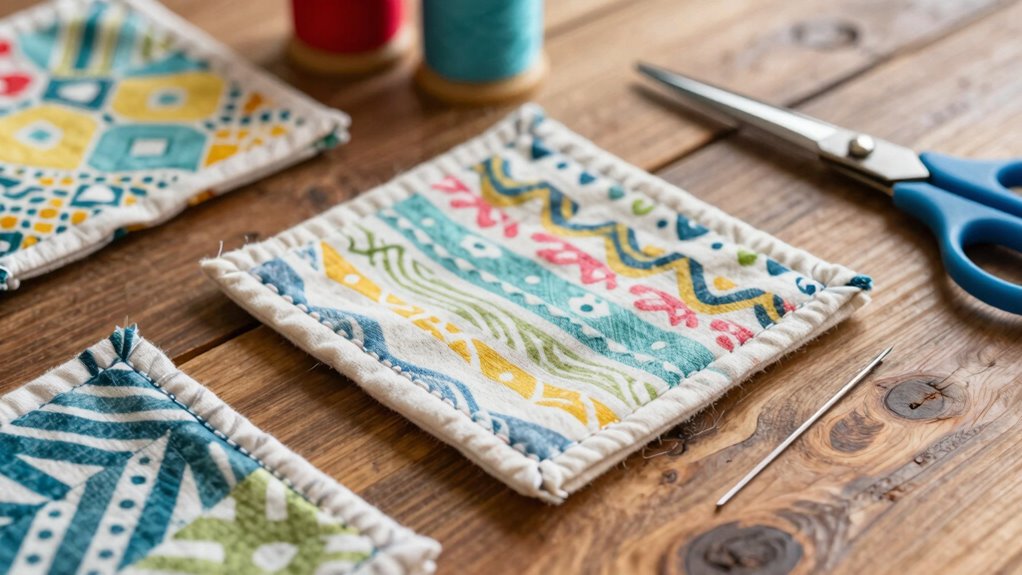
Before you begin sewing your fabric coasters, gather all the necessary supplies and prepare your fabric. Start by choosing a fabric selection that’s absorbent and durable, such as cotton or linen, ensuring it’s appropriate for coasters. Next, gather your sewing tools, including scissors, pins, a sewing machine, and a ruler or measuring tape. Wash and iron your fabric to remove wrinkles and preshrink it, which helps prevent distortion later. Cutting your fabric to the desired size, typically around 4×4 inches, makes it easier to achieve a precise and professional-looking finish, especially when combined with accurate cutting techniques. Make sure to cut accurately for a clean finish. Organize your supplies within easy reach so you can work smoothly. Proper preparation of your fabric and tools sets a solid foundation for a successful turn-and-topstitch coaster project. Additionally, understanding auditory processing can help in designing projects that require focused mental engagement. Developing your fabric selection skills ensures that your coasters will be both functional and long-lasting. Incorporating indigenous wellness practices into your routine can also promote a mindful and balanced approach to crafting and everyday life. Being aware of client satisfaction principles can guide you in creating designs that meet user needs.
Cutting and Assembling Fabric for a Clean Finish
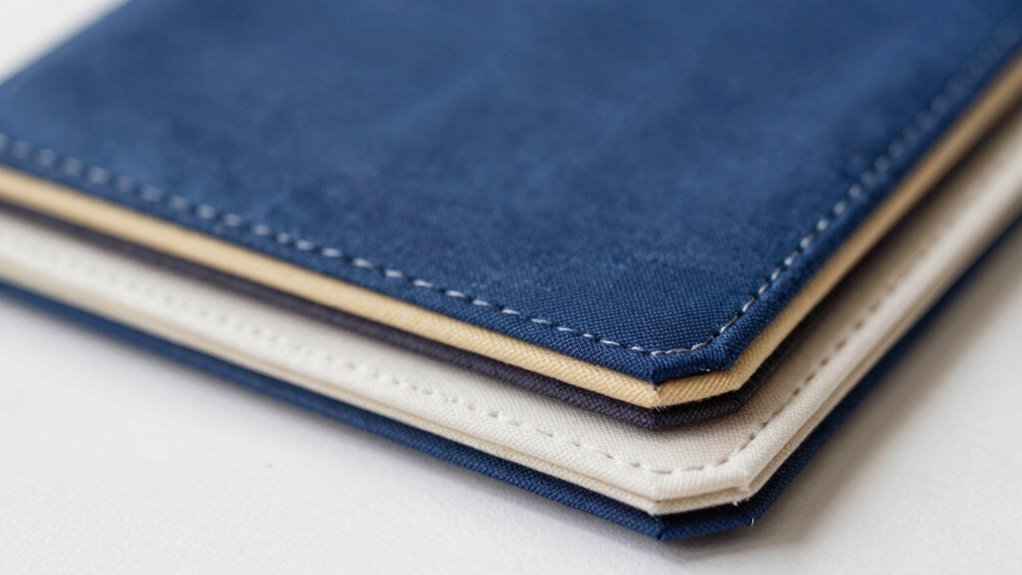
To achieve a professional-looking coaster, you need to cut your fabric precisely and assemble it carefully. Start by measuring and marking your fabric, paying close attention to the dimensions needed for your coaster. When fabric cutting, include seam allowances—typically ¼ inch—so your finished piece maintains its size and shape. Use sharp scissors or a rotary cutter for clean, accurate cuts. Align your fabric pieces carefully before cutting to prevent uneven edges. Proper fabric cutting and careful assembly with consistent seam allowances lay a solid foundation for a clean, polished finish in your coaster project. Understanding seam allowances is essential to ensure your coaster maintains its intended size and professional appearance. Paying attention to fabric grain can also help prevent distortion and ensure a smooth finish. Additionally, checking your fabric stretch can help maintain stability and prevent puckering in the final product. Being mindful of fabric stability throughout the process can further enhance the durability and look of your finished coaster. Incorporating fabric stabilization techniques can improve seam accuracy and overall quality.
Step-By-Step: Sewing With the Turn-And-Topstitch Technique
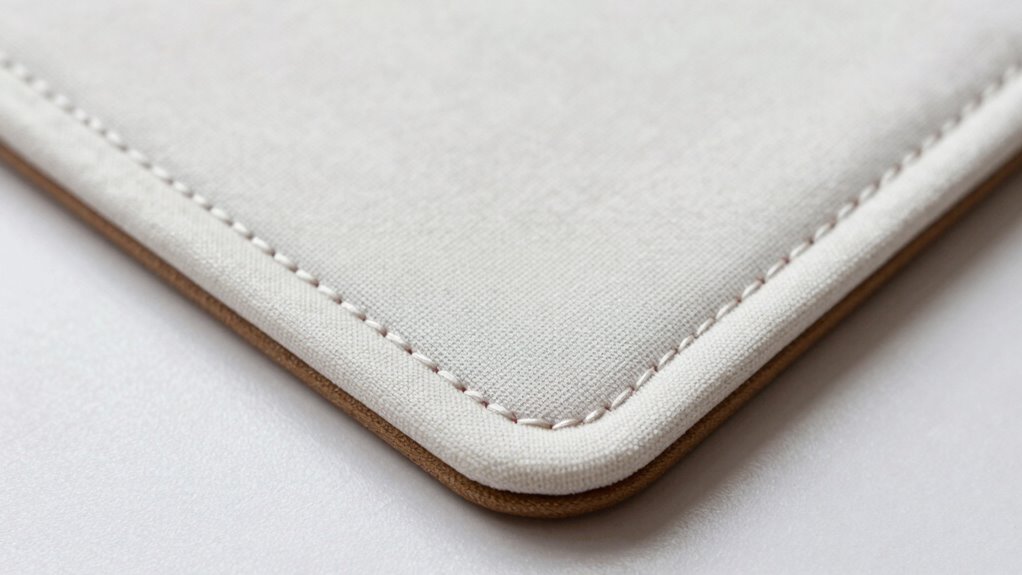
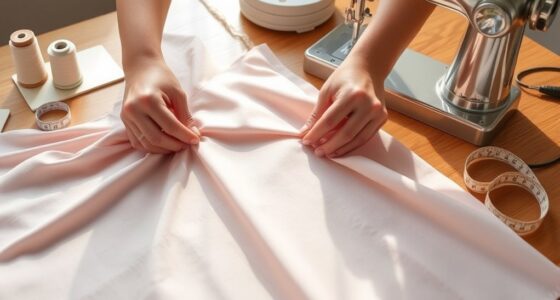
Sewing with the turn-and-topstitch technique involves a precise sequence that gives your coaster a professional finish. Begin by folding your fabric edges neatly and pinning them in place, ensuring the eco-friendly materials stay aligned. Sew around the edges, leaving a small gap for turning. Carefully turn your coaster right-side out, smoothing all corners for a clean look. Press the edges flat to prepare for topstitching, which secures the seams and adds durability. When topstitching, keep your stitches close to the edge for a polished appearance. This method not only enhances the fabric care by preventing fraying but also guarantees your coaster remains sturdy over time. Using eco-friendly materials makes your project sustainable, and proper sewing techniques protect your investment in quality, environmentally conscious fabric. Additionally, maintaining consistent stitch length is crucial for achieving a high-quality finish and ensuring the longevity of your coaster. Paying attention to sewing machine settings can further enhance the precision and durability of your project, especially when considering seam techniques that reinforce the edges.
Tips for Achieving Perfect, Durable Topstitching
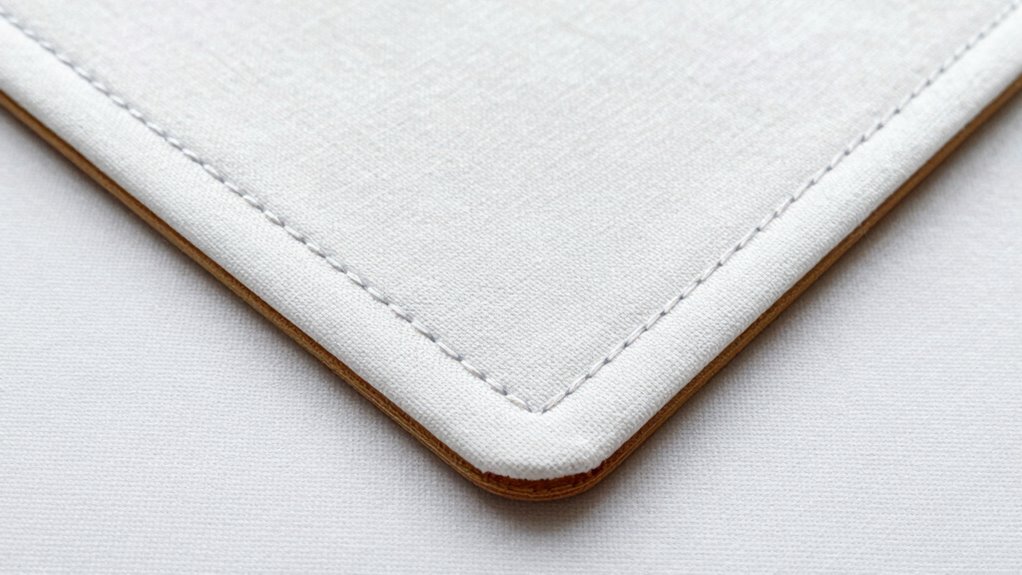
Achieving perfect, durable topstitching requires attention to detail and the right techniques. Start with fabric selection tips: choose sturdy, tightly woven fabrics to prevent puckering. Keep your sewing machine well-maintained by regularly cleaning and oiling it to ensure smooth stitches. Use a sharp needle suited for your fabric to avoid skipped stitches. Here’s an imagery guide:
| Fabric Type | Thread Choice | Stitch Length |
|---|---|---|
| Cotton canvas | Heavy-duty polyester | Longer (3-4 mm) |
| Linen or denim | All-purpose polyester or nylon | Medium (2-3 mm) |
| Upholstery fabric | Quilting thread | Short (2 mm) |
| Felt or fleece | Polyester or nylon | Slightly longer |
These tips help guarantee your topstitching remains consistent, strong, and professional-looking. Paying close attention to fabric quality can make a noticeable difference in your finished project. Additionally, selecting the appropriate thread type can further enhance durability and appearance. Ensuring proper sewing machine settings also plays a critical role in achieving a professional finish. Being mindful of stitch tension can prevent issues like puckering or uneven stitches, further improving your results. Moreover, understanding youngster choices in fabric and thread options can help optimize your results for specific projects.
Troubleshooting Common Sewing Challenges
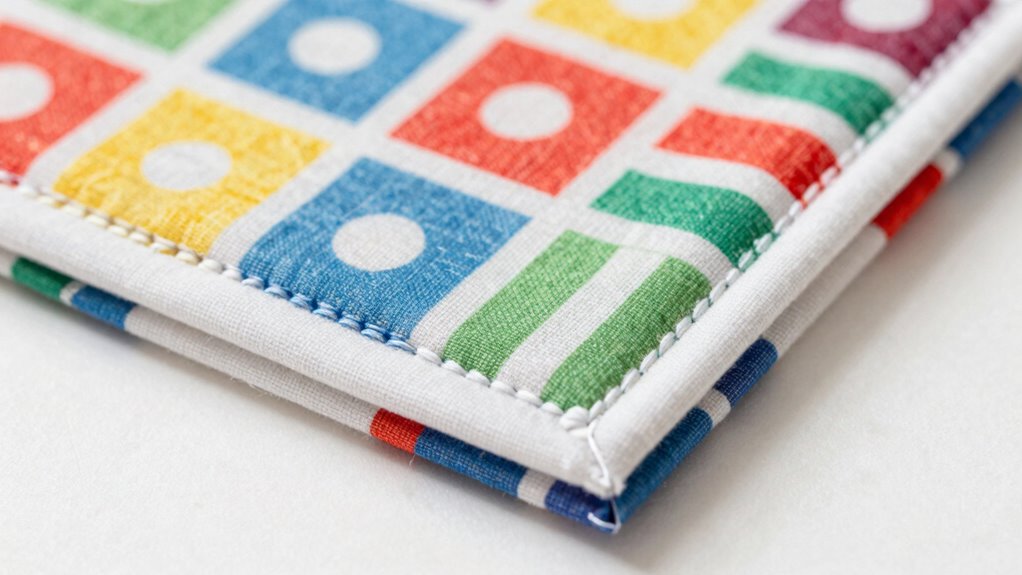
Even experienced sewists encounter common challenges that can disrupt the flow of their projects. If your stitches are uneven or your fabric shifts, it might be time for some sewing machine maintenance. Regularly clean and oil your machine to prevent skipped stitches and jams. When facing puckering or bunching, consider fabric selection tips—choose fabrics with stable weaves and avoid slippery or stretchy materials for coaster projects. Adjust your tension settings and ensure your presser foot pressure is appropriate. Double-check seam allowances and pin your fabric layers securely to prevent shifting. If you struggle with thread breakage, switch to high-quality thread suited for your fabric type. Addressing these issues early keeps your project smooth and frustration-free, resulting in perfectly finished fabric coasters. Additionally, practicing proper sewing techniques can help improve your overall results. Regularly inspecting your sewing machine’s maintenance schedule can also extend its lifespan and performance, making your projects more enjoyable. Being aware of your appliance maintenance plans can help keep your sewing tools in optimal condition, ensuring consistent results. Incorporating curiosity about your tools and techniques can lead to innovative solutions for common sewing problems.
Creative Ideas to Personalize Your Fabric Coasters
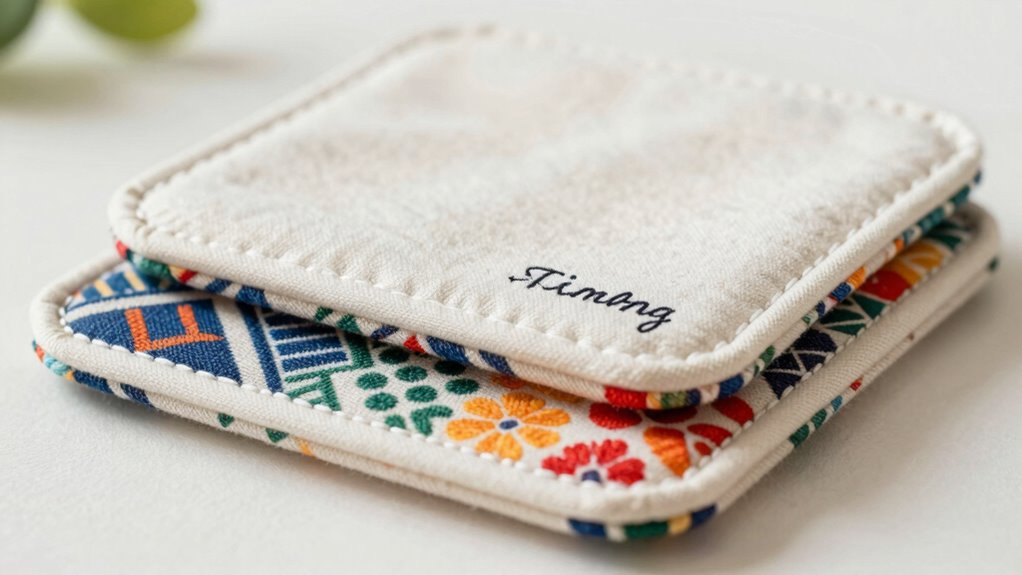
You can make your fabric coasters truly unique by adding personalized embellishments like embroidered initials or small charms. Experiment with colorful fabric combinations to create eye-catching designs that match your style or home decor. These simple touches let you craft coasters that are both functional and one-of-a-kind.
Personalized Embellishments Ideas
Personalized embellishments add a special touch to your fabric coasters, making them unique and memorable. Using different embellishment techniques, you can incorporate meaningful symbols, initials, or motifs that reflect your personality. These small details elevate your fabric customization, transforming simple coasters into personalized keepsakes.
Consider these ideas:
- Embroidery: Hand-stitch initials or small designs for a delicate, handcrafted feel.
- Appliqué: Attach contrasting fabric shapes or patterns to add dimension and visual interest.
- Fabric Painting: Use fabric-safe paints to create custom images or messages that speak to your style or occasion.
Each embellishment technique allows you to express yourself, making each coaster a true reflection of your creativity.
Colorful Fabric Combinations
Mixing vibrant fabric combinations can instantly elevate your coaster designs and make each piece stand out. When selecting fabric color combinations, aim for contrast or complementary shades that create visual harmony. Bright hues like teal paired with coral or mustard combined with navy add energy and appeal. Consider using patterned fabrics alongside solids to add depth without overwhelming the design. Keep in mind that balancing bold and subtle colors helps maintain cohesion. You can also experiment with monochromatic schemes for a sleek look or mix different textures for tactile interest. By thoughtfully combining fabrics, you personalize your coasters and craft visually appealing pieces that catch the eye. The key is to balance colors to achieve harmony while highlighting your unique style.
Frequently Asked Questions
What Types of Fabric Are Best Suited for This Method?
You should choose fabrics with good fabric durability and ease of handling for this method. Cotton, linen, and canvas are ideal because they hold up well and are easy to turn and topstitch. Avoid delicate or stretchy fabrics, as they can be difficult to work with and may not maintain their shape. Your fabric selection impacts the coaster’s longevity and appearance, so pick sturdy, tightly woven materials for best results.
Can This Technique Be Used for Other Sewing Projects?
Oh, absolutely! You can totally use this technique for decorative appliqué or fabric layering in your sewing projects—just like a crafty magician. Imagine turning your plain fabric into a stunning masterpiece with neat edges and secure layers. Whether it’s a quilt, pillow, or even a fancy bag, this method helps achieve clean finishes and professional-looking details, elevating your sewing game and making your projects look impressively polished.
How Do I Prevent Puckering During Topstitching?
To prevent puckering during topstitching, you should first adjust your tension to a slightly lower setting for smoother stitches. Also, use pressing techniques to keep edges crisp and flat before sewing. Keep your fabric taut but not stretched, and sew slowly, especially around curves. These steps help maintain even tension, reduce puckering, and give your finished project a professional look.
What Tools Help Improve Topstitching Accuracy?
Like a navigator with a compass, you’ll find sewing machine settings and marking tools essential for topstitching accuracy. Adjust your machine’s stitch length and tension for even stitches, and use marking tools to create precise guide lines. These tools act as your roadmap, helping you sew straight and neat lines. Together, they enhance your control, making your topstitching look professional and polished without the guesswork.
How Do I Maintain the Durability of the Coaster’s Edges Over Time?
To maintain your coaster’s durability, focus on edge reinforcement to prevent fabric fraying over time. Use a sturdy seam, like topstitching close to the edge, to strengthen the edges. Applying a fabric sealant or fray check can also help keep edges intact. Avoid excessive washing and handle the coasters gently. Regularly inspecting and re-stitching any loose areas will make sure your coasters stay looking great and last longer.
Conclusion
Imagine your fabric coaster as a tiny canvas, each stitch a brushstroke of craftsmanship. Mastering the turn-and-topstitch method transforms simple materials into polished, durable pieces that brighten any table. Just like perfecting a recipe, it takes patience and practice, but the result is worth it. With this technique, you’ll create coasters that not only protect surfaces but also showcase your personal touch—proof that a little effort turns everyday items into something special.
Halloween Picks
halloween
As an affiliate, we earn on qualifying purchases.