
To install an invisible zipper, start by choosing the right fabric and zipper, then mark and prepare the area on your pattern. Sew the seam up to the zipper opening, pin or baste the zipper in place with the zipper teeth aligned to your markings, and sew close to the teeth with a zipper foot. Finally, check that the zipper moves smoothly and press for a polished finish. Continue with detailed steps to master a clean, professional look.
Key Takeaways
- Select a compatible invisible zipper and appropriate fabric, stabilizing delicate textiles with interfacing if needed.
- Mark the zipper placement accurately on the fabric, reinforcing the area before sewing.
- Sew the zipper using a zipper foot, aligning teeth with the seam line for an invisible finish.
- Carefully press and check zipper function, ensuring smooth operation and proper alignment.
- Remove basting stitches and trim excess fabric for a polished, professional look.
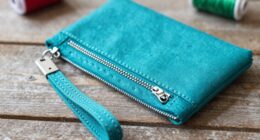
Installing an invisible zipper might seem tricky at first, but with the right technique, you can achieve a professional finish. The first step is choosing the right fabric and zipper type for your project. Fabric selection plays a vital role because some fabrics, like lightweight silks or delicate chiffons, require a different approach than heavier materials like denim or upholstery fabrics. Opt for fabrics that won’t fray easily, or consider stabilizing your fabric with interfacing to prevent stretching or puckering during installation. As for zipper types, invisible zippers come in various lengths and styles, including nylon coil or molded plastic. Nylon coil zippers are more flexible and tend to blend seamlessly into the fabric, making them ideal for most garments, especially dresses, skirts, and formal wear. Molded plastic zippers are sturdy and better suited for heavier fabrics or outdoor items. Picking the correct zipper type guarantees your finished project looks polished and functions smoothly.
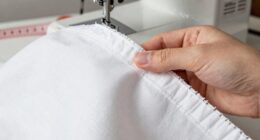
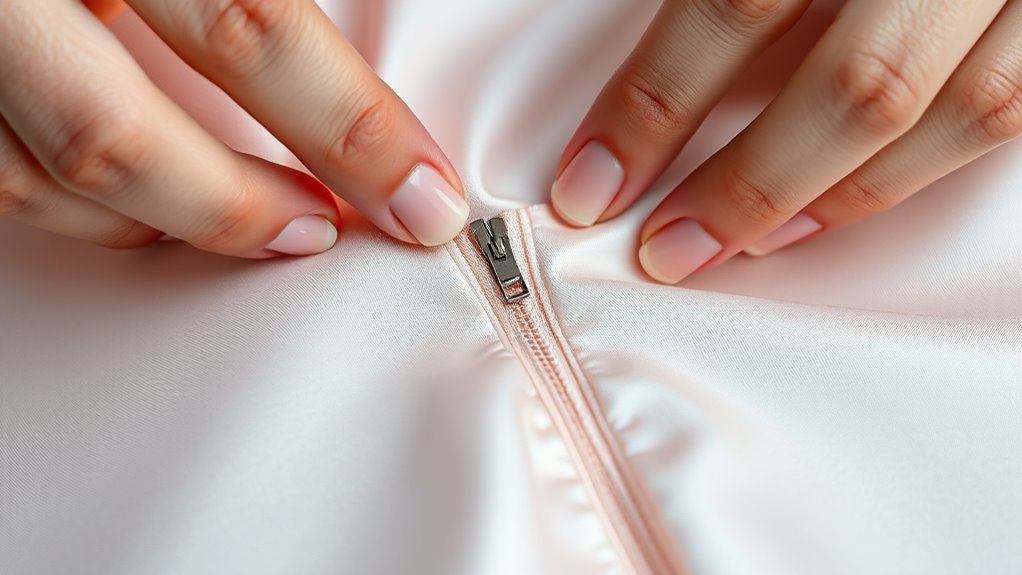
Once you’ve selected your fabric and zipper, prepare your pattern pieces accordingly. Mark the zipper placement precisely, usually along the seam allowances, and reinforce the area with stay tape or interfacing if needed. When it’s time to sew, start by sewing the seam that will hold the zipper in place, leaving the designated zipper opening unstitched. Use a zipper foot attached to your sewing machine, as it allows you to sew close to the zipper teeth, creating that invisible effect. Carefully pin or baste the zipper in place, aligning the zipper teeth with your marked seam line. As you sew, keep your stitches close to the zipper teeth, ensuring the zipper is hidden behind the fabric. Be patient and sew slowly, especially around the zipper’s curves, to maintain accuracy and avoid puckering.
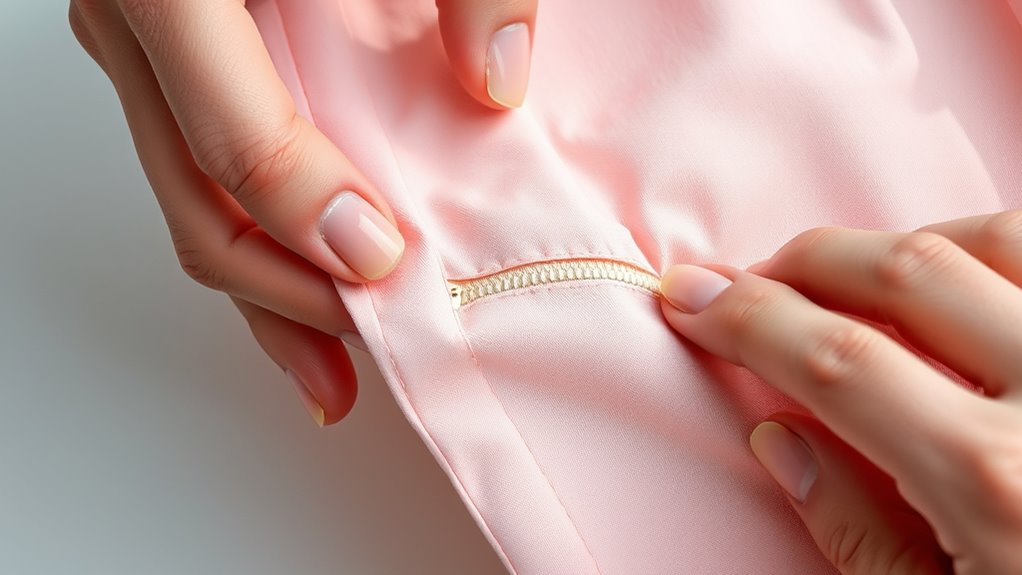
After sewing the zipper in, check the alignment by gently opening and closing it. If it pulls smoothly and stays hidden when closed, you’ve done it right. Finish your seams by pressing them flat and removing any basting stitches. Sometimes, trimming excess fabric around the zipper or understitching the seam allowances can give your project a cleaner look. Remember, practice makes perfect: if your first attempt isn’t flawless, try again with scrap fabric before tackling your final piece. With patience and attention to detail, installing an invisible zipper becomes a manageable task, leaving you with a clean, professional-looking finish that elevates your sewing projects.
Frequently Asked Questions
Can I Install an Invisible Zipper on Stretchy Fabrics?
Yes, you can install an invisible zipper on stretchy fabrics, but you need to be careful with stitching techniques to avoid damaging the material. Use a stretch stitch or a narrow zigzag for better fabric compatibility. It’s best to stay close to the zipper teeth while sewing, and test on scrap fabric first. This approach guarantees your zipper stays secure without compromising the fabric’s elasticity.
What Tools Are Essential for Installing an Invisible Zipper?
You’ll need a few essential tools for installing an invisible zipper. A sewing machine with a zipper foot makes stitching close to the zipper teeth easier. You’ll also want sharp scissors to trim fabric and zipper teeth, pins or clips to hold the zipper in place, and a seam ripper for adjustments. Having these tools prepared ensures a smooth process, allowing you to sew accurately and securely along the zipper teeth for a professional finish.
How Do I Remove an Incorrectly Installed Invisible Zipper?
Did you know that over 60% of sewing enthusiasts have had to do zipper removal at some point? To fix an incorrectly installed invisible zipper, carefully unpick the stitches along the zipper tape using a seam ripper. Gently pull out the zipper teeth, then repair the fabric with a needle and thread. Take your time to make certain the fabric remains intact so you can re-install the zipper correctly.
Is Sewing an Invisible Zipper Suitable for Beginners?
Yes, sewing an invisible zipper is suitable for beginners, especially if you’re familiar with basic sewing techniques. It’s a great way to learn about different zipper types and how they function. While it might seem tricky at first, with patience and careful stitching, you’ll get the hang of it. Practice on scrap fabric first to build confidence before installing it into your project.
How Do I Maintain an Invisible Zipper to Ensure Longevity?
Your invisible zipper’s longevity depends on proper care—it’s the backbone of durable zippers! Regularly check zippers compatibility and guarantee fabric preparation before sewing. To keep it in top shape, avoid forcing the zipper, which can cause damage, and gently clean it with a soft brush to remove dirt. Store garments carefully, and if it gets stuck, use a pencil or wax to lubricate. This way, your zipper stays as smooth as silk!
Conclusion
Now that you’ve woven the invisible zipper into your project, think of it as sewing a secret thread—hidden yet essential. With patience and attention, you’ve crafted a seamless finish that’s as smooth as glass. Remember, each stitch is like a tiny bridge, connecting fabric and zipper flawlessly. With practice, this skill becomes second nature, transforming your garments into polished masterpieces. Keep sewing, and soon, invisible zippers will feel as natural as breathing.