To correct a dropped hem on bias-cut garments, first identify if the sagging is due to stretching or shifting over time. Carefully press the hem with a curved pressing tool to smooth out puckers, avoiding fabric stretching. Resew the hem with small, even stitches, adjusting the tension for a balanced finish. Proper fabric handling and tension adjustments can restore the shape. Keep in mind these detailed steps to guarantee a professional fix, which you’ll find explained in detail if you look further.

Get business pricing on tools and workshop supplies
- Business-only prices and quantity discounts
- Tax-exempt purchasing
- Multiple users, one account, clear invoices
Key Takeaways
- Identify if the hem droop is due to fabric distortion or shifting over time before re-hemming.
- Use a curved pressing ham and gentle pressing to reshape the bias-cut hem without stretching the fabric.
- Reseat the hem carefully, pinning or basting to maintain the original shape during sewing.
- Sew with small, even stitches, adjusting tension to prevent puckering or pulling.
- Press the finished hem again to set stitches and ensure an even, smooth hang.
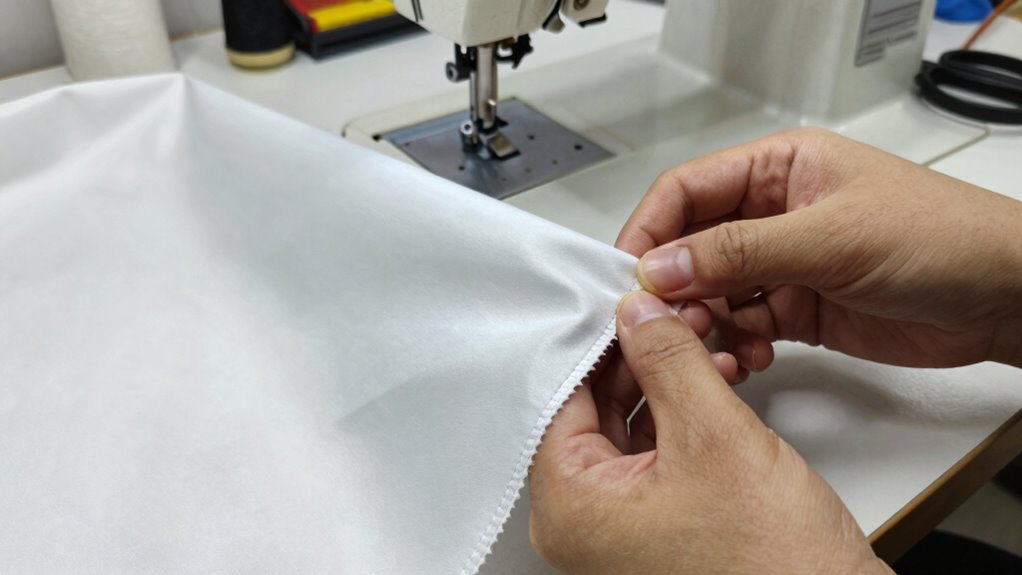
Have you ever noticed your hem hanging unevenly or dragging on the ground? If so, you’re likely dealing with a dropped hem on your bias-cut garment. These garments are especially tricky because their diagonal grain makes them more prone to shifting or sagging over time. Correcting a dropped hem isn’t just about re-hemming; it’s about understanding what caused the issue and making precise adjustments to restore the garment’s shape. To start, you need to examine your sewing machine. Proper sewing machine maintenance is essential because a machine that runs smoothly produces even stitches, which are indispensable for fixing a dropped hem. Check that your needle is sharp and correctly inserted, and clean out any lint or thread buildup that could affect stitch quality. When you’re ready to resew, pay close attention to fabric tension adjustments on your machine. If the tension is too loose, stitches won’t hold properly, allowing the hem to sag again. Tightening the tension slightly can guarantee your stitches grip the fabric securely, preventing future drooping.
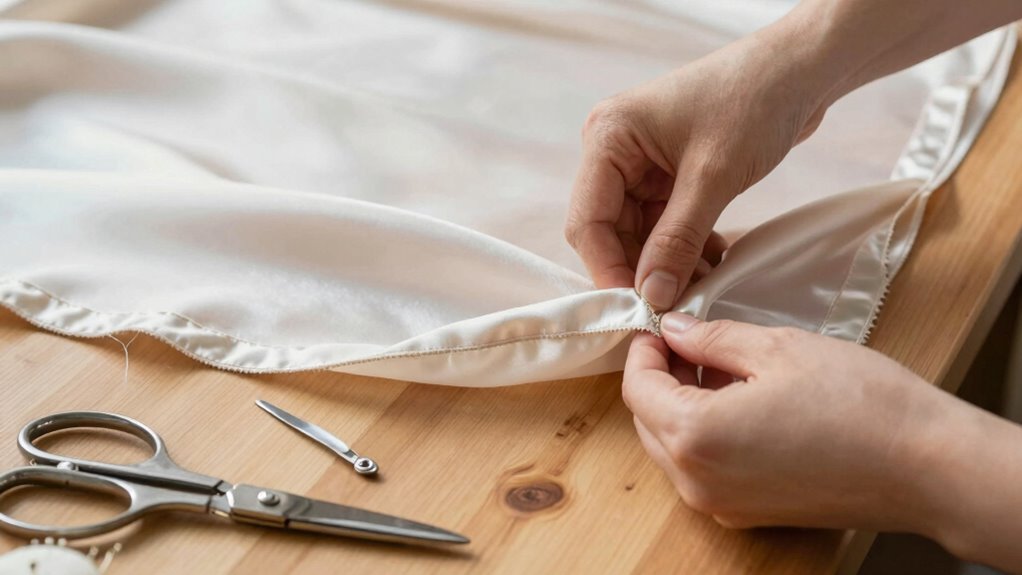
Next, carefully press the hem to flatten any puckering or unevenness. Use a pressing ham or a curved tailor’s ham to conform to the shape of the bias cut, ensuring a smooth, even fold. When pressing, avoid stretching the fabric, as bias cuts are particularly susceptible to distortion. Proper fabric handling techniques are crucial to prevent unnecessary distortion during pressing and sewing. Additionally, using a pressing cloth can help protect the fabric’s surface and prevent shine or marks. Once the fabric is flattened, turn the garment inside out and begin resewing the hem. Use small, even stitches and keep the tension consistent throughout. If you notice the fabric pulling or puckering as you sew, stop and readjust the tension settings on your machine. Remember, fabric tension adjustments are key to achieving a clean, professional finish. For bias-cut garments, it helps to sew slowly and steadily, maintaining an even foot pressure to prevent shifting. Additionally, ensuring your sewing machine is properly tuned and maintained will help prevent issues like uneven stitches or fabric distortion during the sewing process. Regular machine maintenance can also extend the lifespan of your sewing equipment and improve overall sewing results.
After sewing, press the hem again to set the stitches and smooth out any minor irregularities. Check that the hem hangs evenly and that the garment maintains its shape without sagging. If the hem still appears uneven, it may be necessary to recheck your tension adjustments or re-press the fabric. Sometimes, minor shifts happen because of fabric stretch or improper sewing technique, so patience and careful handling are essential. With these steps, you can correct a dropped hem on bias-cut garments effectively, restoring the fit and appearance you desire without having to redo the entire project. Proper maintenance of your sewing machine and fine-tuning fabric tension adjustments will help guarantee your future sewing projects stay neat and durable.
curved pressing ham for bias-cut garments
As an affiliate, we earn on qualifying purchases.
As an affiliate, we earn on qualifying purchases.
Frequently Asked Questions
Can I Fix a Dropped Hem Without Removing the Entire Garment?
Yes, you can fix a dropped hem without removing the whole garment. Use hem reinforcement by carefully pinning or clipping the dropped area, then employ stitching techniques like hand sewing or a sewing machine to resecure the hem. Make sure to match the thread color and sew slowly for a clean finish. This approach restores your bias-cut garment’s shape without the hassle of full removal, saving you time and effort.
What Tools Are Best for Hemming Bias-Cut Fabrics?
For hemming bias-cut fabrics, you should use sharp scissors, fine pins, a curved hem gauge, and a quality sewing machine with a stretch or zigzag stitch setting. These hemming tools help you achieve smooth, even stitches that follow the fabric’s bias. When stitching, opt for a narrow, flexible hem using a blind stitch or hand-stitched slip hem for the least visible and most secure finish.
How Do I Prevent Future Dropped Hems on Bias Cuts?
To prevent future dropped hems on bias cuts, focus on hem stability and fabric reinforcement. Use a narrow, well-stitched hem and consider applying a fusible interfacing or hem tape along the edge to add support. Reinforce the hem with a double row of stitches or a stretch stitch for extra durability. Also, handle the fabric gently during sewing, avoiding overstretching, which can weaken the hem over time.
Is It Possible to Fix a Dropped Hem on Delicate Fabrics?
Yes, you can fix a dropped hem on delicate fabrics. Start by carefully reinforcing the fabric with a lightweight interfacing or fusible web to prevent further stretching. Then, perform a seam adjustment by gently pinning or sewing the hem back into place, ensuring you don’t damage the delicate fabric. Use a fine needle and matching thread to minimize visible stitches, and take your time to achieve a neat, secure fix.
How Long Does a Hem Correction Typically Take?
A hem correction usually takes about 30 minutes to an hour, depending on the garment’s complexity. You’ll start with hem reinforcement to secure the new edge, then perform seam adjustment to guarantee the length is even and the fabric sits correctly. If you’re experienced, it might be quicker; if not, take your time to avoid damaging delicate fabrics. Patience ensures a professional-looking fix.
Conclusion
Remember, every stitch is an opportunity for renewal, and even the most delicate fabrics can be coaxed back into grace. With patience and a gentle touch, you can restore your garment’s elegance, allowing it to embrace its original charm once more. A dropped hem isn’t the end of the story, but just a subtle whisper for a little attentive care. Trust in your skills—you’re capable of turning small setbacks into beautiful comebacks.
Fall yard work Picks
leaf blowers
As an affiliate, we earn on qualifying purchases.