
To add elastic to your skirt with a zipper, start by removing the existing waistband and zipper. Measure your waist, then cut a piece of elastic that's 2-4 inches shorter. Insert it into the casing you create at the top of the skirt, keeping an opening for adjustment. Once you've got the right fit, secure the elastic and close the casing. For a finishing touch, style your modified skirt for a fresh look—more tips await!
Key Takeaways
- Assess the fit of the skirt by trying it on and determining if the waistband is too tight or restrictive.
- Carefully remove the existing waistband and zipper using a seam ripper, preserving excess fabric for adjustments.
- Create an elastic casing by folding down the skirt's top edge and leaving an opening for elastic insertion.
- Measure your waist, cut the elastic accordingly, and insert it into the casing using a safety pin for ease.
- Secure the elastic ends with a zigzag stitch, close the casing, and press for a polished finish.

Elastic Band for Sewing, 2 Inch x 12 Yard High Elasticity Sewing Elastic Bands for Waistbands Pants Clothes and Crafts DIY, White
Premium Material: Made of polyester silk and Natural Latex Rubber, soft, comfortable and breathable, no harmful odor, safety…
As an affiliate, we earn on qualifying purchases.
As an affiliate, we earn on qualifying purchases.
Assessing the Fit of Your Skirt
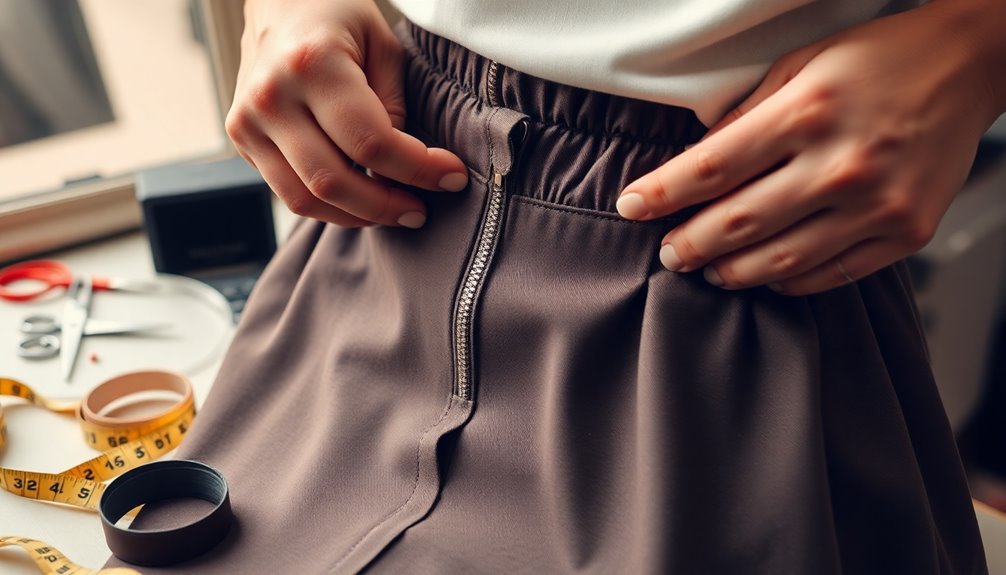
How can you tell if your skirt needs an elastic waistband? Start by trying on the skirt and zipping it up. If it can't easily be pulled over your hips, you might need an elastic modification.
While evaluating the fit of your skirt, pay attention to how comfortable the waistband feels. If it's tight or causes discomfort, consider switching to an elastic waistband.
Also, gauge how snug the skirt feels when zipped; if it restricts your movement, it's a strong candidate for elastic. Measuring your waist and comparing it to the skirt's waistband can help identify any discrepancies. Additionally, reflecting on past experiences with clothing fit can enhance your self-care practices and ensure you choose garments that support your comfort.
If you choose to remove the zipper, confirm the new waistband exceeds your hip measurement for a comfortable fit.

Sewing Kit for Adults,Maxfanay Needle and Thread Kit for Sewing,Professional Sewing Supplies Accessories with Tailor Scissors,43XL Thread,30 Needles,Yarn Snips and More for Travel Home Beginners
✅Newly Upgraded Sewing Kit- Including more than 200pcs sewing accessories in this sewing set -43XL sewing thread (…
As an affiliate, we earn on qualifying purchases.
As an affiliate, we earn on qualifying purchases.
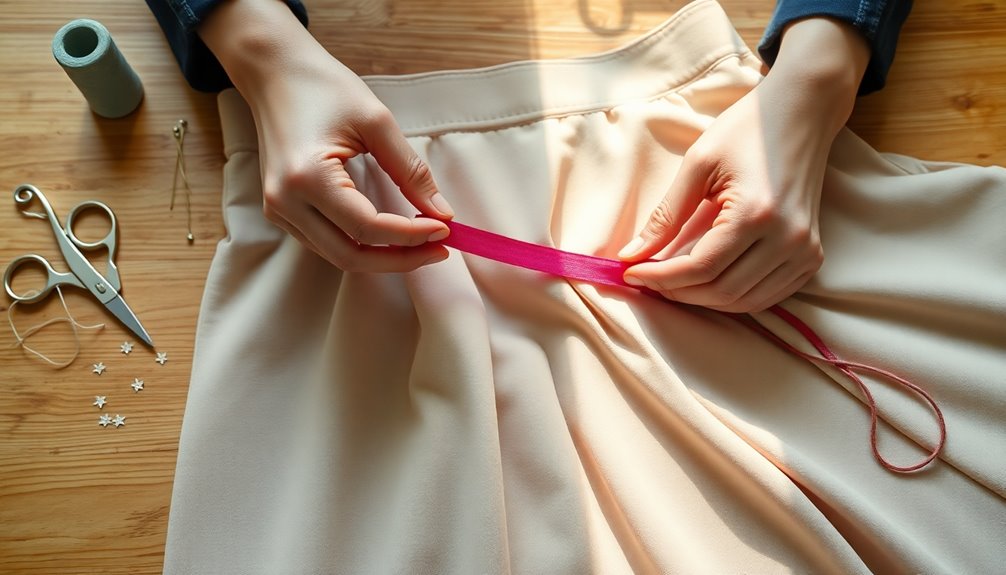
Materials Needed for Modification
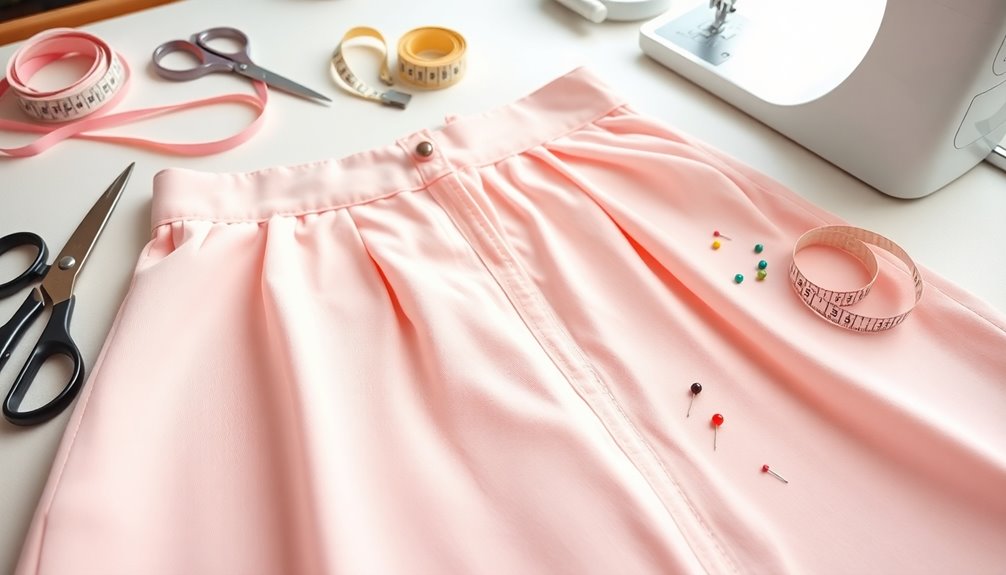
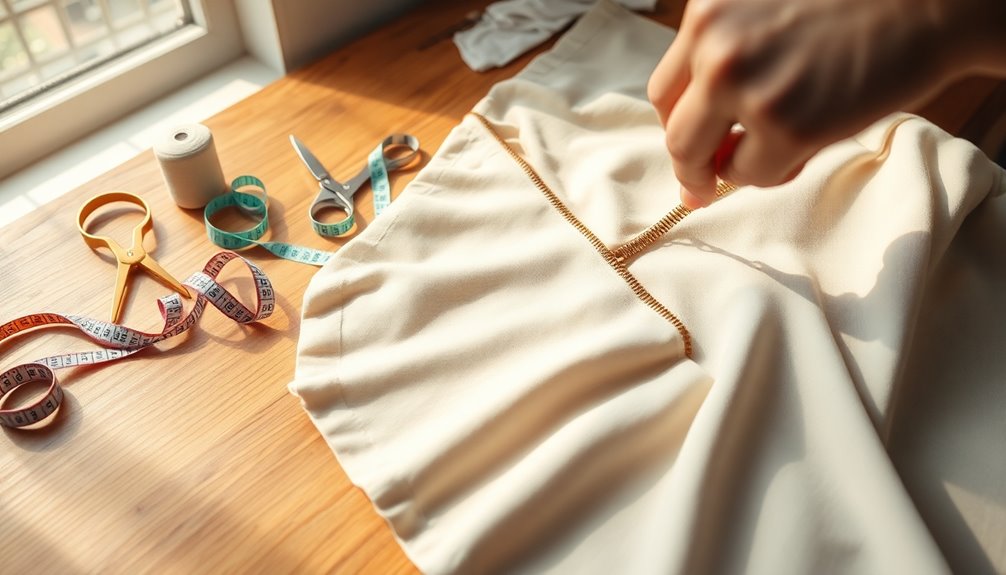
Before you start modifying your skirt, gather the necessary materials to guarantee a smooth process. You’ll need a few essential items to make this project successful. Here’s a quick checklist to help you out: You’ll want to have fabric scissors, pins, a measuring tape, and a sewing machine or needle and thread at the ready. If you plan to add embellishments or change the silhouette, make sure to have those materials as well. By following this preparation, you’ll be well-equipped to hem a prom dress with train, ensuring it fits perfectly for that special occasion.
| Material | Purpose |
|---|---|
| Sewing Machine | For stitching the elastic in place |
| Thread | Matches the fabric for a seamless look |
| Seam Ripper | To carefully remove the existing zipper |
| Scissors | For cutting the elastic and fabric |
| Elastic Band (2 inches) | Provides a comfortable fit |
| Pins | Secures fabric while making the casing |
| Measuring Tape | Determines the correct elastic length |
With these materials on hand, you're ready to start your skirt modification journey!

Zipper Repair Kit Tool, 2 Pack Zipper Pliers, Zippers Install Pliers, Needle-Nose Plier and End-Cutting Plier for Zippers Replacement, Fix, DIY Jewelry and Home Maintenance
【Complete Repair Solution】This zipper repair kit provides a comprehensive solution for fixing broken zippers. It includes two essential…
As an affiliate, we earn on qualifying purchases.
As an affiliate, we earn on qualifying purchases.
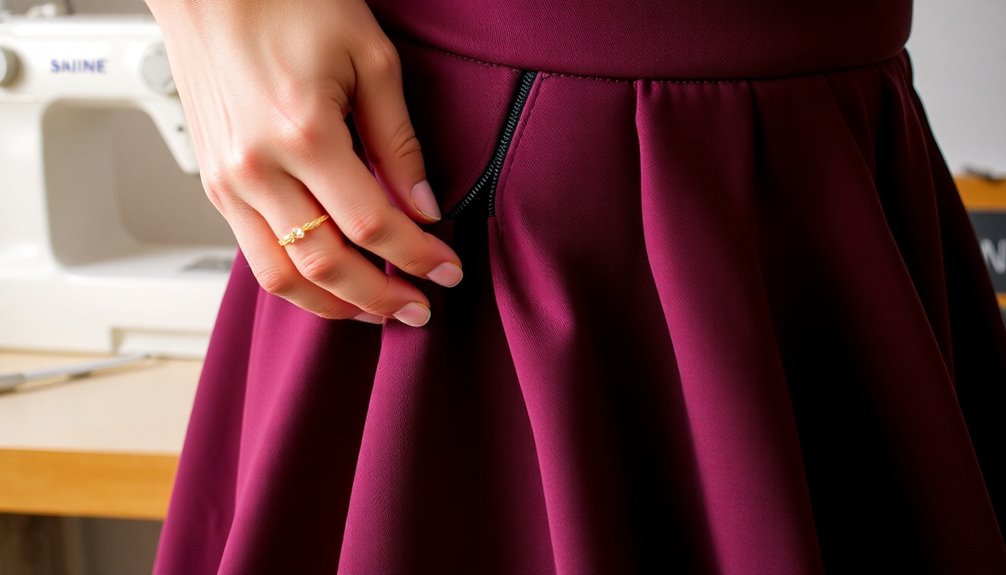
Removing the Existing Waistband
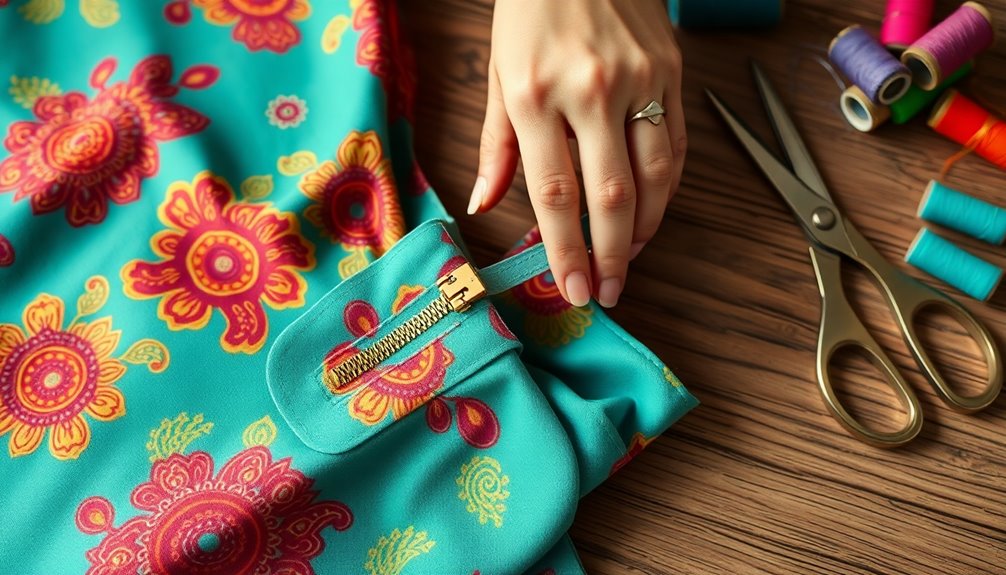
With your materials ready, it's time to tackle the existing waistband of your skirt. Start by carefully cutting away the waistband using large stitches to avoid damaging the fabric. A seam ripper or scissors will help you detach the waistband completely, so pull the threads gently to maintain the skirt's integrity.
Next, focus on removing the zipper by snipping the threads that hold it in place. This step is essential for guaranteeing a smooth shift to the new elastic waistband.
After you've removed both the waistband and zipper, check the skirt's top to verify it's expanded enough for the new waistband fitting. Don't forget to keep any excess fabric from the waistband for potential adjustments later on.

Fabric Scissors Professional 10 inch Heavy Duty Scissors for Leather Sewing shears for Tailoring Industrial Strength High Carbon Steel Tailor Shears Sharp for Home Office Artists Dressmakers
ULTRA SHARP FABRIC SHEARS: Made of high carbon steel which is stronger than stainless steel, the craft scissors…
As an affiliate, we earn on qualifying purchases.
As an affiliate, we earn on qualifying purchases.
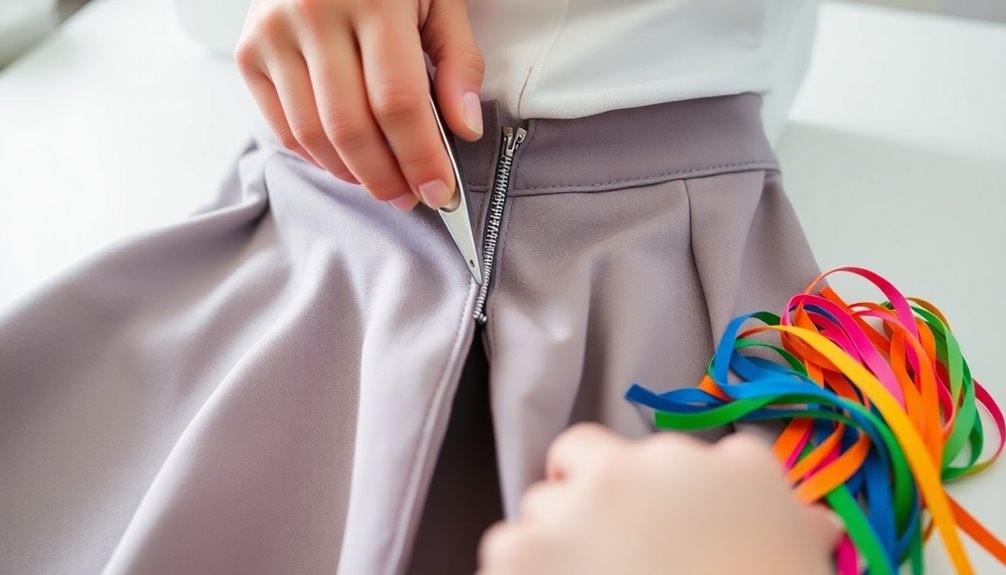
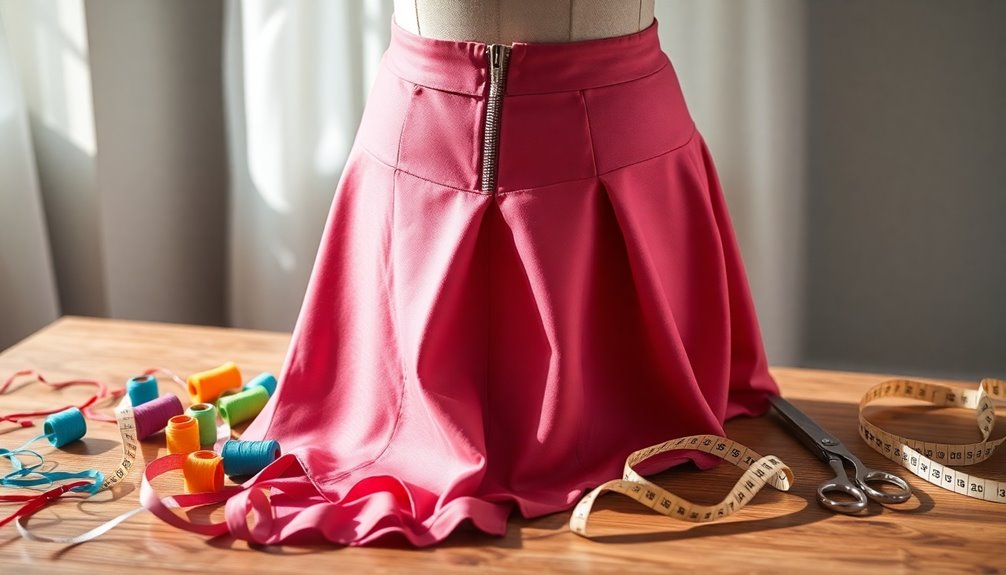
Preparing the Skirt for Elastic
As you prepare the skirt for elastic, start by evaluating the fit to confirm there's enough room for the new waistband.
Check if the waistband is too tight and if the zipper on the side can be removed without affecting the design.
Follow these steps:
- Carefully cut away the existing waistband.
- Remove the zipper, preserving fabric for a clean edge.
- Measure your waist size and cut a 2-inch wide elastic band for comfort.
- Fold the top of the skirt to create a casing, using pins to secure it and leaving an access hole.
With these preparations, you'll guarantee a smooth shift to adding elastic, enhancing both comfort and style in your skirt.
Measuring and Cutting the Elastic
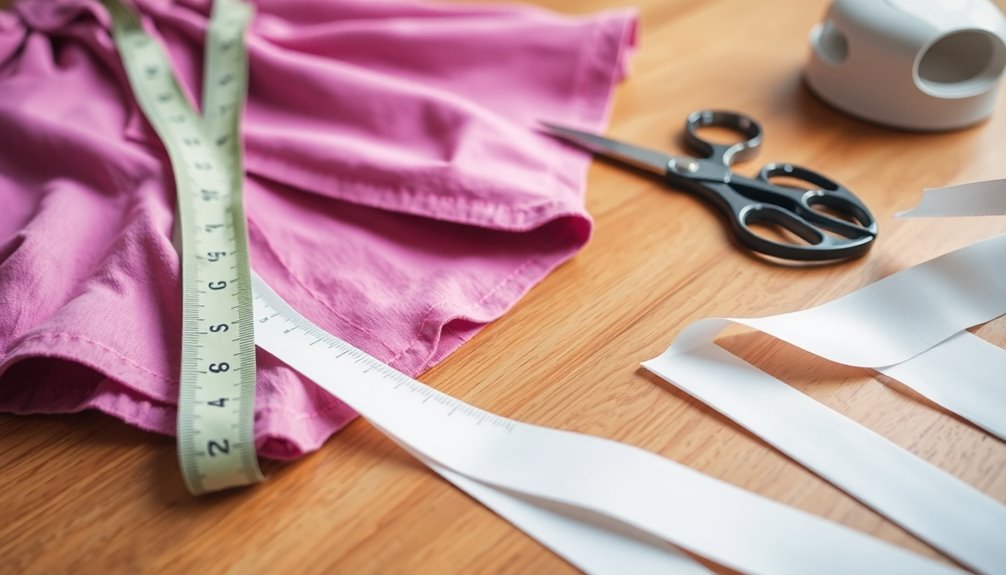
To get the right fit for your skirt, start by measuring your waist with a flexible tape.
Once you have your measurement, subtract 2-4 inches for the elastic length and mark it clearly.
Finally, cut the elastic accurately with sharp scissors for a clean edge.
Determine Elastic Length
Measuring the elastic length for your skirt is an essential step in achieving the perfect fit. Here's how to determine the right length for your elastic band:
- Measure your waist circumference with a flexible measuring tape at the spot where the skirt will sit.
- Subtract 2-4 inches from your waist measurement for a snug fit, depending on how tight you want it.
- Consider using a wider elastic band (1-2 inches) for added comfort and even pressure distribution.
- When cutting, add 1-2 inches to your measurement to allow for sewing the ends together securely.
After cutting the elastic to the desired length, stretch it gently to test its elasticity before inserting it into the waistband casing.
Marking Elastic Measurements
Once you've determined the right length for your elastic, it's time to mark your measurements accurately.
Start by measuring your waist with a flexible measuring tape, keeping in mind any stretch or ease you want. Once you have your waist measurement, cut the elastic, adding an extra inch for overlapping and securing the ends.
If you're using a casing, choose elastic that's 1 to 2 inches wide for a balanced fit.
Next, use a fabric marker or chalk to mark the points on the elastic where it'll be sewn to the fabric. This helps guarantee even distribution when attaching.
Finally, wrap the elastic around your waist to test the fit before finalizing your cut for comfort and snugness.
Cutting Elastic Accurately
Getting the right length for your elastic is essential for a comfortable fit in your skirt. When cutting elastic accurately, follow these steps for the best results, especially around the zipper area:
- Measure your waist circumference and subtract 2 to 4 inches for snugness.
- For skirts with a zipper, cut elastic to about half your waist measurement for even distribution.
- Use sharp scissors to guarantee a clean edge and prevent fraying.
- When using wider elastic, consider cutting it slightly shorter to accommodate its stretchiness.
Always stretch the elastic while measuring and cutting; this helps prevent sagging after completing your skirt.
Following these guidelines will guarantee your elastic fits perfectly, enhancing both comfort and style.
Creating the Elastic Casing
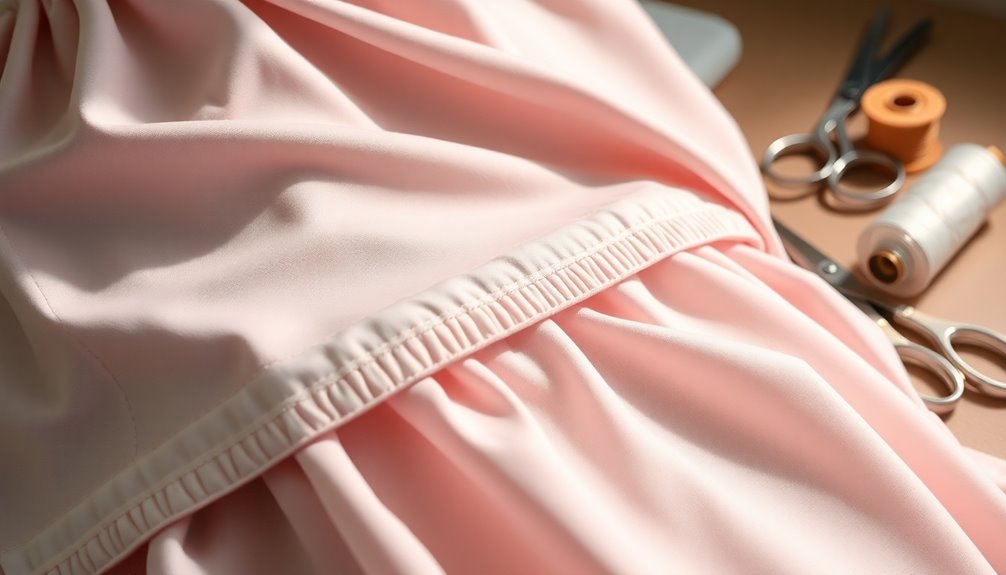
To create your elastic casing, start by measuring and folding down the top edge of the skirt.
You'll want to secure it with pins and leave an opening for the elastic.
Once that's done, you can sew the casing and get ready to insert the elastic for a perfect fit.
Measuring for Elastic Casing
Measuring for the elastic casing is a crucial step in ensuring your skirt fits comfortably.
Here's how to do it effectively when adding elastic:
- Measure your waist: Determine the length of the elastic needed, usually subtracting 1-2 inches for a snug fit.
- Decide on elastic width: A 2-inch wide elastic is common, providing both comfort and support.
- Create the casing: Fold down the top edge of the skirt, making sure it's wide enough for the elastic to fit easily.
- Mark sewing lines: Use pins to indicate where you'll sew, leaving an access hole for the elastic once the casing is sewn closed.
Sewing the Casing
As you prepare to sew the casing for your skirt, start by folding down the top edge about 1 to 2 inches, depending on the elastic width you've chosen.
Pin the fold in place to secure it, ensuring the folded section is wide enough to accommodate the elastic comfortably.
Next, sew a straight stitch along the bottom edge of the fold, but remember to leave a small opening of about 2 inches for inserting the elastic later.
After you've sewn the casing, check that the fabric isn't bunched up or twisted; this will help maintain a smooth seam and fit.
Finally, keep the access hole open until you insert the elastic to allow for easy adjustments.
Inserting the Elastic
Inserting elastic into your skirt is a straightforward process that can make a significant difference in fit and comfort.
To create the elastic casing, follow these steps:
- Fold the top edge of the skirt down by 1 to 2 inches and pin it in place, forming a pocket.
- Leave a 2-3 inch opening unsewn for later elastic insertion.
- Sew along the folded edge, ensuring the casing fits the elastic snugly but not too tight.
- Measure and cut the elastic to fit your waist comfortably, with a little extra for overlapping.
Now, use a safety pin on one end of the elastic to feed it through the casing.
Adjust as necessary before sewing the ends together securely to complete adding an elastic!
Inserting the Elastic Into the Casing
Once you've determined the right length for your elastic, it's time to get it into the casing.
Start by attaching one end of the elastic to a safety pin. Then, carefully feed the safety pin through the casing you created at the top of the skirt, guiding the elastic until it emerges from the access hole.
Once the elastic is fully threaded, try on the skirt to check the fit. If needed, adjust the elastic length for comfort.
Secure the ends of the elastic together with a zigzag stitch to keep them from slipping back into the casing. This will guarantee a durable hold, making your skirt both comfortable and stylish.
Securing the Elastic and Closing the Casing
To secure the elastic and close the casing effectively, start by pulling the elastic to your desired tightness while trying on the skirt for a comfortable fit.
Once you're satisfied, follow these steps:
- Use a zigzag stitch to sew the ends of the elastic together securely, preventing it from coming undone.
- To keep the elastic from twisting, sew a few lines through the elastic at the side seams of the skirt.
- Close the access hole in the casing by folding the fabric edges inward and sewing them together for a neat finish.
- Finally, press the waistband with an iron to guarantee the casing lays flat and looks polished.
This will keep your elastic secure and give your skirt a tidy appearance!
Final Adjustments for a Perfect Fit
As you assess the fit of your skirt, it's crucial to guarantee the waistband sits snugly without being restrictive. If it feels too loose or tight, adjust the length of the elastic accordingly by cutting it to the desired size, then securely sew the ends together with a zigzag stitch.
Remember to double-check your waist measurement and the elastic's stretch before finalizing the attachment to confirm it fits your waist perfectly. To prevent the elastic from twisting, sew a few lines through the elastic at the side seams of the skirt.
Once all adjustments are made, iron the waistband for a polished, professional finish that enhances the overall look of your modified skirt.
Styling Your Newly Modified Skirt
Whether you're heading out for a casual brunch or a night on the town, styling your newly modified skirt can elevate your look effortlessly. Here are some tips to help you shine:
- Fitted Tops: Pair your skirt with a fitted top to highlight the elastic waistband and create a flattering silhouette.
- Footwear: Choose ankle boots or strappy sandals for a vintage vibe while staying comfortable.
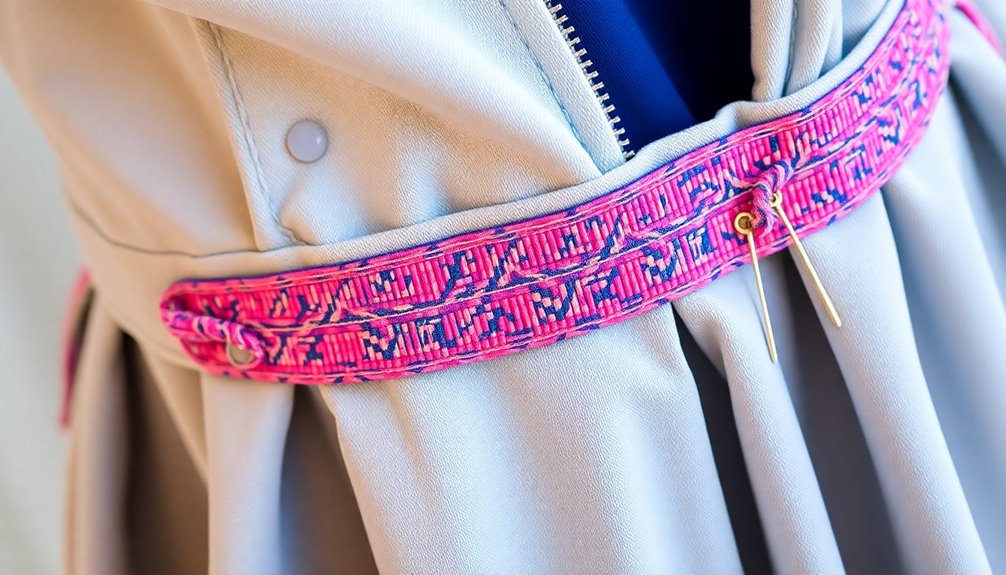
- Accessories: Add a statement belt over the elastic waistband for a stylish touch and a defined waistline.
- Layer Up: Throw on a denim jacket or light cardigan for a chic, casual look suitable for any occasion.
Experiment with patterns and textures to personalize your outfit and showcase your unique style!
Frequently Asked Questions
How Do You Add an Elastic Band to a Skirt?
To add an elastic band to a skirt, start by removing the existing waistband.
Measure your waist and cut the elastic about 2 inches shorter than that measurement for a snug fit.
Fold down the top edge of the skirt to create a casing, sewing it in place with an opening for the elastic.
Use a safety pin to thread the elastic through, then secure the ends and close the opening.
Finally, sew any necessary side seams.
How Do I Add Elastic to My Existing Waistband?
Imagine slipping into a skirt that hugs you just right; adding elastic to your existing waistband can make that dream a reality.
First, remove the current waistband to create space. Measure and cut a snug piece of elastic, then fold the top edge to form a casing.
Pin it in place, insert the elastic using a safety pin, and sew it securely.
Finally, stitch the casing closed, ensuring comfort and flexibility in every wear.
How to Sew a Zip Into a Waistband?
To sew a zip into a waistband, start by aligning the zipper with the edge of the fabric.
Pin it in place, ensuring the teeth are facing down toward the waistband.
Use a zipper foot on your sewing machine for close stitching.
Sew along the zipper edge, then fold the waistband over, and topstitch to secure it.
Make sure the zipper opens smoothly and the waistband sits flat for a polished finish.
How to Fix a Loose Elastic Skirt?
Did you know that nearly 40% of women struggle with ill-fitting skirts?
To fix a loose elastic skirt, try it on and assess how much tighter it needs to be.
Carefully open the waistband to access the elastic, then measure and cut the new piece to fit snugly.
Insert it back, sew the ends together, and close the casing.
Finally, check the fit again to confirm it's comfortably snug around your waist.
Conclusion
By adding elastic to your skirt with a zipper, you not only enhance comfort but also create a more flattering fit. You might worry that this modification could compromise the skirt's style, but a well-executed adjustment can elevate your garment, making it versatile for various occasions. With a little patience and creativity, you'll transform your skirt into a chic piece that feels as good as it looks. Embrace the change and enjoy your stylish, custom-fit creation!