If there’s almost no seam allowance, carefully open the side seam to assess how much extra room you can gain. You might need to seam rip gently and add a fabric insert if needed. Sew the insert into the seam, using reinforced stitches to keep it durable. Try on the garment afterward and make small adjustments if necessary. Want to discover more tips to make the process easier and neater? Continue on for detailed steps.
Key Takeaways
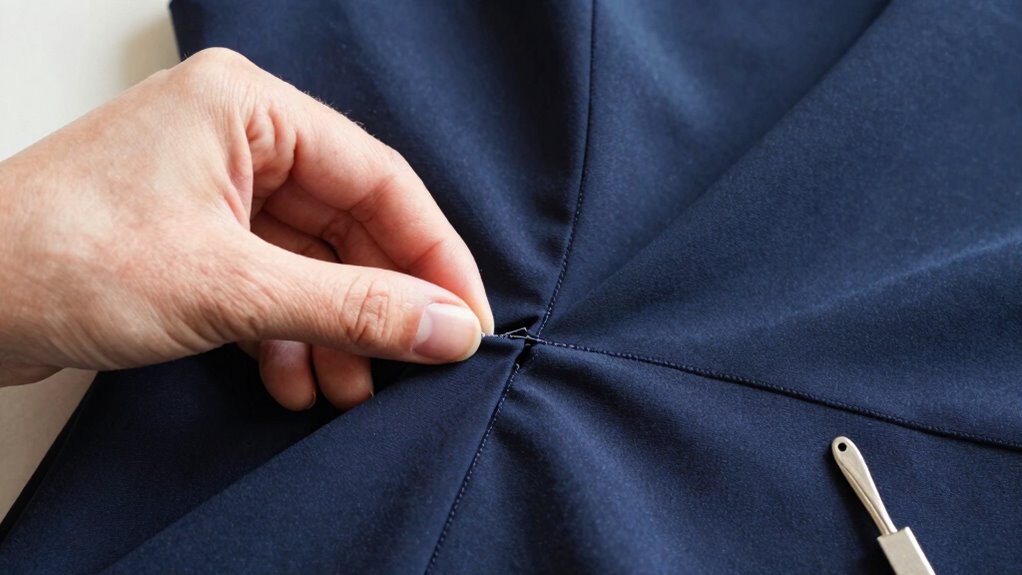
- Carefully seam-rip the existing stitching to open the side seam without damaging the fabric.
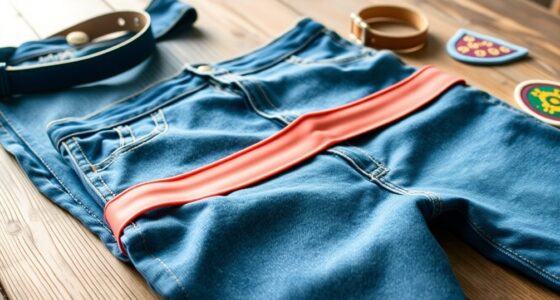
- Assess fabric stretchability and consider adding a matching fabric insert for extra room.
- Sew the insert into the seam with reinforced stitches to increase width without overstretching the original fabric.
- Gently pull and stretch the fabric during sewing to maximize seam allowance without distorting the shape.
- Press the seam flat and try on the garment to evaluate fit before making further adjustments.
Ever wondered how to give your favorite garments a little extra room? When you’re dealing with a tight side seam, especially one with almost no seam allowance, it can feel like a formidable task. But with the right techniques, you can carefully let out the seam to improve comfort without compromising the garment’s integrity. The key lies in understanding fabric stretching and seam reinforcement, which work together to expand the fit without causing damage.
Start by examining the fabric and seam. If the fabric is stretchy, you have an advantage, as it naturally allows for some fabric stretching. Gently tug on the sides of the garment near the seam to see if it yields slightly. If it does, you can carefully stretch the fabric during the seam release process. However, if the fabric isn’t very elastic, you’ll need to be more precise. First, turn the garment inside out and locate the side seam. Since there’s little seam allowance, you’ll have to be very careful not to cut into the fabric itself.
Next, you should carefully seam-rip the existing stitching, working slowly to avoid damaging the fabric. Once the seam is open, assess how much extra room you can create. If there’s minimal seam allowance, you might need to add a fabric insert—an extra strip of matching fabric sewn into the side seam to increase its width. This approach provides more flexibility and avoids overstretching the original fabric, which could cause puckering or tearing. When sewing the new seam, make sure to reinforce the seam with a zigzag stitch or a serger to strengthen it, especially if the fabric tends to fray. This seam reinforcement ensures durability and maintains the garment’s shape over time.
If you’re working with stretchy fabric, gently pulling the fabric along the seam line during sewing can help with fabric stretching, allowing some give that enhances comfort. Be cautious not to overstretch, as it might distort the garment’s silhouette. Once the seam is sewn back together, press the seam flat, and try on the garment. If it still feels snug, you can repeat the process carefully, gradually increasing the seam allowance where needed.

FIVEIZERO Seam Rippers for Sewing – 2 Big and 2 Small Stitch Remover Tools, Thread Ripper, Embroidery Removal Tool with Thread Snips
- Set Includes 4 Seam Rippers: 2 large and 2 small tools in vibrant colors
- Includes Precision Sewing Scissors: Razor-sharp stainless steel for clean cuts
- Durable and Versatile Design: Protective mini ball safeguards fabric
As an affiliate, we earn on qualifying purchases.
As an affiliate, we earn on qualifying purchases.
Frequently Asked Questions
Can I Use a Seam Ripper to Open the Side Seam?
Yes, you can use a seam ripper to open the side seam. Carefully insert the seam ripper along the seam, gently cutting through the stitches without damaging the fabric. This technique is useful for fabric manipulation, especially when you need to add extra room or alter the fit. Take your time, work slowly, and make certain you don’t tear or fray the fabric as you open the seam.
What Tools Are Best for Pressing Seams Open?
You should use a pressing ham or seam roll to press seams open effectively. These tools help you maintain the fabric’s shape while applying heat and pressure, ensuring a crisp, flat finish. For sewing machine maintenance, keep your iron clean and at the right temperature to avoid fabric damage. Incorporate fabric stretching techniques carefully during pressing to prevent distortion, especially when working with delicate or stretchy fabrics.
How Do I Prevent Fabric Distortion When Letting Out a Small Seam?
Think of your fabric as a delicate dance partner—you want it to glide smoothly. To prevent distortion, stabilize the fabric with interfacing or stay tape along the seam. Carefully extend the seam allowance with a seam allowance extension or a small seam rip, then gently press. Use a gentle hand and avoid pulling, ensuring your fabric remains evenly balanced, preserving its shape and elegance through the entire letting-out process.
Is It Possible to Let Out a Side Seam Without Visible Stitches?
Yes, you can let out a side seam without visible stitches by carefully pressing the fabric to stretch it slightly. Use fabric stretch techniques to ease the seam open gently. Reinforce the seam with seam tape or a fine zigzag stitch on the inside to maintain durability. Be cautious with delicate fabrics, as excessive stretch or reinforcement methods could cause distortion or visible marks, especially if seam allowances are minimal.
How Much Can I Realistically Let Out a Side Seam?
You can realistically let out a side seam by about half an inch, but going beyond that risks fabric stretching and damaging the seam reinforcement. If you attempt to stretch the fabric too much, it might warp or weaken the garment’s structure. To maximize your adjustment, carefully unpick the seam, add extra fabric or use a stretchable seam method, and always reinforce the seam to maintain durability and fit.
Conclusion
By carefully evaluating the seam, gently releasing the stitches, and patiently easing fabric apart, you can successfully let out a side seam with little to no seam allowance. With precision, you preserve the garment’s structure; with care, you avoid distortion; with persistence, you achieve a perfect fit. Mastering this technique means you adapt, you improve, and you transform a tight fit into a comfortable one, turning sewing challenges into opportunities for craftsmanship and confidence.