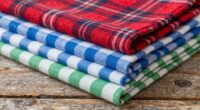
Blocking is a quick yet essential step that transforms your craft projects from homemade to store-bought quality. It helps shape and set the fibers, ensuring your work looks neat, professional, and polished. By relaxing fibers and aligning stitches, blocking enhances color and detail. Proper technique prevents puckering and distortion, making your finished piece stand out. If you want to discover effective methods and tips for perfect blocking, keep exploring—you’ll find everything you need to elevate your work.
Key Takeaways
- Blocking shapes and sets your project, ensuring professional, store-bought quality.
- It smooths edges and evens out stitches for a polished, refined appearance.
- Proper blocking preserves fiber size and shape, preventing future distortion.
- Using the right tools and techniques achieves consistent, crisp results.
- Complete drying after blocking guarantees a professional finish that elevates your project.

Mr. Pen- Blocking Mats for Knitting & Crochet Projects, 12" x 12"
- Set of 9 mats: Includes nine interlocking mats for versatile projects
- High-density, durable material: Resistant to heat and water for long-lasting use
- Precise 12×12 inch size: Features 1-inch grid for accurate measurements
As an affiliate, we earn on qualifying purchases.
As an affiliate, we earn on qualifying purchases.
What Is Blocking and Why Is It Important for Your Craft Projects?

Have you ever finished a knitted or crocheted piece only to find it’s misshapen or uneven? That’s where blocking comes in. Blocking is the process of shaping and setting your project to improve fiber alignment, ensuring stitches are even and edges are straight. It helps relax the fibers and corrects uneven tension, giving your work a polished look. Additionally, blocking can counteract fabric shrinkage that might occur during washing or drying, helping your project maintain its intended size and shape. Proper blocking can also influence the color accuracy of your finished project, ensuring that the hues remain vibrant and true to the original design. Understanding fiber properties is essential to achieving the best results with your blocking technique. Moreover, knowing how different fiber types respond to blocking can help you choose the right method for each project, ensuring optimal results every time. Being aware of fiber elasticity can also guide you in selecting the appropriate tension during blocking to prevent distortion.
When Should You Block Your Projects and What Are the Benefits?
Knowing the right time to block your projects can make a significant difference in their final appearance. You should consider blocking after finishing touches are complete, especially once your project has been washed or blocked to set its shape. Good project planning involves identifying this stage early, so you can avoid redoing work later. Blocking helps smooth out uneven edges, even out stitches, and ensure your piece looks polished. It’s especially beneficial for projects that require precise measurements or intricate details. By blocking at the right time, you prevent future distortion and preserve the shape you’ve worked hard to achieve. Proper energy-efficient techniques can also support your workflow and reduce environmental impact. This step transforms your project from good to professional-looking, giving it that “store-bought” finish you’re aiming for. Additionally, understanding energetic alignment can enhance your creative process and overall satisfaction with the final result. Proper home maintenance can also ensure your workspace stays comfortable and efficient, making your crafting process more enjoyable.
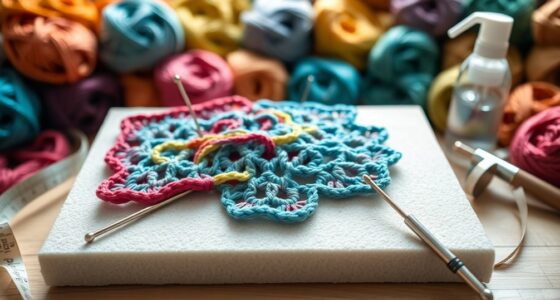
Tools and Materials You’ll Need for Effective Blocking
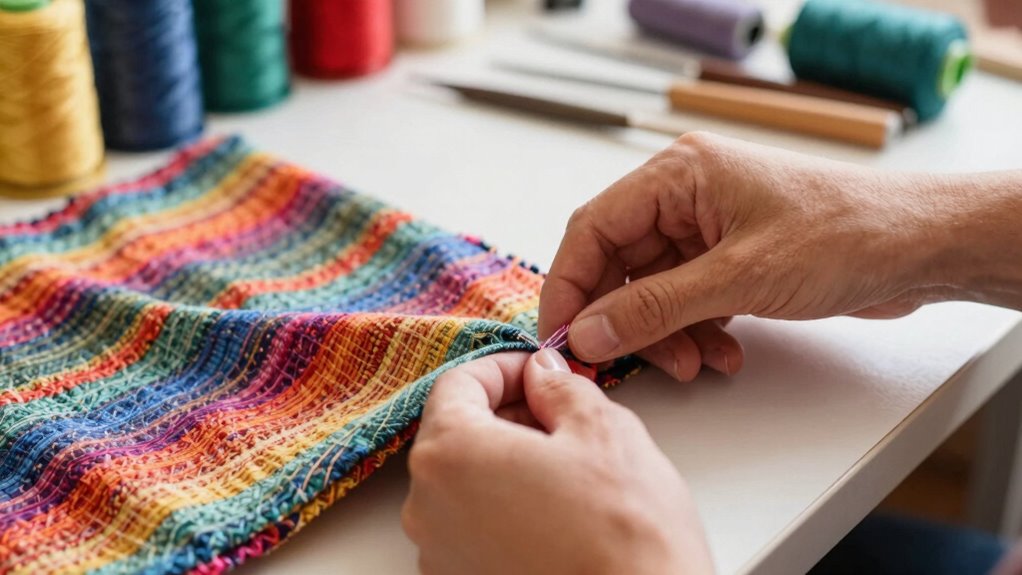
To achieve a professional finish, you’ll need the right tools and materials for effective blocking. Start with your fiber selection—choose fibers that can withstand heat and moisture, like wool, cotton, or silk. For blocking accessories, gather rust-proof pins, blocking mats or foam boards, and a measuring tape or ruler to ensure proper dimensions. You might also want a spray bottle for dampening fibers evenly and a fiber-safe adhesive if necessary. Having the right tools prevents damage and helps you shape your project accurately. An understanding of fiber properties can help you select the best materials for your project and ensure durability. Proper fiber preparation before blocking can significantly impact the final appearance and longevity of your work. Always opt for high-quality, gentle tools to avoid snagging or distorting your work. Incorporating proper preparation and mindful handling ensures your project maintains its intended shape and appearance. Using correct blocking techniques enhances the overall quality of your finished piece. With these essentials, you’ll be well-equipped to block your project efficiently, achieving a smooth, professional-looking finish that mimics store-bought quality.
Different Blocking Techniques: Wet, Steam, and Spray

When it comes to blocking your knitting or crochet projects, choosing the right technique can make a significant difference in the final result. Wet, steam, and spray blocking each offer unique benefits for fiber art and texture enhancement. Wet blocking involves soaking your piece, then shaping and drying it flat, ideal for achieving precise dimensions. Steam blocking uses heat and moisture to relax fibers, perfect for delicate fabrics. Spray blocking applies a fine mist to set the shape without soaking, suitable for quick fixes or delicate fibers. Use the table below to compare techniques:
| Technique | Best For | Pros |
|---|---|---|
| Wet | Precise shaping, stiffening | Long-lasting, accurate |
| Steam | Delicate fibers, quick fixes | Gentle, quick |
| Spray | Light shaping, refresh fibers | Fast, minimal fuss |
Additionally, incorporating sound vibrations during the blocking process can help relax fibers and improve the overall finish. Employing modern blocking tools can further enhance precision and efficiency in achieving professional-looking results. For optimal results, consider natural fiber properties when selecting the most suitable blocking method for your project. Recognizing the benefits of proper blocking techniques can lead to more consistent and professional outcomes in your fiber arts.
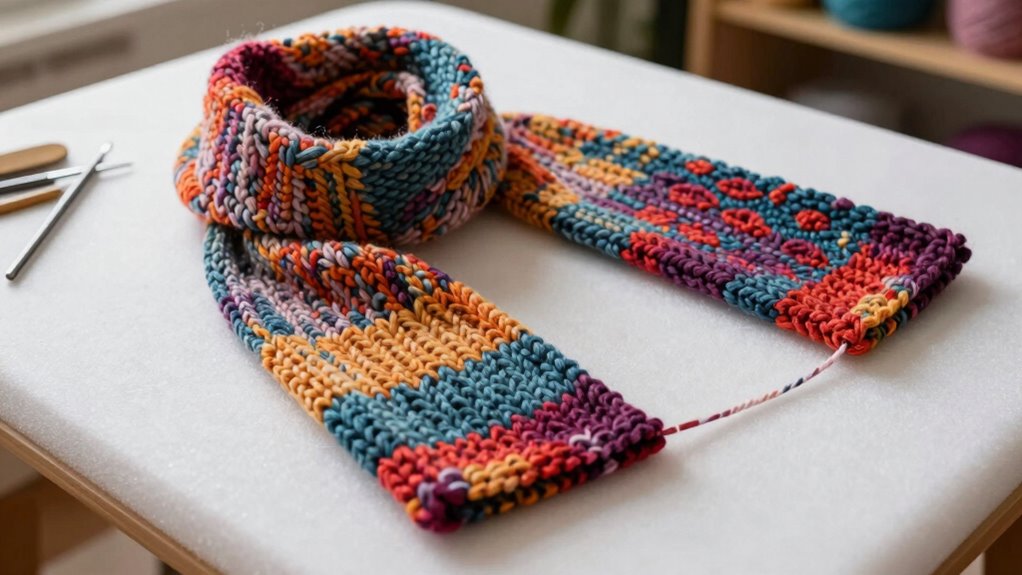
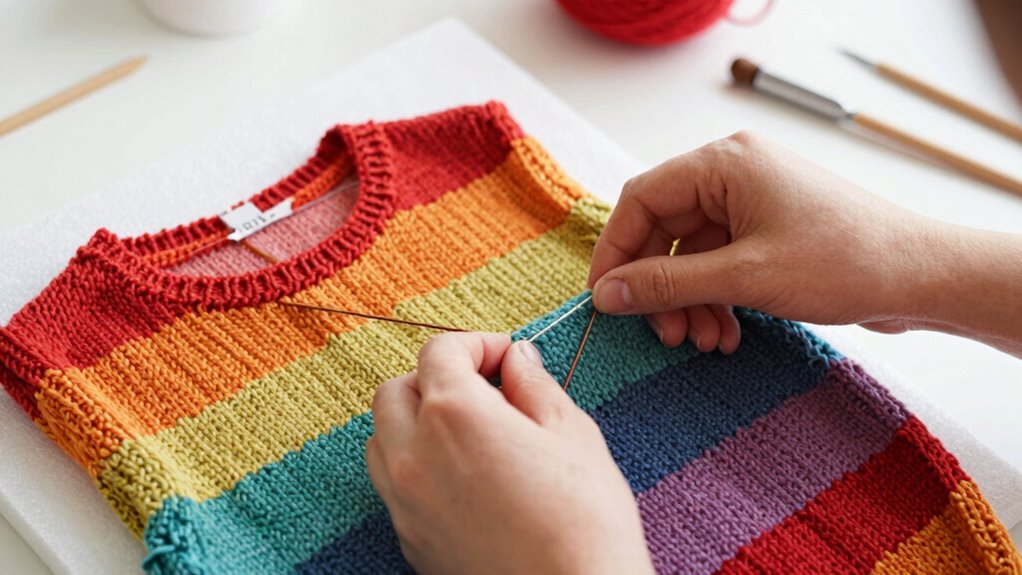
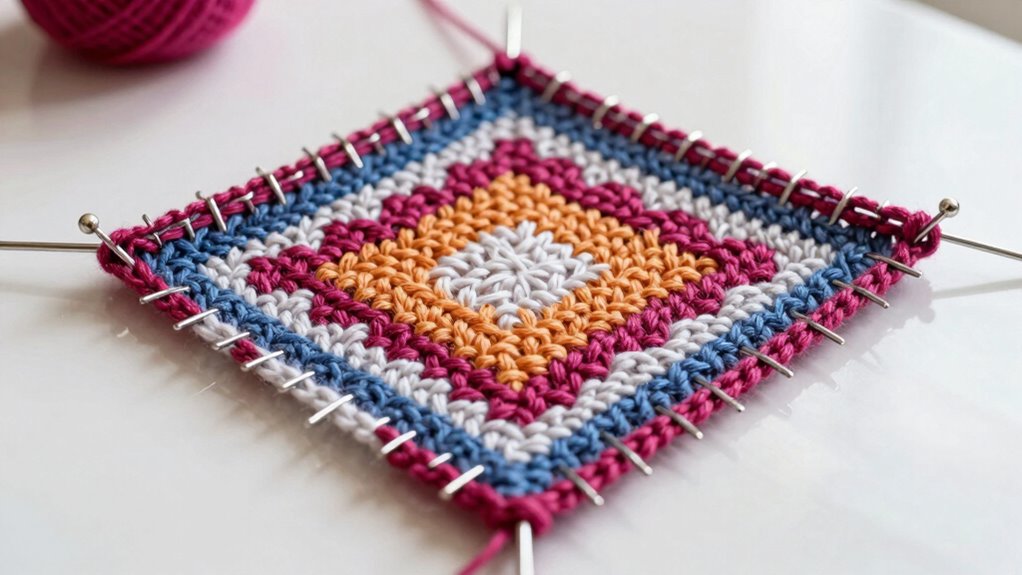
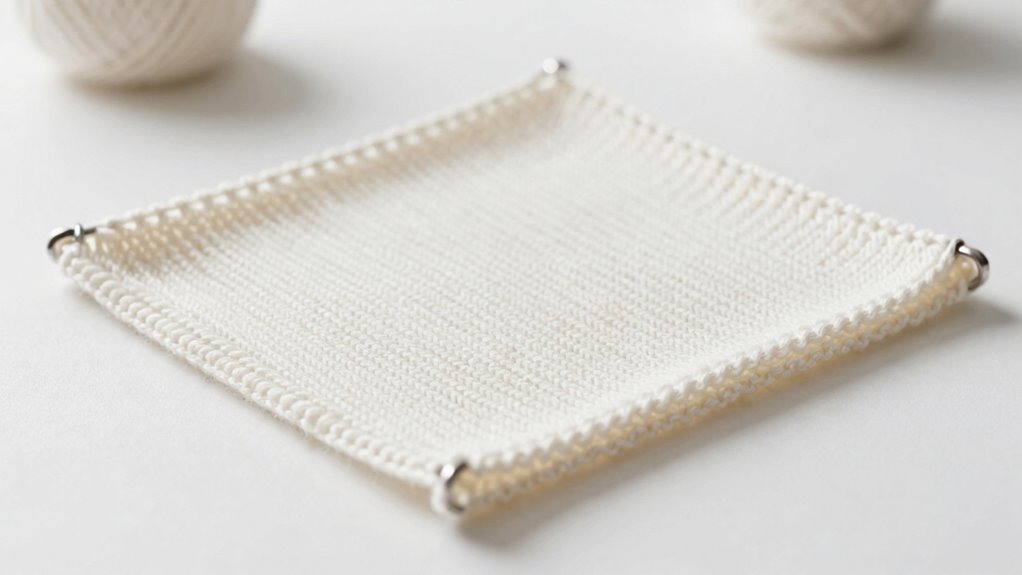
Step-by-Step Guide to Properly Blocking Your Work
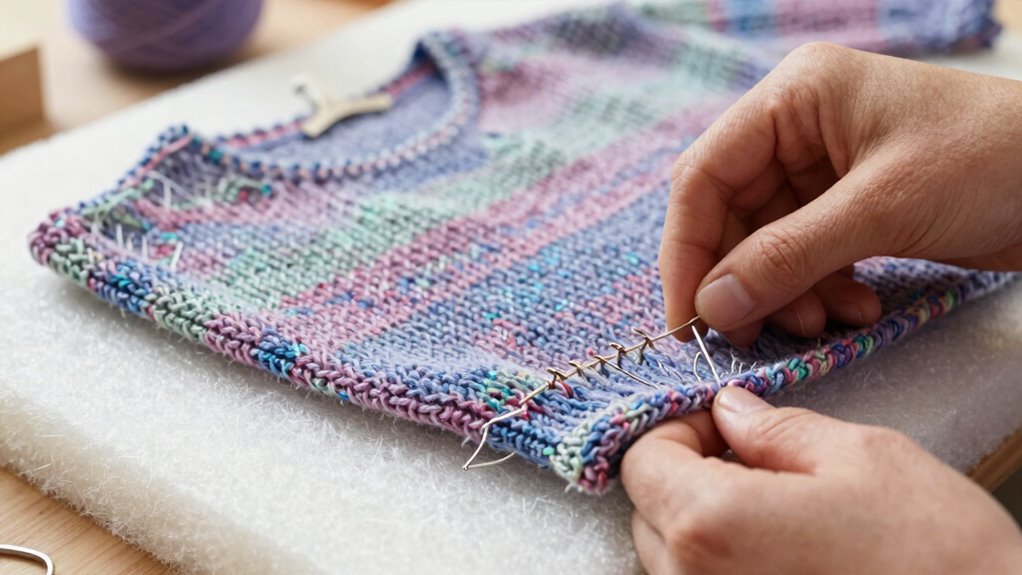
Blocking your finished project is a vital step to guarantee it looks polished and professional. Proper blocking helps improve fiber elasticity, allowing your work to hold its shape and drape beautifully. To start, gently wash and dry your piece if needed, ensuring dyes are set for optimal dye retention. Lay your project flat on a blocking mat or towel, and gently stretch it to the desired measurements, paying attention to symmetry. Use rust-proof pins or blockers to secure edges without distorting fibers. Be mindful not to overstretch, which can weaken fibers or affect dye retention. Additionally, detecting passive voice in your instructions can make your writing clearer and more direct. Incorporating proper fiber handling techniques is essential for achieving a high-quality, professional appearance. Ensuring your workspace is clean and well-organized also helps prevent accidental damage during blocking and guarantees consistent results. Using the correct blocking tools can significantly enhance the precision and efficiency of this process. Proper surface preparation and accurate measurement are key to achieving consistent, professional results. Allow the project to dry completely before removing pins. This careful process ensures your project maintains its shape, color vibrancy, and overall professional finish.
Common Mistakes to Avoid When Blocking
Even experienced crafters can make mistakes that compromise the final look of their projects. One common error is overblocking, which risks stretching or distorting your work beyond its intended shape. Overblocking can lead to uneven tension, causing some areas to look loose or overly stretched, ruining the polished finish. Another mistake is failing to monitor tension consistently while blocking, resulting in uneven edges or a skewed shape. It’s tempting to rush through the process, but rushing increases these risks. To avoid these pitfalls, always check your tension as you pin and avoid over-manipulating your project. Properly balancing tension and being cautious not to overstretch will ensure your project maintains its intended shape and professional appearance. Additionally, understanding the importance of proper tension control can help you achieve a more precise and polished outcome, especially when considering website performance metrics that inform effective project adjustments. Maintaining consistent tension is also key to preventing issues related to paint thickness, which can affect the smoothness of your finish and the overall quality of your work. Incorporating techniques like measuring tension regularly can further enhance your blocking results and help you avoid common mistakes. Paying attention to technique consistency ensures your project remains uniform and achieves a professional look.
Troubleshooting: Fixing Common Blocking Issues

Many common blocking issues can be corrected with a few simple adjustments. If your knitting fiber isn’t lying flat or your fabric tension feels uneven, try re-wetting and reshaping the piece. Sometimes, fibers like wool or cotton need a gentle soak and a careful stretch to even out tension irregularities. If your project appears puckered or stretched out, double-check your blocking surface and ensure you’re applying consistent pressure. Adjust the shape gradually, keeping an eye on fabric tension to prevent over-stretching. For stubborn issues, re-blocking may help, but always allow your fiber to dry completely before handling again. Proper tension control during blocking ensures your finished project looks professional and polished, without unnecessary wrinkles or distortions. Paying attention to fabric tension during blocking helps achieve a smooth, store-bought appearance.
Tips for Achieving a Store-Bought Finish

To get that smooth, professional look, start with proper surface preparation to make certain an even base. Use a consistent application technique so your finish stays uniform and flawless. When you pay attention to these details, achieving a store-bought finish becomes much easier.
Proper Surface Preparation
Achieving a smooth, professional finish starts with proper surface preparation. Begin by selecting the right fabric; choose materials that respond well to blocking and won’t distort easily. Before blocking, ensure your workspace is clean and free of dust or debris that could affect the fabric’s surface. Follow blocking etiquette by gently washing or steaming your fabric to remove any sizing or oils that might interfere with adhesion. Lay your project on a flat, padded surface, smoothing out wrinkles and creases carefully. Use pins or wires to secure the edges evenly, preventing puckering. Proper surface preparation guarantees your blocking process produces crisp edges and a uniform shape, making your project look polished and store-bought. Skipping these steps can compromise the final appearance.
Consistent Application Technique
Consistent application techniques are essential for achieving a polished, store-bought finish. Proper fiber alignment ensures the fibers lay smoothly and uniformly, preventing uneven surfaces. Tension control helps maintain even application pressure, avoiding puckering or stretching. To master this, focus on steady, deliberate movements and track your progress. Use the following table as a guide:
| Technique | Key Point | Benefit |
|---|---|---|
| Fiber Alignment | Keep fibers parallel | Achieves uniform surface |
| Tension Control | Maintain steady pressure | Prevents wrinkles and puckers |
| Consistent Speed | Apply evenly and smoothly | Ensures uniform finish |
Final Thoughts: Elevate Your Craft Projects With Blocking
Blocking can considerably improve your project’s precision, helping pieces lay flat and look polished. It also gives your finished work a professional touch that’s hard to achieve otherwise. When you take the time to block correctly, your craft projects truly stand out.
Enhances Project Precision
When you take the time to block your craft projects, you guarantee that every detail aligns perfectly, resulting in a more polished and professional finish. Blocking helps enhance project precision by smoothing out fabric texture irregularities and ensuring consistent shape. It allows you to fine-tune pattern alignment, making sure motifs or stripes match seamlessly. This step reduces uneven edges and helps your project hold its intended form. As a result, your finished piece looks more intentional and refined. To maximize this effect, focus on these aspects:
- Achieving even, uniform fabric texture
- Precise pattern alignment
- Consistent shaping across all sections
- Eliminating puckers or uneven stitches
Achieves Professional Finish
By carefully shaping and smoothing your project through blocking, you elevate its overall appearance to a professional standard. This final step guarantees clean edges, even stitches, and a polished look that mimics store-bought quality. Proper blocking also promotes better fabric care, helping your fibers maintain their shape and integrity over time. Additionally, it aids in color preservation by setting dyes evenly, preventing uneven fading or bleeding. The result is a finished piece that looks refined, well-crafted, and ready to display or gift. Achieving a professional finish through blocking not only enhances your project’s aesthetic but also extends its lifespan. With consistent blocking, your craft projects will consistently look their best, demonstrating your skill and attention to detail.
Frequently Asked Questions
Can Blocking Damage Delicate or Sensitive Fibers?
Blocking can damage delicate or sensitive fibers if you’re not careful, so fiber safety is vital. Too much tension or improper handling may weaken fibers or cause them to stretch unevenly. To preserve dye and fiber integrity, use gentle, controlled blocking techniques and avoid excessive stretching. Properly done, blocking enhances project appearance without risking fiber damage, ensuring your finished piece looks professional and vibrant.
How Long Does the Blocking Process Typically Take?
Blocking usually takes about 30 minutes to an hour, but timing considerations depend on the fiber type and project size. You should also factor in drying time, which varies based on material and humidity. To guarantee the best results, you might want to wait until the piece is thoroughly dry before removing pins. Keep in mind, patience during blocking ensures your project maintains its shape and looks professionally finished.
Is Blocking Necessary for All Types of Craft Projects?
Blocking isn’t necessary for all craft projects, but it’s highly recommended for fiber projects like knitting or crocheting. It guarantees fiber safety, preventing damage and maintaining your work’s integrity. Blocking also offers project flexibility, helping pieces lay flat and look professional. If your project involves shaping or fine details, blocking is a quick step that guarantees a polished finish, making your craft look store-bought and well-crafted.
Can I Block Projects Without Specialized Tools?
Yes, you can block projects without specialized tools by using household items for fabric preservation and exploring blocking alternatives. Simply soak your fabric in water, gently stretch it to the desired shape, and pin it to a clean, flat surface like a foam board or a towel. This method helps maintain your project’s shape, prevents the need for fancy tools, and ensures a professional finish with minimal effort.
How Do I Prevent Color Bleeding During Blocking?
If you want to prevent color bleeding during blocking, you’ve got to become a superhero of colorfastness! First, choose bleeding prevention techniques like soaking your project in a vinegar and water solution or using a color catcher sheet. Always wash your yarn beforehand, and avoid aggressive agitation. These simple steps will keep your colors vibrant and make certain your project looks professional, not a rainbow disaster!
Conclusion
So, don’t skip blocking—it’s the secret to making your projects look professionally finished, like they came straight from a store. Ironically, taking the time to block might seem like a hassle, but it’s the step that transforms good into stunning. Embrace it, and you’ll be amazed at how much a little patience can elevate your craft from homemade to masterpiece. After all, isn’t that what we’re really aiming for?