TL;DR

Get business pricing on tools and workshop supplies
- Business-only prices and quantity discounts
- Tax-exempt purchasing
- Multiple users, one account, clear invoices
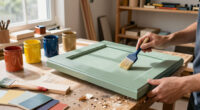
A TikTok user demonstrated how to turn one reclaimed board into doors that cover open bathroom shelving. The method involves fitting the board as a single panel before cutting it into sections, helping preserve a continuous wood-grain pattern; sizing and installation depend on the individual shelving setup.
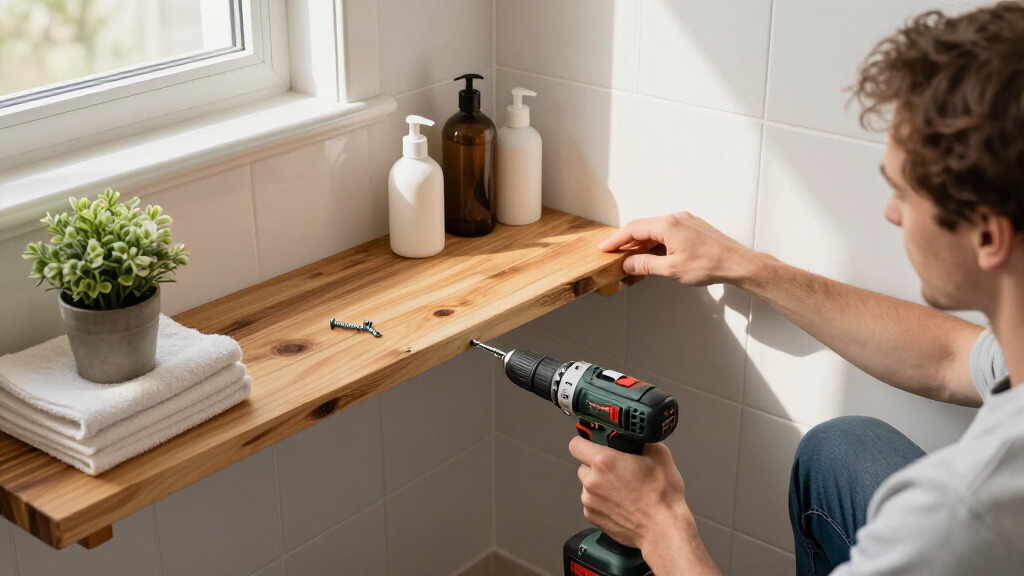
A TikTok user, John Dolechek, demonstrated a way to cover open bathroom shelving by turning one piece of reclaimed wood into cabinet doors. The approach offers a way to conceal stored items while keeping a continuous wood-grain pattern across separate panels, though the board and hardware must be sized to fit the particular shelving niche.
Hunker’s report describes a board that appears in the demonstration to be roughly 1-by-16 inches and about six feet long. That is an estimate, not a standard size recommendation: the report says the board should be as large as, or slightly larger than, the opening being covered. Lumber dimensions also differ from nominal labels; a typical nominal 1-by-16 board measures about 0.75 inches thick by 15.25 inches wide.
The suggested process begins with measuring the full opening and deciding whether to use one tall door or several doors aligned with the shelf sections. For a stained finish, the report recommends marking hinge locations and drilling the hinge cups while the board is still whole. The builder can then mount the board as a single panel, mark the horizontal cuts, remove it, and cut it into individual doors. This sequence is intended to keep the grain aligned when the doors are closed.
The project calls for soft-close European hinges, with a pair for each door and a third hinge for taller panels that need more support. Hinge cups can be drilled with a 35-millimeter Forstner bit or a concealed-hinge jig, according to Hunker. After cutting, the panels can be lightly sanded and finished with edge banding, then stained or painted. Decorative hardware is optional. The number of doors and exact measurements depend on the existing shelves.
A Cover for Everyday Bathroom Storage
The method addresses a practical issue with open bathroom niches: their contents remain visible, and the neat appearance often shown in staged images may not reflect day-to-day storage. Adding doors can hide toiletries, paper goods and first-aid supplies without replacing the shelving itself. A reused board may also make the project possible without buying a custom-made door, although the source gives no project cost estimate or guarantee of savings.
For homeowners, the continuous grain is the main design feature: cutting the doors from one board can make separate panels look connected when shut. The result may suit some bathrooms better than baskets or other organizers, but it depends on the board’s dimensions, the niche construction and the finish chosen. This is a DIY example rather than a tested product or universal plan, so readers should treat the demonstrated measurements as a starting point, not specifications for every bathroom.
soft-close European hinges for cabinets
As an affiliate, we earn on qualifying purchases.
As an affiliate, we earn on qualifying purchases.
How the One-Board Method Works
Hunker says suitable reclaimed boards may be available from architectural salvage stores, Habitat for Humanity retail stores or Facebook Marketplace; leftover lumber from another project could also work. The key requirement is enough usable material to cover the opening after accounting for the actual dimensions and the intended door layout.
Door choices vary with the shelving. A builder can make one panel for each shelf opening, combine several openings behind a larger door, or use one tall panel over the full niche. For a stained door, installing the board before cutting lets the builder align the grain and check the fit first. Hunker says a painted finish can follow a different sequence, since matching grain is less central to the appearance.
Support matters during installation. The report advises attaching hinges to an inner frame when the shelving has one; otherwise, it says to use a stud finder to locate the vertical stud framing the niche. Once the board is cut into doors, the maker can finish the cut edges with iron-on banding. The demonstration does not establish that every shelf frame can support this hardware or that every board is suitable for bathroom conditions.
Fit Depends on the Existing Niche
The source does not provide a complete set of measurements, a final materials cost, or results from testing the doors over time. The board dimensions are approximate, and the best panel layout will depend on the opening width and height, shelf dividers and available frame or stud support. It is also unclear how the specific board shown was treated for moisture exposure or how the hardware performs in other installations.
Hunker presents the project as a DIY method, not as a code or safety assessment. Readers should check the wall and shelving construction and confirm that the chosen hinges and fasteners suit the installation before cutting or mounting the wood. The source does not state whether the TikTok user completed any additional work beyond the steps described in the report.
Measure Before Cutting the Board
The next step for anyone considering the project is to measure the opening and plan the door layout before buying or cutting lumber. Check the board’s actual dimensions, allow for the way the doors will meet the shelf frame, and identify where hinges can be secured. If the board will be stained and a continuous grain is desired, the reported sequence is to position and mount the full panel first, mark the cuts, then remove and separate the door sections.
After cutting, the panels can be sanded, edge-banded and finished with stain or paint, with hardware added if desired. The source offers no scheduled follow-up or wider evaluation of the project; whether this approach works for a particular bathroom will depend on accurate measurements and a secure installation.
Key Questions
How many doors can one board make?
That depends on the board’s size and the shelving layout. In the demonstration described by Hunker, a roughly six-foot board appears to have been divided into four door panels, but other openings may require a different number.
Where can I find reclaimed wood?
Hunker lists architectural salvage stores, Habitat for Humanity retail stores and Facebook Marketplace as possible sources. Leftover lumber from another project may also be suitable if it is large enough and in usable condition.
Why install the board before cutting it into doors?
For a stained finish, mounting the board as one panel before cutting helps the maker line up the grain across the separate doors. Hunker says painting can allow a different sequence because matching the grain is less important to the finished appearance.
What hardware does the project use?
The report recommends soft-close European hinges, generally a pair for each panel, with a third hinge for taller doors that need additional support. It describes using a 35-millimeter Forstner bit or a concealed-hinge jig to make the hinge-cup holes.
Will the same board size work for every bathroom?
No. The dimensions in the report are an estimate of the board shown. Measure the specific opening and account for actual lumber dimensions, shelf dividers and hinge support before choosing a board.
Source: rss
Fall Picks
fall essentials
As an affiliate, we earn on qualifying purchases.