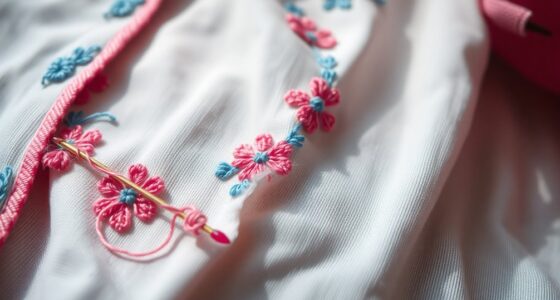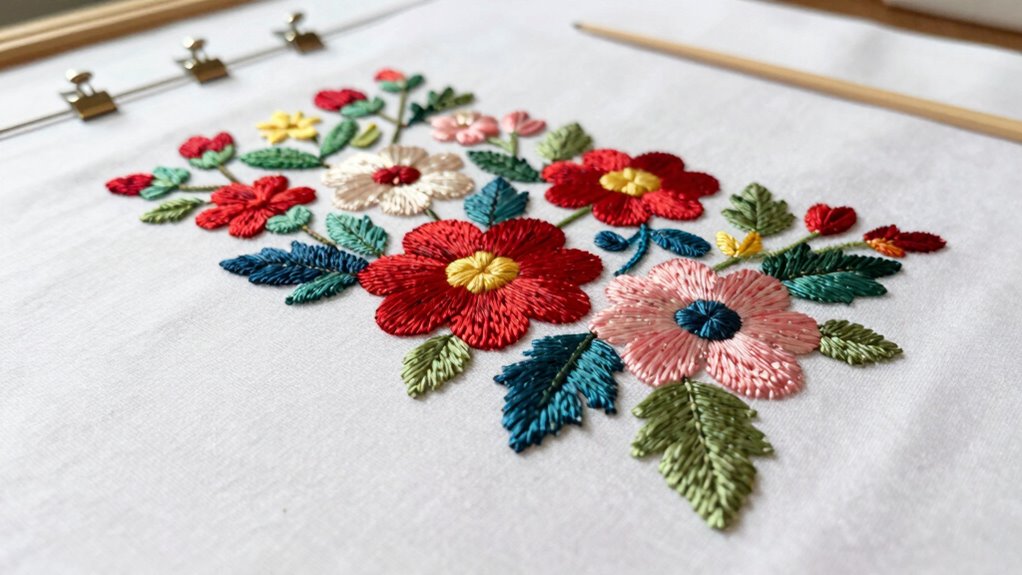

To keep your embroidery flat, start by gently washing and pressing it to remove dust and creases. Lightly stretch the fabric over acid-free mounting boards or foam core, avoiding tight tension that could distort stitches. Use acid-free tape or pins to secure it, and consider stretching over a stretcher frame for a polished look. Choose archival-quality mats and UV-protective glass for framing. Proper assembly and environmental controls will help your embroidery stay pristine for years to come.

Get business pricing on tools and workshop supplies
- Business-only prices and quantity discounts
- Tax-exempt purchasing
- Multiple users, one account, clear invoices
Key Takeaways
- Gently stretch the embroidery over acid-free mounting boards or foam core to maintain flatness without distorting stitches.
- Secure the fabric with acid-free tape or pins, ensuring even tension to prevent puckering or warping.
- Use a deep-rabbet frame with an acid-free mat to keep the embroidery from touching the glass and maintain flatness.
- Avoid tight mounting; leave a small margin to prevent tension that could cause wrinkles.
- Regularly inspect and adjust the framing to ensure the embroidery remains flat over time.
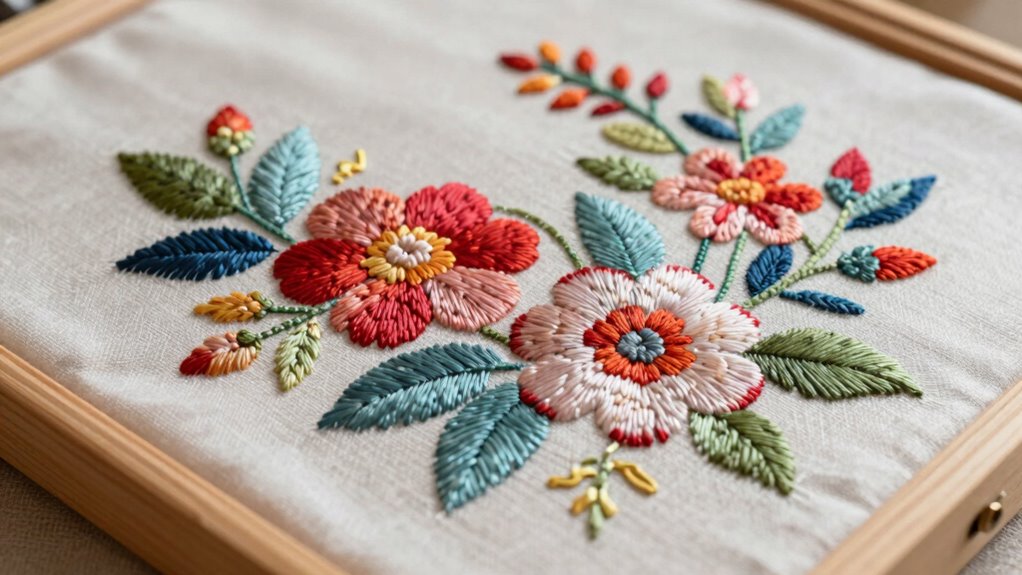
Framing your finished embroidery is a crucial step to showcase your work and protect it for years to come. Proper framing not only enhances the visual appeal but also preserves the intricate details of your embroidery. To achieve a professional and lasting finish, you need to pay attention to the right embroidery techniques and choose suitable framing materials. Your goal is to keep the fabric flat and wrinkle-free, ensuring your embroidery remains looking crisp and vibrant over time.
Start by preparing your embroidery piece. Gently wash and press it to remove any dust, oils, or creases that might have accumulated during stitching. Once dry, you’ll want to stretch it lightly to prevent puckering. Using embroidery techniques like stretching with acid-free mounting boards or foam core can help maintain the fabric’s shape. These methods avoid overstretching or distorting your stitches. When you’re ready to frame, use framing materials that are archival quality—acid-free mats, backing boards, and UV-protective glass. These materials prevent discoloration and deterioration, keeping your embroidery looking fresh for years.
Gently wash, press, and lightly stretch your embroidery using acid-free materials to preserve its shape and detail.
When mounting your embroidery, avoid stretching the fabric too tightly, which can cause warping or puckering. Instead, secure it gently to a foam board or mount using acid-free tape or pins, making sure the fabric stays smooth and flat. You can also stretch the embroidery over a stretcher frame, similar to a canvas, if you want a more professional, gallery-style presentation. Just be sure to stretch it evenly and avoid pulling on the stitches. Additionally, selecting archival-quality framing materials is essential to ensure long-term preservation and prevent damage from environmental factors. Understanding how proper preservation techniques work can help you maintain the integrity of your embroidered piece over time. Being aware of acid-free materials and their benefits is especially important in ensuring your embroidery remains vibrant and undamaged. Incorporating environmental controls like humidity regulation can also significantly extend the life of your framed embroidery. Moreover, choosing the correct mounting methods ensures your embroidery stays secure and flat without risking damage to delicate stitches.
Choosing the right framing materials is essential. Opt for a frame with a deep enough rabbet to hold your embroidery without pressing directly on the fabric. Use an acid-free mat that provides a border around your embroidery, creating a visual separation from the frame and preventing any contact with the glass. When placing the glass, ensure it’s clean and free of fingerprints, and consider UV-protective glass to guard against fading caused by sunlight.
Finally, assemble your frame carefully. Secure the backing and glass tightly but gently, so your embroidery remains flat without any wrinkles or bulges. Hang your finished piece in a place away from direct sunlight and humidity to prolong its beauty. With these techniques and framing materials, you’ll preserve your embroidery’s detail and ensure it stays flat, vibrant, and ready to be admired for years to come.
Frequently Asked Questions
How Do I Prevent My Embroidery From Buckling in the Frame?
To prevent your embroidery from buckling in the frame, guarantee you maintain proper embroidery tension during stitching. Use framing techniques like stretching your fabric evenly and securing it tightly on the frame without over-tightening, which can cause puckering. Regularly check your tension as you work, and smooth out any wrinkles or puckers before finalizing. Proper tension and careful framing techniques keep your embroidery flat and professional-looking once framed.
What Materials Are Best for Framing Delicate Embroidery?
Your embroidery deserves the best, like a rare gem! For delicate projects, choose acid-free foam board or mounting board for gentle support. Use fine, lightweight fabrics like linen or cotton as a backing, ensuring they don’t add bulk. Employ gentle mounting techniques, such as tacking or hinging, to prevent damage. This careful approach keeps your embroidery flat, vibrant, and preserved for years of admiration.
Can I Reuse a Frame for Different Embroidery Projects?
Yes, you can reuse a frame for different embroidery projects. Just make sure you update the framing techniques to suit each piece, like adjusting the tension or using fresh backing materials. Check that the frame’s dimensions match your new embroidery, and replace any old embroidery thread or padding to keep the display looking professional. Reusing frames is eco-friendly and cost-effective, but always double-check that the frame remains in good condition.
How Do I Store Finished Embroidery to Maintain Flatness?
Imagine your finished embroidery as royalty awaiting preservation; you’ll want to use proper framing techniques to keep it flat and regal. Store it in a cool, dry place, ideally flat in a protective sleeve or acid-free paper, avoiding folds and creases. Proper embroidery preservation involves avoiding sunlight and humidity, ensuring your masterpiece stays smooth and stunning. Think of it as giving your embroidery a throne for eternity.
Is It Necessary to Stretch Embroidery Before Framing?
Yes, stretching your embroidery beforehand is essential for a smooth finish. It helps you achieve professional results by eliminating puckers and wrinkles. Use embroidery techniques like hooping or blocking to stretch the fabric evenly. When choosing framing styles, consider how stretched embroidery will fit within the frame. Proper tensioning ensures your piece stays flat and looks polished, no matter whether you opt for traditional or modern framing styles.
Conclusion
With a little patience and the right framing tricks, your embroidery will stay perfectly flat—no more wavy, sad-looking stitches. Imagine proudly hanging your masterpiece, only to have it curl and buckle like a bad hair day. Don’t let your hard work turn into a rippling disaster. Follow these tips, keep it smooth, and enjoy showing off your flawless creation—because flat is fabulous, and crooked is for amateurs.
Fall Picks
fall essentials
As an affiliate, we earn on qualifying purchases.