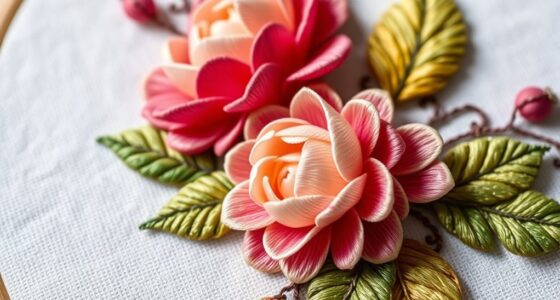
To get started with hand embroidery, learn these five basic stitches: the backstitch for outlining, the running stitch for dashes or texture, the satin stitch for filling shapes smoothly, the stem stitch for floral details, and the chain stitch for decorative outlines. Practicing these will build your confidence and control, giving your projects a polished look. If you keep practicing, you’ll discover how to use these stitches creatively and enhance your embroidery skills even further.
Key Takeaways
- Master basic stitches like backstitch, running stitch, and satin stitch to build a strong embroidery foundation.
- Use proper fabric preparation, such as washing and ironing, to ensure smooth stitching and clean designs.
- Keep stitches even and consistent to improve neatness and overall project quality.
- Practice controlling stitch tension and rhythm to develop steady hand movements and better craftsmanship.
- Gather essential tools like needles, embroidery hoops, scissors, and threads to facilitate smooth stitching and adjustments.
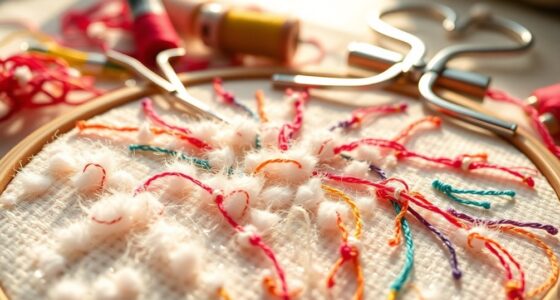
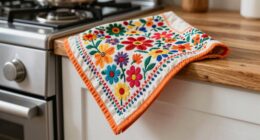
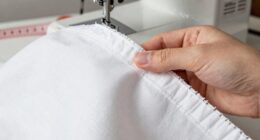
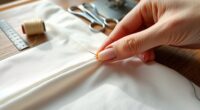
Have you ever wanted to add a personal touch to your clothing or home décor? If so, hand embroidery is a fantastic way to do it. Before you get started, it’s essential to gather the right embroidery tools—needles, embroidery hoops, scissors, and various threads—and make sure your fabric is properly prepared. Fabric preparation is an indispensable step because it sets the stage for smooth stitching and helps your designs come out clean and professional-looking. Start by washing and ironing your fabric to remove any wrinkles, then stretch it tightly in an embroidery hoop. This tension prevents puckering and makes stitching easier. Choosing the right fabric is also important; cotton or linen are popular choices for beginners since they’re easy to work with and hold stitches well.
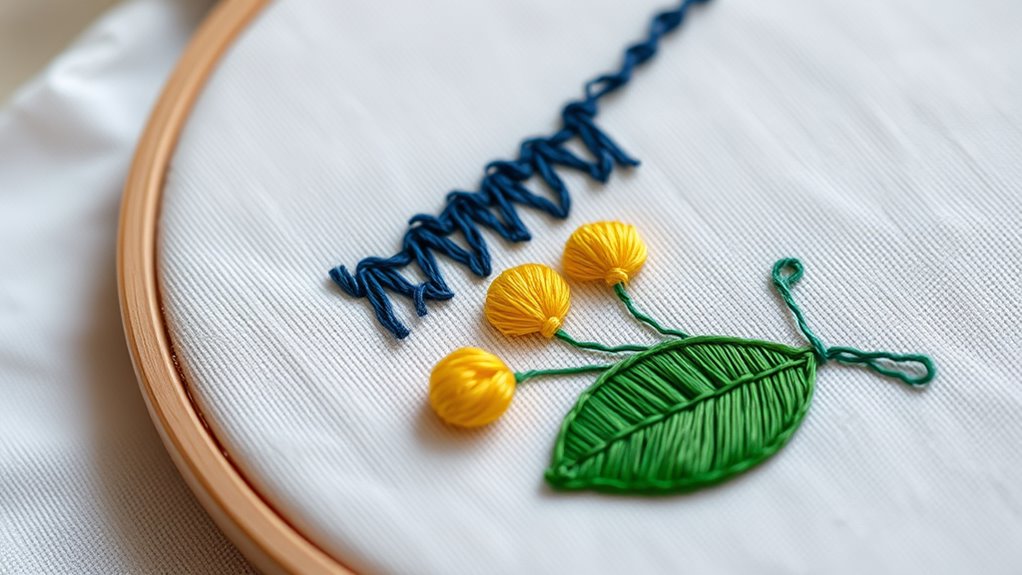
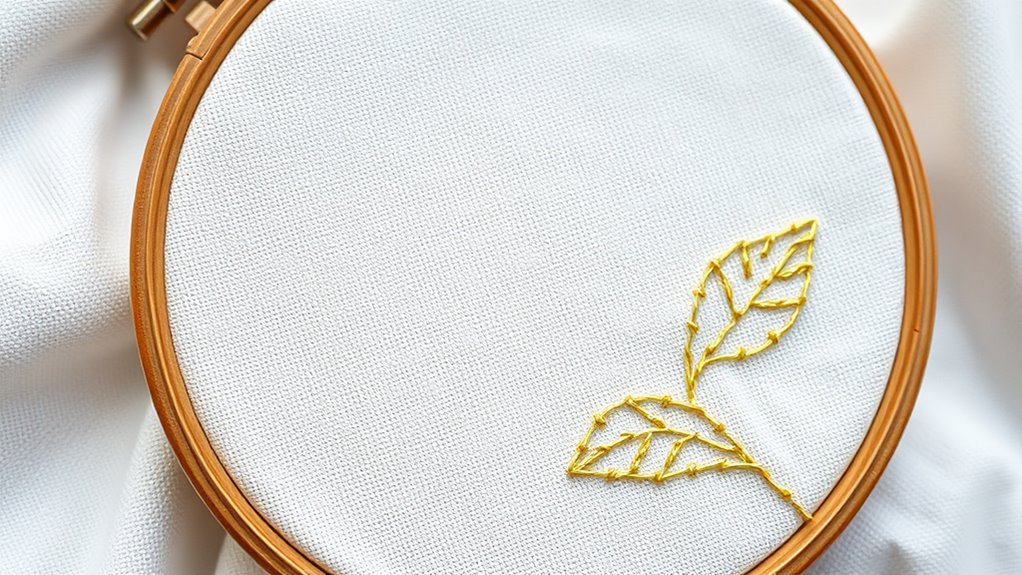
Once your fabric is prepped and secured in the hoop, you’re ready to explore learning basic stitches. These stitches form the foundation for most embroidery projects, so mastering them will give you the confidence to create intricate designs later on. The backstitch is a good starting point; it’s simple, versatile, and perfect for outlining shapes or adding fine details. To make a backstitch, bring your needle up through the fabric, then go back down a short distance away, and bring it up again just ahead of your previous stitch, creating a continuous line. Keep your stitches even and consistent for a neat appearance. Next, try the running stitch, which involves passing the needle in and out of the fabric at regular intervals. It’s great for creating dashed lines or filling in areas with a textured look. The satin stitch is a little more advanced; it’s used for filling shapes with smooth, shiny coverage. To do this, make closely spaced stitches side by side, covering the entire area. It’s perfect for lettering or filling in motifs.
Practicing these fundamental stitches builds your embroidery skills and sharpens your hand-eye coordination. As you work, remember that patience and steady hands are key. If your stitches aren’t perfect at first, don’t get discouraged—practice makes perfect. Over time, you’ll develop a steady rhythm and better control. Always keep your embroidery tools handy, especially your needles and scissors, to make adjustments easily. With proper fabric preparation, the right tools, and a little patience, you’ll see your embroidered projects improve rapidly. Embroidery is as much about enjoying the process as it is about the final product, so take your time and have fun with it. Additionally, securely attaching your embroidery to the fabric ensures your stitches stay intact and your design remains beautiful over time. Before long, you’ll be creating beautiful, personalized designs that truly reflect your style and craftsmanship.
Frequently Asked Questions
What Types of Fabric Are Best for Hand Embroidery?
Choosing fabric types for hand embroidery is like selecting a canvas for your masterpiece—you want something that’s embroidery suitability. Cotton, linen, and even silk are ideal because they provide a stable surface for stitches. These fabrics are sturdy yet soft, making your embroidery smoother and easier to work with. Avoid stretchy or delicate materials, as they can distort under your needle, turning your craft into a frustrating puzzle instead of a joyful journey.
How Do I Choose the Right Embroidery Thread?
When choosing embroidery thread, consider your project’s thread color selection to match your design. Look at thread material options like cotton, silk, or polyester, depending on the texture and sheen you want. Cotton is versatile and easy to work with, while silk adds a luxurious finish. Think about durability and how the thread complements your fabric to guarantee your embroidery turns out perfect.
Can I Fix Mistakes Easily in Hand Embroidery?
Yes, you can fix mistakes easily in hand embroidery. When you spot a mistake, you can carefully undo the stitches for embroidery correction, making mistake fixing quite manageable. Use a sharp needle or small scissors to remove incorrect stitches without damaging your fabric. With patience, you’ll find that embroidery correction is straightforward, allowing you to maintain neat and beautiful designs. Practice makes mistake fixing quicker and more precise over time.
What Tools Are Essential for Beginners?
To start hand embroidery, you need essential tools like embroidery needles and hoops. The needles come in various sizes; choose ones with sharp points for easy stitching. An embroidery hoop keeps your fabric taut, making it easier to work on. These tools help you create precise stitches and prevent fabric puckering. With quality needles and hoops, you’ll find your embroidery process smoother and more enjoyable from the very beginning.
How Do I Care for Embroidered Items?
Think of your embroidered items as treasures that deserve gentle care. To preserve embroidery, handle them with care during laundering—use mild detergent, cold water, and avoid wringing. Hand wash when possible, and lay flat to dry, like a delicate bloom. Store in a cool, dry place, away from sunlight, to keep colors vibrant. Proper embroidery preservation guarantees your beautiful stitches remain vibrant and intact for years to come.
Conclusion
Now that you’ve mastered these five basic stitches, you’re ready to bring your embroidery projects to life. Imagine creating a personalized gift, like a embroidered name on a handkerchief that becomes a cherished keepsake. With practice, you’ll turn simple stitches into intricate designs. So grab your needle and thread—your unique embroidery journey starts today. Remember, every stitch you make is a step toward becoming a confident and creative hand embroiderer.