
To keep your embroidery floss from tangling, always pull thread from the bottom of the skein and separate the strands before starting. Use shorter thread lengths of about 50 cm (20 inches) to reduce twisting. Allow your thread to hang freely between stitches and regularly pause to let it unwind naturally. Additionally, store your floss on bobbins and organize them by color to minimize knots. There's plenty more to discover on how to keep your stitching smooth!
Key Takeaways
- Pull thread from the bottom of the skein to maintain its natural twist and prevent tangling.
- Use thread lengths of about 50 cm (20 inches) to minimize twisting and manage knots effectively.
- Separate individual strands before starting to ensure alignment and smoother movement during stitching.
- Allow the thread to hang freely between stitches to facilitate natural unwinding and reduce tangling.
- Organize your workspace and store threads neatly on bobbins to minimize distractions and knotting.

Embroidery Floss Organizer, Cross Stitch Thread Storage Box Tools – Bobbin Winder, 1 Removable 24 Compartments with 40 Hard Plastic Floss Bobbins and Stickers for Craft DIY Embroidery Sewing Storage
- Removable 24-Grid Storage Box: Suitable for threads, needles, and tools
- Durable Plastic Floss Bobbins: 40 sturdy, easy-to-wrap bobbins included
- Efficient Floss Winder: Simplifies and speeds up thread winding
As an affiliate, we earn on qualifying purchases.
As an affiliate, we earn on qualifying purchases.
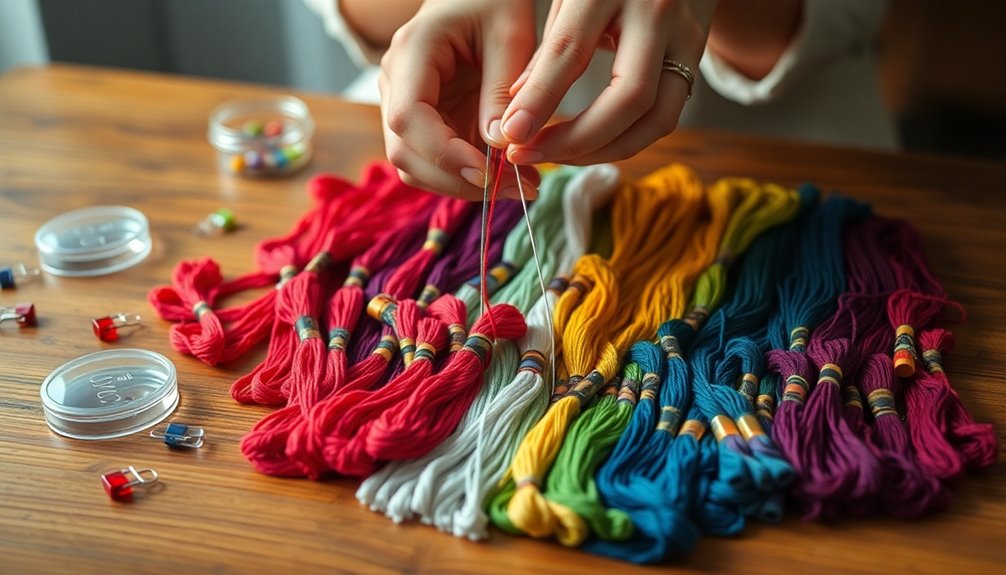
Properly Handling and Organizing Your Thread
When you're working with embroidery floss, how you handle and organize your thread can make a big difference in your stitching experience.
Always pull the thread from the bottom of the skein to prevent tangling and guarantee smoother access. When you release the thread, gently pull the tail to avoid kinking, which can lead to knots and tangles.
Organize the released thread right away to keep everything neat, and avoid deforming the skein to reduce the risk of knots forming. Allow the strands of thread to hang freely between stitches; letting them rest helps minimize tangling.
While stitching, stroke the thread gently with your fingers to maintain its straightness and prevent twisting, enhancing your overall embroidery experience. Additionally, it’s important to choose the right type of thread for your project, as different materials can dramatically alter the appearance of your work. For beginners, following a threading an embroidery needle tutorial can provide valuable insights into the best techniques and tools to use. By mastering these basics, you’ll not only improve your stitching skills but also create more polished and professional-looking designs.
Optimal Thread Length and Strands Management

To guarantee a smooth stitching experience, it's crucial to manage the length of your embroidery floss effectively. The ideal thread length is about 50 cm (20 inches); this minimizes twisting and tangling as you work.
However, consider using shorter pieces of thread between 18-24 inches to reduce the risk of thread knots forming. When starting, always separate the strands from the floss, ensuring the ends are aligned to prevent tangling.
If you're using multiple strands, keep them separated to allow independent movement. Regularly monitor your thread length, and if you notice tangling, cut the thread about 10 cm (4 inches) shorter.
This proactive strands management will help keep your embroidery thread tangle-free and enjoyable to use.
Common Causes of Thread Tangling and How to Prevent Them
Thread tangling can be a frustrating obstacle in your embroidery journey, but understanding its common causes can help you prevent it. One major issue is pulling the thread from the bottom of the skein; doing this keeps its natural twist and makes thread tangles less likely.
Also, make sure you use a needle that matches the thickness of your thread to avoid unnecessary knots. Before starting, separate individual strands—this simple step allows for smoother movement and helps prevent knots.
Keeping your workspace organized minimizes distractions, letting you monitor the thread better. Finally, allow the thread to hang freely between stitches; this gives it time to unwind naturally, keeping your hand embroidery process smooth and enjoyable.
Techniques for Managing Thread During Embroidery

Managing thread effectively during embroidery can greatly enhance your experience and results. To prevent tangles, use shorter thread lengths of about 50 cm (20 inches) for each strand of floss.
Before you start, carefully separate the individual strands to guarantee they're aligned. While stitching, regularly pause to let the needle and thread hang freely; this allows the thread to untwist naturally.
Keep an eye out for knots and tangles—address any issues immediately to maintain a smooth workflow. You might also consider using a thread conditioner to reduce friction, making it easier to pull the thread through the fabric.
Effective Storage Solutions for Embroidery Thread
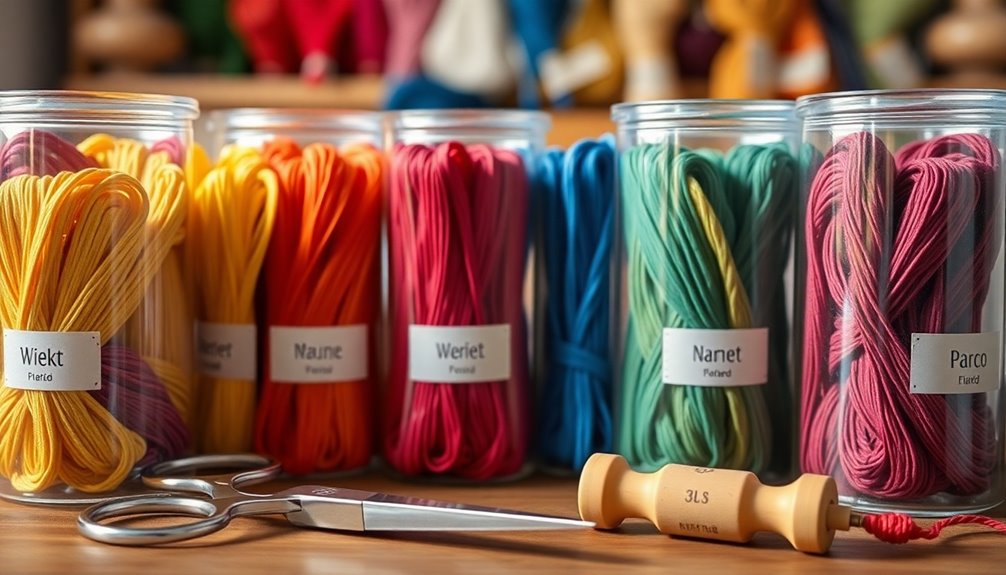
While effective storage solutions can make a significant difference in your embroidery experience, keeping your threads organized and tangle-free is essential.
To store embroidery thread, wind each strand onto bobbins instead of leaving them in full skeins. This practice helps to keep less tangles and minimizes unwinding. Use a thread organizer box to sort your bobbins by color coding or thread numbers, which streamlines your embroidery process and enhances visual organization.
When you need to cut thread or use thread for a project, having everything neatly stored makes it easier to find what you need. Additionally, keeping long thread secured in smaller sections will prevent knotting and guarantee a smooth stitching experience.
Frequently Asked Questions
How to Keep Embroidery Floss From Getting Tangled?
To keep your embroidery floss from getting tangled, start by pulling the thread from the bottom of the skein. This helps it unravel naturally.
Use about 50 cm of thread to reduce knots while stitching. Before you begin, separate the individual strands to prevent twisting.
Let your needle and thread hang freely between stitches, allowing them to untwist. Finally, consider using a thread conditioner to smooth out any roughness and minimize friction.
How to Store Embroidery Floss Without Tangling?
To store your embroidery floss without tangling, you'll want to organize it efficiently. Winding the floss onto bobbins keeps it neat and prevents knots.
Use thread organizer boxes or clear containers to sort your colors, making them easy to find. Keep the threads in small sections to minimize unwinding.
Why Does My Embroidery Thread Keep Getting Tangled?
You might find your embroidery thread tangled despite your best efforts. It's frustrating when you're stitching away, only to have knots form unexpectedly.
This happens because of various reasons, like using longer lengths of thread that twist more easily, or combining strands without separating them first.
Also, if you're not allowing the thread to hang freely, it can get caught and knot up, leading to that annoying tangle.
How to Separate Embroidery Floss Without Tangling?
To separate embroidery floss without tangling, start by pulling out each strand one at a time from the skein.
Hold the thread loosely to prevent tension. Begin separating from the middle to reduce tangles and maintain strand integrity. Use your fingers to align the ends as you go.
If you're using multiple strands, separate them individually first. After a few stitches, let the strands hang freely to avoid knots.
Conclusion
By following these tips, you'll transform your embroidery experience from a tangled mess into a smooth, enjoyable journey. Keeping your embroidery floss organized and managing your thread properly can make all the difference, turning every project into a masterpiece. Remember, a little effort goes a long way, saving you from the hair-pulling frustration of knots and tangles. With your newfound techniques, you're on your way to stitching like a pro, creating beautiful designs effortlessly!