To blend colors seamlessly with long-and-short stitch shading, focus on controlling your tension and stitch uniformity, choosing high-quality threads, and selecting harmonious thread colors. Vary your stitch length and overlap stitches gradually to create smooth progressions, mimicking natural light and shadow. Pay attention to detail and practice often to refine your skill. If you want to master realistic, vibrant shading techniques, keep exploring these tips—you’ll soon see impressive results.
Key Takeaways
- Maintain consistent thread tension and stitch uniformity for smooth, seamless color transitions.
- Use gradual color changes and overlapping stitches to create natural blending effects.
- Select high-quality threads with harmonious hues and appropriate sheen for better shading results.
- Vary stitch length and angle to enhance depth and realistic shading.
- Practice patience and attention to detail to master subtle tone shifts and achieve professional-looking blends.
What Is Long-and-Short Stitch Shading and Why It Matters

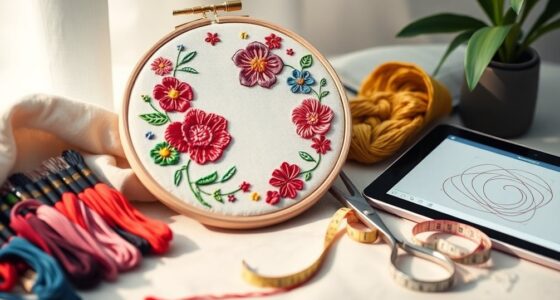
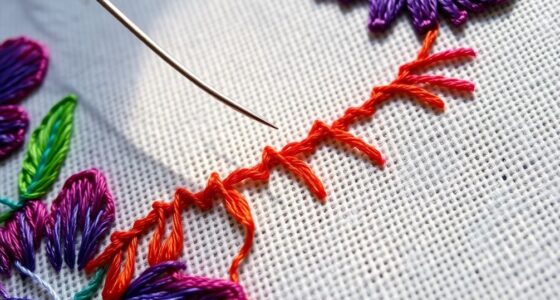
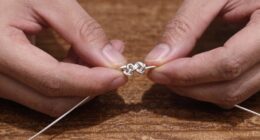
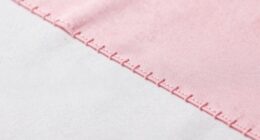
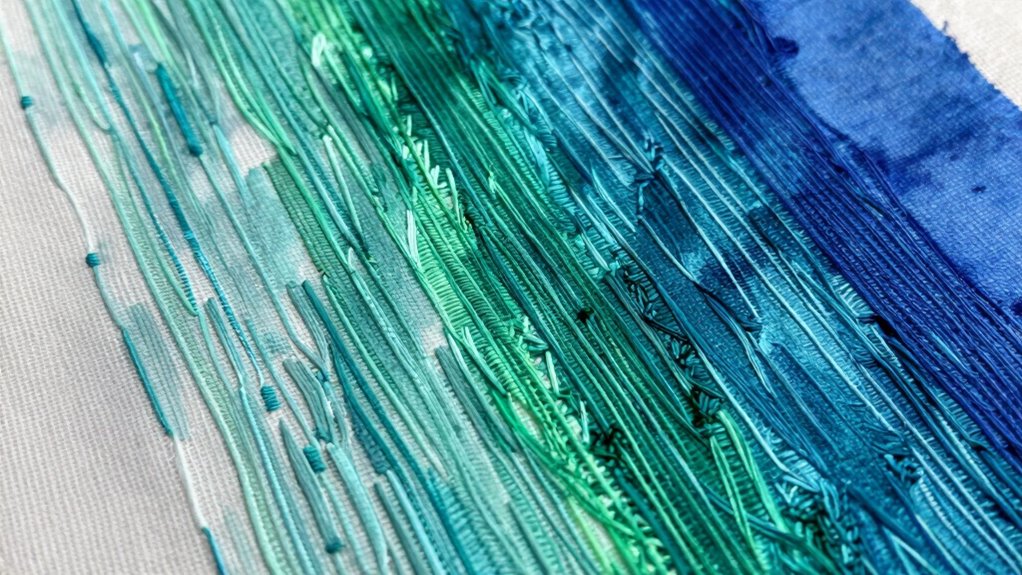
Long-and-short stitch shading is a technique used in embroidery to create realistic and smooth color gradations. Your success depends on maintaining proper thread tension, ensuring stitches are neither too tight nor too loose. Consistent thread tension helps achieve even stitch length and prevents puckering or gaps, which can disrupt the shading effect. Stitch uniformity is essential; uniform stitches blend colors seamlessly, giving your work a professional look. When you control tension and keep stitches consistent, you allow subtle color transitions to flow naturally. This technique transforms flat embroidery into a vibrant, lifelike image. Mastering long-and-short stitch shading takes practice, but paying attention to thread tension and stitch uniformity guarantees your shading looks smooth, realistic, and visually appealing. Thread tension control is fundamental to achieving the best shading results in your embroidery projects, especially when working with a wide color gamut to capture nuanced color variations. Additionally, understanding the impact of thread quality can further enhance your shading technique by reducing unwanted fraying or breakage. Proper load management also plays a role in maintaining consistent tension throughout your work, ensuring optimal shading outcomes. Developing a consistent technique helps maintain the delicate balance needed for smooth color blending and more professional-looking results.
How to Choose the Best Materials for Embroidery Color Blending
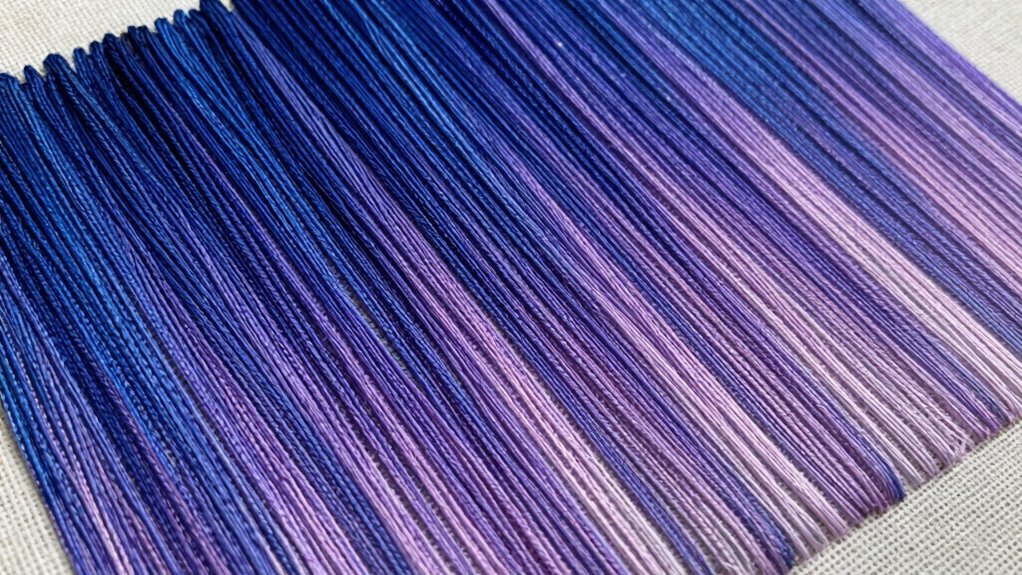
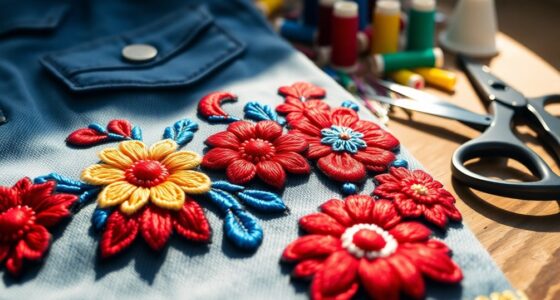
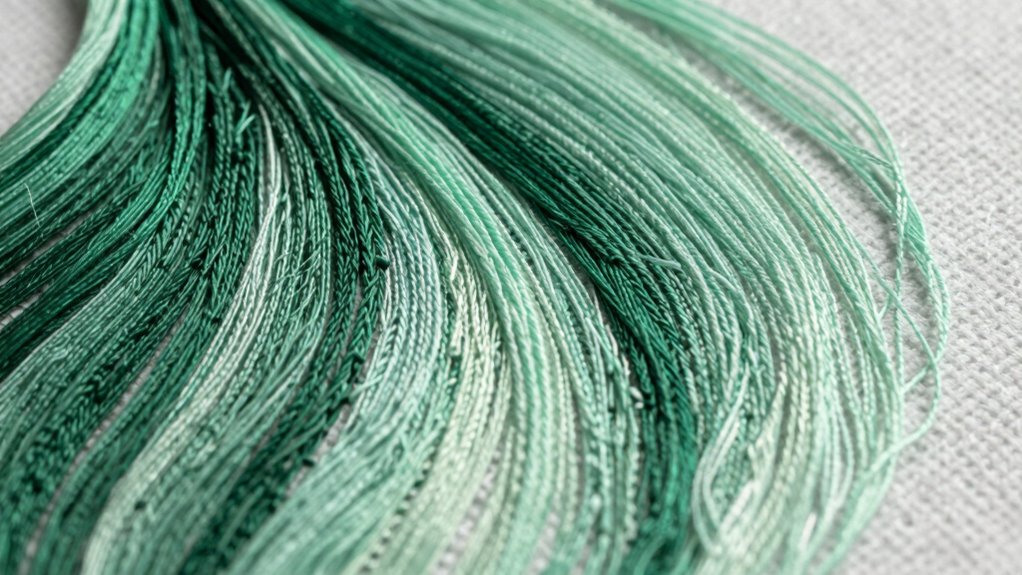
Choosing the right materials is key to achieving smooth color blending in embroidery. You want high-quality threads that hold their color and withstand wear, while also matching well for seamless shifts. Consider durability too, so your work stays vibrant and intact over time. Additionally, selecting scientifically proven thread types can enhance the longevity and appearance of your embroidery. Using threads made from hypoallergenic materials can also prevent allergic reactions, especially for sensitive skin or when working on garments that will be worn close to the skin. Furthermore, opting for colorfast threads ensures that your embroidery remains vibrant even after multiple washes. Incorporating quality standards in your thread selection can further guarantee consistent results. Paying attention to thread manufacturing processes can also improve the overall consistency and quality of your embroidery threads.
Quality of Thread
The quality of your thread makes a significant difference in achieving smooth, vibrant color blending in embroidery. High-quality thread ensures consistent dye lots, which help prevent unwanted color variations. When selecting thread, prioritize thread quality to avoid fraying, knotting, or breakage during stitching, as these issues can disrupt your shading progressions. Choose threads made from durable, smooth fibers for easier handling and better blending results. Good thread selection also involves considering the thread’s sheen and thickness to create seamless gradations. Investing in reputable brands or premium threads might cost more upfront, but the improved finish and ease of work are worth it. Additionally, fiber composition influences how well the thread interacts with dyes and affects durability. Using proper storage methods can also help maintain thread quality over time. Ultimately, quality thread elevates your embroidery, making your long-and-short stitch shading look professional and polished. Youngster Choice
Color Compatibility Tips
When selecting materials for embroidery, ensuring color compatibility is essential for smooth blending and a cohesive finished piece. Focus on achieving color harmony by choosing threads that complement each other, creating a seamless transition between shades. Pay attention to pigment mixing; selecting colors that naturally blend or layer well will help you create subtle gradations. Test your thread combinations on scrap fabric to see how the colors interact when stitched. Stick to a limited palette of harmonious hues to avoid clashing or muddying your work. Consistency in hue intensity also matters—matching thread brightness ensures your shading appears natural. By thoughtfully selecting materials based on color harmony and pigment mixing, you’ll elevate your embroidery’s realism and depth. Additionally, understanding the compatibility of thread shades can help prevent unintended color muddiness and ensure a more professional finish.
Material Durability
Since durable materials guarantee your embroidery maintains its vibrant colors over time, selecting the right threads and fabrics is essential for effective color blending. Fabric longevity ensures your work withstands daily wear without fading or fraying, keeping your blending seamless over years. Look for high-quality fabrics with tight weaves, like cotton or linen, which resist pilling and stretching. Equally important is thread strength; sturdy threads won’t break or fray during stitching, allowing smooth, consistent color transitions. Strong threads also help prevent unraveling, preserving your design’s integrity. By choosing materials with proven durability, you guarantee your long-and-short stitch shading remains vibrant and intact, making your color blending efforts truly stand the test of time. Incorporating material durability into your selection process ensures your embroidery stays beautiful and resilient over the years, and understanding fabric composition can further impact the longevity of your work. Additionally, selecting appropriate thread types designed for embroidery can significantly enhance the durability of your finished piece. Paying attention to colorfastness can also help prevent colors from bleeding or fading over time, ensuring your blending remains vivid. Considering finishing techniques can also contribute to protecting your embroidery from environmental wear.
Step-by-Step Guide to Mastering Long-and-Short Stitch Techniques

To master long-and-short stitch techniques, you need to understand the fundamental steps involved in creating smooth shading and realistic textures. First, select your thread and adjust the thread tension to guarantee stitches are even and not too tight or loose. Next, focus on stitch length; vary it slightly to create depth, with shorter stitches for shadowed areas and longer ones for highlights. Then, follow these steps:
- Start with a guiding line to map out your shading transitions.
- Place stitches close together, maintaining consistent tension and stitch length.
- Gradually blend colors by overlapping stitches and varying stitch lengths for a seamless gradient.
Practicing these steps will improve your control and help you achieve natural shading effects.
Tips for Achieving Smooth Color Transitions and Realistic Gradients
Once you’ve mastered controlling stitch length and tension, you can focus on creating smooth color shifts and realistic gradients. To achieve seamless color blending, blend stitches gradually, shifting between shades with subtle overlaps. Use gradient techniques by gradually changing thread colors across your work, avoiding abrupt shifts. Keep stitches consistent in size and spacing to ensure even color distribution. Additionally, practicing color blending techniques helps develop a more natural look in your work. For best results, maintain a steady hand to help control stitch consistency and prevent uneven transitions. Developing a good eye for color harmony allows you to choose and blend shades more effectively for realistic effects.
Common Mistakes in Color Blending and How to Fix Them
One common mistake in color blending is abrupt color changes that disrupt the smooth shift you’re aiming for. To fix this, pay attention to your thread tension—keeping it consistent prevents uneven stitches that can cause harsh progressions. Using the right needle size is also essential; a smaller needle helps control stitch size and creates softer blends. Here are three tips:
- Maintain even thread tension throughout your project to avoid abrupt color jumps.
- Select a needle size that allows for fine stitches, promoting seamless color progressions.
- Gradually blend colors by overlapping stitches, ensuring a smooth gradient instead of sudden shifts.
- Understanding auditory processing techniques can help you develop a better sense of subtle transitions, which is useful for achieving more nuanced color blending.
Advanced Embroidery Shading Techniques for Stunning Effects

Mastering advanced embroidery shading techniques can elevate your work with stunning depth and dimension. By applying principles of color theory, you can create seamless *gradations* and realistic effects that captivate the eye. Focus on blending hues gradually, using multiple shades within a single area to add richness and complexity. Draw artistic inspiration from nature or artwork to guide your color choices and shading directions. Experiment with layering stitches, varying thread thickness, and adjusting stitch angles to enhance shading precision. Incorporate subtle shifts in tone to mimic light and shadow, giving your embroidery a three-dimensional appearance. These techniques demand patience and attention to detail but reward you with intricate, breathtaking designs that showcase your mastery of color blending.
Frequently Asked Questions
Can Long-And-Short Stitch Shading Be Used on All Fabric Types?
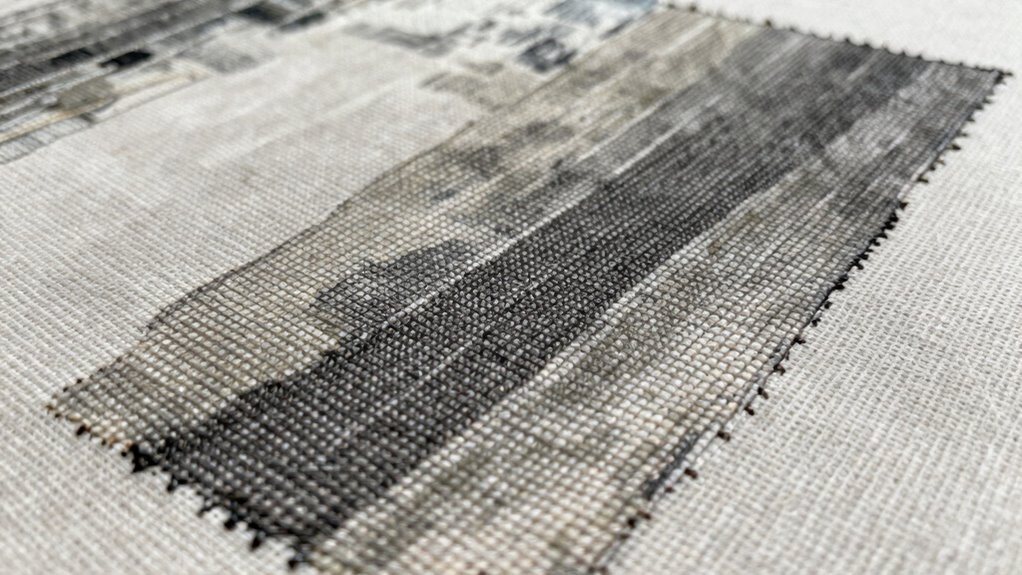
Yes, you can use long-and-short stitch shading on most fabric types, but fabric suitability and thread compatibility are key. Stick to tightly woven fabrics like linen or cotton for smooth shading, and avoid stretchy or delicate materials that might distort. Use compatible embroidery threads to guarantee even blending and prevent puckering. With the right fabric and thread choices, you’ll achieve beautiful, seamless color progressions regardless of the fabric you pick.
What Tools Can Help Improve Color Blending Accuracy?
You can improve color blending accuracy with the right tools, like color blending tools and shading brushes. These tools help you control progressions and create smooth gradients. Shading brushes, especially, allow for gentle, precise application of colors, while color blending tools help mix shades seamlessly. Using both together, you’ll achieve more natural and professional-looking shading, making your work stand out with flawless color transitions.
How Long Does It Typically Take to Master This Technique?
Mastering long-and-short stitch shading usually takes several months of consistent practice. The technique duration varies based on your dedication and skill development, but expect steady progress within 3 to 6 months. You’ll improve your ability to blend colors seamlessly as you refine your stitches and understand shading nuances. Keep practicing regularly, and you’ll find your shading becoming more natural and precise over time, enhancing your overall embroidery skills.
Are There Digital Resources or Tutorials Recommended for Beginners?
Oh, sure, you could just wing it without guidance, but why not make it easier? Digital tutorials and beginner guides are your best friends here. They walk you through every stitch and shade, helping you master long-and-short stitch shading faster. You’ll find step-by-step videos, detailed instructions, and tips that turn what seems complicated into something you can actually do. Trust me, your future masterpiece will thank you!
How Do I Preserve My Embroidery Work Over Time?
To preserve your embroidery work over time, you should use fray-resistant stitches and high-quality threads to maintain color longevity. Store your finished piece in a cool, dry place away from sunlight to prevent fading. Gently wash it with mild soap and avoid harsh chemicals. Framing or mounting your embroidery can also protect it from dust and damage, ensuring your beautiful work stays vibrant for years.
Conclusion
So, after all that talk about perfect color blends and seamless shading, you’d think you’d master it instantly, right? Of course, patience and practice are overrated—who needs flawless *progressions* when you can just wing it? Just remember, every stitch is a step closer to embroidery greatness… or a colorful mess. Either way, enjoy the journey, and maybe, just maybe, your next piece will be a masterpiece—if luck’s on your side. Happy stitching!