
Removing embroidery will often leave holes in the fabric, especially if it's delicate like silk or chiffon. Dense stitches can create noticeable needle holes. To minimize this, use a cross stitch needle to help realign the fabric and apply steam to soften the fibers. Washing the fabric afterward can also reduce visibility. If you're worried about damage, there are techniques and preventative measures you can take for future projects. Stick around to discover more tips!
Key Takeaways
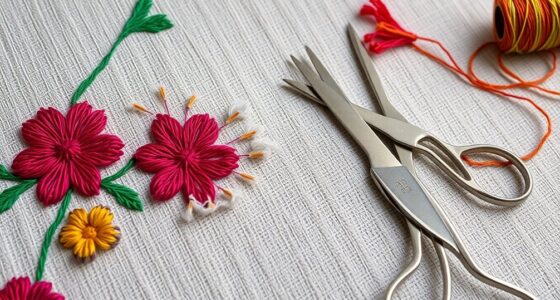
- Removing embroidery often leaves holes, particularly in delicate fabrics such as silk or chiffon.
- The visibility of holes depends on fabric type; dense fabrics conceal marks better than lighter ones.
- Using a cross stitch needle can help realign the fabric weave and minimize damage.
- Applying steam can soften fibers, aiding in the restoration of the original weave and reducing hole visibility.
- Washing the fabric after removal helps close up holes, especially when followed by careful ironing.
Top picks for "remov embroidery leave"
Open Amazon search results for this keyword.
As an affiliate, we earn on qualifying purchases.
Understanding the Impact of Removing Embroidery
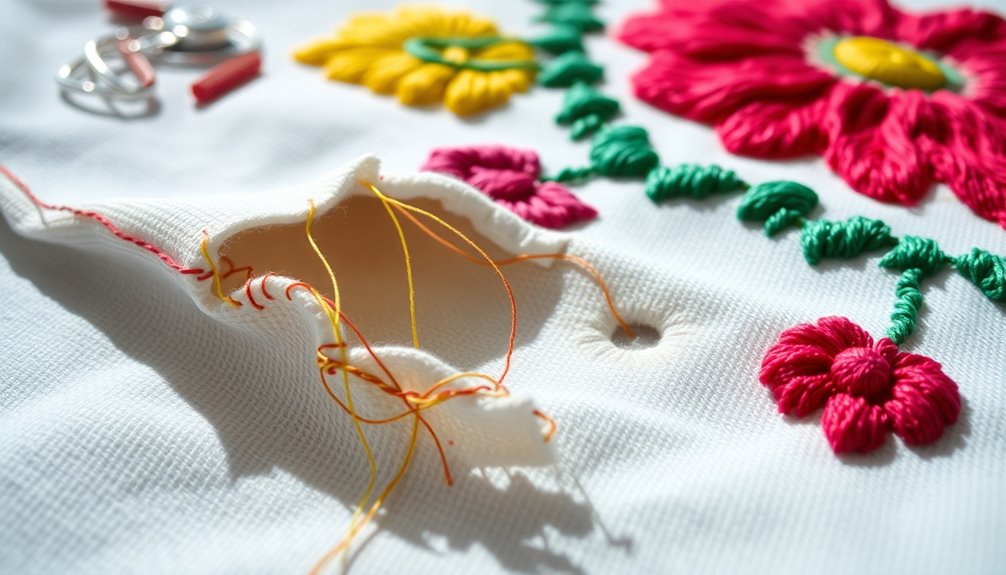
When you remove embroidery, it can greatly impact your fabric, especially if the stitches were dense or made from delicate materials like silk or chiffon.
Removing embroidery often leaves behind needle holes, which can be more noticeable in fabrics with high stitch density. Delicate fabrics are particularly vulnerable to damage, making the removal process tricky.
Techniques like using a cross stitch needle can help realign the fabric weave, while steaming or washing may mitigate the appearance of these holes.
However, with materials such as vinyl, leather, or velvet, you might find that needle holes remain permanent.
In cases of significant damage, consider re-embroidering over the holes or applying patches to effectively cover any imperfections that may arise from your efforts.
Factors Influencing Hole Visibility
When it comes to hole visibility after removing embroidery, the type of fabric you choose plays a vital role.
For instance, dense fabrics like canvas hide marks better than delicate ones like silk.
Additionally, the stitch density from the original embroidery can leave more pronounced holes, making it essential to take into account these factors before you begin.
Fabric Type Considerations
The type of fabric you choose can greatly impact how visible embroidery holes are after removal. For instance, denser fabrics like canvas tend to show fewer needle marks than lighter options like chiffon or silk.
Natural fibers, such as cotton and linen, recover better from needle marks due to their flexibility, while synthetic fibers like polyester may hold onto impressions more stubbornly. Additionally, fabrics with a nap, such as velvet, can effectively obscure any embroidery mistakes.
- Tighter weaves conceal stitching patterns better.
- Looser weaves may reveal more holes.
- Natural fibers offer better recovery from damage.
- Synthetic fibers often retain more visible impressions.
Choosing the right fabric type can markedly enhance the final appearance after removing embroidery.
Stitch Density Effects
Choosing the right fabric type is just the first step; stitch density plays a significant role in how visible embroidery holes are after removal. Tighter stitch density creates larger, more pronounced holes, while a lower density may leave smaller ones.
Fabrics with a higher thread count can help mask these holes since the fibers often realign better post-stitch removal. For instance, wide and dense embroidery fonts penetrate more fabric, resulting in bigger holes, whereas finer fonts usually leave smaller marks.
Sturdier fabrics like denim or canvas conceal holes better than delicate options like chiffon or silk, which struggle to return to their original state. Additionally, using adhesive stabilizers during embroidery can impact how well the fabric recovers. Moreover, selecting fabrics that are made from non-toxic materials can further ensure safe handling during the embroidery process.
Techniques to Minimize Needle Holes
Minimizing needle holes after removing embroidery can be achieved through several effective techniques. You can use these methods to help restore your fabric's appearance:
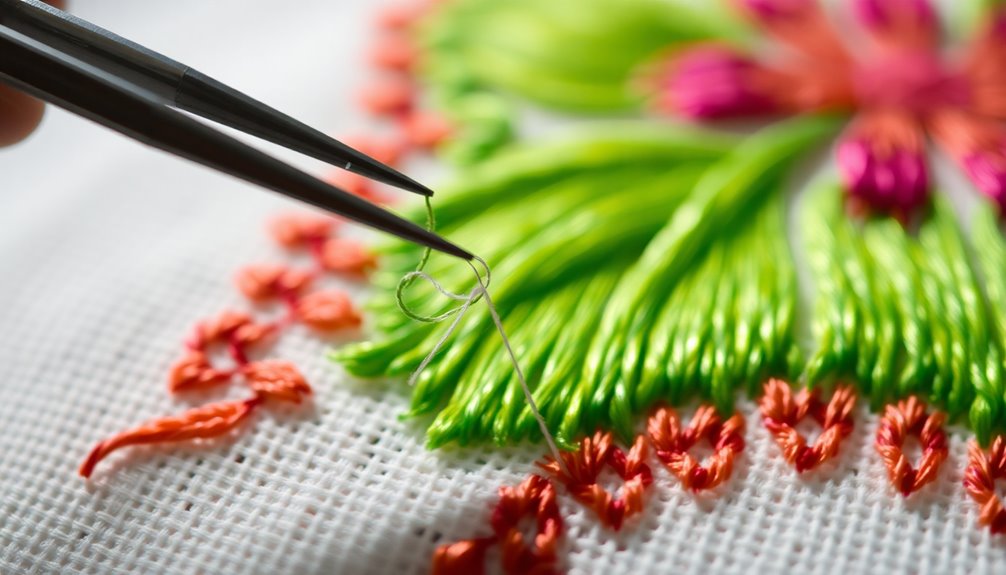
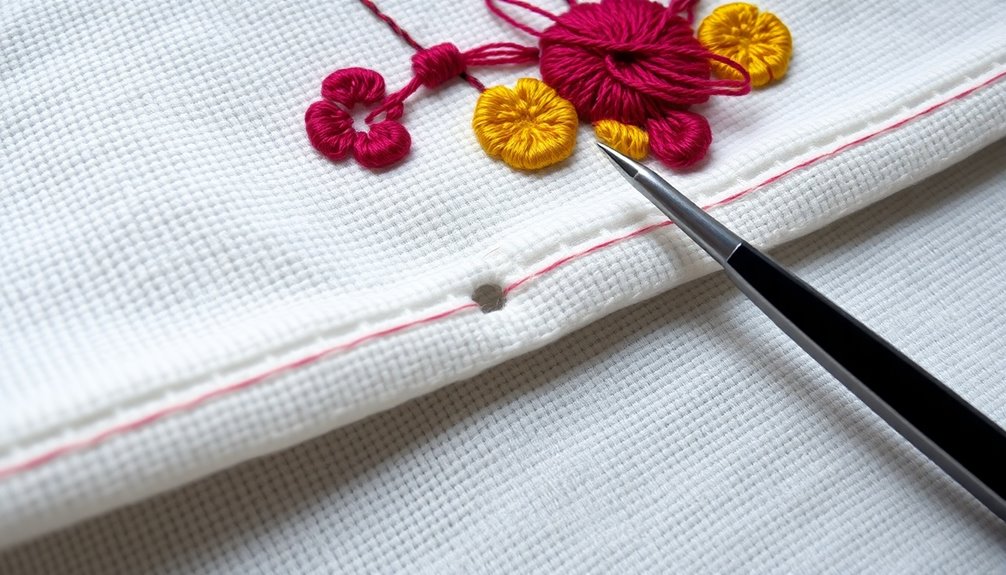
- Use a cross stitch needle to realign fabric weaves and minimize holes.
- Apply steam to soften fibers, aiding in the restoration of the original weave.
- Wash the fabric after removal to reduce visibility, especially when combined with ironing.
- Gently manipulate the fabric by stretching and brushing to reposition fibers over needle marks.
Repairing Holes After Embroidery Removal
Removing embroidery can leave noticeable holes in your fabric, especially if the stitches were dense or the material is delicate.
To repair these holes, gently use a cross stitch needle to realign the fabric weave. This technique helps minimize the appearance of any damage. If you're struggling with stubborn holes, applying steam can reset the weave and further reduce visibility.
After that, wash the fabric to help close up the holes, followed by ironing to equalize the grain.
For larger holes that remain, consider re-embroidering a custom design to effectively cover imperfections. This way, you'll not only repair the fabric but also add a fresh touch to your piece, making it look revitalized.
Preventative Measures for Future Embroidery

When you're planning to embroider, selecting the right fabric can make all the difference in preventing future issues. To guarantee a smoother process, consider these preventative measures:
- Choose lightweight and tightly woven fabrics to minimize visible holes.
- Use stabilizers to support your fabric and reduce stress on fibers.
- Opt for a smaller needle size to create less pronounced holes for easier removal.
- Avoid dense stitching patterns; instead, select lighter, more spaced-out designs.
Additionally, always test your embroidery techniques on scrap fabric similar to your final project.
This helps you identify potential issues, assuring your embroidery experience is as seamless as possible while preserving the integrity of your fabric.
Final Tips for Successful Removal

When you're removing embroidery, using careful stitch removal techniques is key to preserving your fabric.
After that, try fabric restoration methods like steaming or washing to help hide any remaining holes.
These final tips can make a big difference in achieving a polished look.
Careful Stitch Removal Techniques
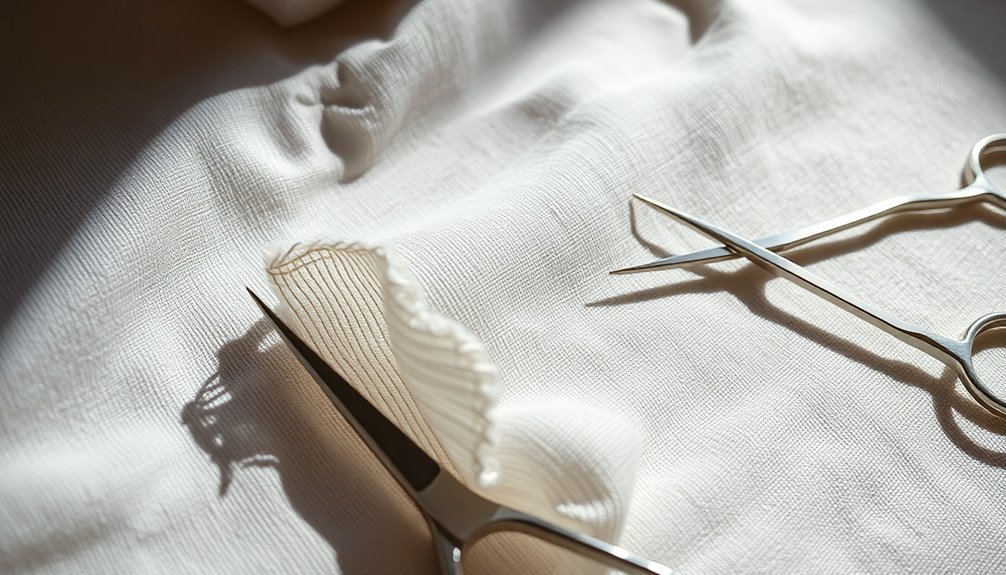
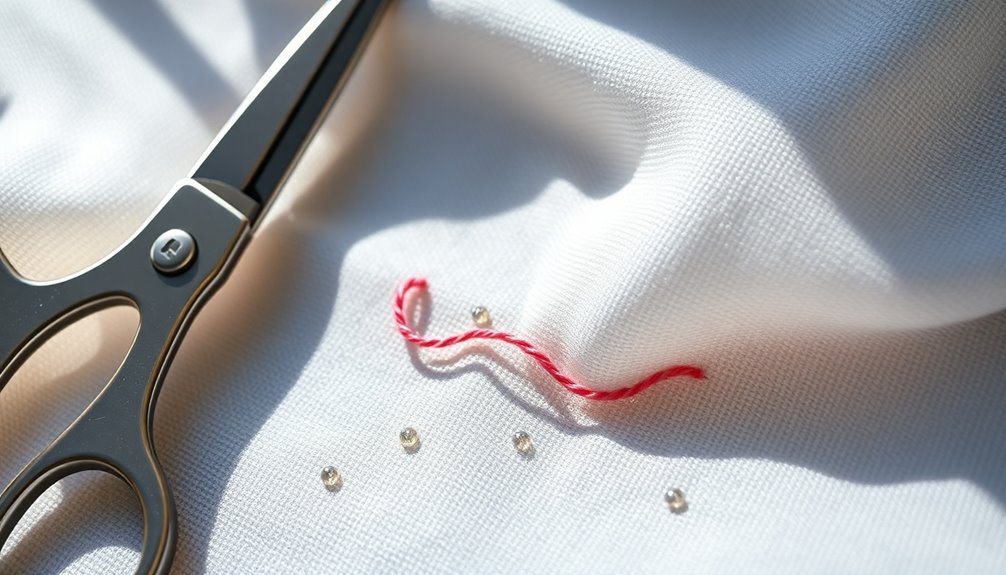
To achieve a successful stitch removal, it's important to approach the task with patience and precision. Start by using a seam ripper to cut through the stitches, turning the fabric inside out to minimize the risk of creating larger holes during removal. Move slowly and gently, pulling on threads as you cut to guarantee you don't damage the surrounding fabric.
Here are some final tips:
- Use tweezers to pull loose threads after cutting.
- Regularly check both sides of the fabric for resistance points.
- Always keep the right tools handy for smoother removal.
- Consider using a cross stitch needle to realign fabric weave, helping to minimize any holes left behind.
With these techniques, you'll master the art of removing embroidery.
Fabric Restoration Methods
While removing embroidery can leave behind unwanted holes, effective fabric restoration methods can help you revive your garment.
Start by using a cross stitch needle to realign the fabric's weave. Gently manipulate the fibers, which can minimize the appearance of needle holes.
Next, apply steam to the fabric; this technique helps reset the weave, especially on stubborn materials. After steaming, wash and iron the fabric to equalize the grain, further reducing visibility of any remaining holes.
For larger imperfections, consider using fabric patches or re-embroidery, which can enhance your garment's design.
Always test any restoration method on a less visible area to verify it's compatible with your fabric before treating the entire piece.
Frequently Asked Questions
Does Removing Embroidery Leave Holes?
Yes, removing embroidery can leave holes in the fabric.
The extent of the damage usually depends on the fabric type and how tightly the stitches were packed. Thicker fabrics often show less wear, while materials like leather or velvet might retain visible holes.
You might be able to minimize the appearance of holes by washing and ironing the fabric afterward, but it won't always restore it to its original state.
How to Fix Holes After Removing Embroidery?
After removing embroidery, you might notice some holes. To fix them, start by using a cross stitch needle to gently realign the fabric weave.
Applying steam can help reset stubborn fibers and minimize gaps. Washing the fabric can also aid in closing holes, thanks to the agitation.
After washing, iron the fabric with a press cloth to smooth everything out.
For larger holes, consider re-embroidery or patches to cover imperfections creatively.
Can You Remove Embroidery Without Damaging It?
Imagine carefully revealing a masterpiece hidden beneath layers of thread. You can remove embroidery without damaging the fabric if you use the right techniques. As you work meticulously, patience becomes your greatest ally, allowing you to uncover the intricate design that has long been obscured. With each careful snip or gentle tug, you can see the beauty of the underlying fabric emerge. For those interested in mastering this delicate art, several removing embroidery techniques explained are available online, guiding you through the process with detailed steps and helpful tips.
Start with a seam ripper to gently cut the threads from behind. Take your time, and don't rush.
After removal, applying steam can help relax the fibers. With a little patience, your fabric can regain its beauty, almost as if the embroidery was never there at all.
How to Prevent Holes in Embroidery?
To prevent holes in embroidery, you should start by choosing the right fabric and stitch density.
Use a cross stitch needle when working to help maintain the fabric's weave. If you encounter stubborn stitches, applying steam can relax the fibers and make removal easier.
After you finish, washing and ironing the fabric can help restore its original state, reducing any visible holes.
Regularly monitor your fabric type for the best results.
Conclusion
When you remove embroidery, it's common to worry about leftover holes, but with the right techniques, you can minimize their visibility. Curiously, studies show that about 60% of fabric enthusiasts have successfully repaired small needle holes using simple stitching methods. So, don't stress too much! By following preventative measures and proper removal techniques, you can keep your fabric looking fresh and new. Just remember, a little care goes a long way in fabric preservation!