
Sewing silk fabric is all about precision and the right tools. You'll want sharp, fine needles and high-quality polyester thread to avoid snagging. Start by pre-washing your silk, then lay it flat to dry. When cutting, work with a single layer and use pattern weights for stability. Remember to hand-baste seams for better control and finish edges with French seams. These essential techniques will help you create stunning garments. Keep going to uncover even more helpful tips!
Key Takeaways
- Use sharp, fine needles and high-quality polyester thread to prevent snagging and ensure smooth seams when sewing silk.
- Cut silk fabric in a single layer using sharp scissors or a rotary cutter for clean edges and to prevent distortion.
- Stabilize silk with tissue paper or lightweight stabilizer during cutting and sewing to minimize shifting and stretching.
- Hand-baste seams before sewing for better control, especially on slippery silk fabric.
- Choose appropriate hem finishes, like rolled or baby hems, to maintain silk's natural drape and avoid fraying edges.
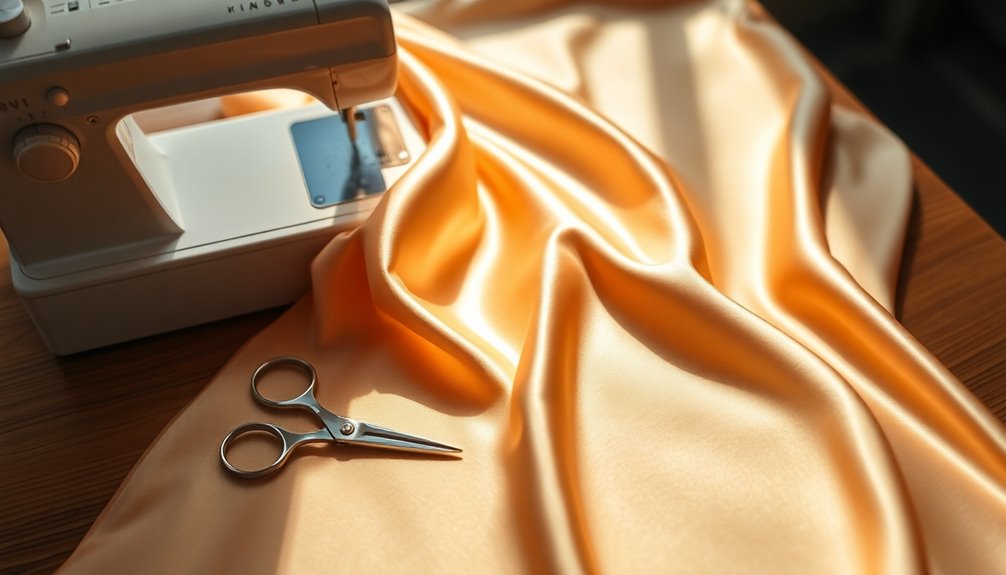
Essential Tools for Sewing Silk

When diving into the world of silk sewing, having the right tools at your fingertips is essential for success.
Start with sharp, fine needles, sizes 9 or 11, specifically designed for lightweight fabrics. They'll prevent snagging and keep your silk smooth.
Choose high-quality polyester thread, like Coats & Clark's Dual Duty XP Fine, which blends seamlessly into your seams without puckering.
Use extra-fine pins, such as Dritz Extra-Fine Glass Head Pins, to minimize damage to the delicate fabric.
A walking foot can help you manage the slippery texture, ensuring even feeding.
Finally, lay down tissue paper or a lightweight tear-away stabilizer beneath your fabric to reduce slipping and gain better control while sewing.
These tools will set you up for success!
Preparing Your Silk Fabric
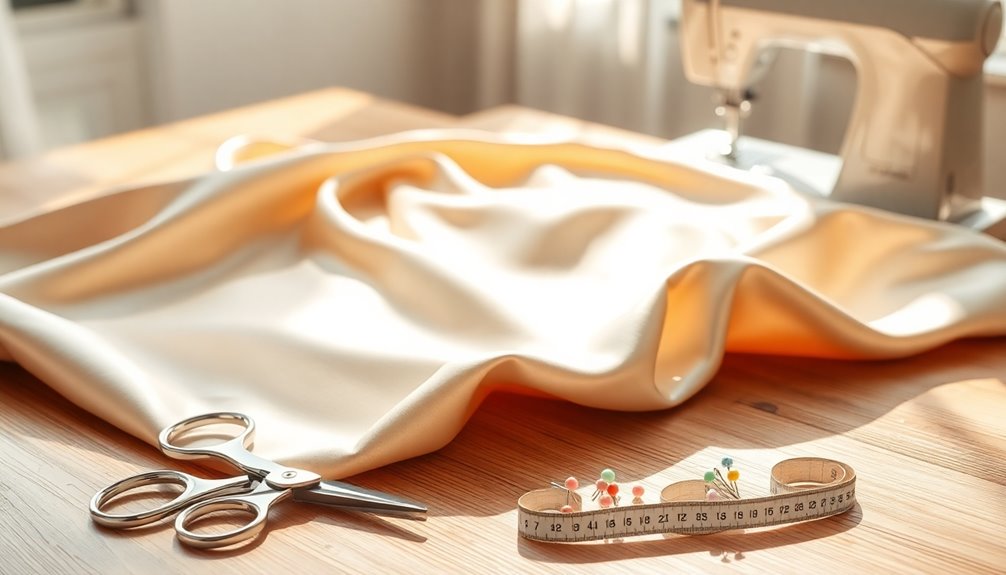
Before you start sewing, it's essential to pre-wash your silk fabric according to the care instructions to avoid any color bleeding later on.
Once it's clean, stabilize the slippery silk with spray starch or gelatine to make cutting easier and more accurate.
This preparation will set you up for a smoother sewing experience.
Pre-Washing Techniques
To guarantee your silk fabric is ready for sewing, start by pre-washing it in lukewarm water with a gentle detergent and a splash of distilled white vinegar. This helps set the colors and prevent future color bleeding.
Before washing the entire piece, test a small section in water to observe any potential bleeding. If you're working with vibrant or dark silk, consider using color-catcher sheets in the wash to absorb any excess dye.
After washing, lay the silk flat to dry—don't wring or twist it, as this can distort the fabric. Once it's slightly damp, you can iron it on a low iron setting using a pressing cloth to safeguard those delicate fibers.
Stabilizing for Cutting
As you prepare to cut your silk fabric, stabilizing it's crucial for achieving clean, precise edges. To stabilize silk fabric, consider using starch, gelatine, or tissue paper.
When using gelatine, follow a recommended ratio for the right stiffness, making it easier to handle slippery silk. Always cut your fabric as a single layer to minimize distortion and prevent shifting.
Use pattern weights to secure the fabric and keep it from hanging off the cutting surface, which can lead to uneven cuts. For added stability, sandwich the silk between layers of tissue paper; this technique helps prevent snagging and keeps your scissors sharp.
With these tips, you'll guarantee a smoother cutting process.
Placing Pattern Pieces on Silk

When placing pattern pieces on silk, always position the right side of the fabric facing up to confirm proper alignment and maintain the grain direction. Follow these steps for best results:
- Use pattern weights instead of pins to secure the pattern pieces, as pins can leave holes in the delicate silk fabric.
- Align the pattern pieces with the fabric's grainline to confirm the drape and stability of your finished garment.
- Cut silk fabric as a single layer to prevent shifting while cutting, confirming accuracy.
Additionally, consider placing tissue paper underneath the silk for extra stability during the cutting process.
Cutting Silk Fabric Accurately
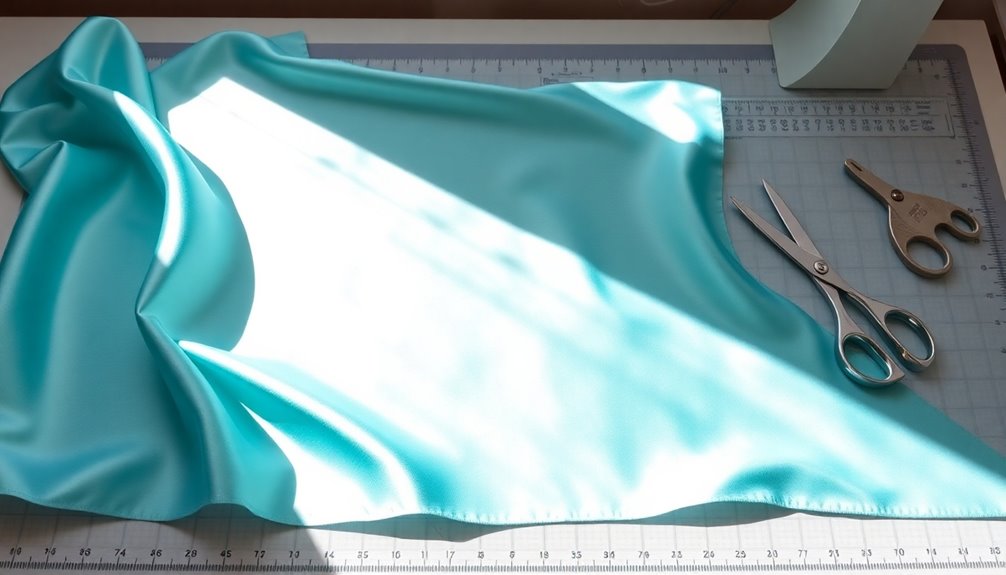
Cutting silk fabric accurately is essential for achieving a polished and professional finish in your garment. Always cut silk in a single layer to prevent distortion and guarantee accurate cutting.
Use pattern weights to secure the fabric, as its slippery nature can cause it to shift easily. To stabilize the silk, consider adding tissue paper or a light layer of starch; this helps reduce fraying at the edges.
Employ sharp scissors or a fresh rotary cutter blade for clean cuts, avoiding snagging the delicate fibers. When marking your fabric, test your marking tools on scrap silk first.
Avoid using a tracing wheel; instead, use tailor's tacks with silk thread for transferring markings effectively.
Machine Sewing Techniques for Silk
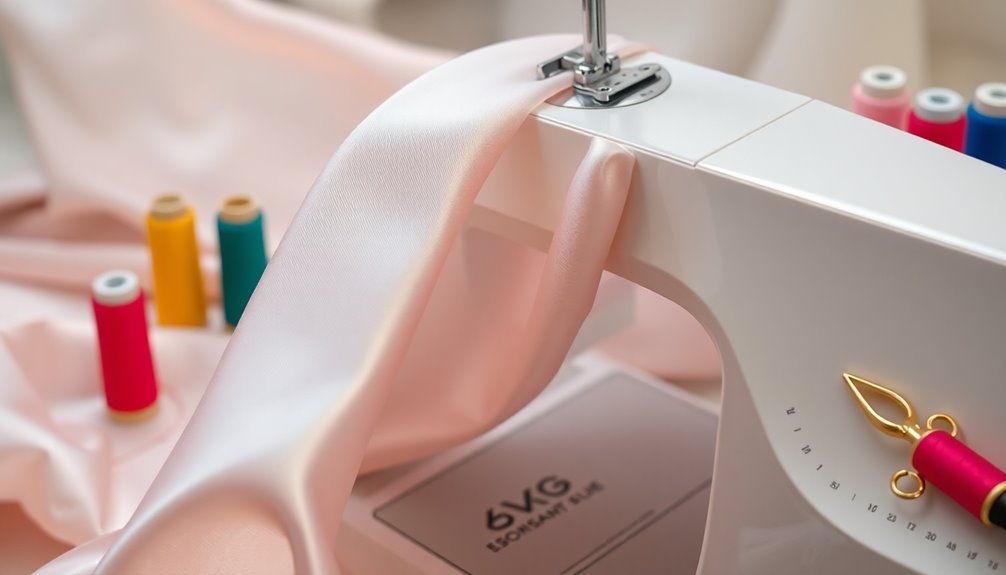
After you've cut your silk fabric accurately, the next step is to focus on machine sewing techniques that will help you achieve a flawless finish.
Here are three essential tips:
- Use sharp, fine needles (sizes 60/8 or 70/10) designed for lightweight fabrics to prevent snags and guarantee smooth stitching.
- Adjust your machine tension by loosening the top tension slightly when sewing slippery silk to avoid puckering and achieve even stitches.
- Employ a shorter stitch length (around 2mm) and narrow zigzag stitches to maintain seam integrity.
Don't forget to conduct test seams on scraps of silk before starting your project.
This helps fine-tune your machine settings for successful outcomes and prevents you from ruining your beautiful silk fabric.
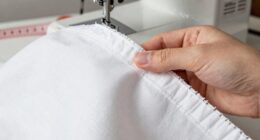
Hemming Silk: Options and Techniques
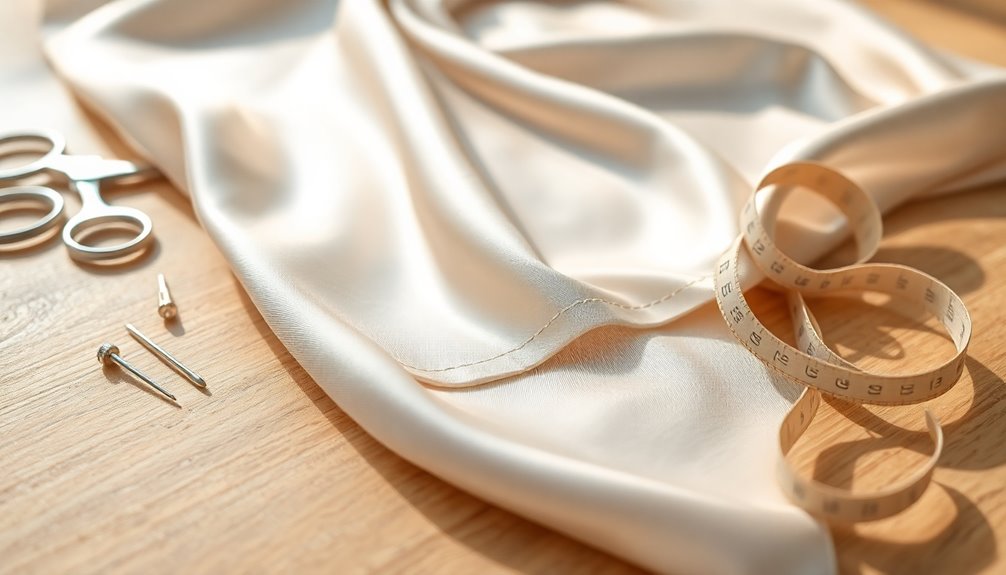
When hemming silk, you'll want to make certain your fabric is leveled properly for a polished look.
Take time to explore different hemming techniques, like machine rolled or hand rolled hems, to find what works best for your garment.
Don't forget to experiment on scrap fabric to perfect your chosen method before you start on your actual piece.
Hemming Techniques Overview
Hemming silk can be a delicate process, but with the right techniques, you can achieve a beautiful finish. Here are three popular options to take into account:
- Machine Rolled Hems: Use a narrow zig zag stitch to prevent fraying and create a clean edge, perfect for straight grain silk.
- Hand Rolled Hems: Opt for this method when you need precision, as it allows for finer control and minimizes puckering.
- Pick-Stitched Hems: This technique adds a delicate touch, enhancing the garment's elegance.
Before committing to a technique, always test your chosen hemming technique on a scrap piece of silk. This guarantees you get the desired finish without risking your final garment.
Leveling the Hem
Achieving an even hem is essential for a polished look in any silk garment. Before you start, let the fabric hang for 24 hours; this helps it settle and prevents uneven hems.
Use pins as guides to trim any excess fabric, ensuring that your hem is leveled. If your hem exceeds five inches in length variation, cut the excess fabric in two passes for better accuracy.
Common techniques include machine rolled hems, hand rolled hems, and pick-stitched hems—choose based on the fabric weight and design of your garment.
Always double-check that the hem is even and properly finished before proceeding with the final stitching to achieve that impeccable look you desire.
Choosing Hem Finishes
Selecting the right hem finish for your silk garment can make all the difference in its overall appearance and durability.
When choosing hem finishes, consider these options:
- Hand Rolled Hems: Ideal for lightweight silks, they offer a delicate and precise finish.
- Machine Rolled Hems: Quick and effective for straight grain silk, but may not be as aesthetically pleasing.
- Pick-Stitched Hem: Perfect for deeper hems in heavier silks, adding a refined touch without bulk.
Always test different hemming techniques on scrap fabric to find the best method for your specific silk type and garment design.
Pressing Silk: Best Practices
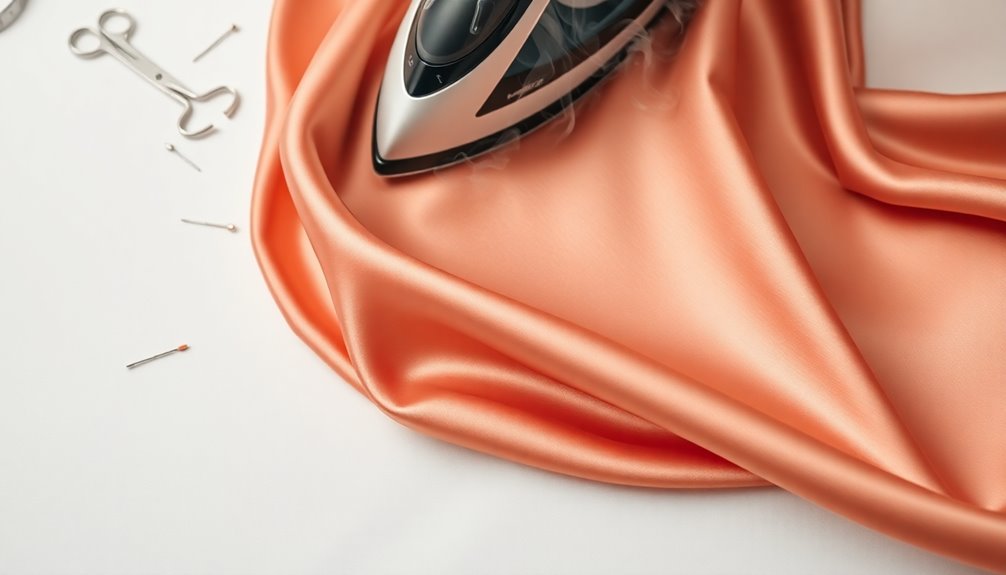
When pressing silk, it's crucial to use the right techniques to preserve its delicate fibers. Always set your iron to a low heat to prevent scorching.
Place a pressing cloth, like silk organza or a clean tea towel, between the iron and the fabric to protect it from direct heat and avoid watermarks.
When you need to press seams, lift the iron instead of sliding it across the fabric, which helps maintain the silk's integrity. Remember, avoid using steam; moisture can lead to unwanted marks.
Before you start, let your silk garment hang for 24 hours to allow the fabric to settle, ensuring a smooth and even finish.
Happy pressing!
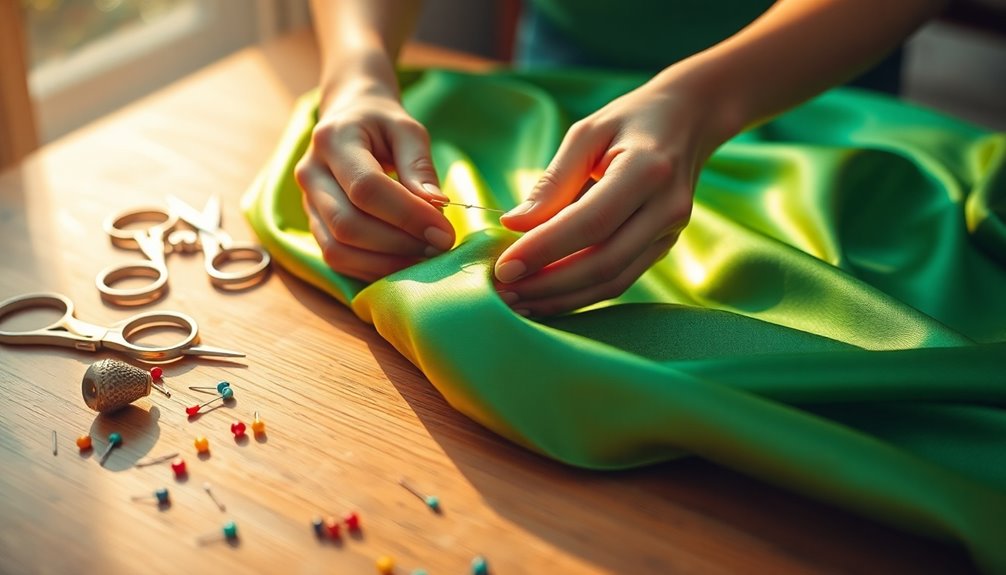
Handling Bias-Cut Silk
When you're working with bias-cut silk, precision is key.
Start by cutting your fabric in a single layer to prevent stretching, and be mindful of your sewing techniques to maintain the beautiful drape.
With the right approach to pressing, you can guarantee your garment looks flawless and holds its shape beautifully.
Cutting Techniques for Bias
Cutting bias-cut silk requires careful attention to detail to confirm you achieve clean edges and maintain the fabric's integrity. Here's how to handle the process effectively:
- Prepare the Fabric: Lay your silk flat on a clean, smooth surface to prevent stretching.
- Use the Right Tools: Grab sharp scissors or a rotary cutter to ensure clean edges; dull tools can snag the delicate fibers.
- Mark and Pin: Mark your cutting lines with tailor tacks or fabric chalk, testing first on a scrap. Pinning should be done within the seam allowance to avoid visible holes.
Also, consider using a lightweight stabilizer underneath to minimize slipping while cutting.
Following these techniques will help you create perfect cut pieces every time.
Sewing Bias Seams
Sewing bias seams in silk can be a rewarding experience, especially when you see how beautifully the fabric drapes and moves.
Start by cutting your silk fabric on the bias for better flexibility. Use a narrow zigzag stitch to accommodate the fabric's stretch and prevent puckering. To keep the fabric from shifting, consider placing tissue paper underneath or hand-basting seams before you sew.
As you stitch, maintain tension slightly to avoid distortion, allowing the silk to glide smoothly through the machine.
Finally, finish your raw edges with a zigzag or French seam to reduce fraying, since bias-cut silk can unravel more easily than straight-cut seams. Additionally, you can create DIY cleaning solutions to effectively clean any spills on your silk project without damaging the fabric.
Enjoy the process, and watch your creation come to life!
Pressing Bias Fabric
Pressing bias-cut silk requires careful attention to detail to preserve its delicate nature and beautiful drape. Follow these steps for best results:
- Always use a low heat setting on your steam iron to avoid scorching the delicate fibers.
- Place a pressing cloth, like silk organza or a clean cotton towel, over the fabric to prevent direct heat contact and water spots.
- Press seams from the wrong side of the fabric, lifting and pressing instead of sliding the iron to maintain the fabric's integrity.
Avoid excessive pressure, as silk can stretch and lose its shape if handled too aggressively.
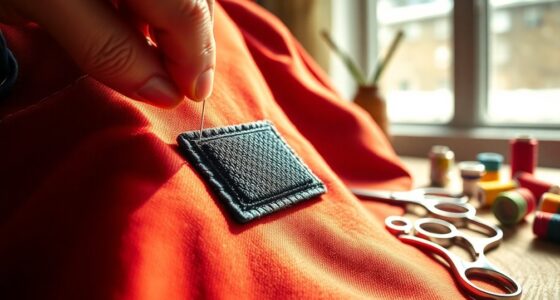
Sewing Buttonholes on Silk

Creating buttonholes on silk requires careful attention to detail to achieve a professional finish. Start by verifying the buttonhole area is well interfaced; if you don't have standard interfacing, silk organza works great.
Before cutting, apply a small dab of fray-check to prevent fraying and maintain a clean edge. Use extra-fine thread in both the bobbin and upper thread for a lightweight finish that seamlessly blends into your silk fabric. To ensure a precise application, use a fine-tipped applicator to control the amount of fray check you dispense. Learning how to apply fray check effectively can help you achieve a clean, professional finish without overwhelming the delicate fibers. After applying, allow the fray check to dry completely before proceeding with any cutting or stitching to ensure maximum protection against fraying.
To avoid puckering, consider placing tissue paper or dissolvable stabilizer underneath when using an all-in-one buttonhole attachment.
Finally, always test your buttonhole techniques on a scrap piece of silk to verify desired results before moving on to the actual garment.
Tips for a Flawless Finish

When working with silk, achieving a flawless finish hinges on a few essential techniques. Follow these tips to guarantee your garment looks impeccable:
- Use a pressing cloth when ironing silk to protect it from heat and prevent water spots. This simple step is important for maintaining the fabric's beauty.
- Finish seams with French seams or a serger to avoid fraying. This technique is critical for preserving the integrity of silk fabric.
- For lightweight silk, employ a rolled hem or baby hem to create a clean edge that enhances the garment's drape.
Always level the hem by allowing the garment to hang for 24 hours before cutting. This method guarantees an even finish that adapts beautifully to the silk's natural drape.
Frequently Asked Questions
How to Sew Silk Fabric for Beginners?
To sew silk fabric as a beginner, start by using a sharp, fine needle to avoid snagging.
Pre-wash your silk gently to prevent future complications.
Cut the fabric in single layers for clean edges, using sharp shears or a rotary cutter.
Opt for high-quality polyester thread for better strength and reduced puckering.
Before diving into your main project, test different techniques on scrap pieces to guarantee you get the best results.
What Is the Best Stitch for Silk Fabric?
The best stitch for silk fabric is a straight stitch or a narrow zigzag stitch.
These options let you maintain the fabric's delicate drape without puckering. You'll want to use a shorter stitch length, around 2mm, for better control.
Always test on scrap pieces first to adjust your machine's tension. To prevent shifting, lightweight pins or hand basting works wonders.
Finally, opt for high-quality polyester thread to guarantee strong, smooth seams.
What Is the Best Sewing Machine Setting for Silk?
When you're sewing silk, you'll want to use a shorter stitch length of around 2mm to prevent puckering.
Loosen the top tension slightly, so the lightweight fabric doesn't pull your stitches. A Microtex needle in size 60/8 or 70/10 will help you stitch without snagging.
If you've got a walking foot, use it to keep the slippery fabric moving evenly.
Always test on scrap silk first to get everything just right!
Why Is Silk Hard to Sew?
Silk's slippery surface makes it hard to sew, as it tends to shift and distort while you're cutting or stitching.
You'll find its delicate fibers can snag or tear if handled roughly, so gentle care is essential.
The lightweight nature requires precise stitching to avoid puckering, and its tendency to unravel means you need specific seam finishes.
Plus, adjusting your machine's tension is vital to prevent pulling or uneven stitches.
Conclusion
Now that you've mastered the essentials of sewing silk, you can create stunning garments that flow beautifully. Imagine crafting a delicate silk dress for a summer wedding, the fabric shimmering softly in the sunlight as you twirl on the dance floor. With your newfound skills, you'll not only impress your friends but also enjoy the satisfaction of wearing something you made yourself. So grab that silk, and let your creativity shine!